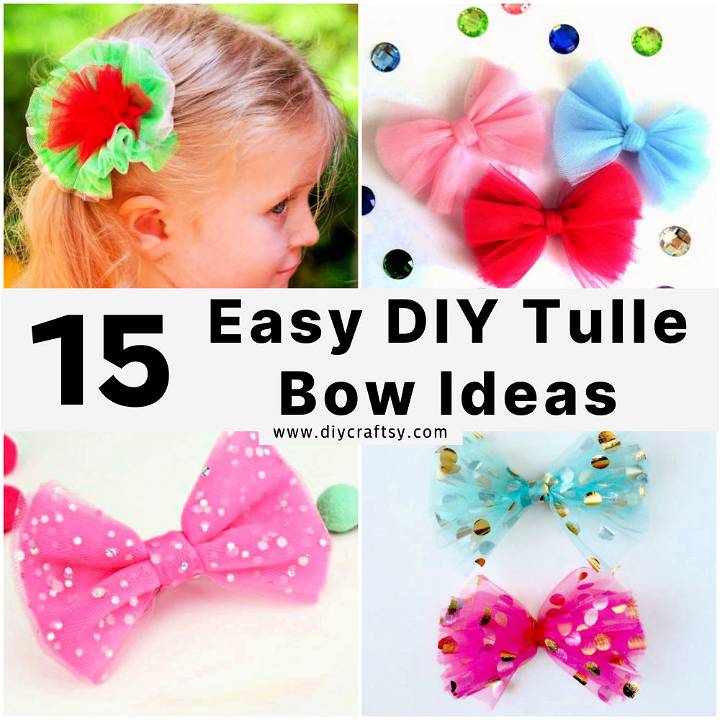
Discover the joy of making your tulle bows with our easy-to-follow guide. Making 15 DIY tulle bows is a fun and creative activity and adds a personal touch to gifts, decorations, and outfits. Our step-by-step instructions are designed to help crafters of all skill levels produce beautiful and unique bows. From selecting the right supplies to finishing touches, you'll learn everything you need to know to make your tulle creations stand out.
In this comprehensive guide, we cover a variety of techniques for making tulle bows, including different styles and customization options. Whether you want to add a splash of color or a bit of sparkle or are aiming for a certain size, we'll show you how to achieve the look you desire. Plus, we include valuable tips on maintaining the quality of your bows and addressing common challenges. Get ready to transform simple tulles into stunning bows that impress anyone who sees them.
Let's dive into the next section for a detailed step-by-step guide on crafting your perfect tulle bow.
How to Make a Tulle Bow - Step-by-Step Guide
Making your tulle bow can add a unique touch to headbands, hair clips, dresses, and home d* écor. You can craft beautiful tulle bows in two different styles with a few simple supplies and some creativity. Below, we provide a straightforward, step-by-step guide to help you achieve lovely results.
Supplies You'll Need:
- Six-inch wide tulle on a roll
- Thread
- A pencil
- Measuring tape or a ruler
- Scissors
- Scrap cardboard
- A hot glue gun
Step 1: Make Your Template
First, decide on the width of your bow, as it will determine the size of your template. Your template's height will automatically be six inches, matching the tulle's width.
Crafting the Template:
- Decide on the bow's width. For this example, let's say you choose nine and a half inches wide.
- For the central part, where the bow cinches, cut out a piece approximately three inches wide and three and a half inches tall on your cardboard. This serves as the guide for the bow's center.
Step 2: Wrap the Tulle
Place your tulle roll at the top of the template and wrap it around. The amount of tulle you wrap around dictates the bow's fluffiness. After wrapping a sufficient amount, cut the tulle from the roll.
Step 3: Slide and Tie
Carefully slide the wrapped tulle down to the lower part of your template. Try to keep the tulle's shape intact. Once you have it in place, take a thread and tie the center of your bow firmly, ensuring it's secure but not overly tight, as it might distort the bow's shape.
Step 4: Cover and Cut
Cut a small tulle and wrap it around the center where you tied the thread, using a hot glue gun to secure it. This piece will cover the tied thread and give your bow a neat look. After securing, trim any excess tulle to ensure the ends match the rest of the bow.
Styling Your Bow:
Your first bow style is now ready! These bows can be adorable additions to various items and home decorations and are especially perfect for festive occasions.
For the Second Style:
- Repeat the steps above, but when wrapping the tulle around your template, aim for a slightly different thickness or fluffiness to vary the style.
- Consider using a contrasting color or material for a distinct look when tying the center.
These two simple methods allow for varied and beautiful bows customized according to your preference and the occasion.
Video Tutorial
For a step-by-step visual guide, watch the DIY Tulle Bow Tutorial on YouTube.
It pairs well with this written guide, offering a dynamic way to grasp the bow-making process with clarity and precision.
Craft beautiful tulle bows to elevate your style! Experiment with colors and sizes.
Variations and Customizations for DIY Tulle Bows
Making DIY tulle bows is not just about following a set pattern; it's about expressing creativity and making something unique. Whether you're crafting for a special occasion or just for fun, here are some ideas to personalize your tulle bows:
Choose Your Colors
Tulle comes in a rainbow of colors. Select a color that matches your event's theme or your style. For a more dynamic look, combine two or more colors. Layering light and dark shades can add depth to your bow.
Size It Right
The size of your bow can change its impact. A large, fluffy bow can be a statement piece for a gift or decoration, while smaller bows can be perfect for hair accessories or embellishments on clothing.
Add Some Sparkle
Glitter tulle or tulle with metallic threads can add a touch of glamour to your bows. If you prefer a subtler shine, consider attaching rhinestones or sequins.
Texture and Patterns
Not all tulle is the same. Some have patterns, like polka dots or stars, while others have textures, like ruffles or embossing. These can add a playful or elegant touch to your bows.
Embellish with Extras
Ribbons, buttons, beads, or artificial flowers can transform a simple tulle bow into a work of art. Attach these extras to the center or edges of your bow for added flair.
Tie It Differently
Experiment with different types of knots or bow styles. A double bow or one with multiple loops can look more intricate and interesting.
Make It Functional
Consider adding a clip or pin to the back of your bow so it can be easily attached to different items, like hairbands, bags, or clothes.
By customizing tulle bows, you make a unique reflection of yourself. Let your creativity shine!
Troubleshooting Tips for DIY Tulle Bows
When crafting your DIY tulle bows, you might encounter a few hiccups along the way. Here are some troubleshooting tips to help you overcome common challenges:
- Tulle Too Slippery: If the tulle keeps slipping when you try to tie it, use clear tape to secure the end of the tulle to your work surface. This will keep it in place as you work.
- Uneven Loops: To ensure even loops, use a template such as a book or cardboard cutout to wrap the tulle around. This will give you consistent loop sizes.
- Tulle Not Holding Shape: Stiffen the tulle lightly with fabric stiffener or hairspray. Allow it to dry before shaping your bow.
- Cutting Mistakes: If you cut the tulle too short, don't worry. You can add another layer of tulle to adjust the length or use the piece as the center wrap for a smaller bow.
Remember, practice makes perfect. Don't be discouraged by small mistakes; they're all part of the learning process.
Sustainability Note for DIY Tulle Bows
Crafting can be fun, but it's important to consider the environmental impact of our materials. Here's how you can make your DIY tulle bow project more sustainable:
- Eco-Friendly Materials: Look for tulle made from recycled materials or sustainable sources. Some tulle is made from biodegradable fibers, which are a better environmental choice.
- Repurposing Old Tulle: Before buying new tulle, see if you have any old garments or decorations you can repurpose for your bows.
- Minimize Waste: When cutting tulle, plan your cuts to minimize waste. Save any scraps for smaller projects or as stuffing for pillows or toys.
- Recycle and Reuse: Don't throw away your tulle bows after your event. Depending on the material, they can be reused or recycled for future projects.
Following these tips, you'll make pretty tulle bows and help the planet.
Maintenance and Care for Your DIY Tulle Bows
Proper maintenance and care are essential to keep your DIY tulle bows looking their best. Here's how you can preserve the beauty of your creations:
Handling Tulle Gently
Tulle is a delicate fabric that can tear or snag easily. Always handle it with care, especially when tying or adjusting your bows.
Storing Bows Safely
When not in use, store your tulle bows flat in a cool, dry place. Avoid crumpling them, as this can cause wrinkles. You can also hang them on a soft, padded hanger to maintain their shape.
Cleaning with Caution
If your tulle bow gets dirty, spot-clean it gently with a damp cloth. Avoid harsh chemicals or scrubbing vigorously, as this can damage the fabric.
Keeping Away from Heat
Tulle can melt or deform when exposed to high heat. Keep your bows away from direct sunlight, heaters, and hot surfaces.
FAQs About DIY Tulle Bows
You may have some questions when diving into DIY tulle bows. Here are answers to some common queries to help you along your crafting journey.
What type of tulle is best for making bows?
The best tulle for bows is typically a stiffer variety, such as nylon or polyester tulle, as it holds its shape well. For a softer look, choose silk tulle.
How much tulle do I need for one bow?
The tulle needed depends on the bow size you want to create. For a standard bow, about 2-3 yards should be sufficient.
Can I wash tulle bows?
Tulle bows are delicate and should be hand-washed gently with cold water and mild soap. Avoid wringing them out; press the excess water out and let them air dry.
How can I prevent my tulle bow from fraying?
To prevent fraying, you can seal the edges of the tulle with a light application of clear nail polish or a fabric sealant designed for preventing fraying.
Is it possible to iron tulle bows?
Ironing tulle is not recommended as it can melt or become misshapen. If you must remove wrinkles, use a steamer on a low setting and keep it at a distance from the tulle.
15 DIY Tulle Bow Ideas to Make Your Own Tulle Bows
Discover 15 DIY tulle bow ideas to make stunning tulle bows for any occasion. This helpful guide will teach you how to make your own beautiful tulle bows.
1. How to Make a Tulle Gift Bow
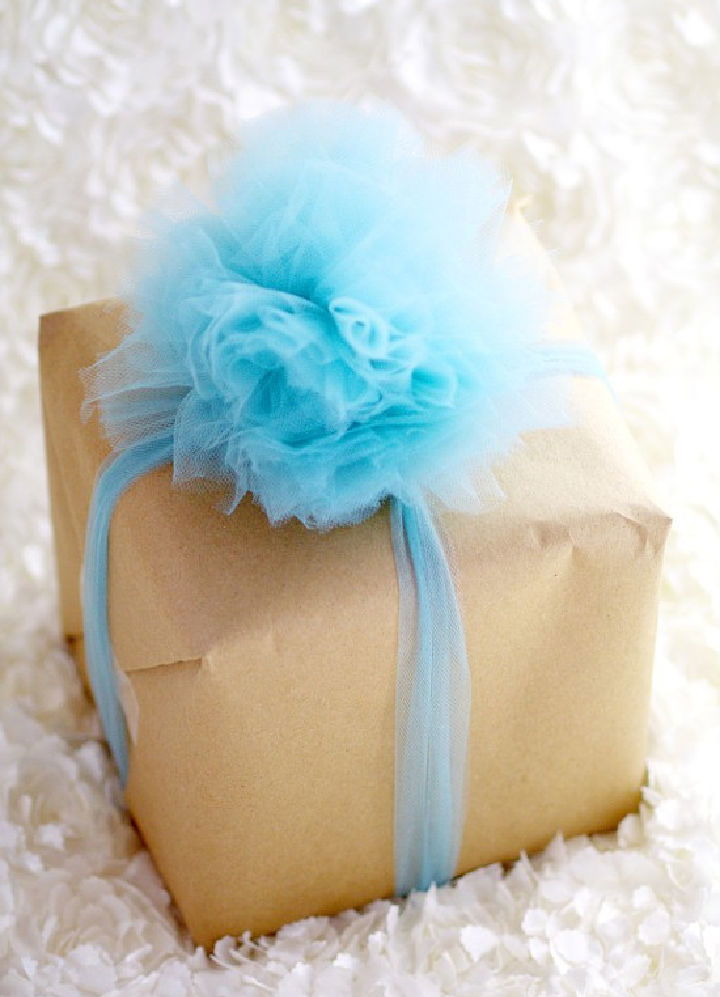
Making a DIY Tulle Gift Bow is a simple yet elegant way to enhance your gift-wrapping. Presented by The Gracious Wife, this tutorial guides you through crafting a beautiful bow in six easy steps. With no need for fancy papers, this accessory can add a touch of sophistication to any package. Suitable for gifts of all sizes, the tulle bow offers a versatile option for personalizing presents for any occasion. Follow these clear instructions to add a handmade flourish that is sure to impress recipients with your thoughtful presentation.
2. No Sew DIY Tulle Bow
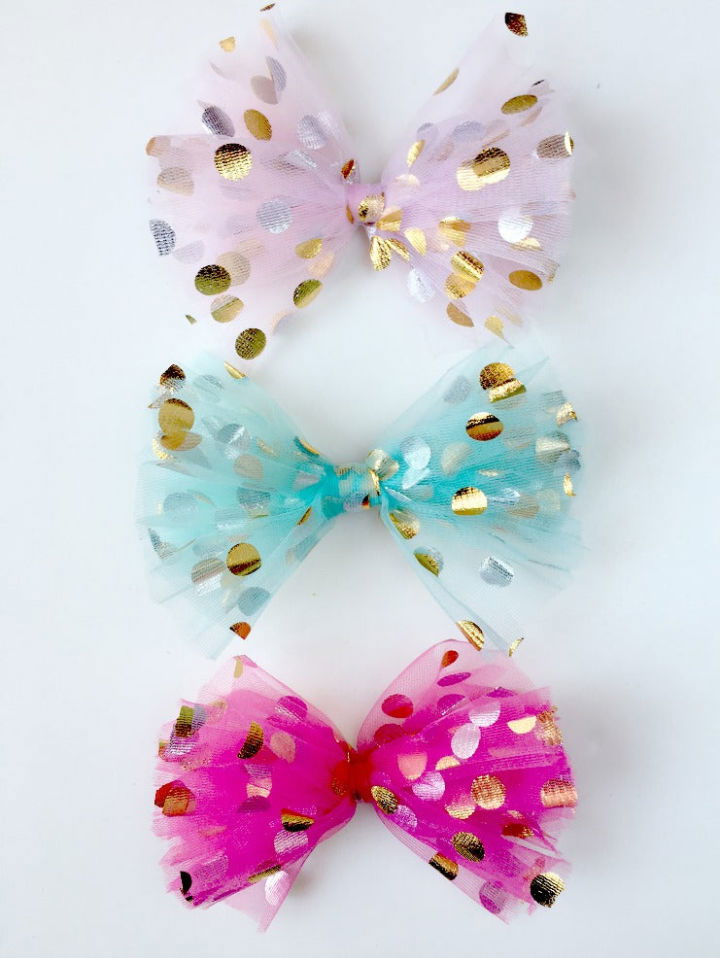
For those passionate about crafting and adding a touch of charm to their gifts or outfits, Satsuma Designs offers an engaging DIY Tulle Bow Tutorial that is both fun and simple to follow. Instructive and easy to understand, the tutorial guides you through the process of making a beautiful tulle bow, ideal for adorning clothing, costumes, gifts, and even home decor. With clear steps, materials lists, and helpful tips, you'll be able to make your own festive embellishments. Enhance your craft projects by incorporating tulle bows into your creations and enjoy the flair they add to any occasion.
3. Make Your Own Tulle Hair Bow
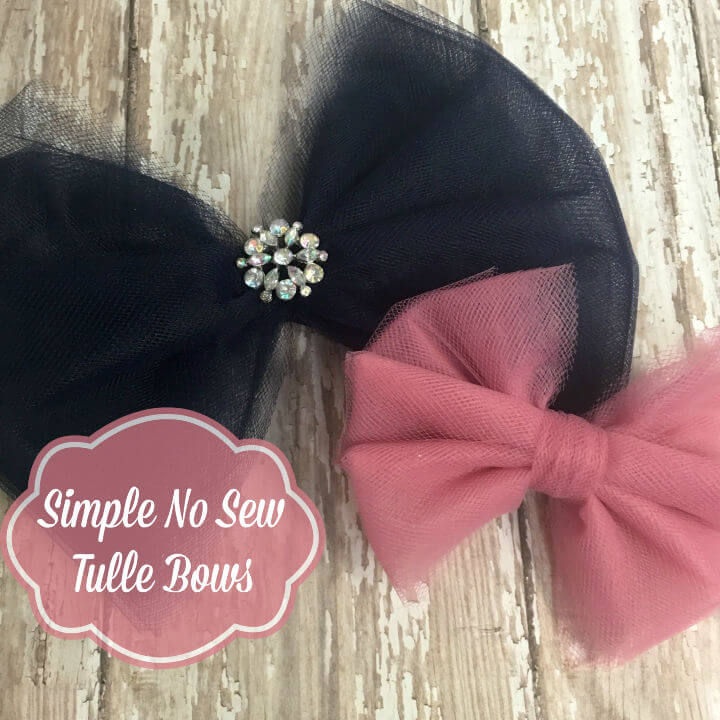
Making a charming tulle hair bow is a delightful way to add a touch of elegance to any outfit, and with the guide from The Hair Bow Company, it's easier than ever! In just seven simple steps, you can make your very own no-sew tulle bows, perfect for any age and occasion.
The process involves choosing your desired size, cutting the tulle, wrapping, and tying it—all without the need for a sewing machine. Emphasizing the ease of this craft, the tutorial provides valuable tips and suggests using everyday household items. Whether you want to add a personal touch to your hair accessories or make a special gift, this guide ensures a fun and satisfying crafting experience.
4. DIY Tulle Carnation Bow at Home

In the creative nook of Sugar Bee Crafts, Mandy Beyeler's Tulle Carnation Bow Tutorial shines as a handy guide for crafting enthusiasts eager to add a touch of whimsy to their repertoire. This step-by-step tutorial, sourced from Birdsong Bows, simplifies the process of making a charming tulle carnation bow. Ideal for adornments or accessorizing, the tutorial calls for basic supplies like tulle, thread, a needle, and a few other items easily found at local craft stores.
Mandy's clear and engaging instructions ensure a smooth crafting experience, even for those new to hand-sewing. The tutorial emphasizes precision and patience, especially when handling the slippery tulle, to achieve a neat and beautiful result. Once complete, the handmade carnation bow can be proudly worn or gifted, adding a personal touch to any outfit or occasion.
5. How to Make Your Own Tulle Bow
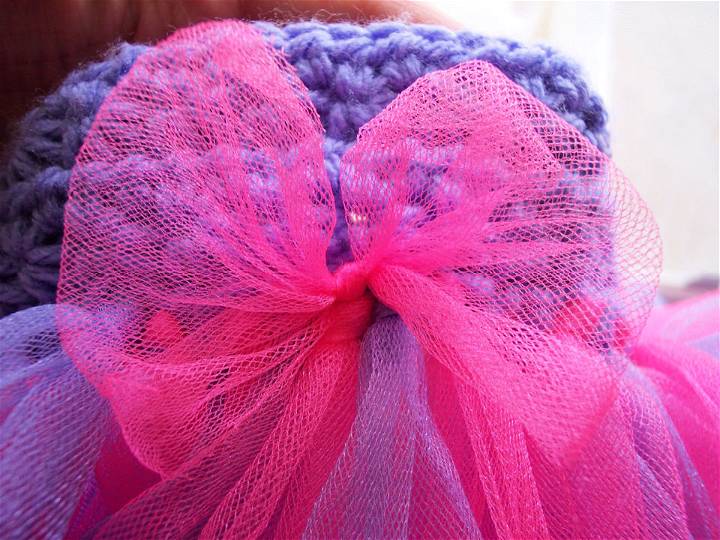
For craft lovers eager to add a personal touch to a tutu, Stitch11 provides an instructive guide on making and attaching a charming tulle bow. This tutorial walks you through each step with clarity, from forming the tulle loop to securing the bow onto the tutu with precision.
The process is laid out in an easy-to-follow manner, ensuring you can achieve a beautifully tied bow that enhances your tutu's elegance. It's perfect for anyone who enjoys DIY projects and seeks to adorn handmade garments with lovely details. Enjoy the satisfaction of crafting a unique accessory that adds a special flair to any tutu.
6. DIY Tulle Hair Bow - Step by Step Instructions
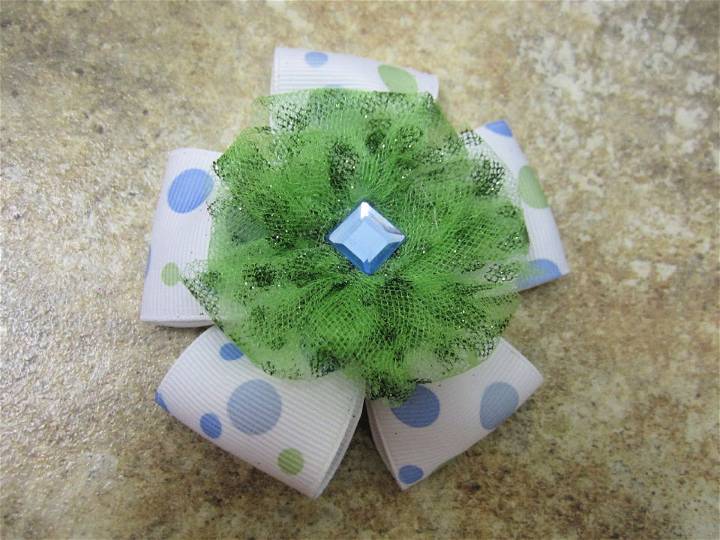
Get ready for the school season with a creative twist by crafting adorable tulle hair bows for your little one. This step-by-step guide on making these charming accessories will not only add a personal touch to your daughter's school outfits but also spark your own creativity. You'll find clear instructions on how to select ribbons that complement your child's wardrobe, cut and seal the edges to prevent fraying, fold and glue for stability, and sew to form the bow's shape.
With tips on incorporating various colors and designs of tulle for that extra flair, and finishing touches like adding gems, you're equipped to make a unique hairpiece. Plus, learn the best way to attach the bow to a hair barrette, ensuring it stays secure all day. Ideal for gifts or just a fun project, this engaging tutorial makes it simple and enjoyable to fashion hair bows that are as unique as your child. My Successful
7. Make a Tulle Bow for Gift Wrapping

If you're aiming to add a personal touch to a gift or want to enhance your craft projects, mastering the art of making a tulle bow can be quite rewarding. DIY Inspired provides a straightforward guide on making a beautiful tulle bow that can elevate the presentation of any present or decoration. With just a spool of 6-inch wide tulle and a pair of scissors, you can make an eye-catching adornment.
This method involves folding the tulle into layers and tying them together to form a fluffy, voluminous bow. The tulle's texture allows for easy manipulation, ensuring that your bow retains its shape and charm. This skill is particularly handy for those who appreciate the finer details in craft or are keen on giving their gifts a unique and handcrafted feel. Follow these engaging and easy-to-understand instructions to enhance your crafting repertoire.
8. DIY Satin and Tulle Pew Bow
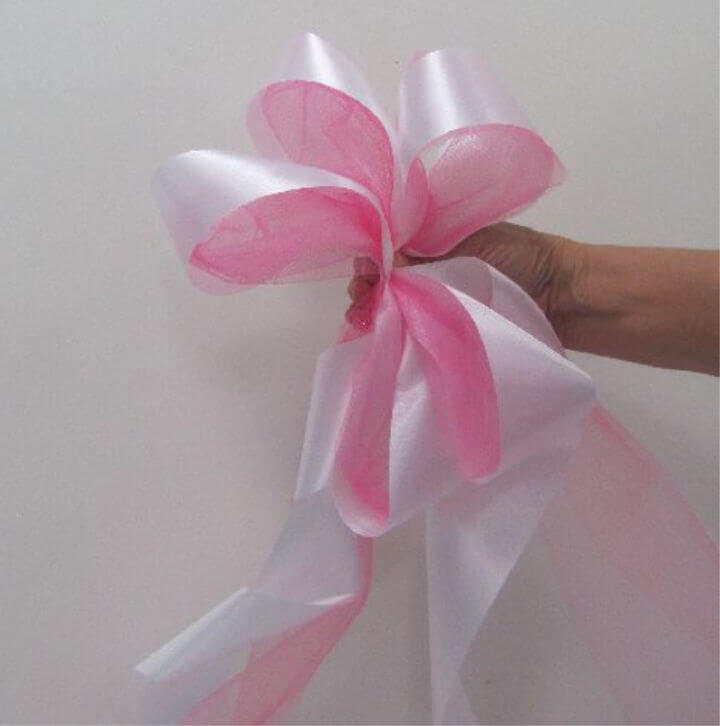
Making a satin and tulle pew bow adds a personal and elegant touch to any wedding decor. On Wedding Flowers, you'll find step-by-step guidance on crafting these beautiful bows, perfect for enhancing the charm of your ceremony space. Our easy-to-follow tutorials are designed to help you make an eye-catching bridal bouquet, wedding corsages, a groom's boutonniere, reception centerpieces, and church decorations.
For those looking to save on costs, we offer insights into buying wholesale flowers and discount florist supplies. With a bit of creativity and patience, you can achieve professional-looking results and a truly customized celebration.
9. Easy and Quick DIY Tulle Bow
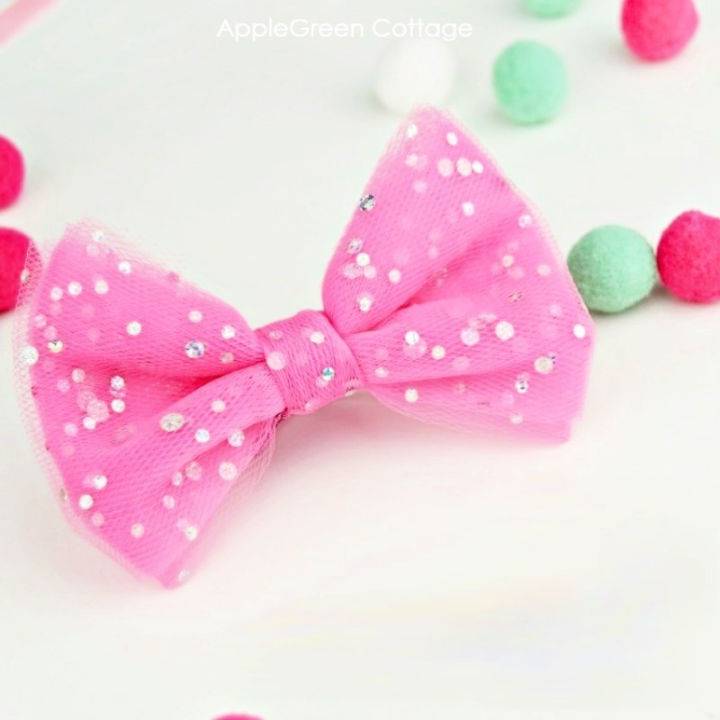
Making beautiful tulle bows has never been easier, thanks to the straightforward and engaging guide at AppleGreen Cottage. Perfect for anyone who loves crafting, this tutorial takes you through the simple steps of making your own tulle bows without the need for measuring, templates, or sewing.
Ideal for adorning hair accessories, gift packages, or festive decorations, these bows can be crafted in less than five minutes. The instructions are accompanied by a helpful video and clear, concise photos, ensuring that your crafting experience is enjoyable and successful. Whether you're planning a party or just want to add a handmade touch to your accessories, these tulle bows are a quick and charming project to undertake.
10. Tulle Bow With Detailed Instructions
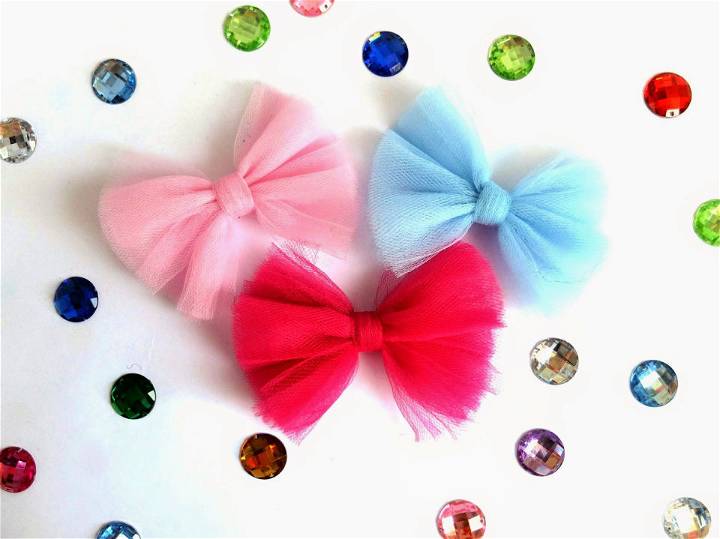
Learn how to craft beautiful tulle bows with this easy-to-follow tutorial from The DIY Fox. Ideal for adding a touch of elegance to hair clips, brooches, or headbands, this guide walks you through each step of the process. All you need is some tulle fabric, a regular coffee mug mat, scissors, matching thread and needle, and a pin. By wrapping, stitching, and trimming the tulle as instructed, you'll make a lovely, fluffy bow perfect for accessorizing various items. Engage in this creative project to enhance your outfits or add a unique element to gifts and decorations. The DIY Fox
11. How to Do You Make Tulle Bow
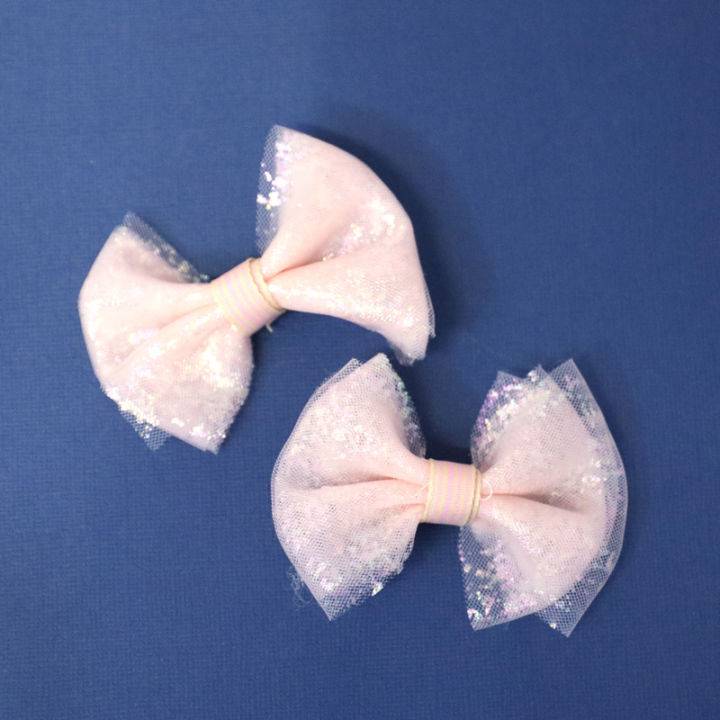
Discover a simple way to add a whimsical touch to any outfit with a handmade tulle bow. Perfect for crafters of all levels, this guide from Moms & Crafters will walk you through making your own tulle hair bow, a charming accessory for spring or a lovely addition to a baby gift.
Learn the basics of selecting the right materials and the easy steps to cinch and secure your bow for a durable and pretty result. Whether adorning hair clips, headbands, or gift packages, tulle bows add a special flair that's easy to personalize with various colors and embellishments. Get ready to craft something beautiful and practical with this engaging and instructive guide.
12. Handmade Tulle Bow Tutorial
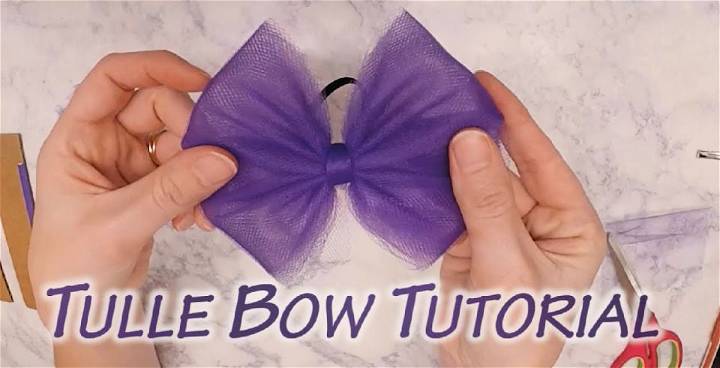
Learn to make stunning tulle bows with our helpful tutorial on YouTube. Crafting a tulle bow is simple with our step-by-step guide that requires just a few materials: tulle, cardboard, and scissors. Perfect for decorating gifts, accessorizing hair, or enhancing home décor, these bows add a touch of elegance.
The tutorial, brought to you by Meadowlark Monograms, is designed to be engaging and easy to follow, ensuring crafters of all skill levels can achieve beautiful results. For those interested in exploring more creative projects, such as different bow styles or tutus, our collection of related videos offers additional crafting inspiration. Join us and add a playful charm to your next project with a handmade tulle bow.
13. Large DIY Tulle Hair Bow
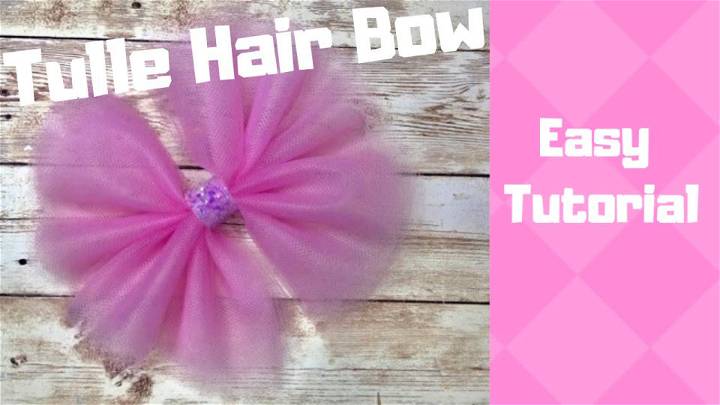
Learn to make your own stunning tulle hair bow with this informative YouTube tutorial from Enchanted Sparkle Crafts. Perfect for adding a touch of whimsy to any outfit, this DIY project guides you through the process with ease. You'll gather simple materials like tulle, card, glue, glitter, and a clip, and with a few straightforward steps, transform them into a beautiful accessory.
This tutorial is suitable for anyone with an interest in crafting, offering clear instructions that are simple to follow. As you master the technique of making a large, eye-catching tulle bow, you'll find yourself equipped to craft unique bows for gifts, special occasions, or just to brighten up your daily hairstyle. Visit the YouTube page for the full video and start your crafting adventure today.
14. Homemade Pinch Tulle Hair Bow
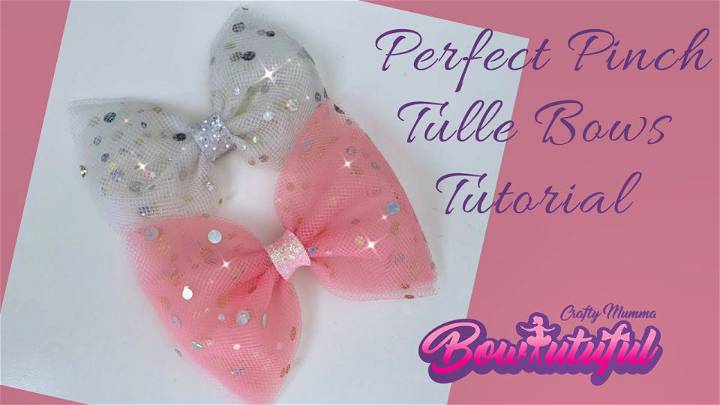
Dive into the craft of making beautiful tulle hair bows with the easy-to-follow DIY tutorial available on YouTube's Crafty Mumma BowTutuful hair bows tutorials channel. In this video, you'll learn step-by-step how to make a "Perfect Pinch" tulle hair bow, which adds a touch of elegance and whimsy to any hairstyle. Ideal for crafting enthusiasts who enjoy making their own accessories, this tutorial covers the process from measuring and cutting the tulle to sewing or pinching it into a bow shape and attaching a clip.
15. Making Two Styles Tulle Bow
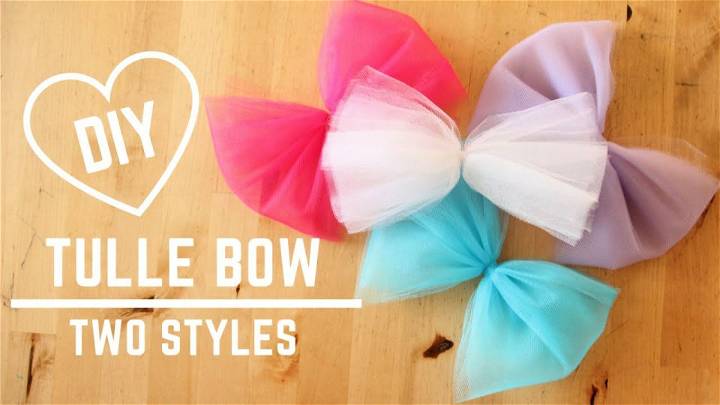
In this DIY Tulle Bow tutorial, viewers can master the craft of making elegant tulle bows in two distinct styles. Ideal for adding a personal touch to hair accessories, dress accents, or enhancing party decor, this guide offers a step-by-step approach to fashioning these delicate adornments.
With the help of simple tools like tulle, thread, and scissors, along with a hot glue gun for finishing touches, you can produce beautiful bows to suit various sizes and occasions. YouTube provides a comprehensive visual walkthrough, ensuring clarity and ease as you learn to assemble and customize your own tulle bows with confidence and creative flair.
Frequently Asked Questions
Learn how to make a DIY tulle bow with this comprehensive guide! Learn tips and tricks on the creation process, instructions for making different types of bows, and more. Get answers to all your FAQs below!
How do you make a wedding tulle bow?
Making a wedding tulle bow is simple. Start by cutting four pieces of tulle at the desired length - two long strips for the loops and two shorter strips for the tails. Tie a knot in the center of two strips, then tie a second knot around them to form loops. Add a knot between each loop to secure, then tie a final knot to attach the remaining tails. Use scissors to trim off any loose ends, and then fluff up your bow for the perfect finishing touch!
How do you tie a decorative bow with tulle?
Tulle is a lightweight, sheer fabric that makes great bows. To make a decorative bow with tulle, use two pieces of long material and tie them together in the middle. Then, loop both ends of one piece around the other to form an 'X' shape. Pull tight, fluff, or fan out the loops to give it a nice look. Finally, secure the ends with a safety pin or glue gun. Now you have a beautiful bow made with tulle!
How many yards of tulle Do I need to make a bow?
The amount of tulle you need to make a bow will depend on the size of your bow. Generally, if you plan to make a 6 inch wide bow, you would need approximately 10-15 yards of tulle. For larger bows, you may need up to 20 yards or more depending on size and design. You can always buy extra to be safe.
How do you make a puffy bow?
Making a puffy bow is easy and fun! Start by cutting two long strips of ribbon and an additional shorter piece. Tie the shorter strip around the center of the longer strips, forming a looped knot. Then use your fingers to pinch and separate each side of the ribbon into two loops, securing it with glue if desired. Finally, fluff the bow and tie a knot at the back of it. Enjoy your puffy bow!
How do you make a tulle bow for a beginner?
Making a tulle bow is easy and simple. Begin by cutting four lengths of tulle in the desired size, then gather them together at one end and make a knot or loop. Secure the middle with an elastic band and arrange the ends into separate loops on each side. Finish using a ribbon to tie it together for a beautiful bow. Enjoy!
How do you tie a bow with tulle ribbon?
Tulle ribbon is a great way to add an elegant finishing touch to gifts and decorations. To tie a bow with tulle ribbon, start by looping the ribbon around your fingers twice and pull it tight in the middle to form two loops. Then, cross one loop over the other and twist it once before tying it off with a knot. Finally, fluff the loops and adjust it as needed for a neat finish. Voila! A perfect tulle bow is ready.
How do you wrap a bow with tulle as a gift?
To wrap a bow with tulle, start by cutting the desired length of the tulle and gently fold it in half. Tie around your gift box in the center and make a loop with both ends of the tulle that is tied together. Twist each end to make an “X” shape, then tie them off at the base of the “X”. Finally, pull gently on each side of the “X” to make a full bow. Secure with ribbon and your tulle bow is ready! Happy gift wrapping!
How do you put tulle on a bow?
To put tulle on a bow, first cut the tulle into strips of the desired length. Gather the pieces together and tie them in a knot at one end. Then loop it around the center of your bow several times until you reach the other end, and secure it with another knot. Trim off any excess pieces and fluff the tulle to achieve the desired look. Voila, you have a lovely bow with tulle!
How do you make a tulle pew bow?
To make a tulle pew bow, first measure the size of the bow you'd like to create. Cut several strips that length and desired width. Fold each strip in half and tie together in the center with a piece of fishing line or ribbon. Tie both ends together around a stick or dowel rod to maintain shape while assembling. Finish by wrapping the center with a ribbon, and it's ready to use!
How do you tie a fancy tulle bow?
Tie a tulle fancy bow by making a loop with it and tying it off in the middle. Make another loop, cross it over the first, then tie them off again in the middle. Take each of the four ends of the tulle, bring them to the center, and tie another knot to secure. Lastly, fluff the bow to your desired shape. Enjoy your beautiful creation!
Related DIY Projects and Ideas
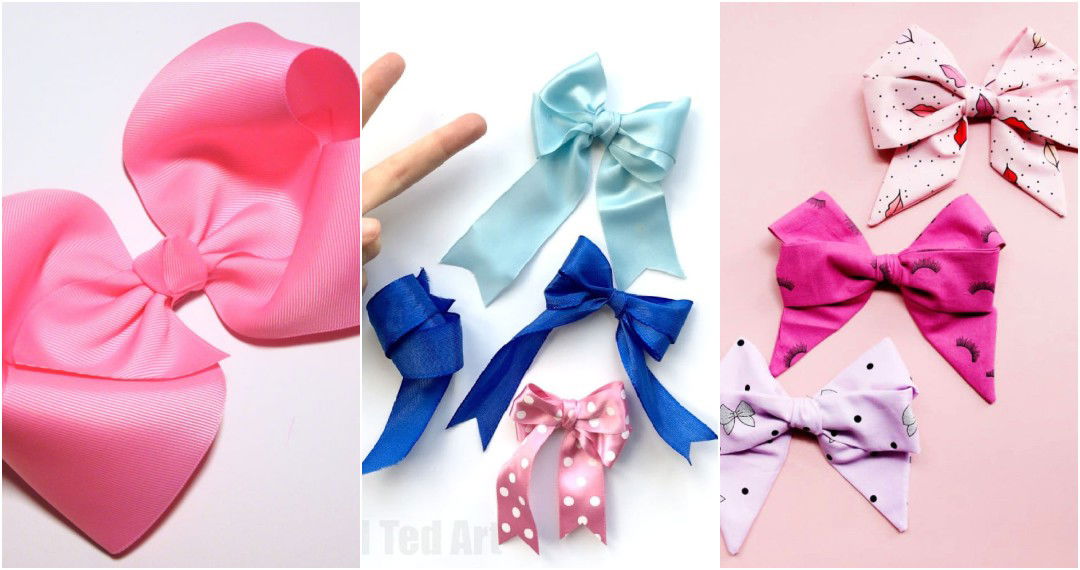
DIY JOJO Bows: JOJO bows are all the rage for little girls and these easy DIY JOJO bow tutorials are full of easy to follow steps that you can use to make bows for your daughter, niece, or best friend.
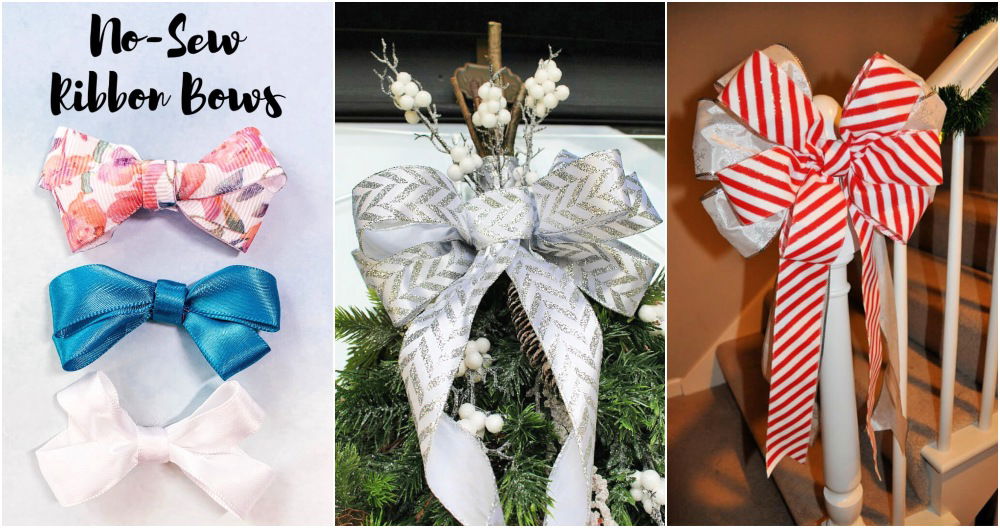
DIY Ribbon Bows: Learn how to make an easy ribbon bow with these easy, step-by-step tutorials. These are perfect for weddings, parties, and gifts.
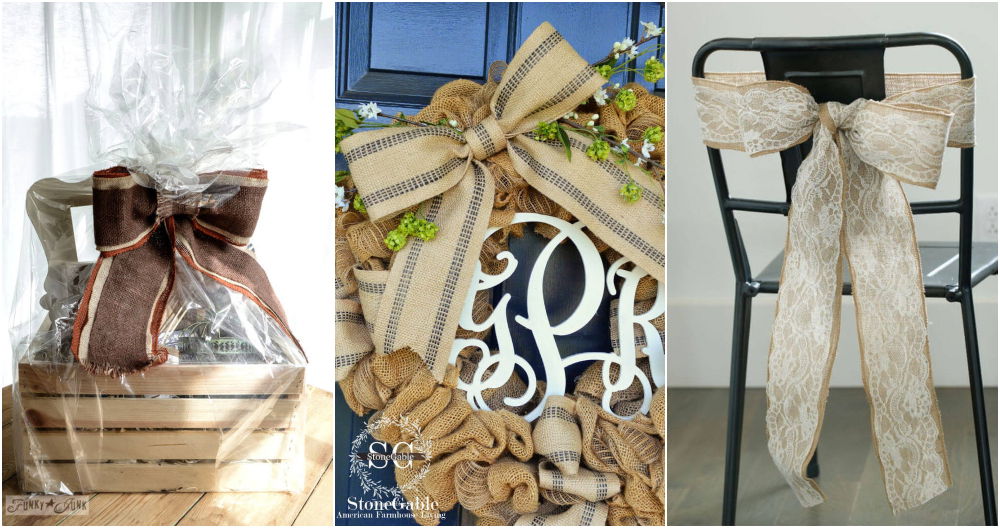
DIY Burlap Bows: Learn how to make a burlap bow for your next DIY project. This simple and easy bow only takes a few minutes to make and is perfect for adding that extra personal touch to your gift or décor project.
Crochet Bow Patterns: With these easy patterns you can find the perfect crochet bow pattern to make a cute accessory for any occasion. These patterns are all free, and they are categorized by skill level and style.
Gift Wrapping Ideas: Find the perfect way to wrap your presents with these unique wrapping ideas, you'll have an easy time decorating your gifts with hard work and a little help from your friends!
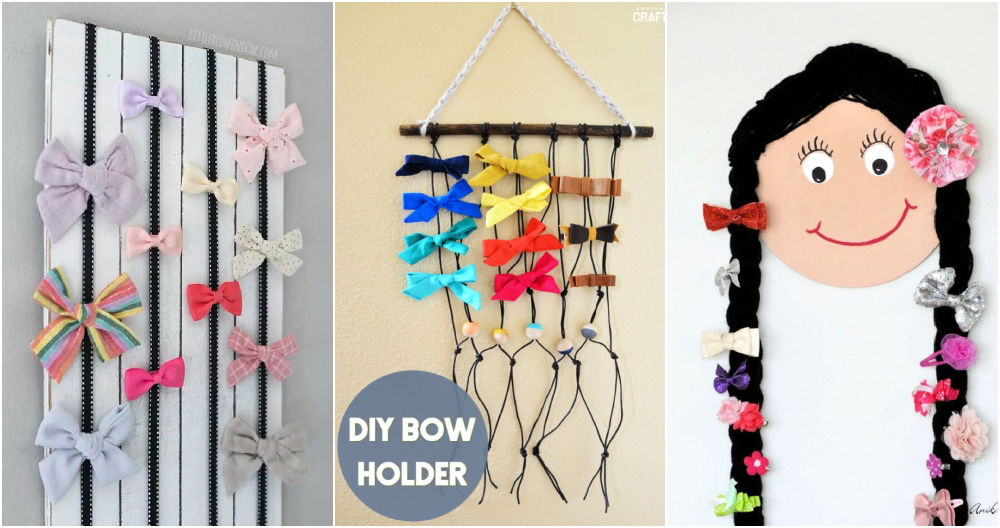
DIY Bow Holder Ideas: This list of easy DIY bow holder ideas will help you find the perfect solution to your storage needs. There are many different styles and types of holders to choose from, so customize it to fit your space!
DIY Tutu Skirt: Bring out the creative side in you and make amazing DIY tutu skirts for your upcoming costume party or special event. Check out these easy-to-follow DIY tutu skirt ideas and learn how to make your own beautiful tutus today!
Conclusion:
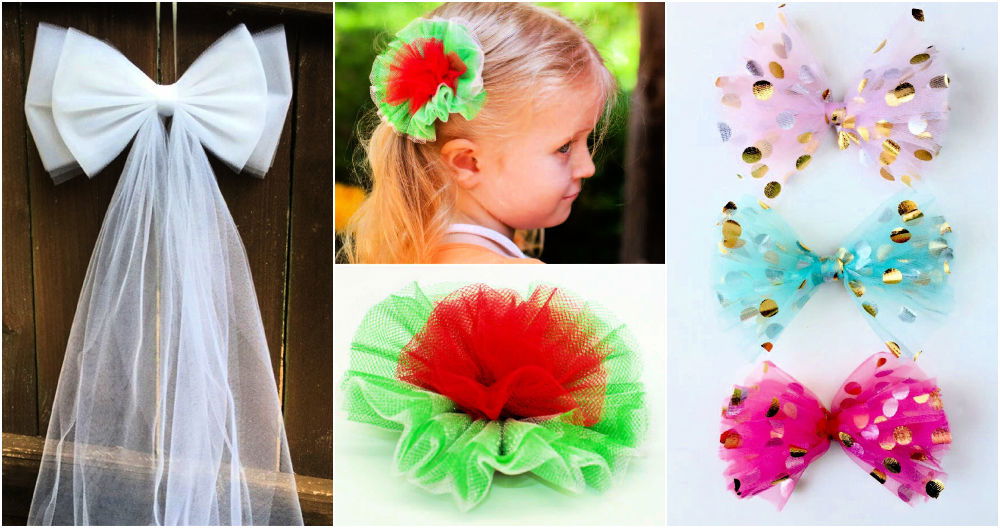
Wrapping up our guide on 15 DIY tulle bow ideas to make your own tulle bows, it's clear that making beautiful tulle bows is simple and offers endless opportunities for customization and creativity. From choosing vibrant colors and adding sparkles to experimenting with different sizes and textures, these DIY projects allow you to inject a personal touch into your creations. With detailed steps, troubleshooting tips, and care instructions, you're well-equipped to make stunning tulle bows that can elevate any outfit, gift, or decor. So grab your tulle and start crafting; the possibilities are truly limitless!


