Making a quilt can be a fulfilling activity. This guide will walk you through how to make a quilt, from selecting your fabrics to stitching the final binding. Whether starting out or refreshing your skills, quilting can be an enjoyable process that produces a cozy, unique item. This journey covers basic to intermediate techniques to ensure you finish with confidence.
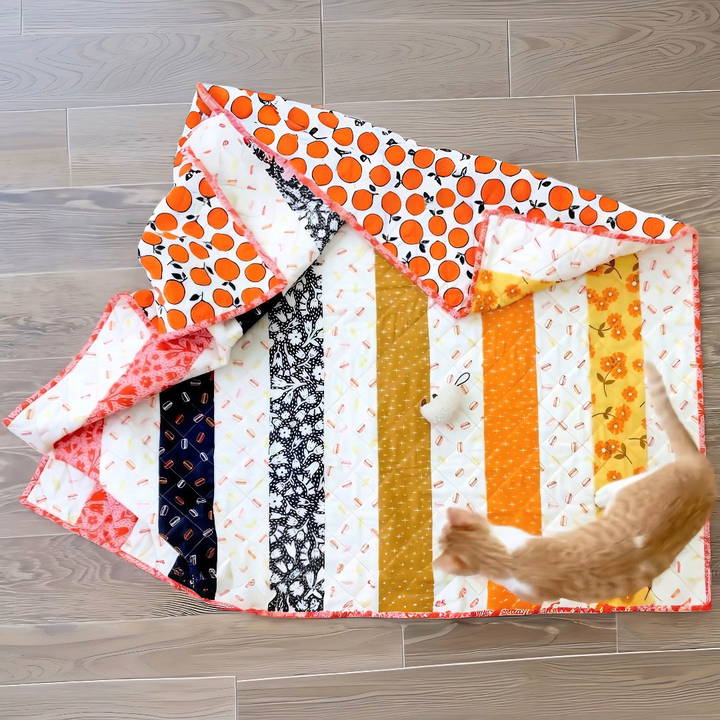
Quilting for beginners can seem daunting, but breaking it down into simple steps makes it manageable. Start with choosing your pattern and gathering materials. Then, we will outline the cutting, piecing, and sewing steps.
By following the guide below, you will understand the basics and develop a solid foundation in quilting.
Materials Needed
- Fabric (various colors and background): The main elements of your quilt.
- Cutting Mat (18x24 inches): Provides a safe cutting surface.
- Rotary Cutter (45mm): For precise cutting of fabric.
- Ruler (3 inches wide): Helps to measure and cut straight lines.
- Quilting Pattern: Available on my website, it provides cutting and assembly instructions.
- Sewing Machine: Essential for stitching your quilt pieces together.
- Batting: Adds warmth and volume to your quilt.
- Safety Pins: These are used to secure the layers of the quilt during assembly.
- Thread: For sewing and quilting.
- Iron and Ironing Board: To press your fabric and seams.
Step by Step Instructions
Learn how to make a quilt with our easy step-by-step instructions. From selecting fabric to finishing touches, make a beautiful quilt today!
Step 1: Selecting and Preparing Fabric
First, gather your fabric. You need both colorful and background fabrics. Download the free pattern from my website, which will guide you on the specific amounts. For this quilt, we won't pre-wash the fabric to maintain its crispness.
Step 2: Cutting the Fabric
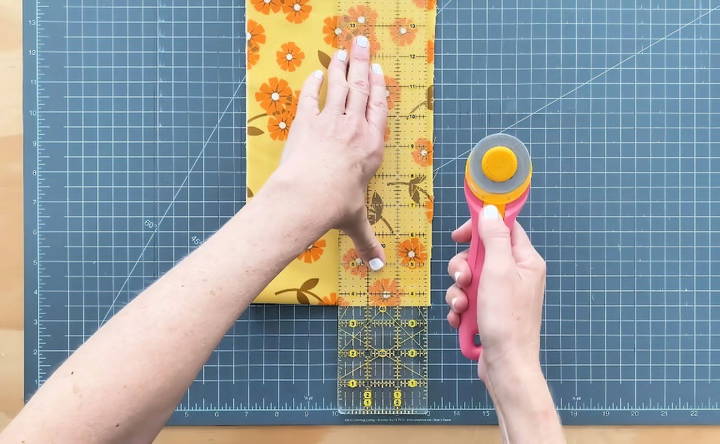
Lay your fabric on the cutting mat, and ensure it's folded in half. Using the rotary cutter and ruler, cut the required strips as indicated in the pattern. For accurate cuts, apply firm, even pressure with the rotary cutter, slicing away from your body.
Tips:
- Align your ruler with the mat's markings.
- Cut multiple layers at once to save time.
- Always start with a clean edge.
Step 3: Assembling the Quilt Top
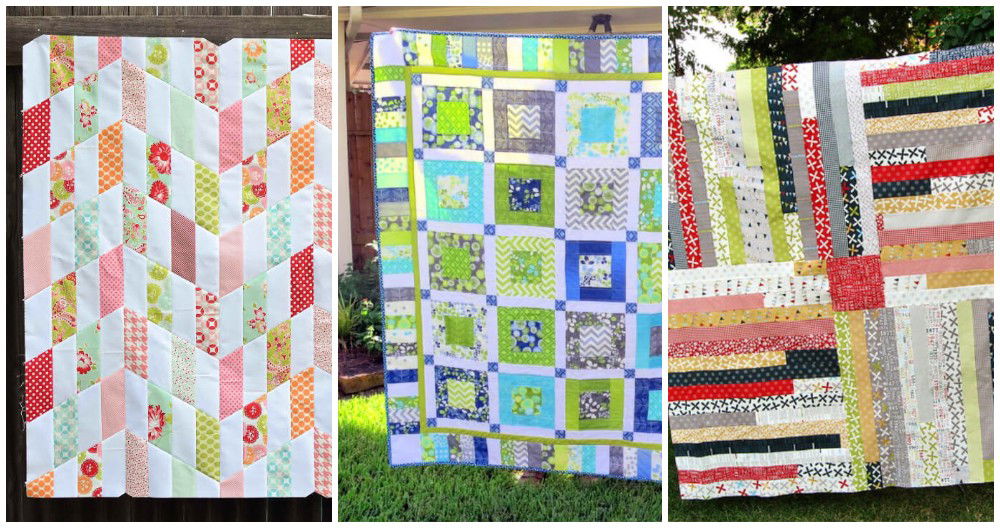
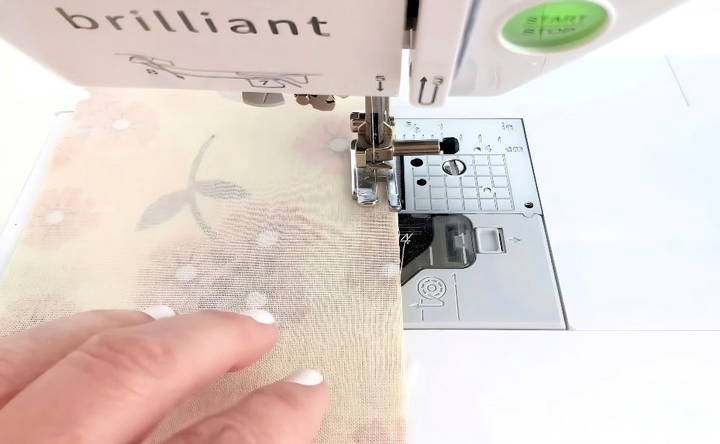
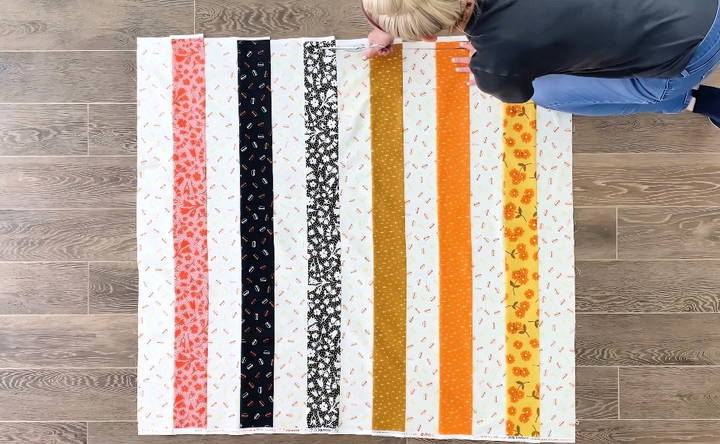
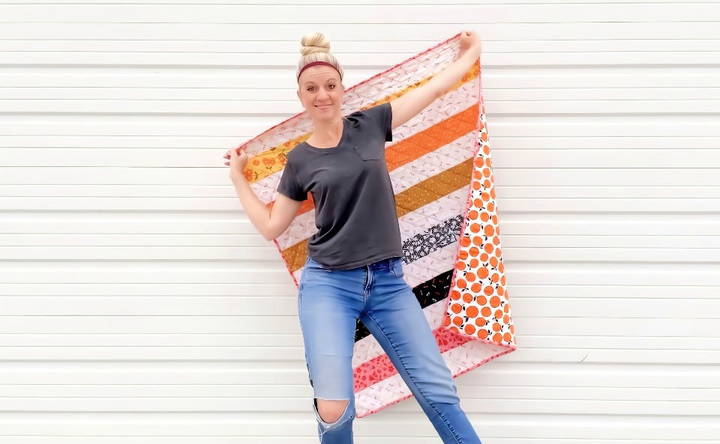
Arrange the strips on a flat surface according to the pattern. Start with a background stripe, followed by a colorful stripe, and continue this pattern. Sew the strips together with a ¼ inch seam allowance. A quarter-inch foot can make this step easier.
Tips:
- Pause periodically to align the fabric.
- Press the seams as you go to keep them flat and neat.
Step 4: Pressing the Quilt Top
Press all seams either open or to the side, whichever you prefer. Personally, I press mine to the side, usually towards the darker fabric to prevent seams from showing through lighter fabrics.
Step 5: Adding Batting and Backing
Select your batting and backing fabric. Lay the backing fabric flat on the floor with the right side facing down. Place the batting on top, followed by the quilt top, right side facing up. Smooth out any wrinkles and use painter's tape to secure the backing and batting.
Tips:
- Avoid stretching the fabric.
- Ensure the batting and backing are slightly larger than the quilt top.
Step 6: Basting the Quilt
Use safety pins to baste all three layers together. Place the pins about a fist-width apart to prevent shifting while quilting.
Step 7: Quilting
Decide on a quilting pattern. Using a quilting ruler and fabric marker, draw your chosen design on the quilt top. I opted for diagonal grid lines. Begin sewing in the center of the quilt, working outwards to avoid bunching.
Tips:
- Test your fabric marker to ensure it doesn't leave permanent marks.
- Use a walking foot if available; it helps feed all the layers through evenly.
Step 8: Trimming and Binding
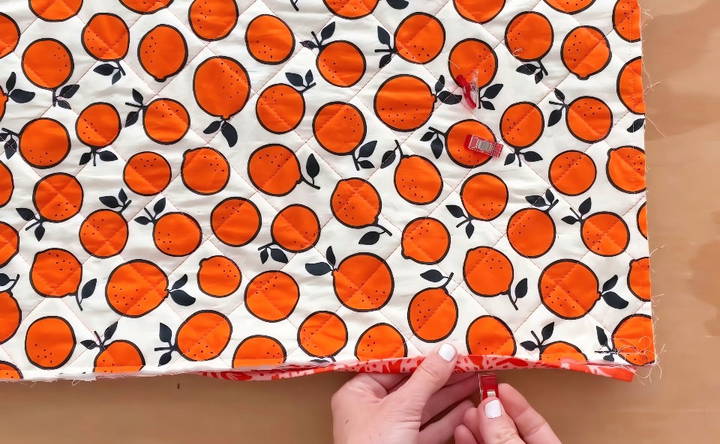
Once quilting is done, square up the edges by trimming the excess batting and backing. Now, make the binding. Cut strips of fabric 2.5 inches wide, then sew them together end to end using diagonal seams for less bulk. Press this long strip in half lengthwise.
Tips:
- Measure the perimeter of your quilt to determine the length of binding needed.
- Leave a tail at the beginning for joining the ends.
Step 9: Attaching the Binding
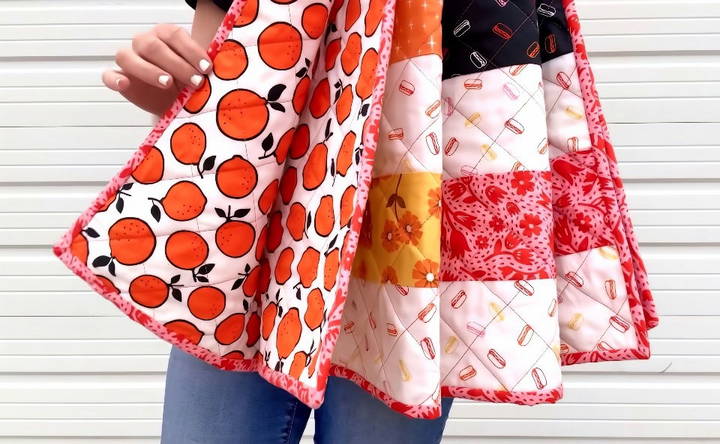
Sew the binding to the front of the quilt first, mitering the corners as you go. Flip the binding to the back and hand sew using a blind stitch, or machine sew if you prefer.
Tips:
- Leave about 10 inches free at the start to join the ends later.
- For mitered corners, fold the binding up and back down at a 45-degree angle.
Step 10: Finishing Touches
Once the binding is secured, you're done! Take a moment to admire your beautiful quilt. It's an amazing feeling to see all the pieces come together into a cozy, handmade item.
Advanced Techniques
For those who have mastered the basics of quilting and are ready to explore more complex techniques, this section delves into advanced methods that can take your quilting to the next level.
Precision Cutting and Piecing
Advanced quilting begins with precision. Ensure your cuts are exact by using a rotary cutter and a quilting ruler. When piecing, consider using a 1/4-inch presser foot for consistent seam allowances.
Complex Block Construction
Explore intricate block designs like Mariner's Compass or Bargello patterns. These require careful planning and precise sewing but result in stunning visual effects.
Appliqué Techniques
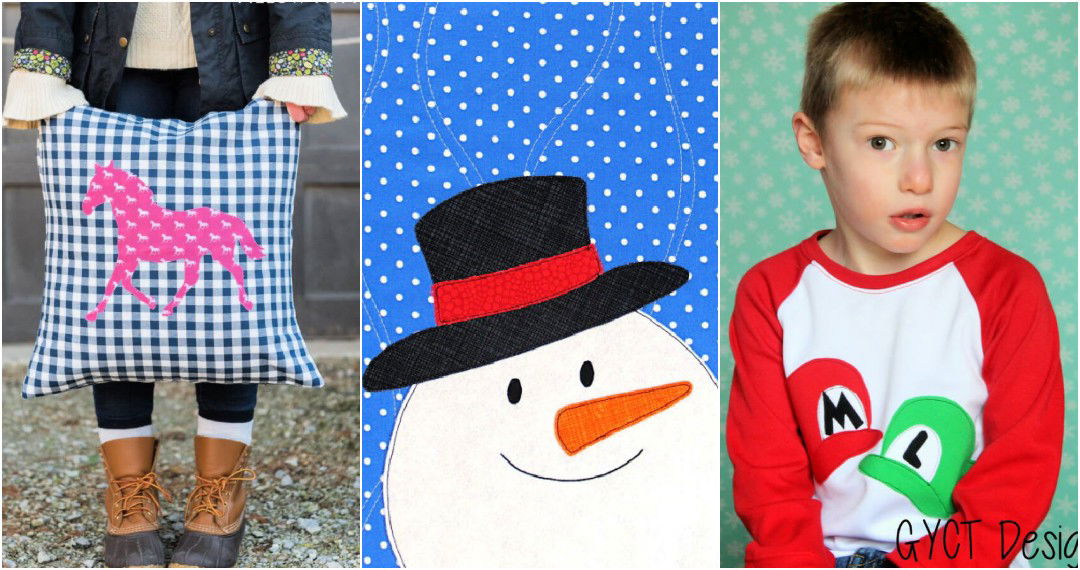
Appliqué adds depth and texture to your quilts. Try needle-turn appliqué for a handcrafted look, or use fusible webbing for a quicker method. Machine appliqué with a satin stitch can also produce durable and decorative results.
Free-Motion Quilting
Free-motion quilting allows you to stitch intricate designs. Practice on scrap fabric to develop a steady hand. Use quilting gloves for better grip and control.
Advanced Embellishments
Incorporate beads, sequins, or embroidery to add sparkle and detail to your quilt. These embellishments can be hand-sewn or attached using a machine.
Quilting with Rulers
Quilting rulers can help make consistent and complex quilting patterns. Use a longarm quilting machine with specialized rulers for designs like waves, circles, or chevrons.
Mixed Media Quilting
Combine quilting with other art forms such as painting or photography. Transfer photos to fabric, or hand-paint your quilt blocks before assembling them.
Binding Techniques
For a polished finish, learn advanced binding techniques like flanged binding or piped binding. These methods add a decorative edge to your quilts and can be coordinated with the quilt's color scheme.
Use advanced techniques to make beautiful quilts that display your skill and creativity.
FAQs About How to Make a Quilt
Discover the answers to our comprehensive FAQs about how to make a quilt. Perfect guide for both beginners and seasoned quilters!
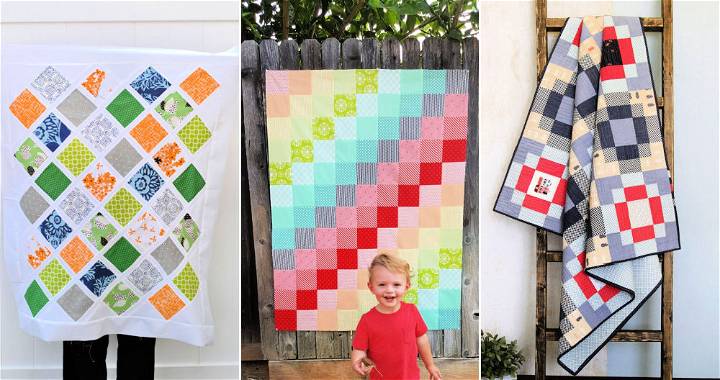
Select a quilt pattern that matches your skill level. Beginners may start with simple patchwork patterns using pre-cut fabric squares (charm packs) to skip the cutting part. When choosing fabric, consider the colors and patterns that reflect your personal style. Pre-washing your fabrics is recommended to prevent shrinking and color bleeding.
Once the quilt top is ready, you’ll create a ‘quilt sandwich’ by layering it with batting and backing fabric. Here’s the process:
Lay the backing fabric down first, right side down.
Place the batting on top of the backing fabric.
Add the quilt top on the batting, right side up.
Baste the layers together using pins, spray adhesive, or hand basting to keep them from shifting during quilting.
After quilting the layers together, you'll need to bind the edges to finish your quilt. Here's a simplified method:
Trim the excess batting and backing fabric to align with the quilt top.
Cut strips of fabric for the binding, typically 2.5 inches wide.
Sew the strips together end-to-end to make one long strip.
Fold the strip in half lengthwise, wrong sides together, and press.
Sew the binding to the quilt's edge, fold it over to the back, and hand stitch or machine stitch in place.
Quilting is the process of stitching through all three layers of your quilt to hold them together. Here’s a basic overview:
Choose your quilting method: You can quilt by hand, use a regular sewing machine, or a long-arm quilting machine.
Select a quilting design: This could be straight lines, free-motion designs, or following the patterns on your fabric.
Start quilting: Begin from the center and work your way out to prevent puckering. Use a walking foot for straight lines or a darning foot for free-motion quilting.
Proper care will extend the life of your quilt. Follow these tips:
Wash sparingly: Quilts don't need to be washed often. When you do, use a gentle, dye-free detergent.
Dry carefully: Air dry your quilt flat or tumble dry on a low setting.
Store properly: Fold or roll your quilt to avoid permanent creases. Store it in a breathable cotton bag away from direct sunlight to prevent fading.
Conclusion:
In conclusion, learning how to make a quilt can be a satisfying and creative process that anyone can enjoy. From selecting the fabric to adding the finishing touches, following these steps ensures you'll make a beautiful quilt.


