Making an eye-catching DIY shiplap wall doesn’t have to drain your wallet. With the right approach and a bit of creativity, transforming any room in your home with stylish shiplap can be both affordable and satisfying. This guide will walk you through 25 cheap DIY shiplap wall ideas that prove elegance and chic design don't always come with a high price tag. From selecting cost-effective materials to the final touches, learn how to make your shiplap project a reality.
Embarking on a DIY shiplap wall project might seem daunting at first, but with our step-by-step advice, you’ll see it's quite achievable. We'll cover everything from choosing your materials and preparing your wall, to the essential cutting, sanding, and installing your shiplap, ensuring your project is a success. Let's dive into making that stylish shiplap wall on a budget, compelling you to explore the next steps for bringing your vision to life.
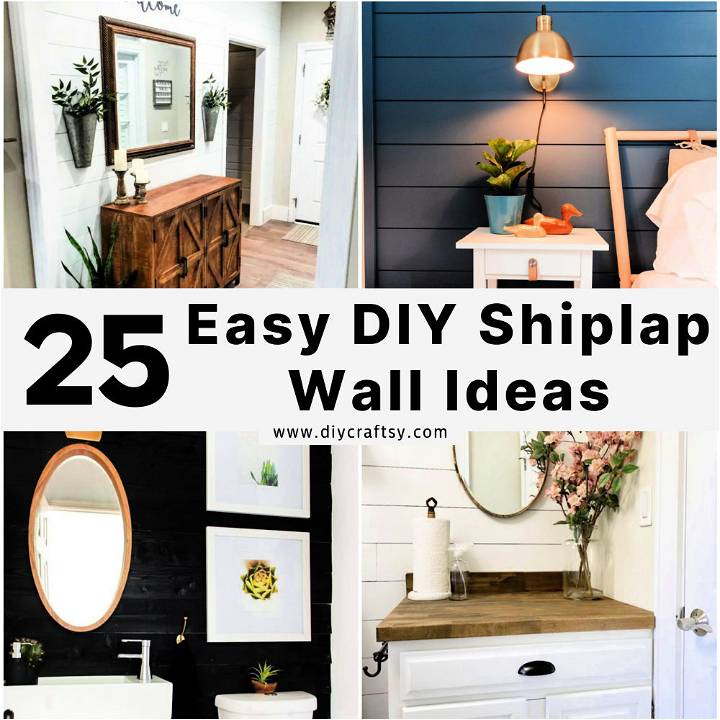
Why Choose DIY Shiplap Walls?
Choosing to DIY shiplap walls can transform your space uniquely and affordably. Here's why it's a great choice:
- Cost-Effective: Traditional shiplap can be pricey. DIY methods often involve cheaper materials like plywood, saving you money without sacrificing style.
- Customization: When you do it yourself, you control the look. Whether you prefer a rustic farmhouse vibe or a sleek, modern finish, you can customize the width, color, and finish of your shiplap to match your vision.
- Satisfaction: There's a unique sense of accomplishment in completing a home improvement project with your own hands. Watching your space transform step by step is rewarding.
- Versatility: Shiplap can be installed in almost any room, enhancing walls, ceilings, or even as a decorative accent. Its adaptability means it can fit into various design schemes, from coastal to country and beyond.
- Skill Building: Tackling a shiplap wall project can improve your DIY skills. From measuring and cutting to painting and installing, each step helps you become more proficient in home improvement tasks.
DIY shiplap walls offer a perfect blend of affordability, personalization, and satisfaction. Whether you're a seasoned DIYer or a beginner looking to dip your toes into home improvement, making your own shiplap walls is a rewarding and practical project.
DIY Shiplap Wall Tutorial: How to Plank Your Walls the Inexpensive Way!
Shiplap walls can add a timeless and cozy feel to any space, and best of all, it doesn't have to break the bank. If you're ready to transform your room with shiplap, here's a simple, step-by-step guide to help you through the process, even if you're a beginner. Get ready to give your walls a makeover with this budget-friendly project.
What You'll Need
- 4 x 8-foot sheets of quarter-inch plywood: Typically costs around $15 each at stores like Lowe's or Home Depot, which will also cut them into strips for you.
- Saw: For trimming your plywood strips to the correct length.
- Pneumatic nail gun and nails: An 18 or 16 gauge will work perfectly.
- Level: Essential for keeping your boards straight.
- Spacers: Nickels make great spacers to create even gaps between boards.
- Spackle and putty knife: For covering nail holes.
- Sanding tool: An electric sander will save you time and effort.
- Caulking: To finish the seams for a smooth look.
- Paint: Choose your favorite color to match your decor.
- Optional: Stud finder, jigsaw, or skill saw and arboreal drill bits for more complex cuts.
Installation Steps
- Prepare Your Boards: Sand any rough edges on your plywood to avoid splinters. An electric sander like the Black & Decker mouse hand sander can make this task easier.
- Mark Your Studs: Use a stud finder to locate and mark the studs along your wall. This ensures that your shiplap will be securely attached.
- Start Installing: Begin at the bottom of the wall. Measure the length and cut your first board accordingly. Use your level to make sure it's perfectly straight. Floors and walls can be uneven, so it's crucial not to skip this step.
- Add the Boards: Place spacers (nickels) on top of the installed board, add the next board on top, and secure it with the nail gun into the marked studs. Measure each piece before cutting to ensure a perfect fit.
- Work Your Way Up: Continue placing boards, using spacers and verify occasionally with the level. When you reach areas like windows or outlets, measure, mark, and cut the boards to fit using a jigsaw or skill saw if necessary.
- Final Touches: Once all boards are up, apply spackle to cover nail holes and caulk the seams for a smooth finish. After it's dry, lightly sand the spackle.
- Paint: Apply your chosen paint color. A short handle brush can make the job easier.
Tips for Success
- Pre-paint the wall in a similar color to your shiplap. This prevents wall color from peeking through the gaps.
- Keep checking that your boards are level as you go to avoid a slanted look.
- Customize the width of your shiplap strips to your preference. The video tutorial uses just under 8 inches for a thicker look.
Video Tutorial
For a step-by-step video tutorial, watch this helpful YouTube video.
It pairs exceptionally well with this written guide, supplying a visual representation of each technique in a manner that's easy to follow and understand.
Adding shiplap to your walls doesn't have to be complicated or expensive. With patience and the right tools, you can achieve a beautiful transformation that adds character and warmth to any room. Whether you're updating your living room, bathroom, or bedroom, this DIY shiplap wall project is a fantastic way to get the look you love without spending a fortune. Happy DIYing!
FAQs on DIY Shiplap Walls
Making a DIY shiplap wall can be an exciting project, but it might raise some questions. Here’s a helpful guide to address some of the most common queries.
What materials do I need for a DIY shiplap wall?
For a DIY shiplap wall, you will primarily need:
- Plywood sheets or pre-cut planks
- Construction adhesive
- Finishing nails
- Wood filler
- Sandpaper
- Paint and primer
- Tools such as a saw, level, sander, and paintbrush or roller
Can I install shiplap directly over drywall?
Yes, you can install shiplap directly over drywall. It’s important to ensure the wall is smooth and clean before installation. Use construction adhesive and nails to secure the shiplap planks onto the wall for added stability.
How do I cut the plywood for shiplap?
To cut plywood for shiplap:
- Measure the height or width of the wall to determine the size of the strips.
- Mark these measurements on the plywood sheet.
- Use a circular saw or table saw to cut the plywood into strips of your desired width.
What's the best way to paint shiplap?
For painting shiplap:
- Fill any nail holes with wood filler and let it dry.
- Sand the filled areas until smooth.
- Apply a primer suitable for the wood type.
- Once the primer is dry, paint the shiplap using a semi-gloss or satin finish paint for durability. Use a brush or roller for even coverage.
How do I handle outlets and switches on a shiplap wall?
When dealing with outlets and switches:
- Turn off the power to the outlets/switches at the circuit breaker.
- Remove the outlet or switch covers.
- Install the shiplap around the outlet or switch, cutting the planks to fit as necessary.
- Extend the outlet or switch using an electrical box extender if needed.
- Reattach the cover, ensuring it sits flush against the new shiplap surface.
Can I install shiplap in a bathroom?
Yes, you can install shiplap in a bathroom. However, it’s essential to use a moisture-resistant wood or apply a water-resistant sealant to protect the wood from humidity and water damage.
How can I achieve a gap between shiplap planks?
To achieve a consistent gap between shiplap planks, use a small spacer like a nickel or a set of spacers during installation. Place the spacer between the planks as you nail them in place to maintain even spacing throughout.
What’s the best way to cut costs on a DIY shiplap project?
To cut costs on a DIY shiplap project:
- Choose more affordable materials like plywood instead of genuine wood planks.
- Do the cutting and installation work yourself to save on labor costs.
- Shop around for materials and tools, looking for sales or using second-hand tools.
How do I acclimate shiplap planks before installation?
To acclimate shiplap planks before installation:
- Bring the wood into the room where it will be installed.
- Leave it there for at least 48 hours to adjust to the room’s temperature and humidity levels.
This step helps prevent future expansion or contraction of the wood once installed.
Making a shiplap wall on your own can not only enhance the beauty of your home but also gives you the satisfaction of completing a project with your own hands. With the right preparation and care, you can achieve professional-looking results and transform any space.
25 Cheap DIY Shiplap Wall Ideas (How to Make Shiplap)
Discover 25 budget-friendly DIY shiplap wall ideas to make a charming rustic look in your home. Learn how to make shiplap effortlessly.
1. Cheap DIY Shiplap Walls
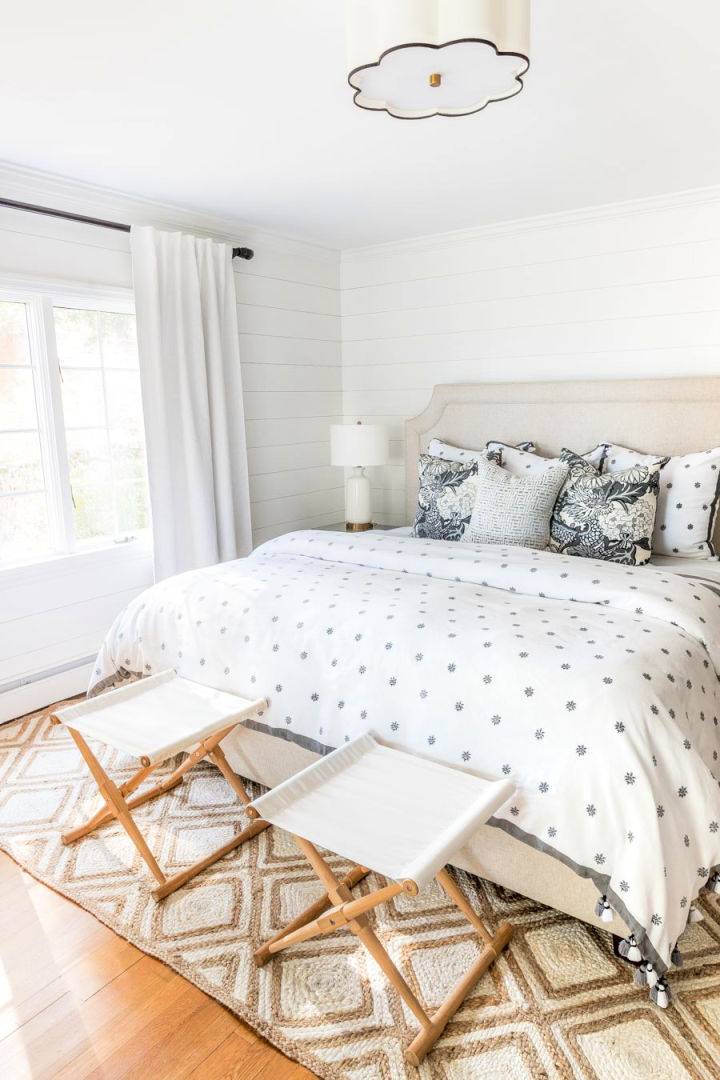
Transform your walls with a modern twist! Dive into our tutorial on crafting shiplap walls without breaking the bank. We guide you from start to finish, ensuring you nail the chic, authentic shiplap look effortlessly. For those who prefer a cost-effective yet stylish solution, our method replaces expensive traditional shiplap with economical plywood strips.
This approach not only saves you money but spares you from the hassle of removing and reinstalling molding. Peek into our useful pre-installation tips, like painting your walls for seamless board alignment and the perfect cut dimensions for a professional appeal. Discover this ingenious DIY shiplap method by clicking here: Driven by Decor.
2. How to Make Shiplap Wall
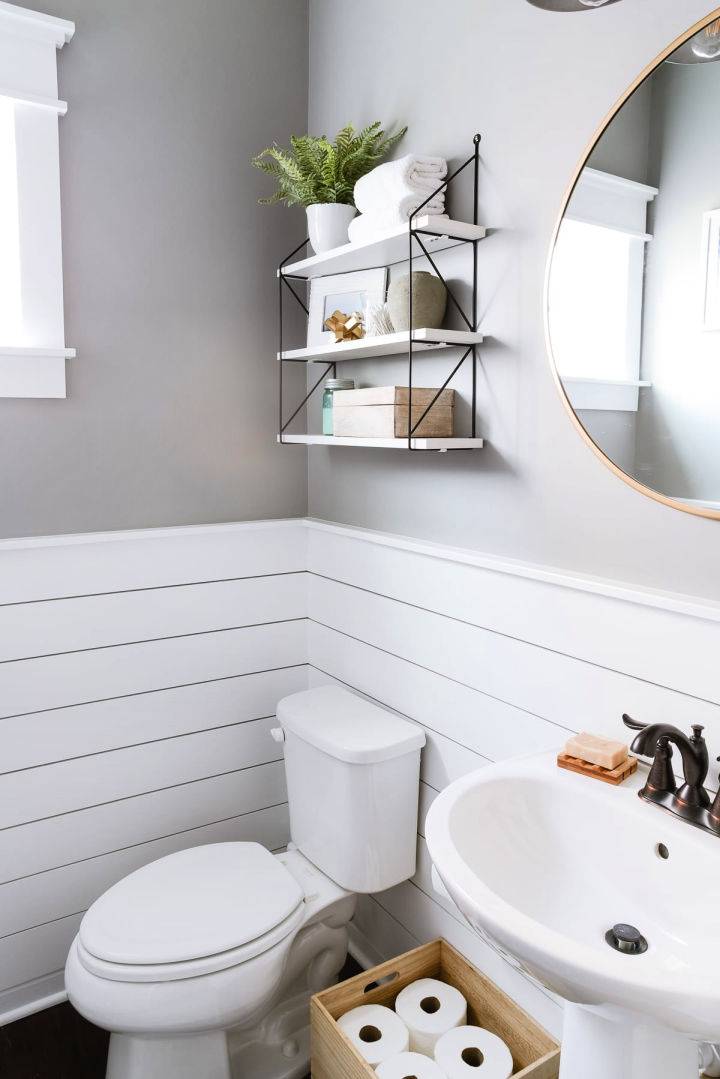
Transform your space effortlessly with our easy-to-follow DIY Shiplap Wall guide. Ideal for those eager to refresh their home decor without breaking the bank, our tutorial at Christene Holder Home walks you through each step for making a stunning modern shiplap wall treatment. Forget expensive materials; with simple supplies like plywood and paint, you can achieve a clean, textured look that adds depth and character to any room. Start your DIY journey today and marvel at the transformation a shiplap wall can bring to your home.
3. Make Your Own Shiplap Wall
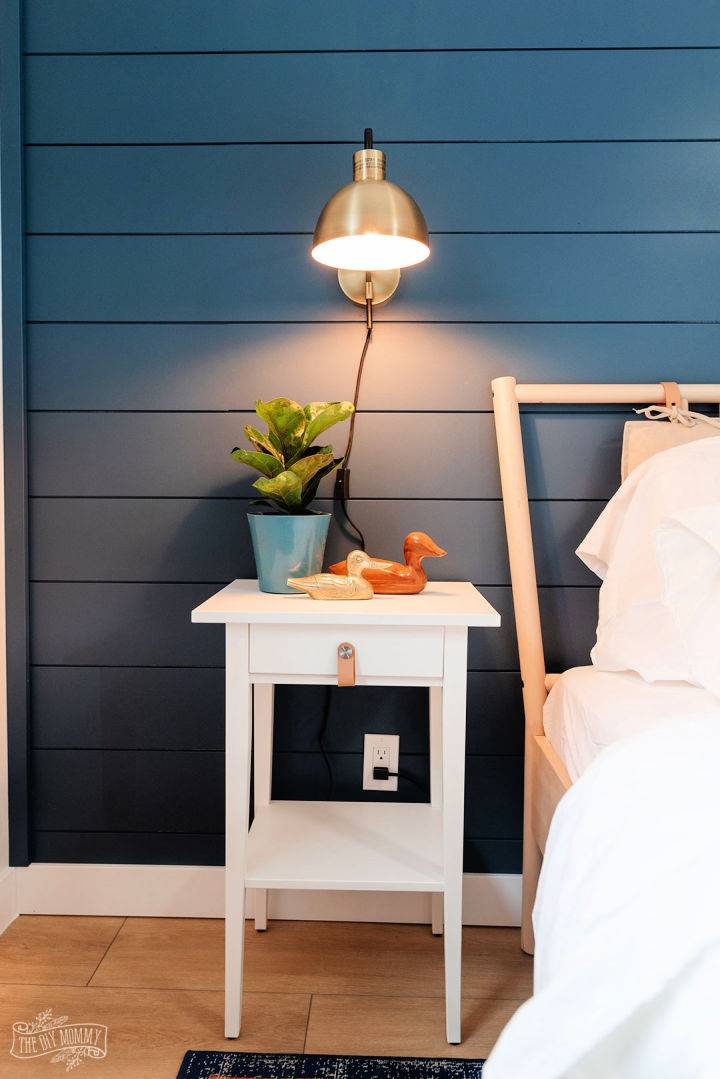
Dive into the charming world of home decor with a rustic twist by making your very own shiplap wall following a step-by-step tutorial. Perfect for adding texture and a cozy ambiance to any room, this guide simplifies the process, making it achievable for DIYers of all levels. Learn how to select materials, prepare your walls, measure and cut with precision, and install your shiplap boards flawlessly. Plus, discover finishing touches that elevate your project to professional heights. Embrace the modern coastal or farmhouse vibe today and transform your space with ease.
4. Make Cheap Shiplap Wall
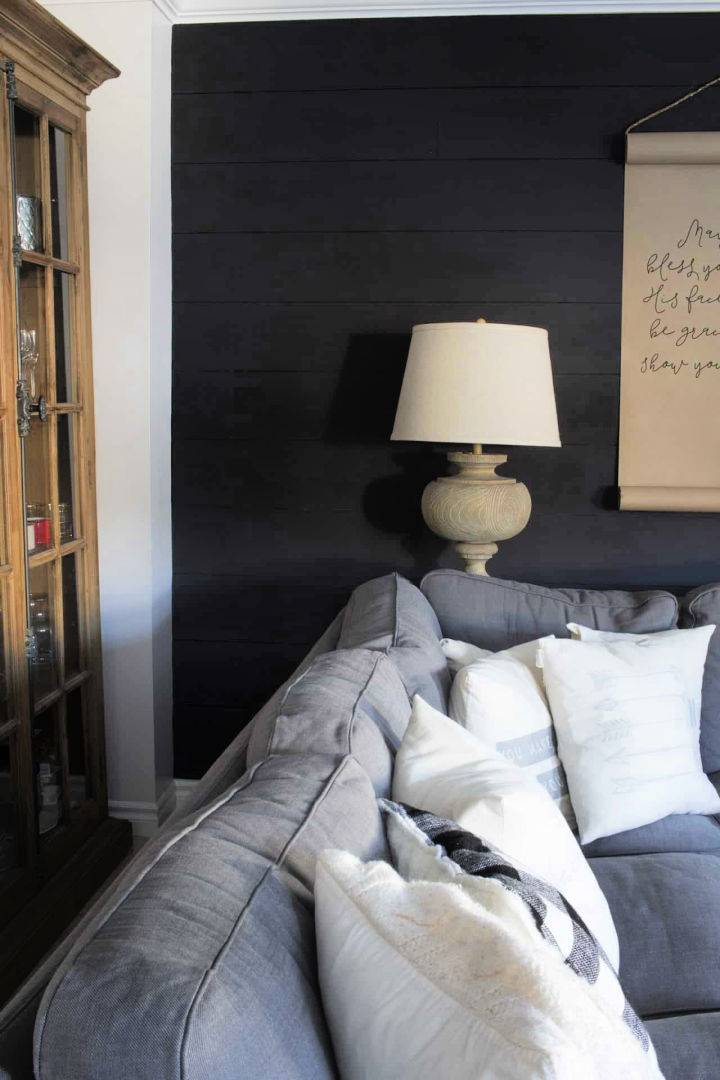
Transform your living space with a charming shiplap wall without breaking the bank! Our easy-to-follow guide at HomeMadeLovely.com shows you how to DIY your way to a cozy, stylish room. From sourcing affordable plywood to the final painting, we've got you covered every step of the way. Dive into the process, and soon you'll be admiring the warmth and texture of your beautifully handcrafted shiplap wall. It's perfect for the holiday season or any time of year, bringing a touch of rustic elegance to your home.
5. Homemade Vertical Shiplap Wall
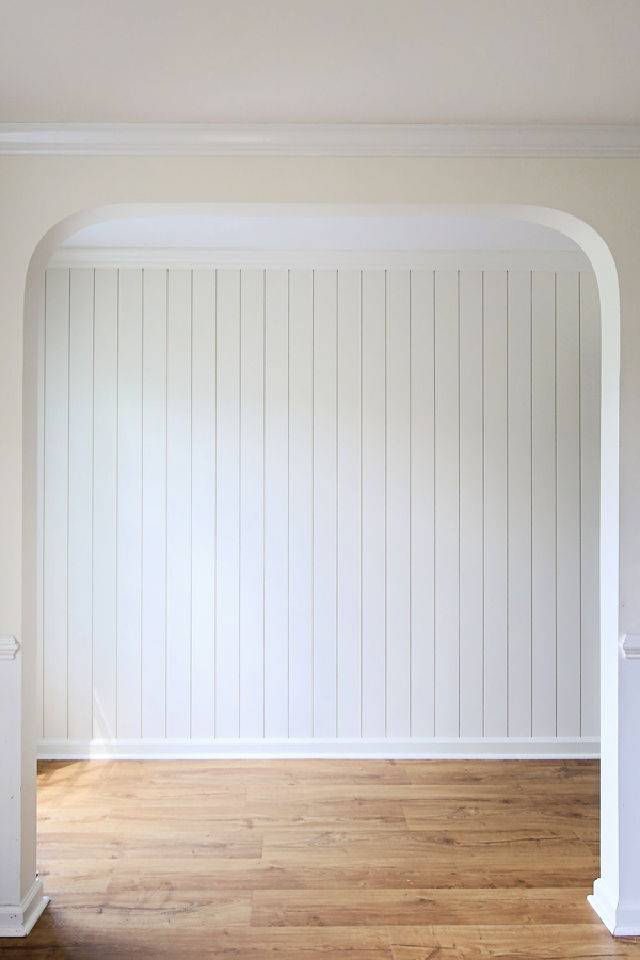
Transform your space with a chic DIY vertical shiplap wall! Ideal for adding a modern flair to any room, this guide by Angela Marie Made provides step-by-step instructions for using real shiplap boards to make a floor-to-ceiling accent wall. Perfect for those looking to enhance their home's appeal without breaking the bank, this tutorial even includes tips for using affordable plywood for larger projects. Emphasize the elegance of your home with this straightforward and stunning project. For the full tutorial, visit Angela Marie Made today and embark on your next home improvement journey.
6. Shiplap Wall – Step by Step
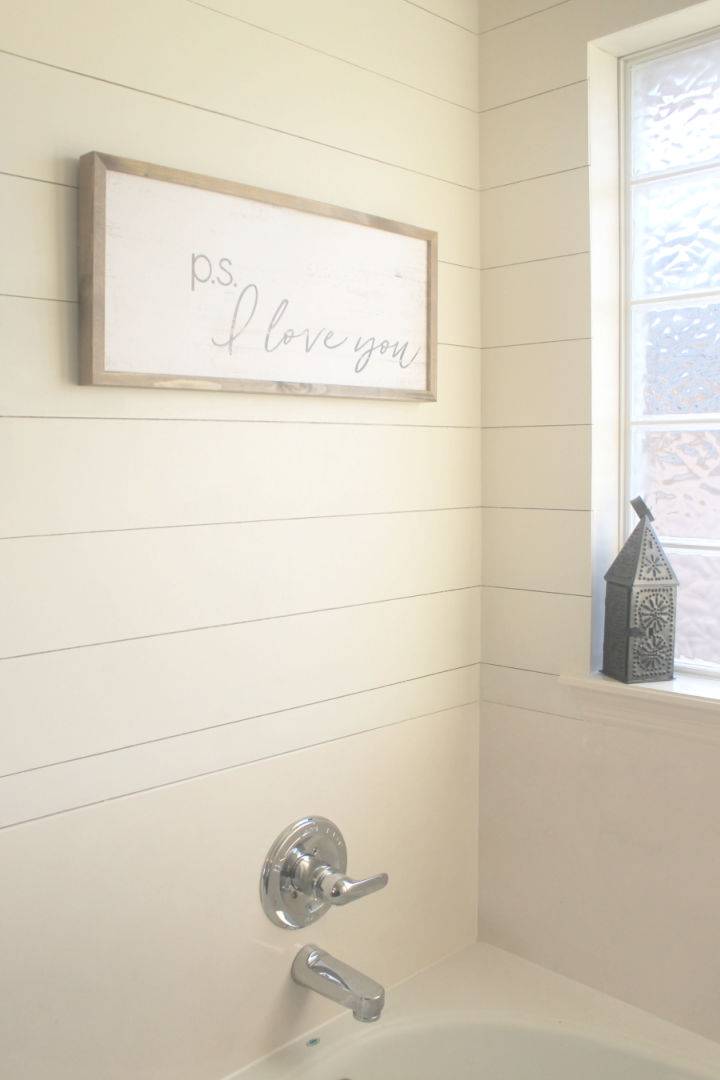
Transform your home with a warm, farmhouse ambiance using this straightforward Easy DIY Shiplap Wall tutorial. Dive into a project that is both cost-effective and engaging, perfect for adding a cozy feel to any room. With a detailed supply list and step-by-step guidance, you're well on your way to making a stunning feature wall. Discover how simple it is to bring this chic and timeless design into your home, all while keeping the process budget-friendly. Start your transformation today and revel in the beauty of shiplap.
7. Easy and Affordable Modern Shiplap
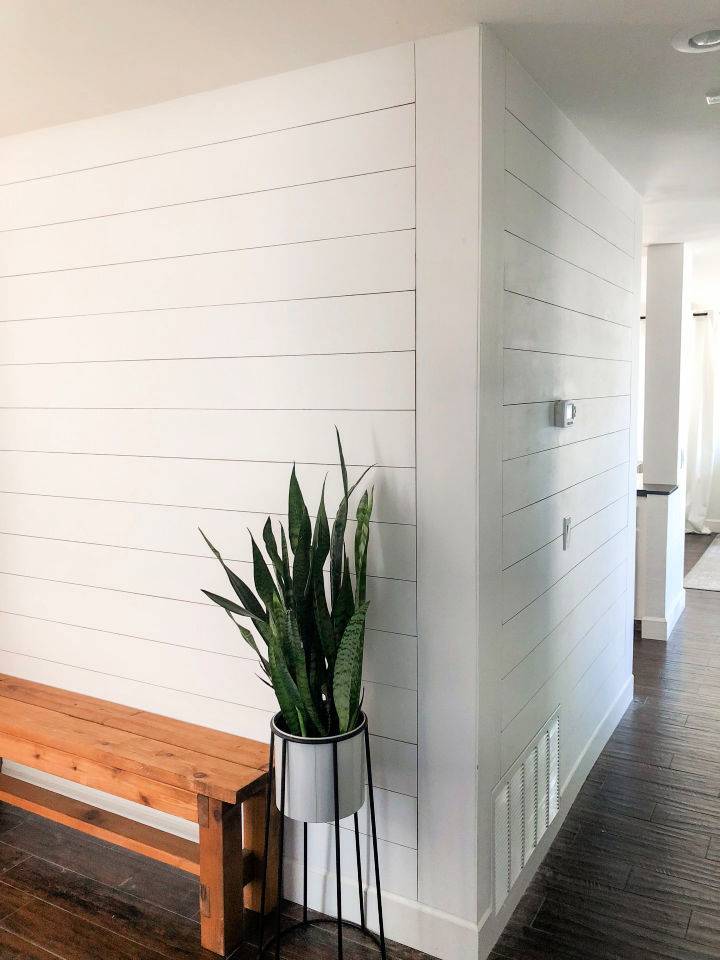
Elevate your home aesthetics with an Affordable DIY Modern Shiplap guide from Kristy By The Sea. Transform any space into a bright, modern haven with this budget-friendly project. Using sanded plywood for a sleek look, this tutorial walks you through each step, ensuring success. Perfect for DIY enthusiasts aiming to refresh their home's style without breaking the bank. Discover how to make stylish, modern shiplap with tips, costs, and personal insights.
8. Shiplap Wall With Ripped Plywood
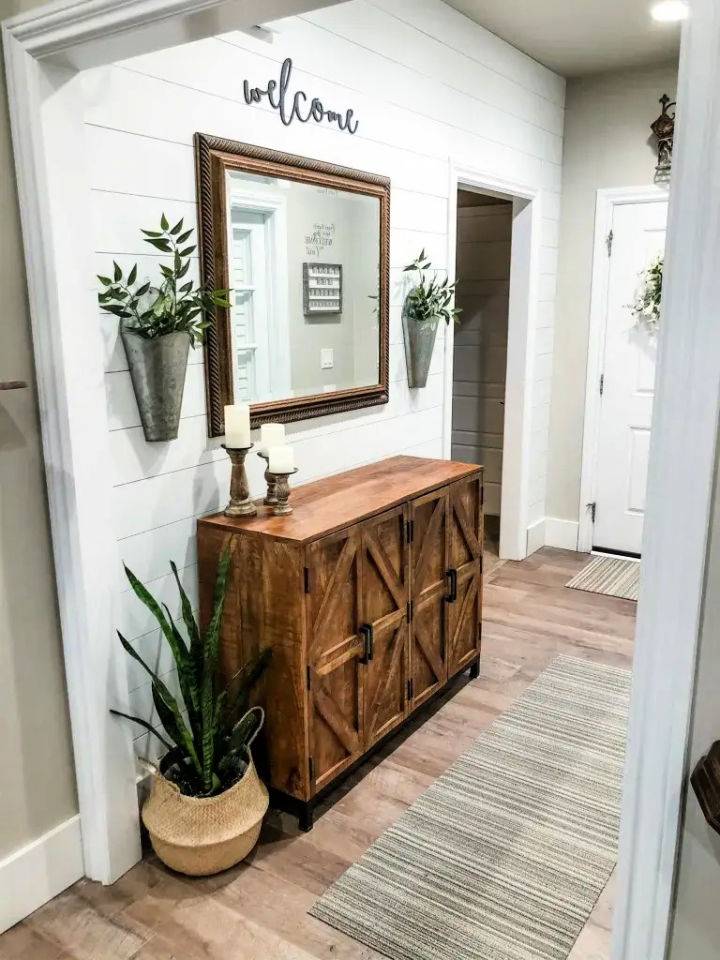
Transform your space with a touch of rustic charm! Follow the journey to a gorgeous DIY Shiplap Wall, where City Girl Meets Farm Boy guides you through each step. From painting to installation, discover tips for making your own shiplap wall—a project that’s achievable even for solo DIYers. Learn how to find studs, ensure proper spacing between boards, and apply the final paint touches for a stunning transformation. Get all the details, tools, and materials needed to bring this enduringly stylish look to your own home. Start your DIY shiplap adventure today!
9. DIY Shiplap Wall for Under $40
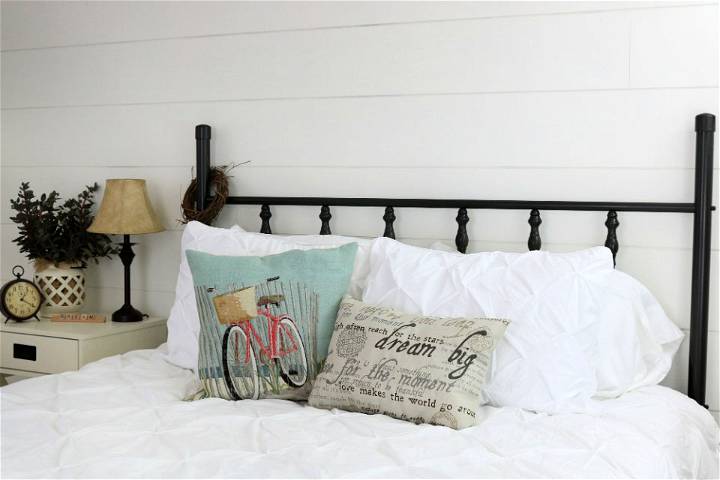
Transform your space with a charming DIY Shiplap Wall for less than $40! This accessible project is perfect for adding a touch of farmhouse flair to any room. With detailed step-by-step instructions and a helpful supply list available on Hoosier Homemade, making your own shiplap wall has never been easier or more affordable. Dive into this engaging project and elevate your home's aesthetics without breaking the bank.
10. Simple Shiplap in the Bathroom
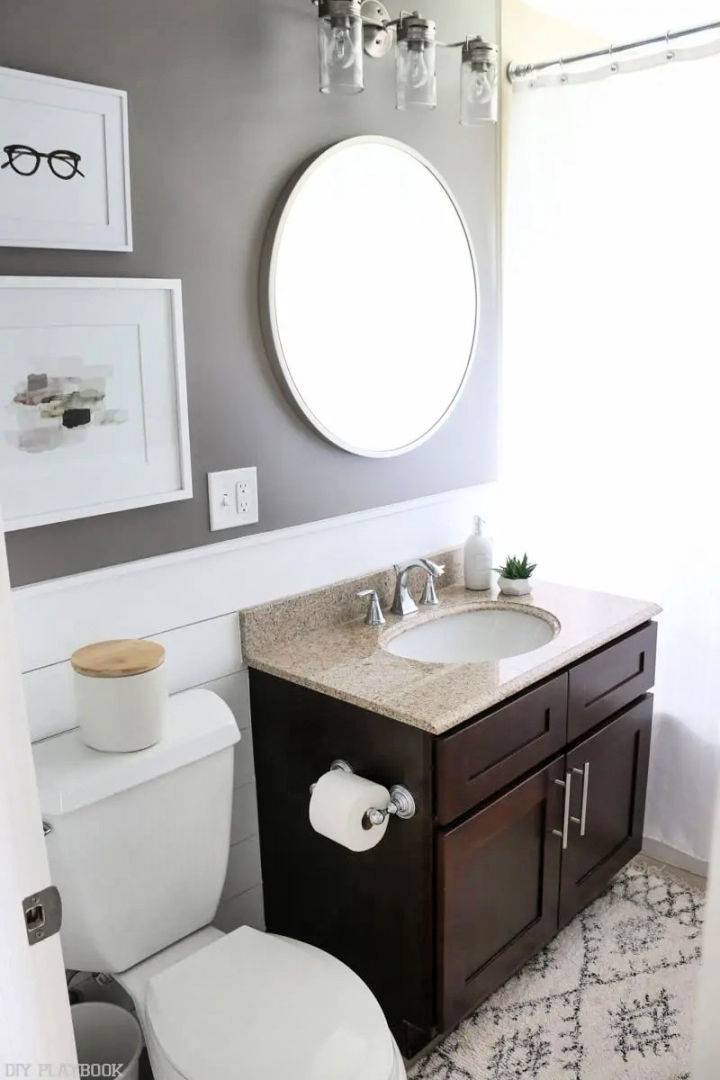
Transform your bathroom into a haven of rustic charm with our easy-to-follow DIY shiplap tutorial at The DIY Playbook. Learn how to elevate your space with the warmth and texture of shiplap, making a coastal or farmhouse vibe. Our guide offers step-by-step instructions, from choosing plywood to the final painting touches, all on a friendly budget. Perfect for DIY enthusiasts of all levels, this project promises a stunning transformation that brings your shiplap dreams to life. Dive in now and give your bathroom the upgrade it deserves.
11. Shiplap Wall With Detail Instructions
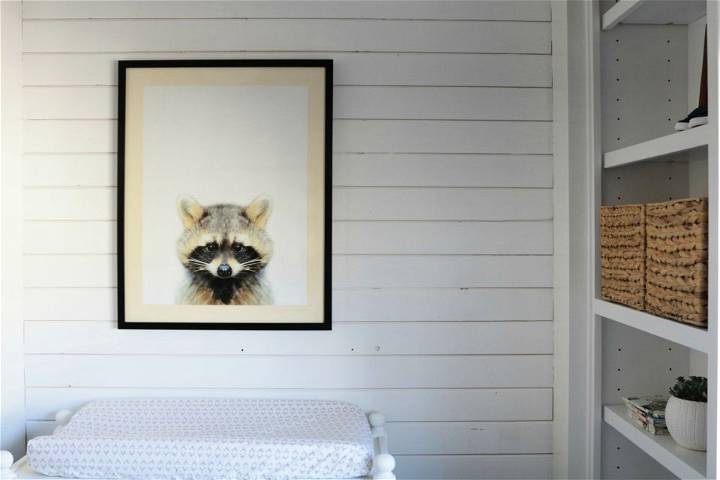
Transform your space with a chic, budget-friendly shiplap accent wall following this easy-to-understand DIY tutorial from Nesting With Grace. Discover the perfect way to add character to any room, whether it's covering a small section or an entire wall. This guide breaks down the process into manageable steps, from selecting affordable wood planks from Lowe's to the final painting touch. Ideal for DIY enthusiasts seeking to elevate their home decor without breaking the bank.
12. Shiplap Wall Tutorial
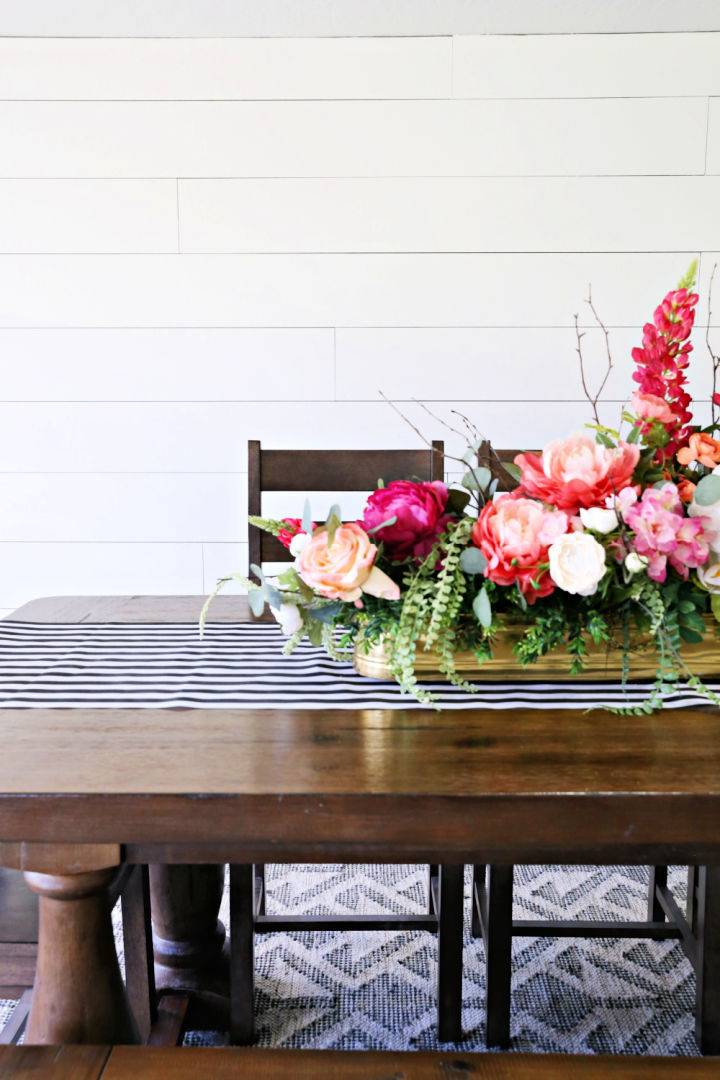
Transform any room in your home with the charm of a DIY shiplap wall! Our guide at Classy Clutter makes it easier than ever. Whether you have basic woodworking skills or are willing to get comfortable with a saw, this project is accessible for all. From choosing the right MDF strips to nailing them in place with precision, we guide you every step of the way. Add a unique touch and modern flair to your space with our simple yet effective shiplap tutorial. Ready, set, DIY!
13. Making Quick Shiplap Wall
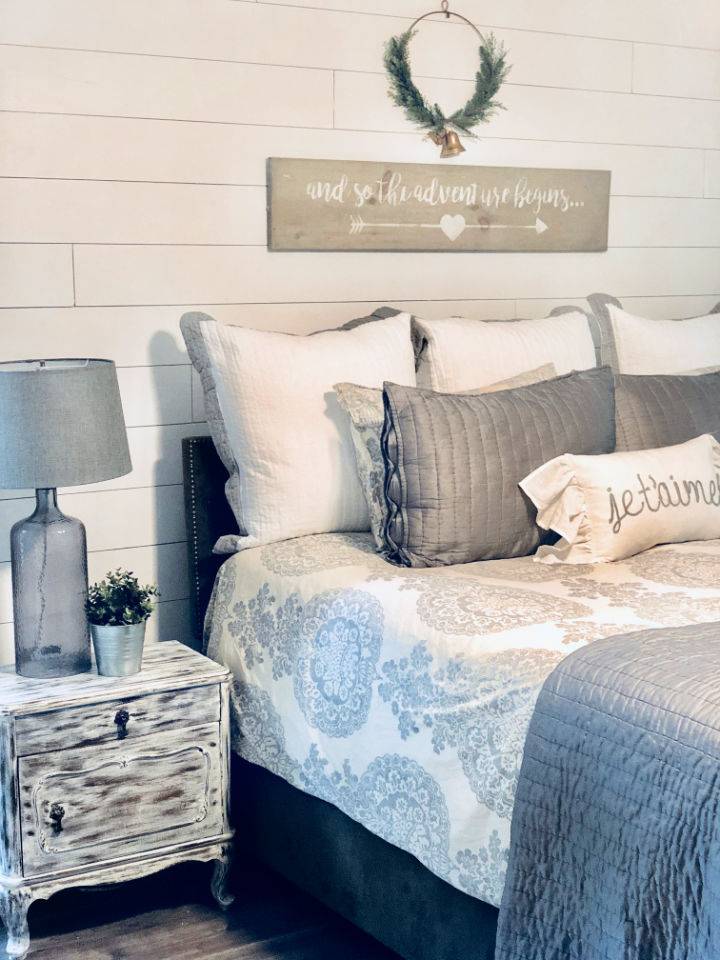
Transform your space with a DIY Shiplap Wall that's both quick and budget-friendly. This engaging guide at Eye in the Detail walks you through an easy, step-by-step process to make a beautiful shiplap accent in your home. Discover how to select materials, cut your shiplap, and finish your project like a pro. Perfect for anyone wanting to add depth and character to their rooms without breaking the bank. Dive into this instructive tutorial and start your shiplap project today!
14. DIY Shiplap Wall
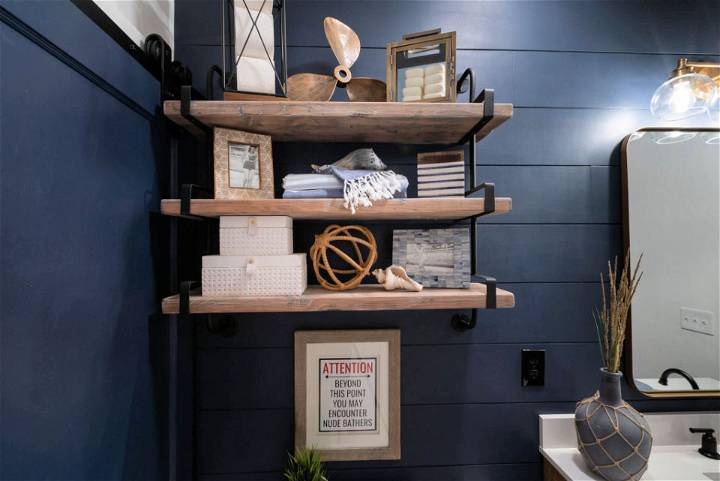
Transform any room with a touch of rustic charm by DIY-ing a shiplap wall easily and affordably. Dive into a clear, step-by-step guide that demystifies the process, ensuring your project is successful from start to finish. Learn how to select materials, cut and install boards, and handle details like outlets for a professional-looking result. For a thorough walkthrough, visit 2TheSunnySide. Happy DIY-ing!
15. Vertical Shiplap Wall at Home
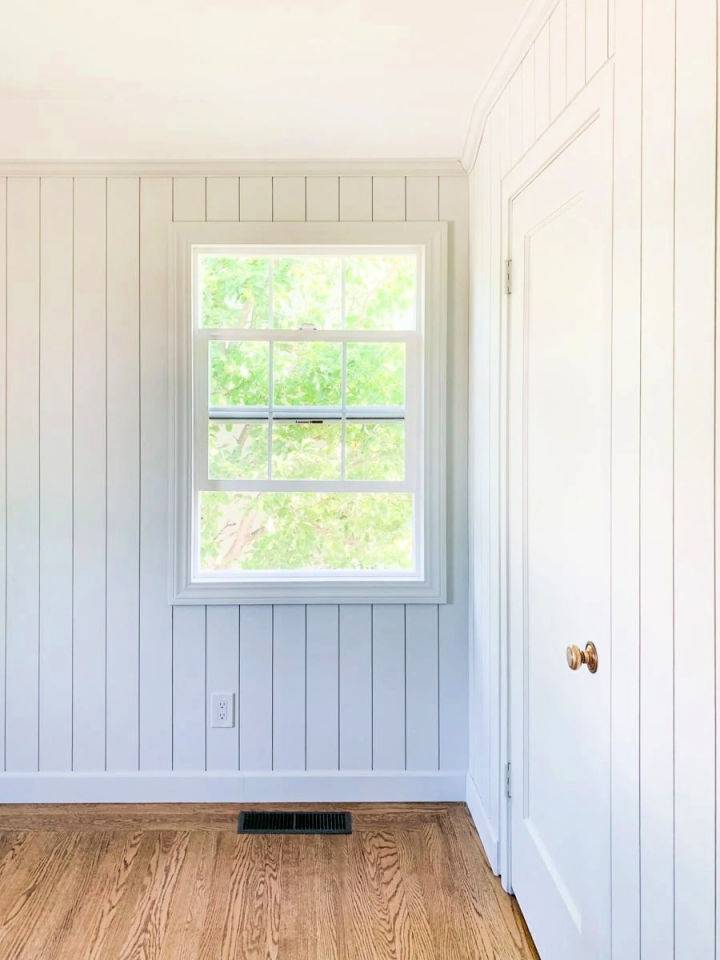
Elevate your space with a DIY vertical shiplap wall! Learn how Hydrangea Treehouse transformed their home office into a multifunctional area with stylish vertical shiplap paneling. The detailed cost breakdown and step-by-step process, including tips on dealing with tricky situations like power outlets and door frames, make this guide indispensable.
Discover how vertical shiplap can not only enhance the look of your room but also conceal unwanted wall textures. Plus, get insights on selecting the right paint color and sheen for a flawless finish. Whether you're updating an office, guest bedroom, or craft room, this DIY project proves both economical and transformative.
16. Handmade Shiplap Feature Wall
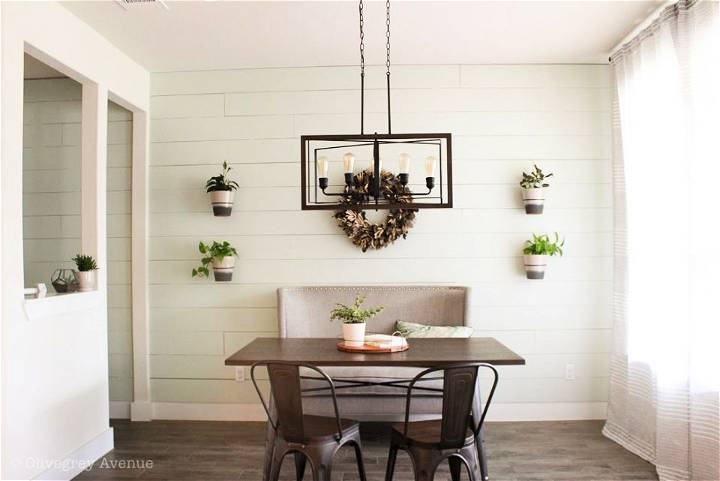
Transform your space with a DIY shiplap feature wall that adds a rustic charm to any room. This easy-to-follow guide at Olive Grey Avenue walks you through each step, from selecting the right boards to the finishing touches of painting. Perfect for adding a farmhouse vibe to your breakfast nook or any corner of your house.
Embrace the beauty of natural, airy details with a project that brings satisfaction and a fresh look to your home. Whether it's your first DIY project or you're looking to add more character to your living space, this shiplap wall tutorial is your go-to resource for a weekend transformation.
17. DIY Black Shiplap Wall Under $50
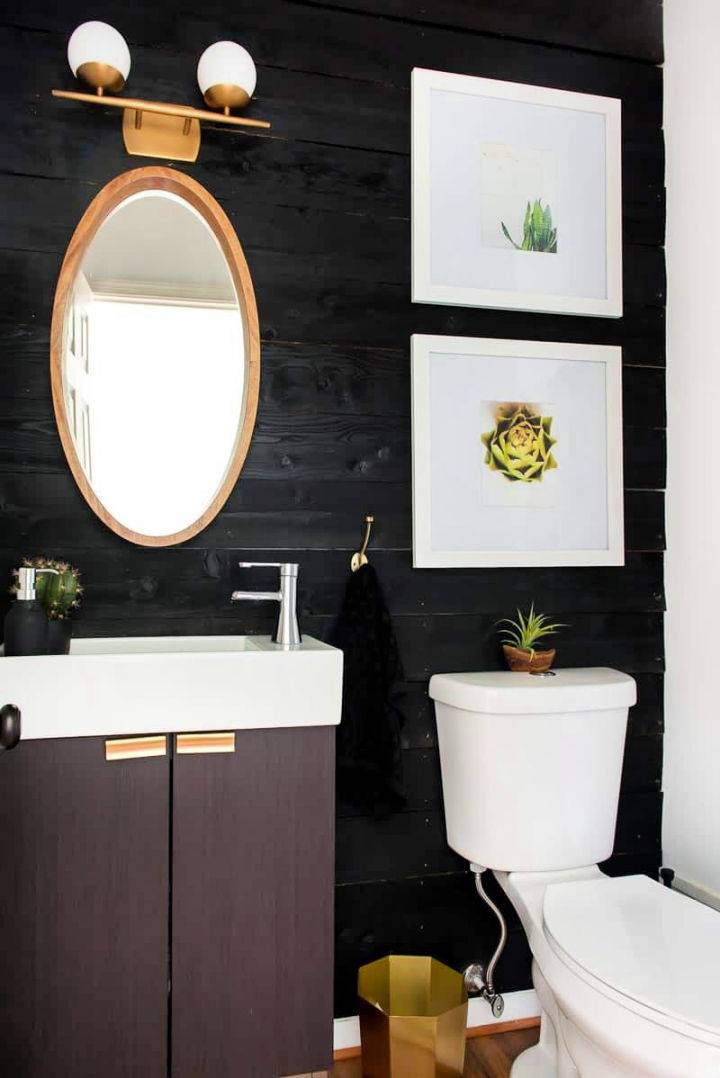
Elevate your home decor with an eye-catching DIY black shiplap wall without breaking the bank! Learn how with a budget under $50, you can transform a dull space into an elegant focal point. This do-it-yourself project is perfect for anyone wanting to add a touch of sophistication to their home.
Find step-by-step instructions and all the materials you'll need to make this stunning feature at Place of My Taste. Whether revamping your powder room or accentuating a wall, this guide makes it easy and affordable. Start your project today and impress with your DIY prowess!
18. Making Vertical Shiplap
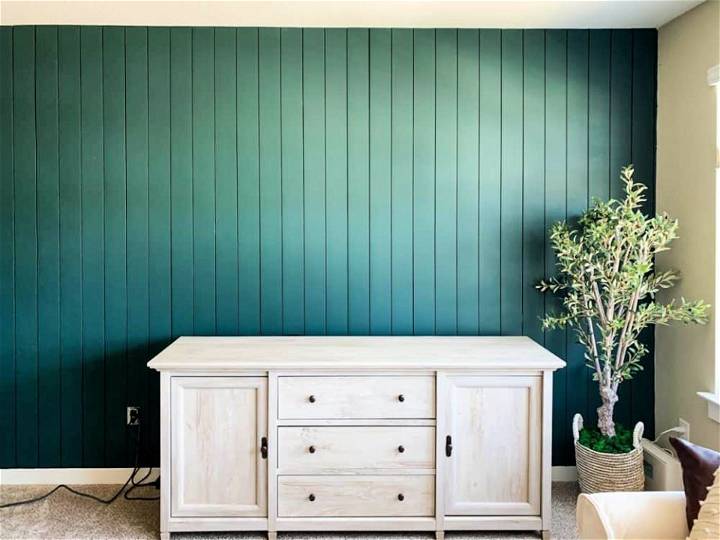
Transform your game room with a DIY vertical shiplap accent wall! Love & Renovations guides you through the entire process, from selecting the right materials to painting your newly installed shiplap. This project adds texture and character, enhancing the look and feel of your space. Perfect for DIY enthusiasts, the tutorial includes tips on preparation, installation, and finishing touches for a professional look. Dive into the details and see the stunning transformation at Love & Renovations.
19. Homemade Accent Wall With Shiplap
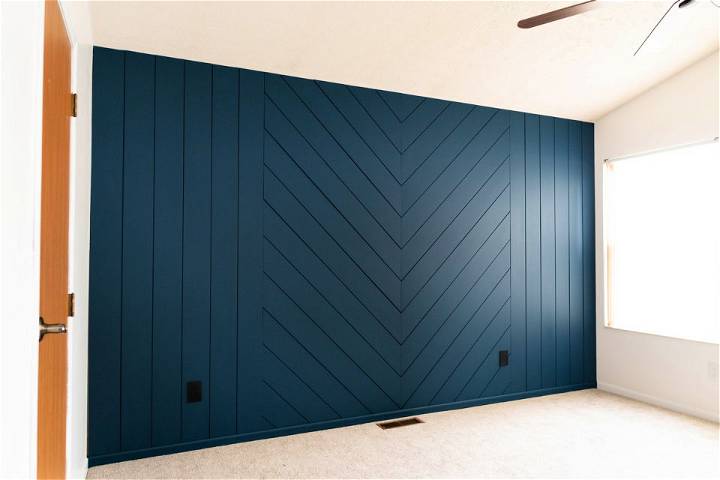
Transform your space with a stunning DIY shiplap accent wall, following the step-by-step guide at The Nomad Studio. Dive into this detailed tutorial and learn how to add character to your room with a chic chevron pattern or a classic vertical setup. Ideal for bringing a cozy and professional look to your master bedroom or any room in need of a refresh. Discover the materials, tools, and tips needed to craft your own statement wall, starting from framing to the finishing touches. Happy DIY'ing!
20. Cheap DIY Faux Shiplap
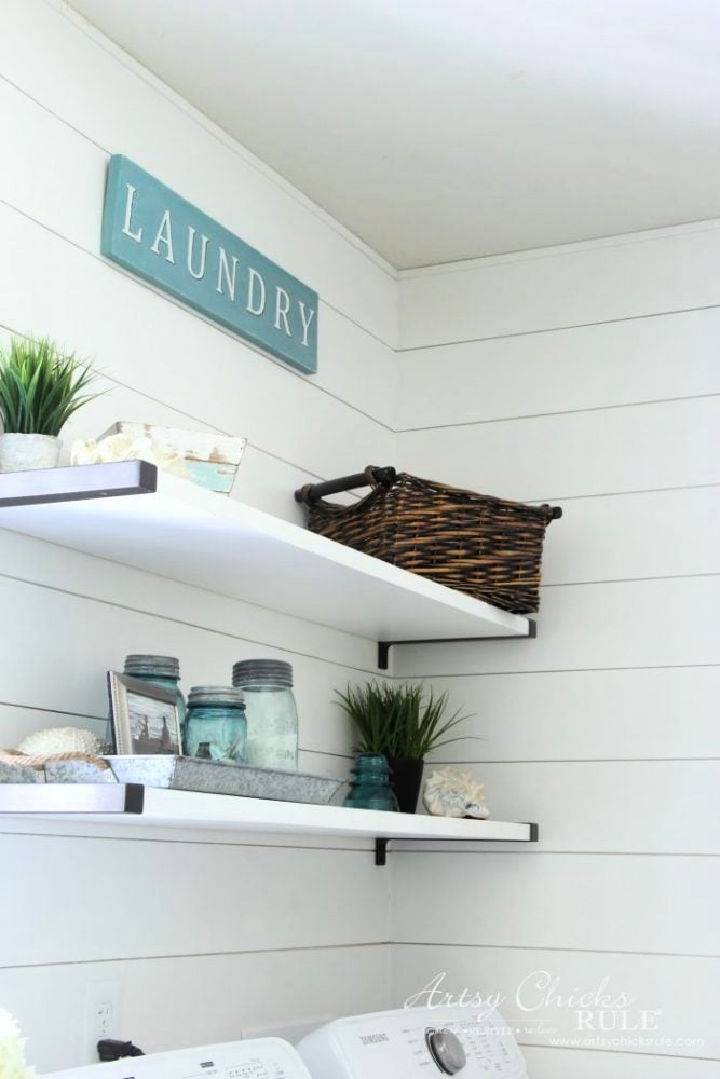
Transform your home with our easy DIY faux shiplap guide at ArtsyChicksRule. Discover how to achieve the chic shiplap look without breaking the bank. From selecting the right plank size to ensuring a flawless finish, our step-by-step tutorial makes installation a breeze. We cover everything from prepping and painting your walls to the perfect spacing technique for that authentic shiplap appearance. Perfect for anyone aiming to refresh their space with modern, coastal charm. Dive into our comprehensive guide to elevate your home decor today!
21. Making Your Own Plank Wall
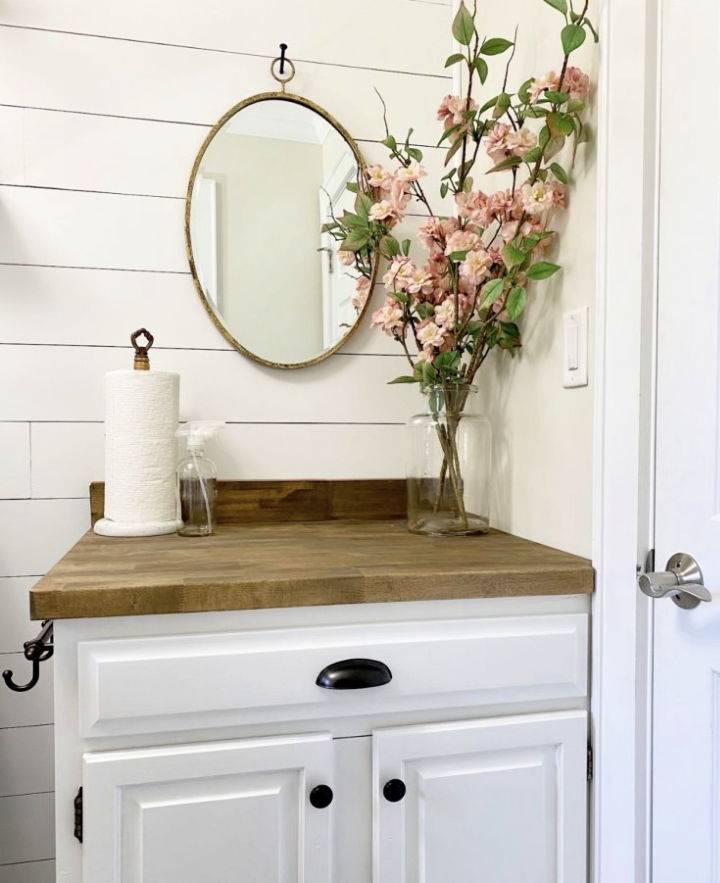
Transform any room in your home with the charm and texture of a DIY plank wall, lovingly referred to as faux shiplap. Designed to mimic the classic beauty of real shiplap, this project is surprisingly easy and affordable, making it ideal for anyone eager to upgrade their space without breaking the bank.
Under $100 and a weekend is all it takes to make a feature wall that radiates vintage and textured elegance. For a step-by-step guide on how to achieve this look, including essential tools and materials, visit Caligirl in a Southern World. Embrace the DIY spirit and discover how simple making your dream space can be.
22. DIY Sharpie Shiplap Wall
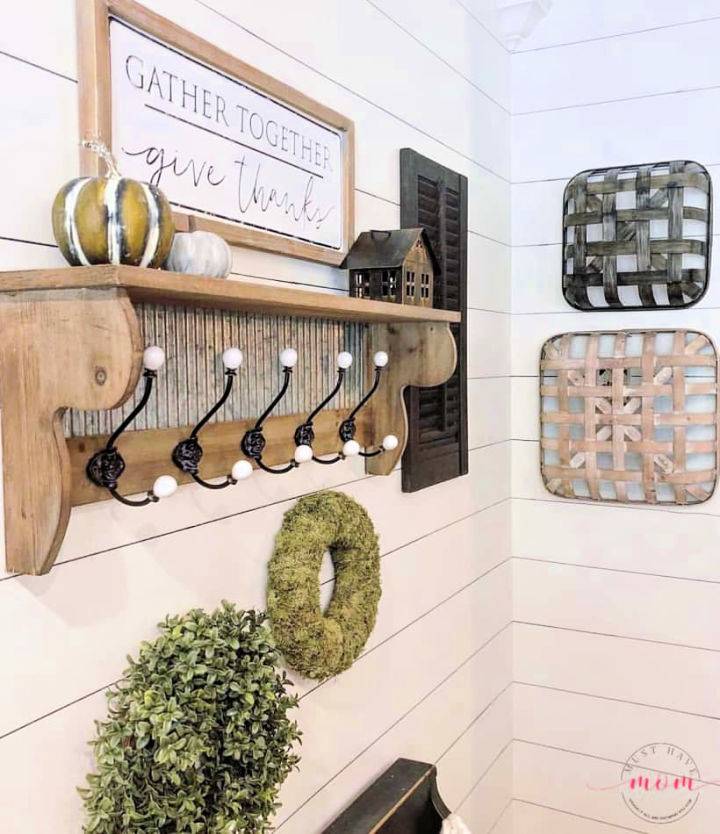
Unlock the charm of farmhouse style with a DIY Sharpie Shiplap Wall. Perfect for budget-savvy decorators, this ingenious method gives you the sought-after shiplap look without the cost or commitment of traditional installations. Whether updating your living space or adding a unique touch to your bedroom, this simple yet stunning project requires only a sharpie, some basic supplies, and a bit of creativity. Dive into the easy steps on making your own faux shiplap wall, and transform your home with this affordable farmhouse hack.
23. Easy Shiplap Half Wall
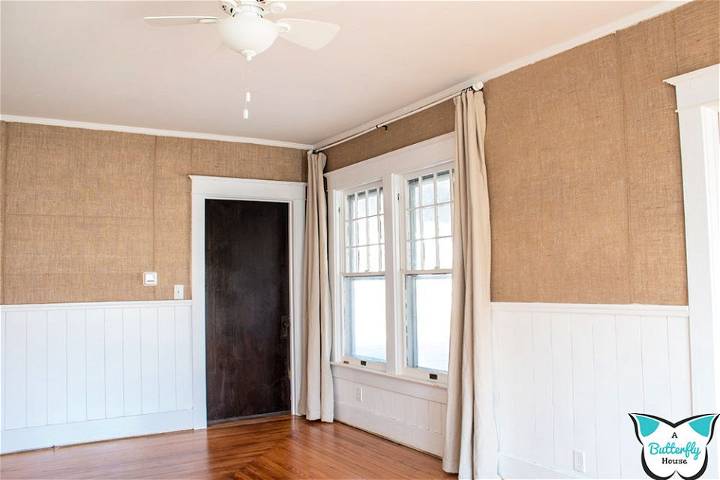
Transform your living space with a touch of elegance by adding a DIY shiplap half wall! Perfect for those who love a mix of classic style and hands-on projects, this guide from A Butterfly House walks you through the process step by step. From selecting materials to the final paint job, discover how vertical shiplap can elevate the look of your room. Ideal for DIYers looking to infuse their homes with character and charm, follow this guide to make your interior design dreams a reality.
24. Shiplap Wall Installation
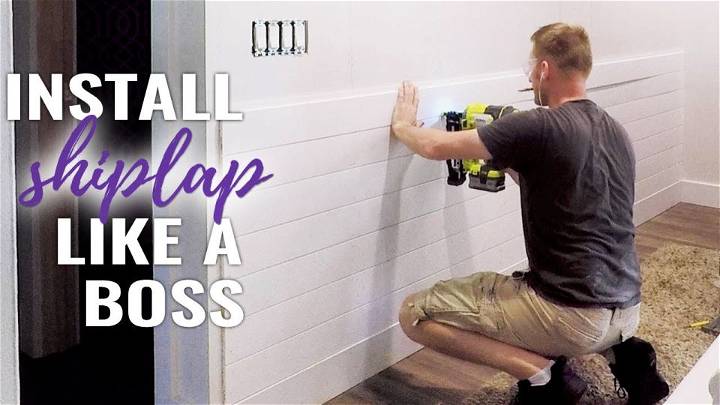
Dive into your DIY project with confidence by learning how to install shiplap on your wall. From preparing your materials to nailing technique, we cover essential tips to ensure a smooth installation. Learn to effectively mark stud locations, minimize nail usage, and properly cut around outlets for a professional finish. Whether you aim for a rustic or sleek look, our guide is here to help you achieve the aesthetic you desire. Start transforming your space into the cozy, stylish environment you've always wanted.
25. Cheap and Easy DIY Shiplap Wall
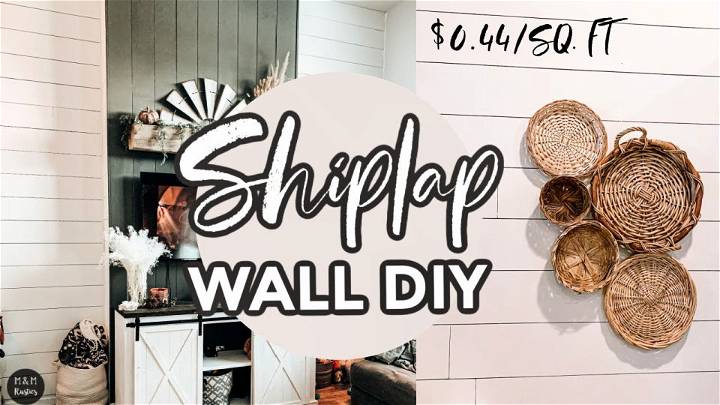
Discover the ultimate guide to making an affordable and stylish shiplap wall in your home. This tutorial walks you through transforming your space with underlayment plywood for as little as 43 cents per square foot. Learn how to cut, sand, and install wide planks for a less busy look. Use Loctite and brad nails for a secure fit, ensuring the planks are staggered for a professional finish. Tips on managing tricky areas and painting for a seamless shiplap look are all covered. Start your DIY project today for a cozy, textured addition to your home.
Conclusion:
In conclusion, making a stylish DIY shiplap wall on a budget is both achievable and rewarding. From choosing your materials to the finishing touches, the process offers a unique opportunity to enhance your home's aesthetic without breaking the bank.
This article has covered everything you need to know about making shiplap work for you, including how to prepare your wall, cut and sand your planks, and even tips for installation. Remember to refer back to these 25 cheap DIY shiplap wall ideas as inspiration for your next home improvement project. With a little effort and creativity, you can transform any room into a cozy and stylish space.


