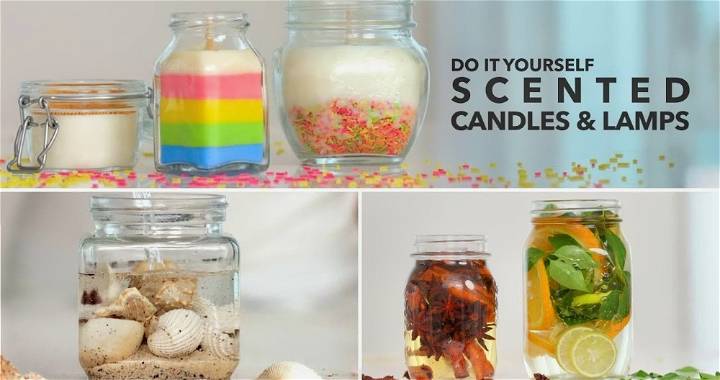
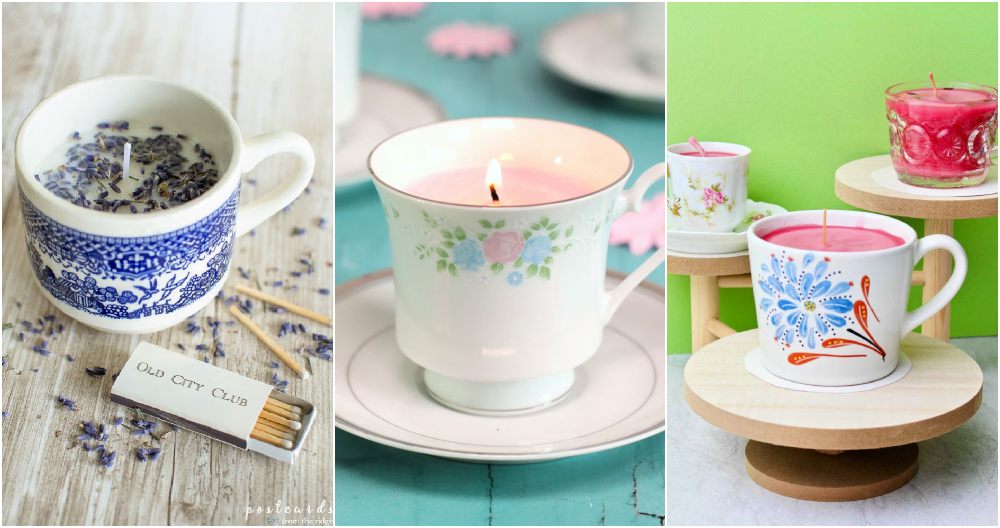
Candle making has always been a hobby I thought was reserved for the super crafty, but as I discovered, it's surprisingly straightforward and deeply satisfying. Let me guide you through my first candle-making experience, where I transformed simple supplies into beautiful, fragrant DIY candles. This step-by-step guide is perfect for beginners and based on my very own journey, enriched with practical advice and insights.
Gathering Your Materials
First things first, you'll need a candle-making kit. I chose the Cozy Owl Candle-Making Kit because it had everything I needed:
- Candle Making Guide: Essential for beginners.
- Glue Dots: To secure the wicks.
- Candle Jars: The kit came with five.
- Fragrance Oil: I had 50 ml of a lovely scent.
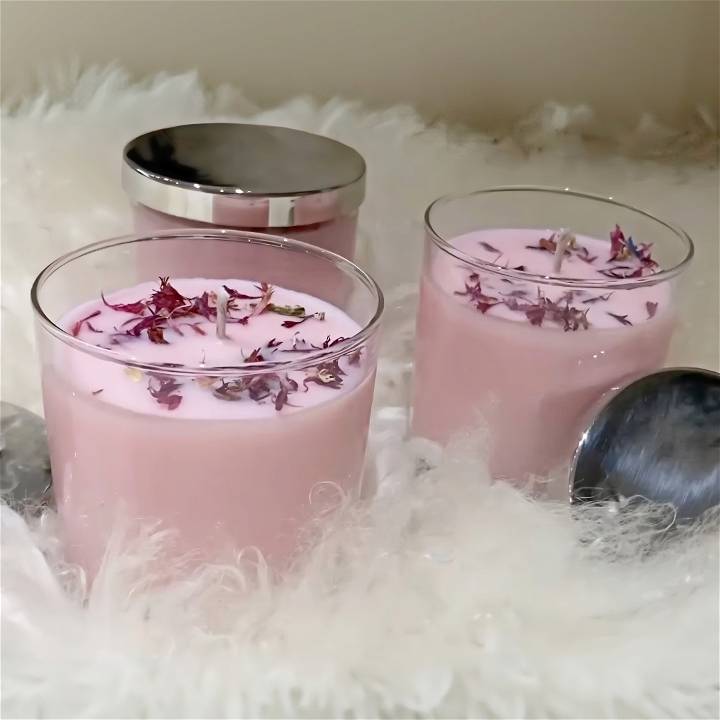
- Dye: Mine was rose pink in shards.
- Lids and Wick Centering Tools: For a professional finish.
- Wicks: Eco-friendly ones were included.
- Wax: 800 grams should do the trick.
Each item is crucial for making DIY candles: guide for instructions, glue dots for wick placement, jars for containment, fragrance oil and dye for customization, lids and centering tools for functionality and aesthetics, wicks for burning, and wax as the candle's base.
Step by Step Instructions
Learn how to make DIY candles step by step with easy instructions. From preparing your workspace to adding color and scent, make beautiful candles at home.
Preparing Your Workspace
Before diving in, make sure your jars are clean and dry. This ensures there's no unwanted residue that could affect your candle's quality. Then, move on to melting your wax. Pour the wax into a boiler and place it over medium heat in a pan of boiling water. Patience is key here; you want to stir occasionally and wait for it to fully melt.
Setting the Stage for Success
While the wax is melting, prepare your jars. Attach a glue dot to the bottom of each wick and place it as centrally as possible in the jar. Then, use the wick centering tool to keep it in place. It might seem like a small step, but ensuring your wick is centered is essential for an evenly burning candle.
Coloring and Scenting Your Candle
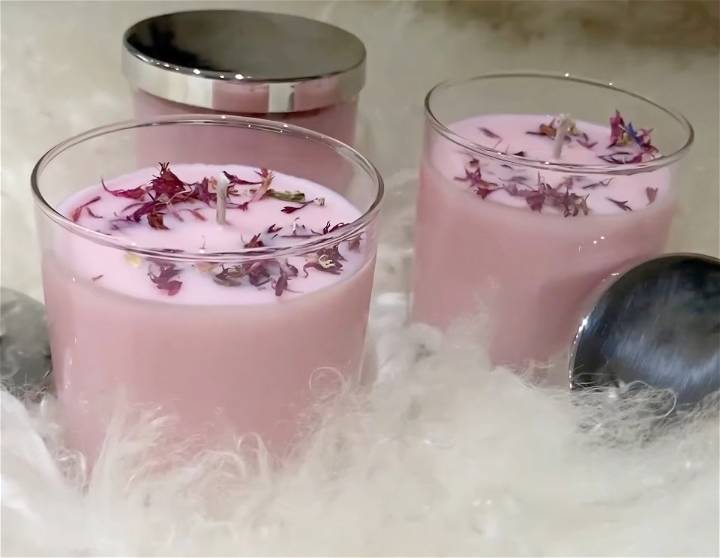
Once the wax melts, it's time to add color and fragrance. For a light pastel pink, I added just a few shards of dye, but feel free to adjust based on your preference. After the dye fully melts, incorporate the fragrance oil. Stir gently to avoid any air pockets, just like you would when baking.
Pouring and Setting
Carefully pour the wax into your jars, filling them only partially to leave room for any necessary adjustments later. After half an hour, check for air pockets on the surface. If you spot any, simply reheat some wax and top them off.
Adding a personal touch, I sprinkled dry petals on the wax's surface for decoration, a step that is optional but adds a charming effect.
The Finishing Touches
After allowing 24 hours for the candles to set, remove the centering tool and trim the wick to about 5 millimeters with a wick trimmer or scissors. It's essential for ensuring your candle burns correctly.
Eco-Friendly Candle Making
Candle making has evolved beyond mere aesthetics; it's now about sustainability and mindful choices. If you're passionate about both crafting and the environment, eco-friendly candle making is your sweet spot. Let's delve into the world of sustainable candle crafting, step by step.
1. Choosing the Right Wax
Soy Wax: Derived from soybeans, soy wax is a popular choice for eco-conscious candle makers. Here's why:
- Renewable: Soybeans are a renewable resource, making soy wax an environmentally friendly option.
- Clean Burning: Soy candles emit minimal soot and toxins, ensuring a healthier indoor environment.
- Biodegradable: When your soy candle reaches the end of its life, it decomposes naturally without harming the planet.
2. Opting for Organic Cotton Wicks
Wicks matter more than you'd think! Traditional wicks often contain lead or other harmful materials. Switch to organic cotton wicks for these reasons:
- Chemical-Free: Organic cotton wicks are free from synthetic additives or harmful chemicals.
- Even Burn: They promote an even burn, preventing tunneling and maximizing candle life.
- Sustainable: Cotton is biodegradable, so your wick won't linger in landfills.
3. Fragrance Oils: Mindful Choices
Fragrance adds charm to candles, but not all scents are maked equal:
- Natural Essential Oils: Opt for essential oils extracted from plants. They're natural, non-toxic, and offer therapeutic benefits.
- Avoid Synthetic Fragrances: Synthetic fragrances often contain phthalates and other harmful compounds. Choose wisely.
4. Reusable Containers
Your candle vessel matters too! Instead of single-use containers, consider:
- Glass Jars: Repurpose old glass jars (like jam jars) for your candles. They're easy to clean and endlessly reusable.
- Tin Containers: Tin containers are lightweight, durable, and can be recycled.
5. Minimal Packaging
Eco-friendly candles deserve eco-friendly packaging:
- Simple Labels: Keep labels minimal and informative. Use recycled paper or biodegradable materials.
- No Over-Packaging: Avoid excessive wrapping; let the candle shine through.
Remember, every small step counts. By making eco-friendly candles, you're not just crafting beautiful decor; you're contributing to a greener planet.
FAQs About DIY Candles
Discover all you need to know about making your own candles with our comprehensive FAQs. From materials to techniques, we cover it all!
1. What Type of Wax Should I Use for Candle Making?
The choice of wax significantly impacts your candle's performance. Here are common options:
- Soy Wax: Derived from soybeans, it's eco-friendly, burns cleanly, and holds fragrance well.
- Paraffin Wax: Inexpensive but not as eco-friendly. It's widely used and great for beginners.
- Beeswax: Natural and emits a subtle honey scent. Ideal for dripless candles.
- Palm Wax: Sustainable and makes unique crystalline patterns.
2. How Do I Scent My Candles Naturally?
Natural scents elevate your candle experience. Try these methods:
- Essential Oils: Lavender, citrus, eucalyptus, and vanilla are popular choices.
- Herbs and Spices: Add dried herbs (like rosemary) or spices (cinnamon sticks) to your melted wax.
- Citrus Zest: Grate lemon or orange zest for a refreshing aroma.
3. What Are the Best Wick Types?
Wicks affect burn time and even melting. Consider:
- Cotton Wicks: Standard and versatile.
- Wooden Wicks: Make a cozy crackling sound.
- Hemp Wicks: Eco-friendly and slow-burning.
4. How Can I Achieve Different Candle Shapes?
Get creative with molds:
- Classic Pillar: Use cylindrical molds for timeless elegance.
- Tealights: Small, shallow molds for quick projects.
- Novelty Shapes: Silicone molds allow fun designs (hearts, stars, animals).
5. Why Is Proper Cooling Important?
Patience pays off during cooling:
- Avoid Cracking: Rapid cooling can cause cracks.
- Smooth Finish: Slow cooling ensures a smooth surface.
- Trimming the Wick: Trim wicks after cooling to prevent soot.
6. Safety Tips for Candle Making?
- Ventilation: Work in a well-ventilated area to avoid inhaling fumes.
- Heat Source: Use a double boiler or microwave-safe container for melting wax.
- Fire Safety: Keep a fire extinguisher nearby and never leave melting wax unattended.
Remember, candle making is both art and science. Experiment, enjoy, and let your creativity shine!
Final Thoughts
Candle making was an incredibly rewarding experience. Not only did it demystify the process for me, but it also allowed me to make something beautiful and practical. If I, a complete novice, could make candles that not only looked good but also filled the room with a delightful scent, so can you! Remember, patience and attention to detail turn simple ingredients into splendid candles. So why not give it a try? You might find yourself lighting the way to a new favorite hobby.


