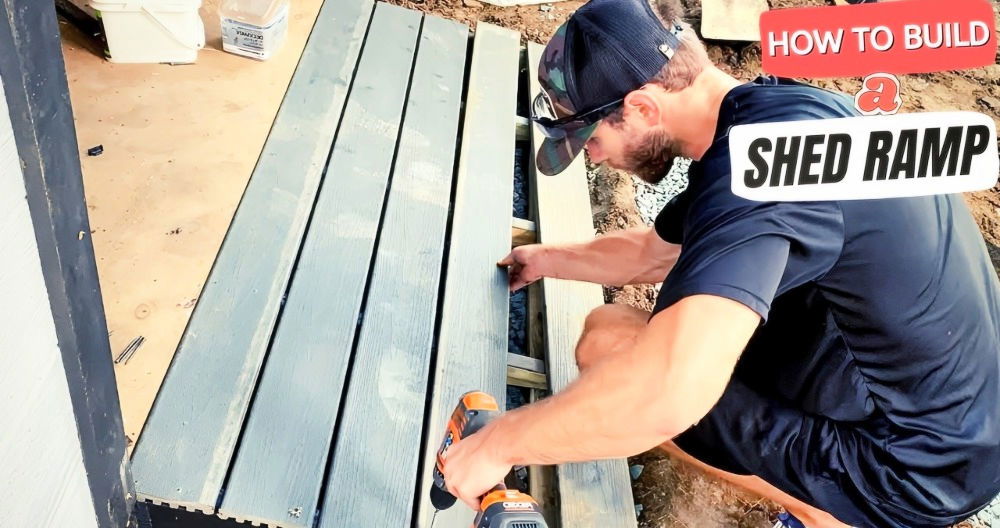
Learn how to build your own DIY shed doors with our step-by-step guide. Perfect for enhancing your shed's functionality and appearance. When I decided to build a barn-style double door for my 8 by 12 shed, I dove into a pool of online tutorials and videos, gathering all the knowledge I could before getting my hands dirty. I've always been a fan of using robust materials and ensuring a stable structure, and this project was no exception.
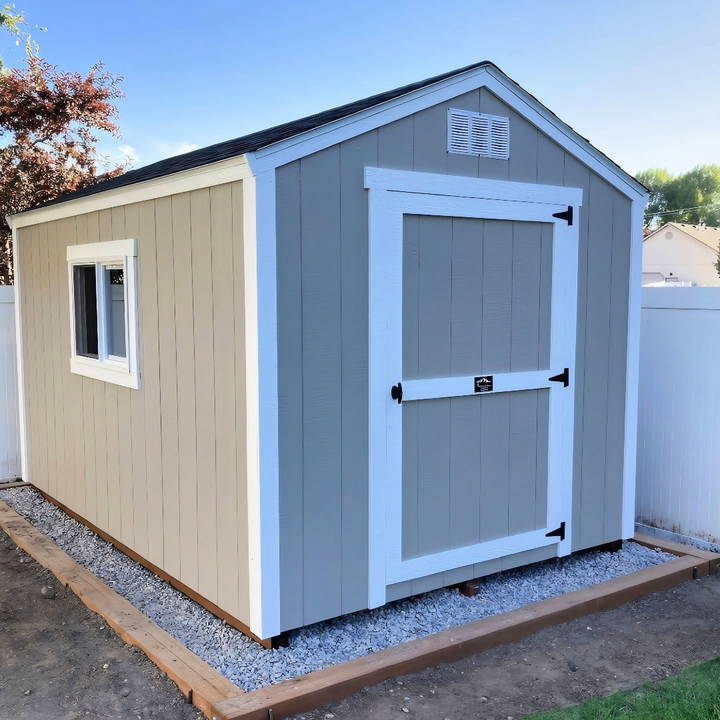
In the following article, I'll guide you through the process of building a strong shed door, ensuring that you can take each step with confidence and end up with a door that stands the test of time.
Preparing for the Build: Required Materials
Before jumping in, let's address the essentials — materials. Each component serves a critical purpose in our project, ensuring durability and ease. Here's what you need:
- Lumber (2x4s): These are the backbone of your door, providing the necessary strength. Choose straight and high-quality lumber to avoid warping issues.
- Plywood (31x82 inches): Acts as a backer, providing additional stability and a surface to attach the rest.
- Exterior screws (2 and 1/2 inches): These ensure that your structure is secured tightly and can withstand outdoor conditions.
- Siding nails: To attach the siding to the door frame securely.
- Trim boards: To make a finished look and additional structural support for hinges.
- Hinges: At least three, for optimal support.
- Chalk line and circular saw: For precise cuts and tidy finishes.
- Screwdriver, clamps, spacers, and shims: Tools that aid in alignment and holding things in place until they're securely attached.
- Paint: To protect your door from weather and enhance its appearance.
With these materials at hand, you are ready to embark on the project.
Step by Step Instructions
Learn how to build your own DIY shed door with our step-by-step guide. From cutting the bottom plate to final touches, follow our DIY instructions!
Step 1: Cutting the Bottom Plate
To get started, I addressed the base of my project. First off, you need a clean and flat working surface. For me, the shed's floor served as the perfect spot. Here's what to do:
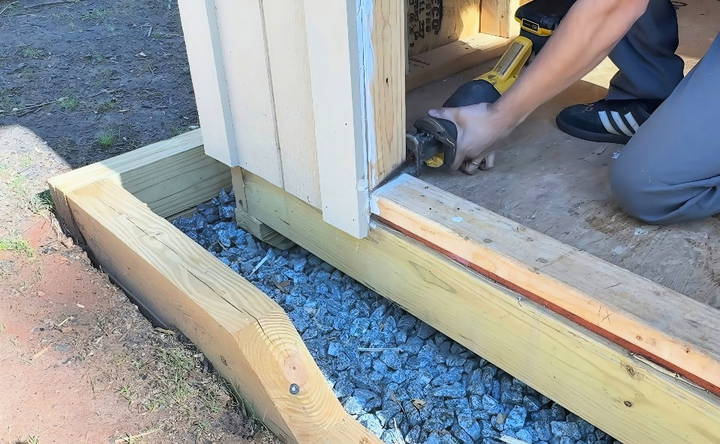
- Cutting the Bottom Plate: These are parts initially nailed to your floor and need removal. I used a saw to cut these off swiftly. Clearing this out lays a foundation for the new door frame to sit seamlessly against the wall.
Step 2: Measuring and Cutting the Frame
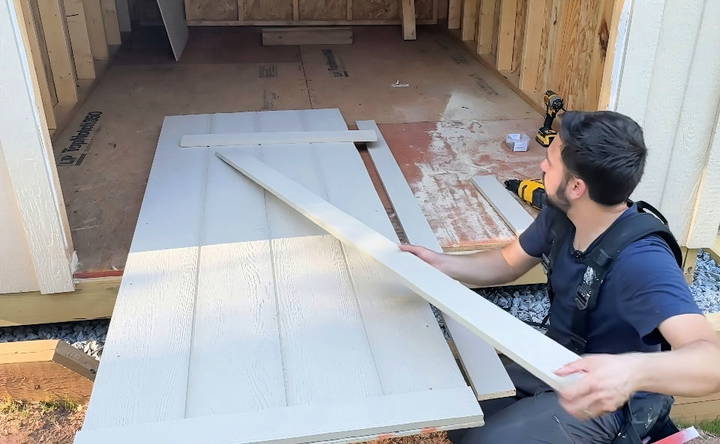
Next, the frame construction — it's crucial as it defines the door's structure.
- Measuring the Frame: Measure the wall opening; subtract 3/4 of an inch from the height of the studs and 1/2 inch from the width to allow some room for adjustments.
- Selecting and Preparing Lumber: It's imperative to handpick straight lumber to avoid any hassle later. To compensate for slightly warped pieces, I used a clamp paired with a scrap piece of lumber to keep everything straight while assembling the frame.
- Building the Frame: With exterior screws, connect the 2x4s firmly. Start each screw straight, turning to drive them at a 50-degree angle to hold tight. Double-check that your joints lie flat and sturdy.
Step 3: Adding an Important Middle Block
This might seem like a minor addition, but this middle block within the frame does two essential things:
- Keeps Boards Straight: Prevents any warping or bending over time.
- Supports Hinges: Provides crucial anchorage for the central hinge in our three-hinge system.
Insert a block centrally in your frame and use similar methods to attach it securely.
Step 4: Securing the Plywood Backer
Plywood offers backing support and an essential building surface.
- Cutting the Plywood: Cut your plywood to 31x82 inches. Precision here ensures the neatness of attachment and subsequent layers.
- Screwing It to the Frame: Start from the corners and work your way around, placing screws every 8 inches or so to ensure it's firmly attached.
Step 5: Attaching the Siding
- Using the Saved Siding: Square off the siding piece you've saved for this project. Position it so any excess is at the bottom, nailing it down every 8 to 10 inches.
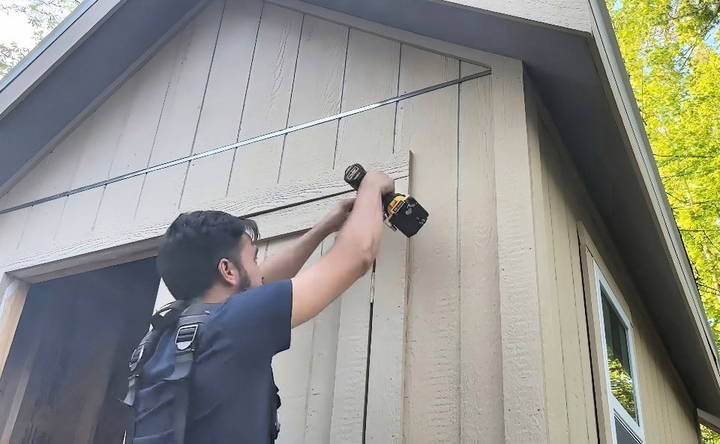
- Trimming Excess Siding: A chalk line helps you snap a straight guideline on the siding. Follow this line with your circular saw for a clean finish.
Step 6: Adding Trim for Strength and Style
Trim not only adds to the aesthetic but also shores up the door's functionality.
- Cutting Trim Boards: Prepare several pieces. Two short pieces 31 inches long for the bottom and top, and a longer one at 76 and a quarter inches for the side. The middle piece around 23-26 inches is vital for attaching hinges.
- Nailing Trim to Structure: Whether using a hammer or nailer, ensure your nails are consistent every 8 inches, and take care to hammer them securely in place.
Step 7: Installing the Door
With the door assembled, mounting it is the next task.
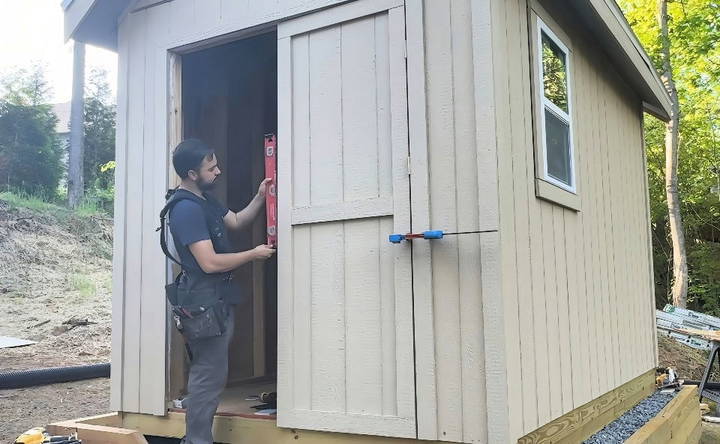
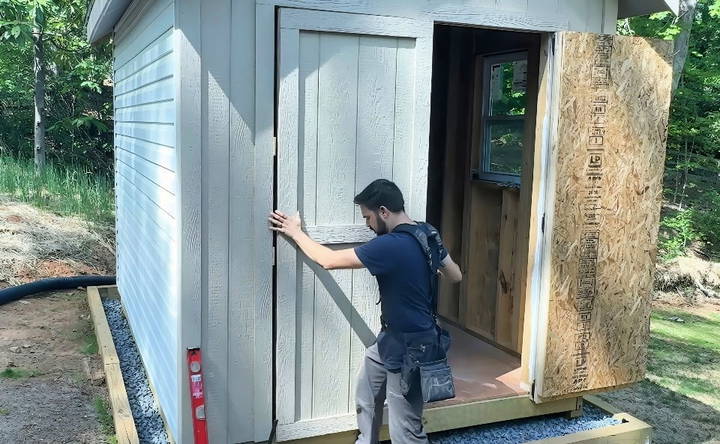
- Setting the Door in Position: Use spacers to ensure the door isn't dragging on the ground and has a slight side gap for smooth operation. Clamps can stabilize it while screwing the hinges.
- Attaching Hinges: Begin with the middle hinge; screws sometimes don't bite well, so a drywall screw for initial placement can be helpful. Replace it with proper screws thereafter. Follow up with bottom and top hinges.
- Testing Door Level: Open and let go. A well-leveled door won't drift open or slam shut but sit in place. Adjust with shims if necessary to achieve perfect alignment.
Step 8: Final Touches and Painting
The installation of a latch and painting brings everything together.
- Choosing a Latch: I opted for a simple, cost-effective fence-style latch. It's easy to install and blends well with shed aesthetics.
- Painting: Finally, a coat of paint protects your construction and enhances its life against weather elements while improving the visual appeal.
Customization Ideas
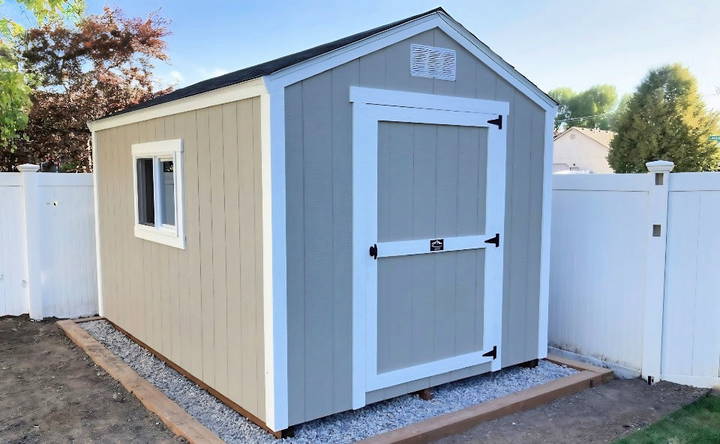
Customizing your shed door can add a personal touch and enhance its functionality. Here are some easy and creative ideas to make your shed door unique and practical:
Paint and Finishes
- Color Choices: Choose a color that complements your garden or home. Bright colors can make your shed stand out, while neutral tones can blend it into the surroundings.
- Weatherproof Paint: Use weatherproof paint to protect the door from the elements. This will help maintain its appearance and durability over time.
- Stains and Varnishes: If you prefer a natural wood look, consider using stains or varnishes. These can highlight the wood grain and provide a rustic charm.
Hardware Options
- Decorative Hinges: Swap out standard hinges for decorative ones. They come in various styles, such as antique or modern, to match your aesthetic.
- Handles and Knobs: Choose unique handles or knobs to add character. Options include vintage brass, sleek stainless steel, or even custom-made designs.
- Locks and Latches: For added security, install a sturdy lock or latch. Consider a combination lock or a padlock for extra protection.
Windows and Ventilation
- Add Windows: Installing small windows can let in natural light and improve ventilation. Choose frosted or clear glass depending on your privacy needs.
- Ventilation Grilles: Add ventilation grilles to prevent moisture buildup inside the shed. This can help keep your tools and equipment dry and rust-free.
Decorative Elements
- Shutters: Add decorative shutters to the windows for a charming look. They can be functional or purely aesthetic.
- Trim and Molding: Use trim and molding to frame the door and windows. This can give your shed a polished and finished appearance.
- Planter Boxes: Attach planter boxes below the windows. Fill them with flowers or herbs to add a touch of greenery and color.
Functional Upgrades
- Shelving and Storage: Install shelves or hooks on the inside of the door for extra storage. This can be useful for small tools or gardening supplies.
- Magnetic Strips: Attach magnetic strips to hold metal tools. This keeps them organized and easily accessible.
- Chalkboard Paint: Paint a section of the door with chalkboard paint. Use it to jot down notes, reminders, or a to-do list for your gardening tasks.
Lighting
- Solar Lights: Install solar-powered lights around the door. They charge during the day and provide illumination at night, enhancing both safety and aesthetics.
- String Lights: Hang string lights around the door frame for a cozy and inviting look. They are perfect for evening gatherings or simply adding a warm glow.
Customize your shed door to enhance both style and function in your garden. These ideas are simple to implement and can be personalized.
Common Mistakes to Avoid
Building a shed door can be a rewarding DIY project, but it's easy to make mistakes that can affect the final result. Here are some common mistakes to avoid to ensure your shed door is sturdy, functional, and long-lasting:
Incorrect Measurements
- Not Measuring Twice: Always measure twice before cutting. Incorrect measurements can lead to a door that doesn't fit properly.
- Ignoring Allowances: Remember to account for allowances such as the thickness of the door frame and the space needed for hinges and locks.
Using the Wrong Materials
- Inappropriate Wood: Using the wrong type of wood can lead to warping or rotting. Choose weather-resistant wood like cedar or treated pine.
- Cheap Hardware: Low-quality hinges, screws, and locks can fail over time. Invest in good-quality hardware to ensure durability.
Poor Assembly Techniques
- Weak Joints: Ensure all joints are secure. Weak joints can cause the door to sag or fall apart.
- Skipping Pilot Holes: Always drill pilot holes before screwing. This prevents the wood from splitting and ensures a stronger hold.
Ignoring Weatherproofing
- No Sealant: Failing to seal the wood can lead to water damage. Use a good sealant to protect the door from moisture.
- Improper Paint: Use exterior-grade paint or stain to protect the door from the elements. Interior paint won't hold up to outdoor conditions.
Incorrect Installation
- Misaligned Hinges: Hinges that are not aligned properly can cause the door to hang unevenly or not close properly. Use a level to ensure alignment.
- Improper Spacing: Leave enough space around the door for it to open and close smoothly. Too tight a fit can cause the door to stick.
Overlooking Maintenance
- No Regular Checks: Regularly check the door for signs of wear and tear. Addressing small issues early can prevent bigger problems later.
- Ignoring Rust: If you notice rust on the hardware, address it immediately. Rust can weaken the hardware and affect the door's functionality.
Skipping Safety Precautions
- No Safety Gear: Always wear safety gear like gloves and goggles when working with tools. This protects you from injuries.
- Unsafe Work Area: Keep your work area clean and organized. A cluttered workspace can lead to accidents.
By avoiding these common mistakes, you can ensure your shed door is built to last and functions smoothly. Taking the time to do it right the first time will save you effort and frustration in the long run.
FAQs About DIY Shed Doors
Discover essential FAQs about DIY shed doors. Learn how to build, customize, and maintain your shed doors for lasting durability and style.
Accurate measurements are crucial for a well-fitting shed door. Follow these steps:
Measure the width: Measure the top, middle, and bottom of the door frame. Use the smallest measurement.
Measure the height: Measure from the bottom to the top of the door frame on both sides. Use the smallest measurement.
Allow clearance: Subtract about 0.5 inches from each side to ensure the door can open and close smoothly.
There are several types of shed doors you can build:
Single Door: A simple, single-panel door.
Double Doors: Two doors that open outward, providing a wider opening.
Sliding Doors: Doors that slide along a track, saving space.
Braced and Ledged Doors: Reinforced with diagonal braces for added strength.
To keep your shed door in good condition:
Regularly check for damage: Look for signs of wear and tear, such as cracks or warping.
Repaint or reseal: Apply a fresh coat of paint or sealant every few years to protect against weather damage.
Lubricate hinges: Use a lubricant to keep hinges operating smoothly.
Adjust as needed: Tighten screws and adjust the door if it starts to sag or stick.
Installing a sliding shed door involves these steps:
Install the track: Secure the sliding door track above the door opening.
Attach rollers: Fix the rollers to the top of the door.
Hang the door: Lift the door and place the rollers onto the track.
Secure the bottom: Install a guide at the bottom to keep the door from swinging out.
Test the door: Slide the door back and forth to ensure it moves smoothly.
Here are some tips for painting your shed door:
Choose the right paint: Use exterior paint that can withstand weather conditions.
Prepare the surface: Sand the door and clean it to remove dust and debris.
Prime the door: Apply a coat of primer to help the paint adhere better.
Apply paint: Use a brush or roller to apply the paint evenly. Two coats are usually recommended.
Seal the edges: Make sure to paint the edges and any exposed wood to prevent moisture damage.
Conclusion: Reflecting on My Shed Door Experience
Building a strong DIY shed door was more than just an exercise in assembly; it was a valuable learning journey. From selecting the finest lumber to aligning every hinge precisely, attention to detail made all the difference. Each step, material choice, and method I've outlined ensures not just a door but a fortified entryway to your cherished shed space.
If you're planning a similar venture, use this guide as your trusted companion, making for an approachable yet robust project. And remember, the satisfaction of crafting something with your own hands is unmatched.


