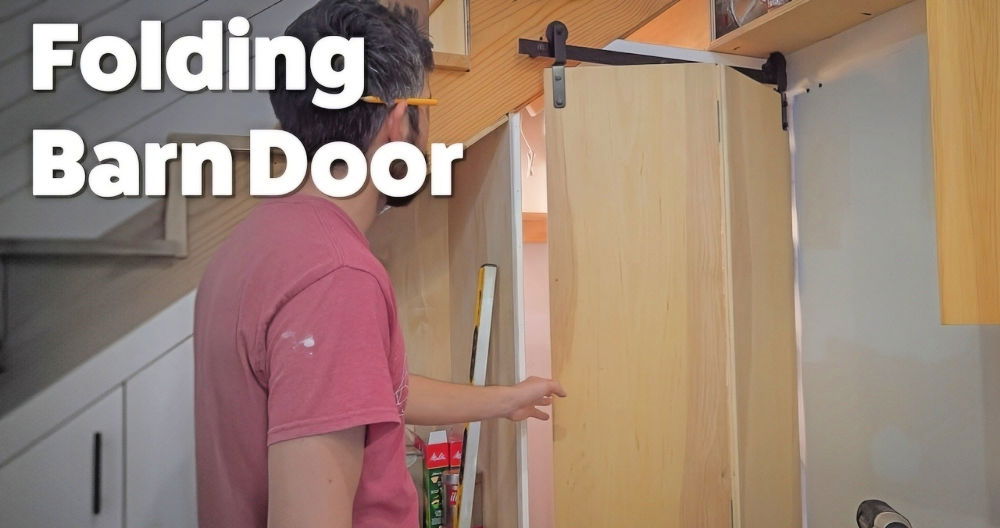
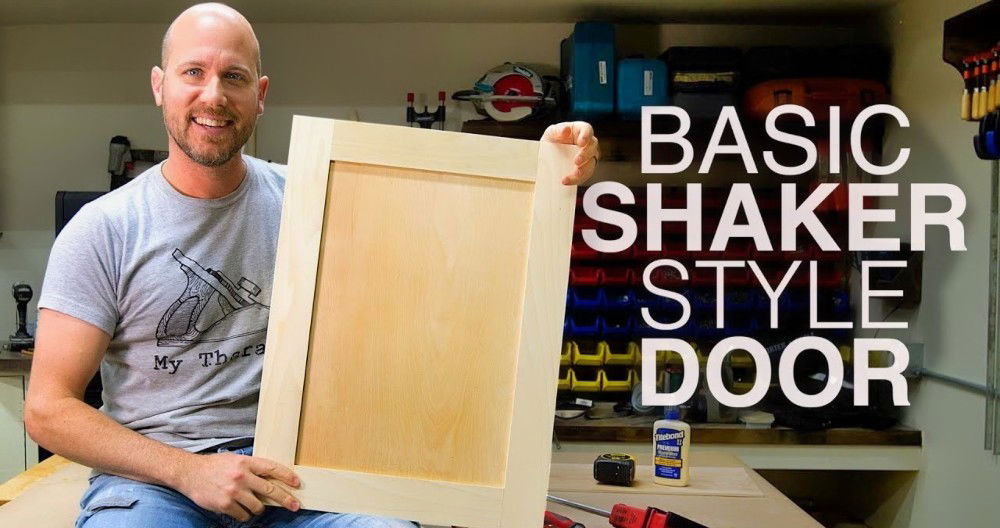
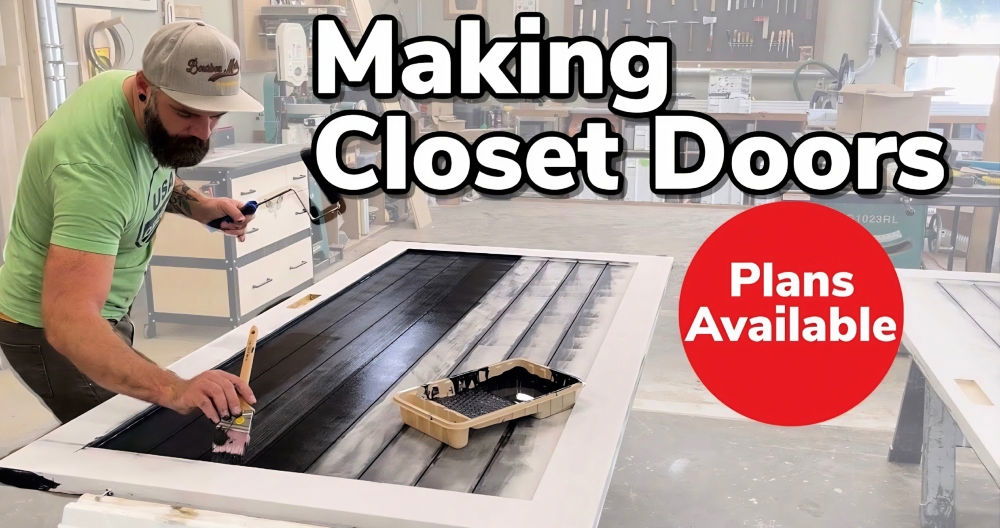
Making DIY bifold doors is a rewarding and practical project. I remember when I decided to build my own bi-fold doors for a small space in my home. The old door was too heavy and didn't fit well. I wanted something light and stylish. With some simple tools and materials, I knew I could make something beautiful and functional without spending too much money.
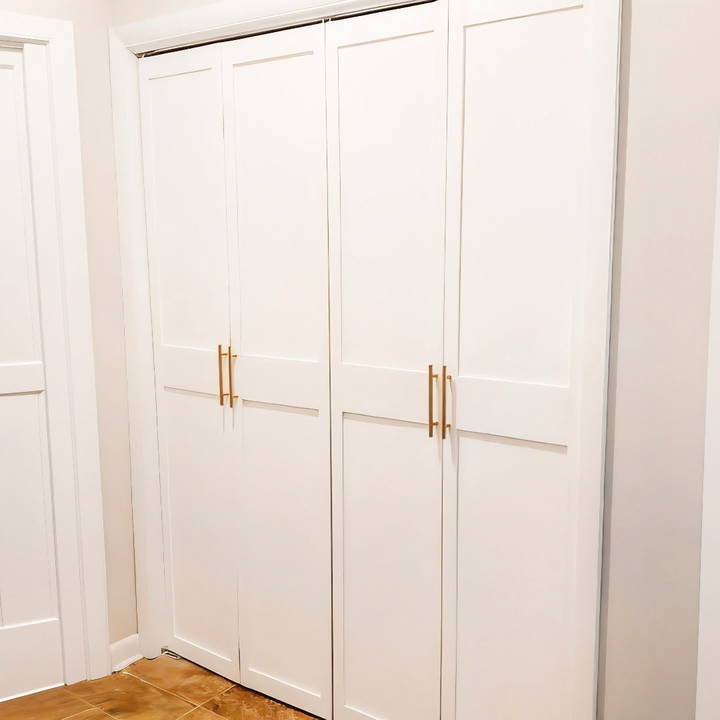
Building your own bifold doors is a great way to personalize your space and save money. You don't need to be an expert to do this. If I can make them, so can you! Get started today, and you'll find that making a beautiful solution is within your reach.
Materials Needed and Why
- 1x2 and 1x3 lumber: These will form the frames of your doors. Their sizes are optimal for a sturdy yet not overly bulky frame.
- Wood glue: Essential for securely bonding the wood pieces without the messiness or visibility of nails.
- Nail gun (optional but helpful): For an extra secure hold. I found it useful, especially when assembling the frame.
- Router: A crucial tool for making rabbits to fit in the panels. It offers precision that's hard to achieve with a saw.
- 1/4 inch plywood (birch): This will serve as the panel within your frame, providing that elegant shake-style look once painted or stained.
- Staple gun (optional): To secure the panels to the frame more firmly. While wood glue can suffice, a staple gun guarantees no shifting over time.
- Hardware kit: This includes the necessary hinges and door knobs. Select a kit that matches your decor style.
Step by Step Instructions
Learn how to make DIY bifold doors with our step-by-step guide covering everything from building the frame to adding the finishing touches.
Building the Frame
- Start with your lumber: Cut the 1x2 and 1x3 lumber to the desired dimensions of your doors.
- Assemble: Using wood glue (and a nail gun, if available), assemble the lumber into a frame. If you have clamps, they can provide a more secure grip while the glue dries.
Building Panel Slots
- Routing: With a router, carve out rabbits along the interior edges of your frame. These shallow recesses will hold the panel in place. If you're unfamiliar with using a router, there are plenty of tutorials that can guide you, but I found it was the best tool for this job given its precision.
Fitting the Panels
- Measure and cut: Have your plywood cut to size. I took advantage of the cutting service at Home Depot, which saved me time and ensured clean, precise cuts.
- Secure the panels: Apply wood glue along the rabbits before placing the panels into the frame. For an even stronger bond, a staple gun can be used along the edges.
Adding the Finishing Touches
- Install the hardware: Follow the instructions that come with your hardware kit to attach hinges and door knobs. Remember, the positioning of hinges is crucial for proper door movement, so take your time with this step.
Marvel at Your Work!
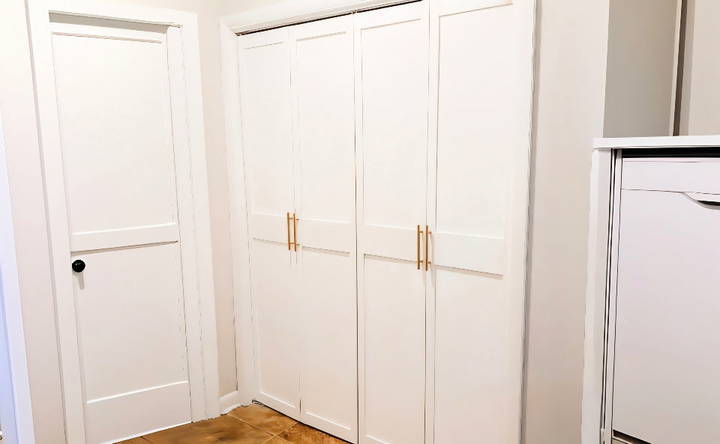
After installing the doors in my laundry room, I took a step back to admire the fruits of my labor. Not only did I save a significant amount of money, but I also ended up with custom doors that perfectly fit my space and style.
Finishing and Maintenance
After installing bifold doors, finishing and maintenance are key for durability and performance. Follow these simple steps for best results:
1. Surface Treatment: Staining, Painting, or Sealing
- Staining: If you have wooden bifold doors, consider staining them to enhance their natural beauty. Choose a stain color that complements your interior or exterior design. Apply the stain evenly using a brush or cloth, following the wood grain. Allow it to dry thoroughly.
- Painting: For a fresh and colorful look, opt for paint. Use high-quality paint suitable for the door material (wood, metal, or composite). Sand any rough spots, apply a primer, and then paint with a brush or roller. Multiple thin coats are better than one thick coat.
- Sealing: Sealing is crucial for wooden doors. It protects against moisture, UV rays, and temperature changes. Apply a clear sealant or varnish to seal the wood pores. Reapply periodically to maintain the protective layer.
2. Lubricate Hinges and Tracks
- Regularly lubricate the hinges and tracks to prevent friction and ensure smooth operation. Use a silicone-based lubricant or a specialized door lubricant. Apply a small amount to the pivot points, hinges, and rollers. Wipe away any excess.
3. Clean the Tracks
- Dirt, dust, and debris can accumulate in the tracks over time. Clean the tracks periodically to prevent obstruction. Use a soft brush or a vacuum cleaner to remove loose particles. For stubborn dirt, use a damp cloth or a mild cleaning solution.
4. Check for Wear and Tear
- Inspect your bifold doors regularly for signs of wear. Look for:
- Warped or Bent Panels: If you notice any warping or bending, address it promptly to maintain proper alignment.
- Loose Screws or Bolts: Tighten any loose hardware to prevent misalignment.
- Damaged Seals or Weatherstripping: Replace damaged seals to maintain energy efficiency.
- Scratches or Dents: Touch up paint or repair minor damage promptly.
5. Adjust Tension and Alignment
- Bifold doors rely on tension to operate smoothly. If your doors become difficult to open or close, adjust the tension. Most bifold doors have adjustable pivot points or tension screws. Consult the manufacturer's instructions for guidance.
- Ensure that the doors align properly when closed. Adjust the top and bottom pivot points if needed.
6. Seasonal Care
- During extreme weather conditions (hot summers or cold winters), pay extra attention to your bifold doors. Wood can expand or contract, affecting the fit. Make necessary adjustments to maintain proper clearance.
A little maintenance goes a long way in preserving the beauty and functionality of your bifold doors. By following these simple steps, you'll enjoy hassle-free operation and a stylish addition to your living space!
FAQs About DIY Bifold Doors
Explore our FAQs about DIY bifold doors to find answers, tips, and essential information for a successful home project.
Bifold doors, also known as folding doors, consist of two or more panels that fold together when opened. They are commonly used for closets, pantries, and room dividers. Bifold doors save space compared to traditional swinging doors, making them ideal for tight areas.
To measure for bifold doors, follow these steps:
Measure the width of the closet opening.
Divide the width by the number of panels (usually 2 or 4) to determine the width of each door.
Measure the height from the floor to the top of the opening.
Ensure the floor is level and the opening is square for accurate measurements.
Here’s a simplified installation guide:
Remove Old Doors: Take out the existing doors and hardware.
Prep the Opening: Measure the closet opening and choose the right-sized doors.
Install the Track and Brackets: Attach the track centered on the top frame with pivot brackets.
Paint or Stain the Doors: It’s easier to do this before hanging them.
Hang the Doors: Insert the pivot hinges into the track and adjust the height.
Attach Decorative Hardware: Add pulls or knobs for a finished look.
To adjust bifold doors:
Height: Lift the door and rotate the bottom pivot to change the height.
Alignment: Ensure the doors don't rub on the floor or header jamb.
Hardware: Install decorative pulls or knobs for ease of use.
Proper maintenance ensures longevity and smooth operation of your bifold doors. Follow these tips:
Regular Cleaning: Dust and wipe down the doors, tracks, and hardware. Use a damp cloth to remove dirt and debris. For wooden doors, avoid excessive moisture.
Lubricate Moving Parts: Apply a silicone-based lubricant to the pivot points, hinges, and tracks. This prevents squeaking and ensures smooth folding action.
Check Alignment: Periodically inspect the alignment of the doors. If they rub against each other or the frame, adjust the height or alignment as needed.
Inspect Hardware: Tighten loose screws, bolts, and brackets. Replace any damaged or worn-out hardware promptly.
Address Warping: Wooden doors may warp due to humidity. Sand down minor imperfections and repaint or stain them if necessary.
Weatherstripping: Install weatherstripping around the edges to improve insulation and prevent drafts.
Tips for Success:
In the end, I felt proud of what I had done. Crafting something with my own hands was fulfilling. I encourage you to try this DIY bifold doors project, and I promise you'll be excited about the results! It's easier than you think.


