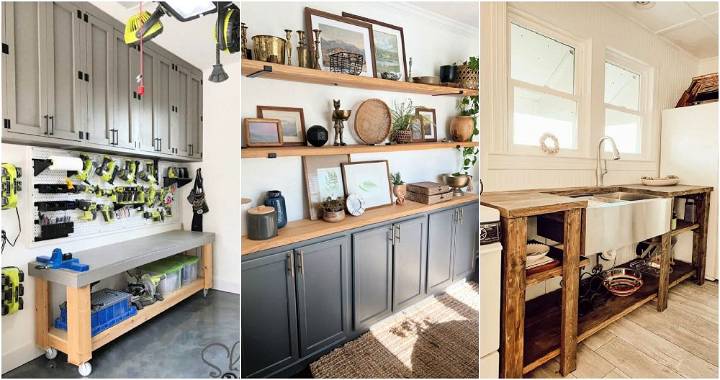
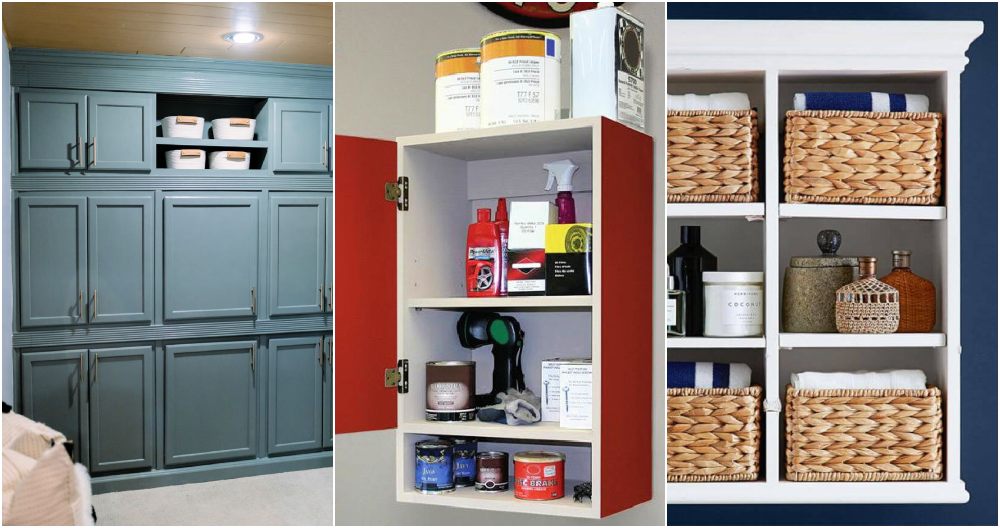
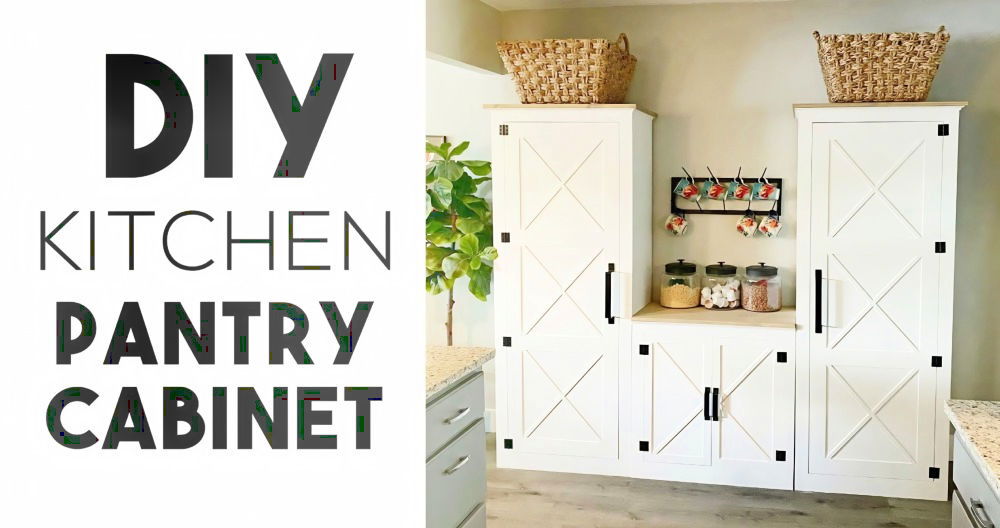
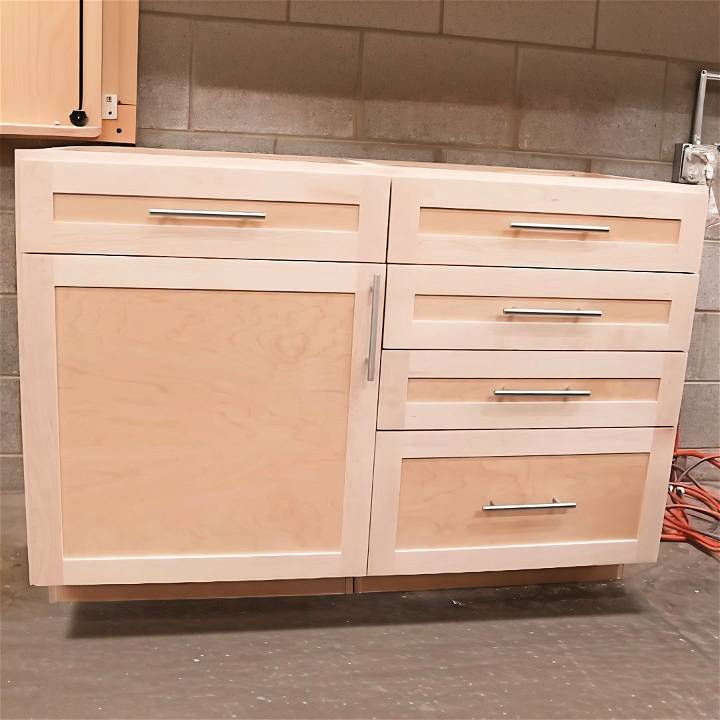
Making DIY cabinet doors can transform your space with a personal touch and save money. Making shaker cabinet doors is a popular project that adds elegance to any room. This guide is ideal for individuals eager to upgrade their kitchen or bathroom cabinets. We provide clear, step-by-step instructions and practical tips to ensure success in your project. From selecting the right materials to the final touches, we'll be with you every step of the way.
Our aim is to make the process of building shaker cabinet doors accessible and enjoyable. We cover basic concepts, cutting techniques, and assembly methods, ensuring that even those new to woodworking can achieve great results. Get ready to dive into the specifics of measuring, cutting, and assembling your own cabinet doors.
Let's move on to discover how you can make beautiful, customized doors that reflect your style and enhance your home's aesthetic.

Step by Step Instructions
Learn how to build Shaker cabinet doors with a table saw in this beginner-friendly woodworking guide below:
Step 1: Understand the Basics
- Door Styles and Rails: These are the vertical and horizontal frames of your door, respectively. Styles run vertically, and rails run horizontally.
- Standard Sizes: The width of the styles and rails is usually about 2 to 2.5 inches. Adjust according to your cabinet size.
- Material Estimation: To estimate the material needed, measure the height and width of the cabinet opening, multiply each by two, and add a little extra for mistakes or adjustments.
Step 2: Cutting Styles and Rails to Length
- Styles: Cut the styles to the exact height of your door.
- Rails Calculations: Subtract the combined width of two styles from the total door width, add allowances for tenons, and cut the rails to this length.
Step 3: Making the Groove
- Raise your table saw blade to 3/8 of an inch.
- Align the blade to roughly the center of the board's width.
- Carefully run all four pieces (both styles and rails) through the table saw, ensuring they're tightly against the table and fence.
- Use a scrap piece to adjust the groove's width to fit the thickness of your plywood panel snugly but not too tightly.
Step 4: Milling Tenons on Rails
- Attach a scrap block of wood to the fence, approximately 2.5 inches from the blade, to set the distance for cutting 3/8-inch tenons and to prevent kickback.
- Lower the blade just below the groove's sidewall.
- Mark the total length of the tenon (3/8 inch) on your rail, use the block to set the distance, and cut the tenon's shoulder.
- Flip the rail and repeat, then nibble away the excess material to make the tenon's face.
Step 5: Assembly
- Dryfit the door assembly to ensure everything fits properly.
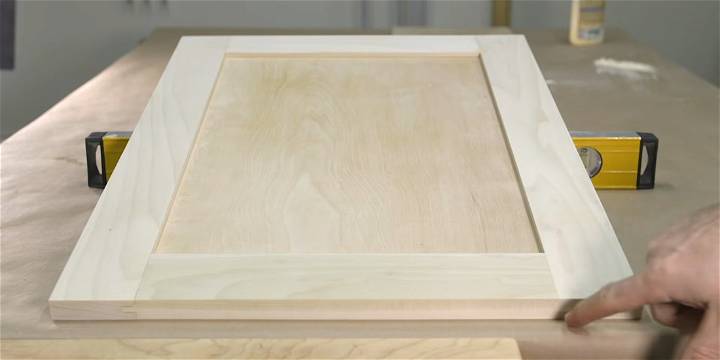
- Glue one side of the door, insert tenons into grooves, and slide the panel in place.
- Apply glue to the remaining tenons, assemble the other side, and clamp everything together.
- Ensure the door is flat against the clamps to avoid warping.
- Check for squareness by measuring diagonally from corner to corner; adjustments can be made until the glue sets.
Before the Glue Sets
- Make any necessary adjustments to ensure your door is square and flat. Slight discrepancies are typically manageable.
Post-Assembly
- Allow the glue to dry completely.
- Consider any milling operations for hardware before finishing with paint or stain.
Video Tutorial
For a visual guide on making Shaker cabinet doors, watch this step-by-step video tutorial: Build Shaker Cabinet Doors With Table Saw.
It pairs wonderfully with this written guide, offering clear demonstrations of the techniques discussed for an enriching learning experience.
Patience and precision are important in woodworking. Mistakes are part of learning. With practice, you'll make beautiful Shaker cabinet doors for your home.
Troubleshooting Guide
In this section, we'll cover some common issues you might encounter while making your DIY cabinet doors and how to solve them. Remember, every problem has a solution!
Hinge Installation Issues
One of the most common problems in DIY cabinet door projects is installing the hinges. If the door isn't aligning properly, check the following:
- Check the Hinge Position: Ensure the hinges are installed at the right height and depth. Misalignment can cause the door to hang crookedly.
- Adjust the Hinge Screws: Most modern hinges have adjustment screws. You can use these to move the door up, down, or sideways.
Wood Splitting
If you find the wood splitting while drilling or screwing, here are a couple of things you could do:
- Pre-drill Holes: Before screwing into wood, it's a good idea to pre-drill holes. This reduces the pressure on the wood and prevents splitting.
- Use the Right Screws: Ensure you're using wood screws, which are designed to prevent splitting.
Door Swinging Open
If your cabinet door won't stay closed, the problem might be with the catch:
- Check the Catch Alignment: The catch on the cabinet frame should align with the door when it's closed; if it doesn't, adjust the position of the catch.
- Replace the Catch: If adjusting doesn't work, you might need to replace the catch. They can wear out over time.
Patience is key when troubleshooting. Don't be discouraged if things don't go right the first time. With a little persistence, you'll have your DIY cabinet doors up in no time!
Cost and Time Estimates
When planning a DIY project, it's important to have a clear understanding of the cost and time involved. This section will provide you with a general idea of both for your DIY cabinet doors project.
Cost Estimates
The cost of your project can vary greatly depending on the materials you choose. Here are some factors to consider:
- Wood: The type of wood you choose will significantly impact the cost. Hardwoods like oak or maple are more expensive than softwoods like pine.
- Hardware: Hinges, handles, and catches can range in price. Opting for high-end hardware can increase the cost.
- Finish: Paint, stain, and sealant costs can add up. Consider your finish options and their respective costs.
Remember, it's always a good idea to budget for a little extra to cover unexpected costs.
Time Estimates
The time it takes to complete your DIY cabinet doors will depend on your experience level and the complexity of your design. Here are some time estimates for different stages of the project:
- Design and Planning: This could take a few hours to a few days, depending on how complex your design is.
- Cutting and Assembling: Depending on your skill level, this could take a weekend or longer.
- Finishing: Painting or staining and sealing the wood can take a few days due to drying times.
These are just estimates. Everyone works at their own pace, and it's important to take your time to ensure the best results.
Customization Ideas
Making your own cabinet doors gives you the freedom to customize them to your liking. Here are some ideas to inspire you:
Choose Your Material
The type of wood you choose can greatly influence the look of your cabinet doors. For a rustic look, consider using reclaimed wood. For a modern look, consider using a smooth, light-colored wood like birch or maple.
Paint or Stain
Painting or staining your cabinet doors can dramatically change their appearance. You could go for a bold color to make a statement, or use a stain to highlight the natural grain of the wood.
Add Decorative Elements
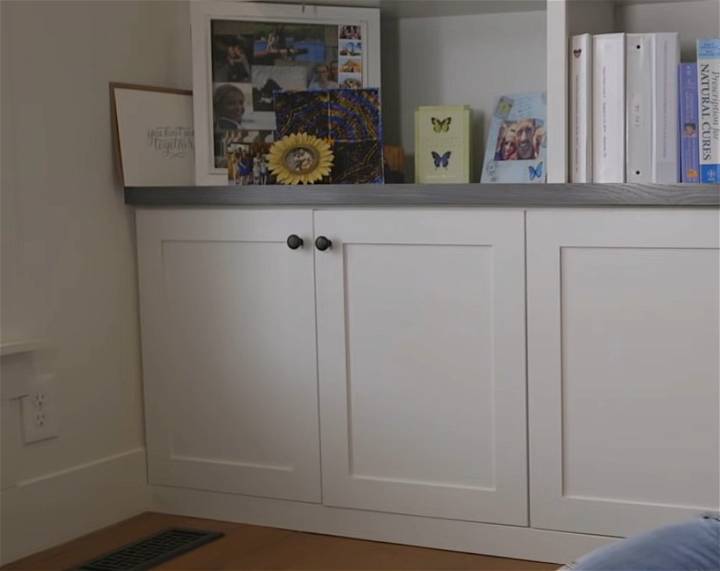
Consider adding decorative elements to your cabinet doors. This could be as simple as choosing unique handles or knobs, or you could add molding or carvings to the doors themselves.
Play with Texture
Adding texture to your cabinet doors can add visual interest. You could do this through the material you choose, such as choosing wood with a prominent grain, or you could add texture through techniques like distressing or crackle painting.
The beauty of DIY is that you can make your cabinet doors uniquely yours. Don't be afraid to experiment, and let your creativity shine!
Safety Tips
Safety should always be your top priority when working on DIY projects. Here are some safety tips to keep in mind when building your cabinet doors:
Proper Use of Tools
Always use tools for their intended purpose. Misusing tools can lead to accidents. Make sure you understand how to operate each tool before you start.
Protective Gear
Wear appropriate protective gear. This includes safety glasses to protect your eyes from dust and debris, gloves to protect your hands, and ear protection if you're using loud power tools.
Ventilation
If you're painting or staining your cabinet doors, make sure you're in a well-ventilated area. Fumes from paints and stains can be harmful if inhaled in large amounts.
Clutter-Free Workspace
Keep your workspace clean and free of clutter. A cluttered workspace can lead to accidents. Make sure all tools and materials are organized and out of the way when not in use.
First Aid
Have a first aid kit handy. Accidents can happen, and it's important to be prepared. Your first aid kit should include bandages, antiseptic wipes, tweezers, and a cold pack.
Safety first! Taking the time to follow these safety tips can help prevent accidents and ensure a successful DIY project.
Maintenance and Care
Proper maintenance and care can extend the life of your DIY cabinet doors and keep them looking their best. Here are some tips:
Regular Cleaning
Regular cleaning is essential to maintain the appearance of your cabinet doors. Use a soft cloth and a mild detergent to wipe down the doors. Avoid using harsh chemicals that can damage the finish.
Check for Damage
Inspect your cabinet doors regularly for any signs of damage. Look for scratches, dents, or warping. If you notice any damage, address it promptly to prevent it from worsening.
Hardware Maintenance
The hardware on your cabinet doors, such as hinges and handles, may need occasional tightening. If you notice any loose screws, tighten them to ensure the doors function properly.
Refinishing
Over time, the finish on your cabinet doors may start to wear. If this happens, you may need to refinish the doors. This involves sanding down the old finish and applying a new one.
Taking care of your DIY cabinet doors can keep them looking great and functioning well for years to come!
FAQs About DIY Cabinet Doors
In this section, we'll address some of the most frequently asked questions about DIY cabinet doors.
1. What type of wood is best for cabinet doors?
The choice of wood depends on your budget and the look you're going for. Hardwoods like oak and maple are durable and have a beautiful grain, but they're also more expensive. Softwoods like pine are more affordable and can still look great with the right finish.
2. Can I make cabinet doors without a router?
Yes, you can. While a router can give your doors a professional look, it's not necessary. You can make simple, flat panel doors using just a saw and some wood glue.
3. How do I measure for new cabinet doors?
Measure the width and height of the existing door or cabinet opening. Add 1 inch to both measurements to allow for a 1/2 inch overlay on all sides.
4. How do I install cabinet door hinges?
First, mark where the hinges will go on the door and cabinet frame. Then, use a chisel to carve out a recess for the hinge. Screw the hinge into place, making sure it's level.
5. How do I adjust cabinet doors after installation?
Most modern hinges have adjustment screws that you can use to move the door up, down, or sideways. If the door is not aligning properly, try adjusting these screws.
6. How do I finish my cabinet doors?
You can finish your cabinet doors with paint, stain, or clear wood finish. The choice depends on your personal preference and the look you're going for.
7. How often should I clean my cabinet doors?
It's a good idea to wipe down your cabinet doors with a damp cloth at least once a week. If your cabinets are in the kitchen and exposed to cooking grease, they may need to be cleaned more often.
8. Can I add glass to my cabinet doors?
Yes, you can add glass to your cabinet doors. You'll need to cut out a section of the door and replace it with a glass panel. This can be a bit tricky, so you might want to get help from a professional.
9. How do I fix a warped cabinet door?
Minor warping can often be fixed by adjusting the hinges. If the warping is severe, you may need to replace the door.
10. Can I make cabinet doors out of MDF?
Yes, you can make cabinet doors out of Medium Density Fiberboard (MDF). MDF is an affordable and versatile material that can be painted or stained to look like real wood.
Every DIY project comes with its own unique challenges and rewards. Don't be afraid to ask questions and seek help when you need it.
Conclusion:
In conclusion, mastering the art of DIY cabinet doors, specifically how to make shaker cabinet doors, can transform your space and imbue it with a personal touch. This guide has walked you through the essential steps from understanding the basics to assembly, and provided you with troubleshooting tips, cost and time estimates, customization ideas, and essential safety measures.
With a focus on precision and creativity, you're now equipped to tackle this project with confidence. Remember, the journey to building beautiful, customized shaker cabinet doors is not just about the end product but also about the skills and knowledge you gain along the way. Happy crafting!


