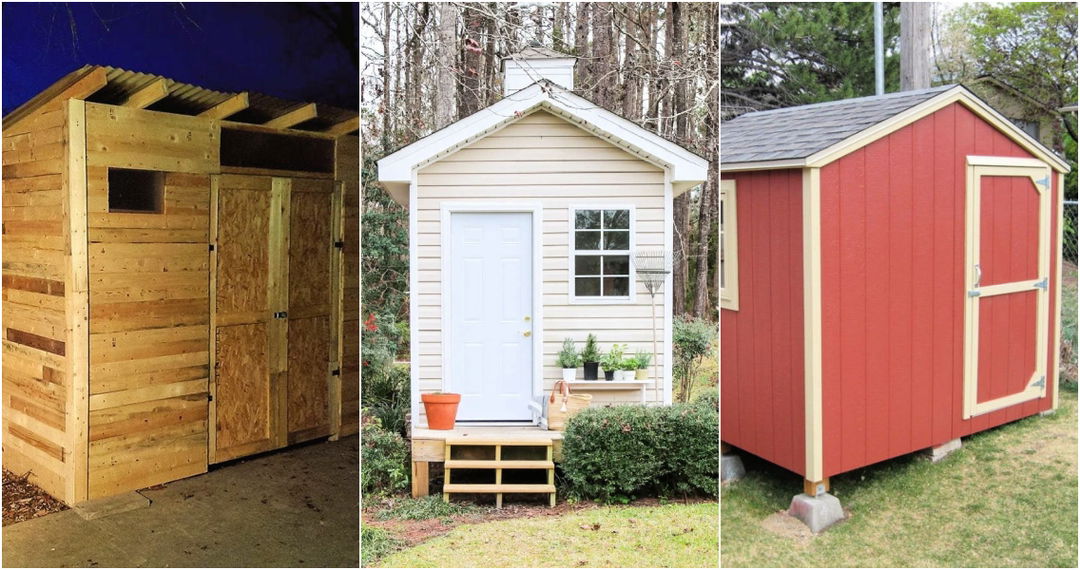
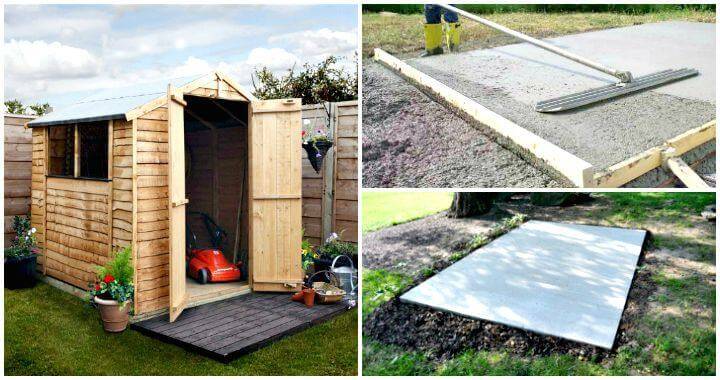
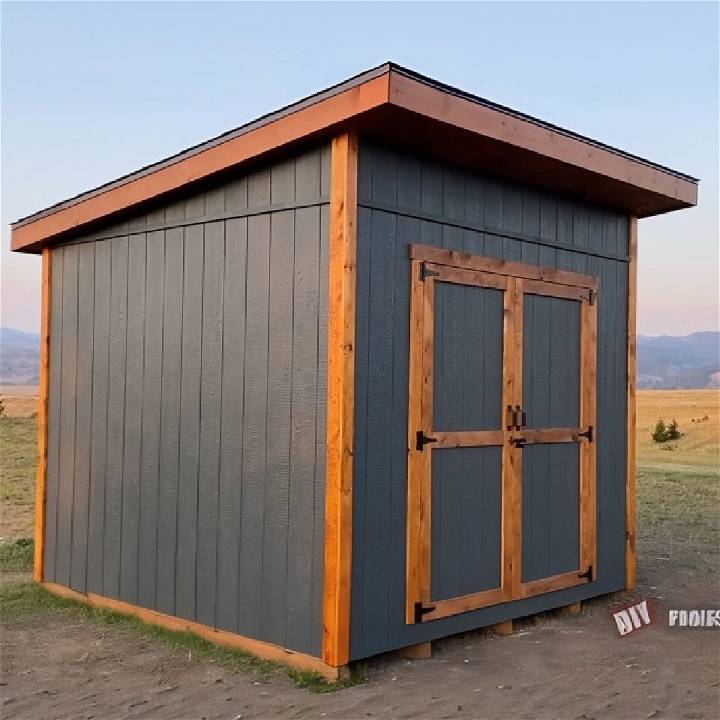
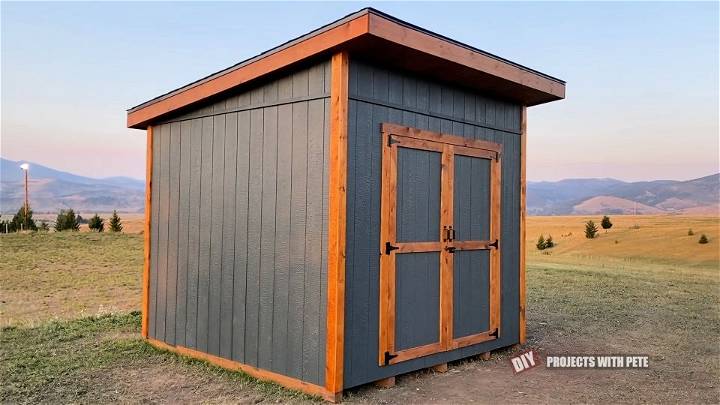
Building a lean-to style shed in my backyard was a decision driven by necessity and a dash of adventure. I needed extra storage space, and I was curious to see if I could undertake such a project on my own. This guide is a detailed recount of how I built my 10x10 foot lean-to shed, incorporating practical advice and lessons learned along the way. Whether you're considering building a DIY shed for storage, as a hobby space, or even a cozy backyard retreat, this guide is meant to help you navigate the process with confidence.
Planning and Materials
The journey began with a trip to the hardware store to gather the essentials. Why materials matter: choosing the right materials is crucial for the durability and functionality of your shed. For the base, I opted for 4x4 skids, since they offer flexibility should I ever decide to move the shed. The floor joists and walls were framed using 2x6 and 2x4 boards, respectively, ensuring a sturdy structure.
Materials needed:
- 4x4 skids (for mobility)
- 2x6 boards (for the floor joists)
- 2x4 boards (for framing)
- Pressure-treated plywood (for flooring)
- Framing nailer and nails
- Simpson brackets
- Circular saw
- Chalk line
- Drill and screws
Each material serves a specific purpose, from the pressure-treated wood that prevents rot to the framing nailer that significantly speeds up the building process.
Step by Step Instructions
Learn how to build a DIY shed step by step with instructions on building the base, framing the walls, roofing, siding, and finishing touches.
Building the Base
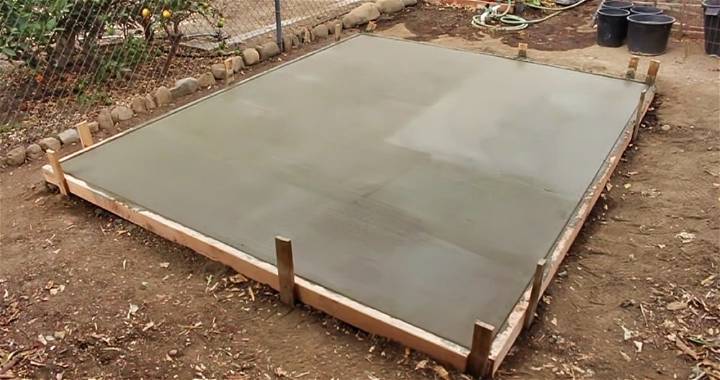
The foundation of any structure is critical. I started by constructing a robust floor frame, ensuring that the rim joists were accurately measured to achieve a perfectly square 10x10 foot platform. The precision in measurements is vital for fitting the plywood sheets later on with minimal cutting required.
Steps for the base:
- Construct the frame using 2x6 boards, keeping the rim joists at a full 10 feet.
- Measure and mark the location for each floor joist at 16 inches on center.
- Attach the joists to the rim using a framing nailer.
- Place the 4x4 skids underneath the frame for mobility.
This process required patience and precision, as ensuring a level and square frame would set the tone for the rest of the build.
Framing the Walls
Framing the walls was an exciting phase where the shed started to take shape. The back wall was first, constructed to be slightly under 8 feet tall. Experience tip: Building the walls on a flat surface ensures they are straight and makes lifting them into place much easier.
Steps for framing:
- Use 2x4 boards for the top and bottom plates of the walls.
- Measure and cut the wall studs at 16 inches on center.
- Assemble the wall frame on the ground, then lift and secure it to the base.
- Repeat the process for each wall, not forgetting to frame for a window and door if desired.
Roof and Sheeting
The roof structure was my introduction to a more complex woodworking skill - cutting and securing rafters. I decided on a simple lean-to roof to keep things manageable. Expertise insight: Calculating the pitch and cutting the rafters accurately was crucial for a solid and leak-free roof.
Roofing steps:
- Measure and cut each rafter to fit the slope of the roof.
- Use hurricane clips to attach the rafters to the top plates.
- Apply OSB or plywood sheeting over the rafters, securing with nails.
Siding and Finishing Touches
With the structure up, adding siding transformed the shed from a skeleton into a nearly finished product. I chose LP Smart Siding for its durability and ease of installation. Trustworthiness note: It's important to nail at each stud to ensure the siding adequately supports the shed and withstands weather conditions.
Final steps:
- Cut and install the siding, ensuring it fits snugly around the window and door frames.
- Paint or seal the siding to protect against moisture and sun damage.
- Install the roofing material of choice, ensuring proper overlap and sealing for water protection.
Reflection and Advice
Building a lean-to shed was more than a construction project; it was a learning experience. The patience and attention to detail it required were immense, but the satisfaction of completing it was well worth the effort. For those considering a similar project, my advice is to plan thoroughly, don't skimp on materials, and be prepared for challenges. Remember, the beauty of DIY is not just in making something with your hands, but also in the personal growth that comes with it.
Maintenance and Upkeep
Maintaining your DIY shed is crucial to ensure it stands the test of time and weather. Here's a simple guide to help you keep your shed in top condition.
Weatherproofing Your Shed
Weatherproofing is the first line of defense against the elements. Here are some key steps:
- Inspect and Seal: Check for gaps or holes in the walls and roof. Use caulk or weather stripping to seal them.
- Choose the Right Paint: Apply a coat of weather-resistant paint. It not only adds a layer of protection but also gives your shed a fresh look.
- Roof Care: Replace any damaged shingles immediately. Consider using reflective coatings to deflect heat.
Long-Term Care
Regular maintenance can significantly extend your shed's life. Here's what you can do:
- Clean Regularly: Sweep the interior and clear cobwebs. This prevents pests and keeps the shed tidy.
- Check for Rust: If you have metal parts, check for rust. Sand it off and apply a rust-inhibitor.
- Lubricate Hinges: Keep door hinges and locks lubricated to prevent seizing.
By following these simple steps, you'll keep your shed looking great and functional for years to come. Remember, a little care goes a long way!
FAQs About DIY Sheds
Here's a section dedicated to answering some common questions about building and maintaining a DIY shed. These FAQs are designed to be helpful, straightforward, and free of complex jargon.
What is the best location for a DIY shed in my yard?
The ideal location is level ground with good drainage and access to sunlight. It should be convenient for you to reach and not obstructed by trees or other structures.
Do I need a permit to build a shed?
In many areas, a permit is required for structures above a certain size. Check with your local building authority to understand the regulations in your area.
How can I make my shed more secure?
Consider sturdy locks, security lights, and even an alarm system. For windows, use shatter-proof glass or security film to deter break-ins.
What are some cost-effective materials I can use?
Pressure-treated lumber is durable and affordable. Recycled materials can also be a great option to save money and be environmentally friendly.
How do I maintain my shed over the years?
Regularly inspect your shed for signs of wear and tear. Keep it clean, repaint when necessary, and replace any damaged parts promptly to prolong its life.
Closing Thoughts
This guide, enriched by personal experience and practical advice, is intended to inspire and assist anyone looking to undertake a shed building project. Remember, the key to a successful build lies in preparation, patience, and the willingness to learn from each step of the process. Happy building!


