Building your own bifold barn doors can be a rewarding project that adds charm to your home. This guide will walk you through the process of designing and constructing your own DIY bifold barn doors, ensuring you have all the tools, materials, and steps needed for success. You'll discover helpful tips that make the project straightforward and enjoyable, resulting in beautiful doors that fit your style.
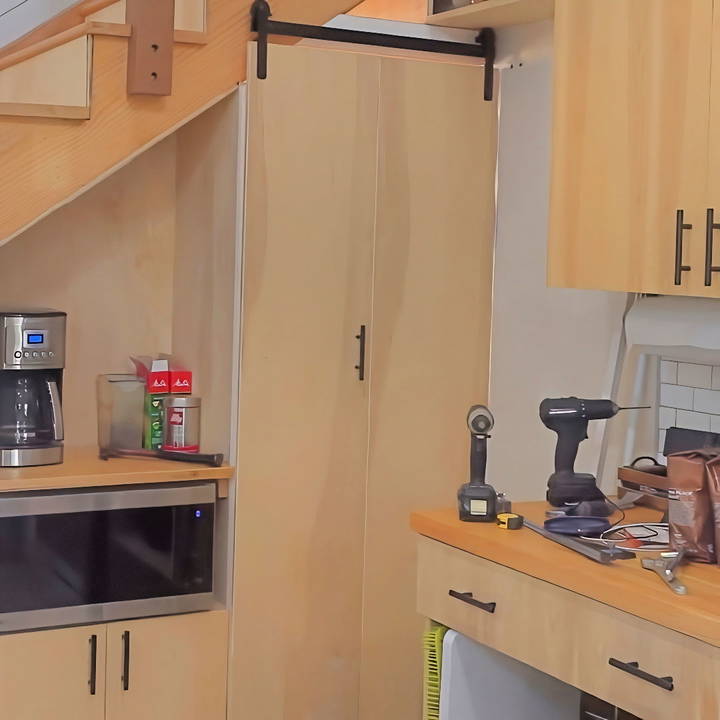
With a little time and effort, you can transform any space with these stunning folding barn doors. These doors not only serve a practical purpose but also enhance the aesthetic appeal of your home. Get ready to learn about the required materials, essential techniques, and creative ideas to make your doors unique. Let's jump into the details to help you get started!
Materials Needed and Their Purpose
- Plywood for the Door: We chose plywood because it's sturdy and affordable. Plus, it gave us the freedom to cut it down to the exact size we needed.
- Wood for Mounting the Rail: This piece was crucial for mounting the rail securely, ensuring that our folding door would slide smoothly.
- Barn Door Hardware Kit: This kit included the rail, rollers, and all the necessary screws and mounts. It's essential for the functionality of the folding door.
- Hinges: To allow the door to fold, we needed hinges. These were attached between two plywood panels, enabling them to pivot.
- Tools: Including a saw for cutting the plywood, a drill for installing the hardware, and a level to ensure everything was perfectly aligned.
- Lag Screws: For securing the wood mount for the rail, ensuring it could support the weight of the door.
Step by Step Instructions
Learn to build DIY bifold barn doors with our step-by-step guide. From planning to finishing touches, follow these easy instructions for perfect results.
Step 1: Planning and Prepping
Before diving into the building part, we measured our pantry's entrance to determine the size of the door we needed. Then, we sketched a simple blueprint to visualize how the folding mechanism would work. This planning phase was crucial for avoiding mistakes later on.
Step 2: Mounting the Wood for the Rail
We started by removing the existing trim and installing a sturdy piece of wood across the top of the doorway. This served as the base for mounting the barn door rail. We chose a durable wood piece because it had to support the door's weight.
Step 3: Assembling and Mounting the Door
After cutting our plywood to size, we installed the barn door hardware according to the instructions in our kit. The most challenging part was ensuring the spacing was correct, so the door would fold without obstruction. We used spacers to achieve the perfect gap between the rollers.
Step 4: Securing the Folding Mechanism
With the door assembled, we attached the hinges that would allow it to fold. We positioned these carefully to ensure that when opened, the door would fold neatly against the wall without taking up too much space.
Step 5: Fine-Tuning for Smooth Operation
Once mounted, we noticed the door rubbed slightly against the frame and the floor. To fix this, we adjusted the bottom pivot piece, moving it slightly outwards. This ensured the door opened smoothly, without any friction.
Step 6: Finishing Touches
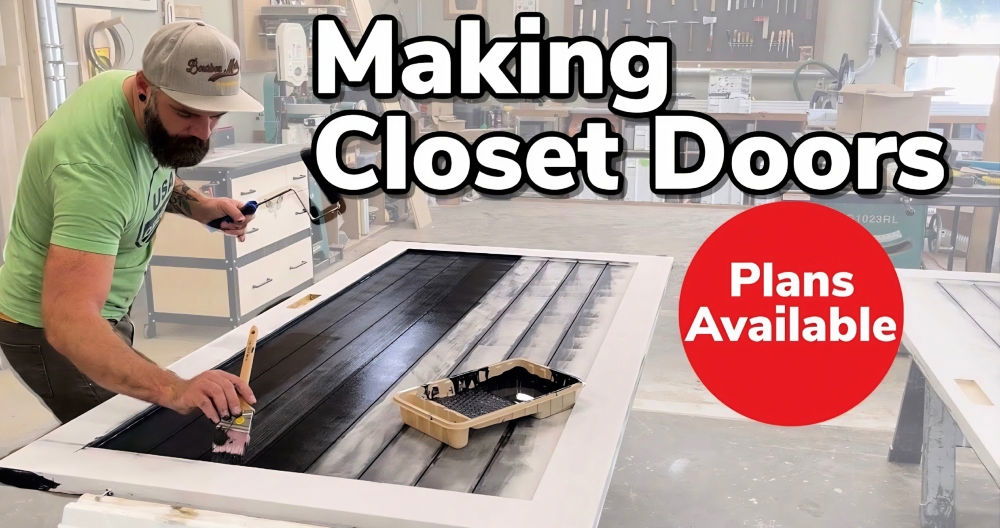
After ensuring the door's functionality, we moved on to aesthetics. We sealed off the exposed plywood edges and painted the door to match our cabinets. Finally, we added some shelving inside the pantry for better organization.
Customization Ideas
When making your own bifold barn doors, consider these creative customization ideas to add a personal touch and enhance their functionality:
1. Stenciling or Whitewashing
- Stenciling: Use stencils to add decorative patterns or motifs to the wooden slats. Whether it's a geometric design, floral elements, or even your favorite quotes, stenciling allows you to build a unique look.
- Whitewashing: Achieve a weathered, rustic appearance by applying a whitewash finish. Dilute white paint with water and brush it onto the wood, allowing the grain to show through. This technique works especially well for farmhouse-style barn doors.
2. Chalkboard or Magnetic Surface
Transform one of the door panels into a functional surface:
- Chalkboard: Apply chalkboard paint to one side of the door. This turns it into a writable surface where you can jot down notes, grocery lists, or inspirational messages.
- Magnetic Surface: Attach a sheet of magnetic material to the door. Now you have a place to display photos, artwork, or important reminders using magnets.
3. Glass Inserts
For a modern twist, consider incorporating glass panels into your bifold barn doors:
- Frosted Glass: Frosted or textured glass adds privacy while allowing light to filter through. It works well for bathroom or closet doors.
- Clear Glass: Clear glass panels build an open and airy feel. Use them to showcase a beautiful interior space or to connect rooms visually.
4. Hardware Accents
Pay attention to the hardware you choose:
- Handles and Pulls: Select handles or pulls that match your overall design. Rustic barn door handles with a black finish complement the style perfectly.
- Hinges: Opt for decorative strap hinges or barn door hinges. These not only serve a functional purpose but also add visual interest.
5. Painted Patterns
Get creative with paint:
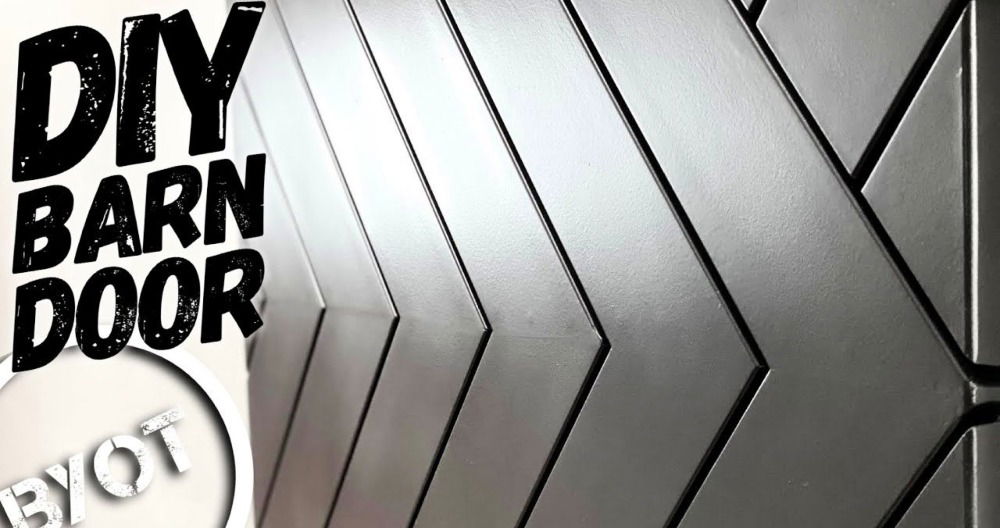
- Geometric Patterns: Paint triangles, chevrons, or herringbone patterns on the door panels. Use painter's tape to build crisp lines.
- Ombre Effect: Gradually transition from one color to another (e.g., dark blue fading into light blue). This adds depth and dimension.
Tailor these ideas to your taste and space aesthetic, whether rustic farmhouse or sleek modern, to make your bifold barn doors unique!
Safety Considerations
When working on your DIY bifold barn doors, safety should be a top priority. Follow these guidelines to ensure a safe and successful project:
1. Protective Gear
- Eye Protection: Wear safety glasses or goggles to shield your eyes from dust, wood chips, and paint particles.
- Ear Protection: If using power tools, such as a nail gun or circular saw, wear ear protection to prevent hearing damage.
- Dust Mask: When sanding or cutting wood, use a dust mask to avoid inhaling fine particles.
2. Tool Safety
- Read Manuals: Familiarize yourself with the operation and safety instructions for each tool you'll be using. Read the user manuals thoroughly.
- Sharp Blades: Ensure that saw blades and cutting tools are sharp. Dull blades can cause accidents.
- Secure Workpieces: Use clamps or vices to secure workpieces while cutting or drilling. Unstable materials can lead to mishaps.
3. Electrical Safety
- Power Tools: Inspect power cords for fraying or damage. Never use tools with exposed wires.
- Ground Fault Circuit Interrupter (GFCI): If working near water (e.g., painting or sanding), use tools with built-in GFCIs to prevent electric shocks.
- Extension Cords: Use heavy-duty extension cords rated for outdoor use if working in a garage or outdoor space.
4. Ventilation
- Painting and Staining: Work in a well-ventilated area when applying paint or stain. Proper ventilation prevents inhaling fumes.
- Wood Dust: Sanding generates fine wood dust. Set up a fan or work near an open window to disperse dust.
5. Lifting and Handling
- Teamwork: Bifold doors can be heavy. When lifting or moving them, ask for assistance to avoid strain or injury.
- Proper Lifting Technique: Bend your knees, keep your back straight, and lift with your legs—not your back.
6. Fire Safety
- Flammable Materials: Be cautious when using paint, stains, or sealants. Store them away from heat sources and open flames.
- Fire Extinguisher: Keep a fire extinguisher nearby in case of emergencies.
7. First Aid Preparedness
- Basic First Aid Kit: Have a basic first aid kit on hand. Treat minor cuts, scrapes, or splinters promptly.
- Emergency Numbers: Know the local emergency numbers (e.g., ambulance, fire department) in case of accidents.
Safety is essential throughout your DIY project. Take your time, follow safety guidelines, and enjoy the process of making beautiful bifold barn doors for your home!
FAQs About DIY Bifold Barn Doors
Discover common questions and answers about DIY bifold barn doors. Get tips, project ideas, and expert advice for your home improvement.
Bifold barn doors are a creative and cost-effective way to transform your existing bifold closet doors into charming, rustic-style barn doors. These doors mimic the look of traditional sliding barn doors but are easier to install and more budget-friendly. By adding wooden slats and a fresh coat of paint, you can achieve the barn door aesthetic without the hassle of building custom doors from scratch.
Absolutely! Bifold barn doors offer versatility in design. You can:
Experiment with Slats: Try different widths and arrangements for a unique look.
Add Trim: Consider adding trim around the door frame for added character.
Choose Your Finish: Whether you prefer a painted or stained finish, customize it to match your style.
Yes! Bifold barn doors are ideal for smaller rooms or tight spaces. Unlike traditional sliding barn doors, they don't require extra clearance for the door to slide open. Plus, their faux barn door appearance adds charm without compromising functionality.
Installing bifold barn doors involves a few steps:
Remove Existing Bifold Doors: Take off the existing bifold doors from their track.
Measure and Cut Slats: Measure the height of the closet opening and cut wooden slats to match. These will serve as the frame for your barn doors.
Attach Slats to Doors: Use a nail gun to attach the slats to the doors. Ensure they are level and evenly spaced.
Add X Pattern: Cut diagonal slats to build an X pattern on the doors. This adds to the barn door look.
Paint or Stain: Paint the doors in your desired color or stain them to match your decor.
Install Hardware: Attach barn door hardware to the top of the doors.
Hang the Doors: Hang the doors on the track, making sure they slide smoothly.
Absolutely! Bifold barn doors work well as room dividers. They allow you to separate spaces while maintaining flexibility. Consider using them to divide a living room from a dining area or a home office from a bedroom. Choose a style that complements your overall decor.
Conclusion
In conclusion, building your own stunning bifold barn doors is an exciting way to enhance your home's style. With this guide to DIY bifold barn doors, you have the tools and ideas needed to make this project a success. Remember to measure carefully and choose materials that fit your vision. Now is the perfect time to start transforming your space with beautiful folding barn doors that reflect your personal touch!


