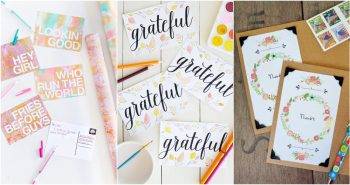
Sending a postcard is a delightful way to share your thoughts with a personal touch, especially in today's digital world where handwritten correspondence is becoming increasingly rare. Designing and making your own DIY postcards adds a creative twist that not only showcases your artistic flair but also makes your message even more special.
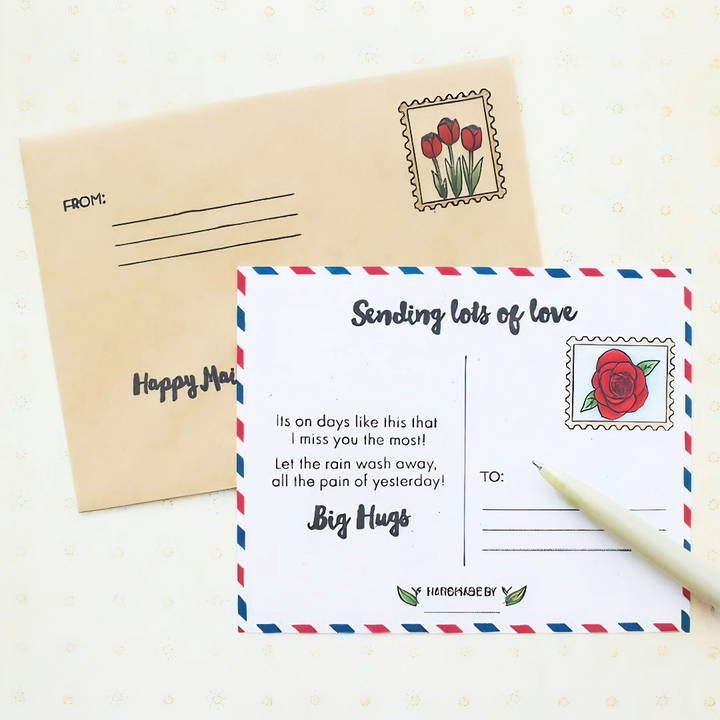
Whether you're a crafting enthusiast or just someone who enjoys personalized keepsakes, this guide will help you with everything you need to know about making your own postcards. Inspired by techniques from Altenew's Happy Mail Stamp Set, this article provides a detailed guide from conceptualizing to finalizing your DIY postcard.
Why Make Your Own Postcard?
Making your own postcard offers several benefits:
- Personal Touch: A hand-designed postcard shows thoughtfulness and adds a personal dimension to your correspondence.
- Creative Freedom: You have complete control over the design, color palette, and materials, ensuring that your postcard is unique and reflects your style.
- Therapeutic Crafting: The process of designing, stamping, and assembling the postcard can be an enjoyable and relaxing activity.
- Eco-friendly Option: Making your own postcards allows you to upcycle materials like scrap paper or use eco-friendly products, reducing waste.
Materials You'll Need
Before you begin, gather the following materials. Depending on your design preferences, you can modify this list to include additional embellishments or craft tools:
- Blank Postcard Paper: Use a heavy cardstock to ensure your postcard is sturdy enough for mailing.
- Stamps: Altenew's Happy Mail Stamp Set is an excellent choice, featuring lettering, florals, and accents perfect for postcards.
- Ink Pads: Opt for pigment inks in various colors for crisp and vibrant stamping.
- Acrylic Block or Stamping Tool: Essential for stamping clear designs onto the postcard.
- Markers or Colored Pencils: For coloring stamped images or adding personalized doodles.
- Adhesive: If you plan on adding embellishments or layering materials.
- Washi Tape: Great for adding borders or sections of color and pattern to your postcard.
- Scissors and Paper Trimmer: To cut your cardstock to the correct size for mailing.
- Envelope (Optional): To protect your postcard during shipping, especially if you're adding embellishments or textured elements.
Step by Step Instructions
Learn how to design and make personalized postcards step-by-step, from concept to mailing, with easy-to-follow instructions.
Step 1: Conceptualize Your Postcard Design
Before diving into the actual crafting, take a moment to brainstorm your design. Are you looking to make a minimalist look or a more intricate, decorative style? Consider the theme of your postcard — it could be for a birthday, a holiday, or just a "thinking of you" card. You might want to browse online for some inspiration or check out the Altenew Happy Mail Stamp Set for ideas.
Step 2: Cut Your Cardstock to Postcard Size
The standard size for postcards is 4 x 6 inches, but this can vary depending on your country's postal regulations. To start, cut your heavy cardstock to your desired size using a paper trimmer. Be sure to check your local postal guidelines for postcard dimensions if you're planning to mail it.
Make sure the edges are clean and straight. If you have a decorative edge trimmer, you can use that to add some flair to the edges.
Step 3: Stamp Your Design
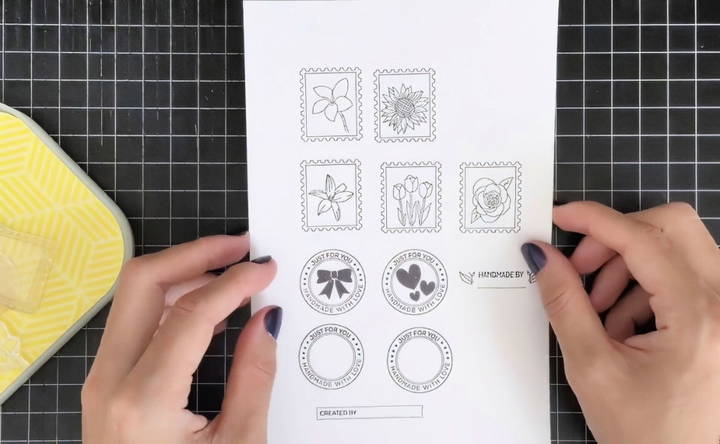
This is where the creative process truly begins! Using your Altenew Happy Mail Stamps, choose a design that matches your concept. For example, the floral images in this set are perfect for a springtime greeting card, while the fun lettering adds a playful touch.
- Choose Your Ink: Select ink colors that complement your design. Pigment inks work well for a bold, vibrant look, while dye inks can make a softer, watercolor effect.
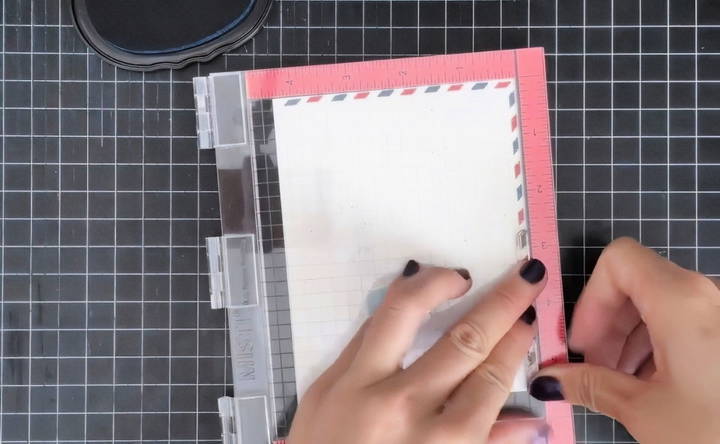
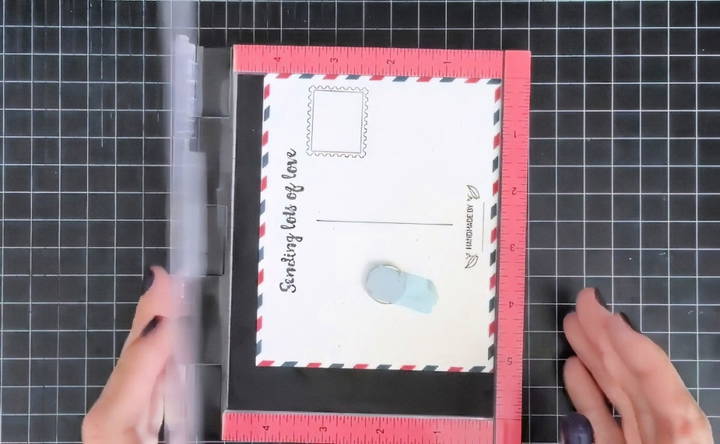
- Stamp the Front Side: Place your stamp on an acrylic block or a stamping tool. Ink the stamp by pressing it firmly into your ink pad. Then, position the stamp on the cardstock and press down evenly. If you're using multiple stamps, plan their placement ahead of time.
- Layer Stamps for Depth: Don't be afraid to layer your stamps. You can make an interesting background by using light-colored inks for the first layer and adding more detailed stamps with darker ink on top.
Step 4: Add Color
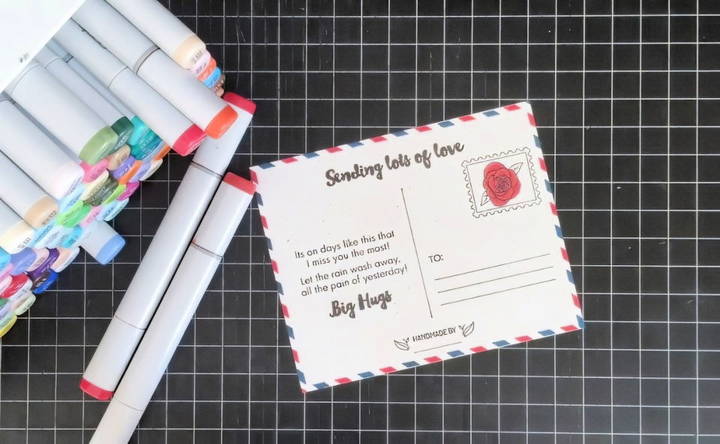
After stamping your design, bring it to life with color. You can use markers, colored pencils, or watercolor paints to fill in the floral images or other elements.
If you're going for a more vintage look, consider leaving some areas uncolored to keep a sketch-like aesthetic. If you want a vibrant postcard, go bold with your colors. Altenew's stamps are perfect for coloring in intricate details, especially floral and nature-inspired designs.
Step 5: Personalize with Handwritten Elements
Although the stamps and coloring will take center stage, a handwritten note or sentiment adds a final personal touch to your postcard. Use your favorite pens or markers to write a message, greeting, or a famous quote. You can also write the recipient's address directly onto the postcard.
For additional decoration, consider doodling small accents like stars, hearts, or leaves around the edges. If you have a calligraphy pen, use it to add elegant handwriting that enhances the overall design.
Step 6: Dress Up Your Envelope (Optional)
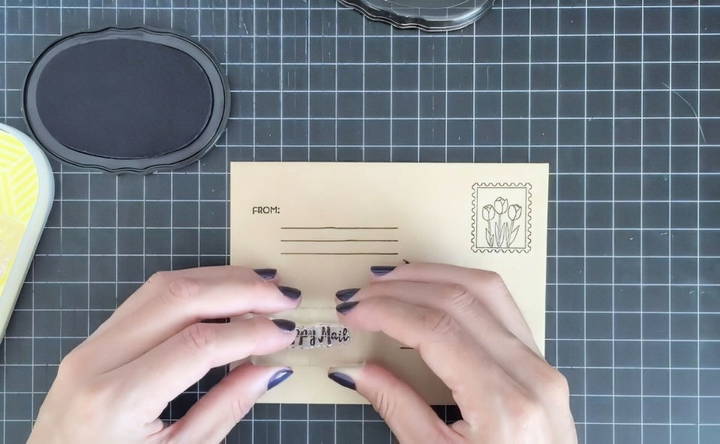
If you prefer to mail your postcard in an envelope, now's the time to dress it up! Using the same stamps and inks, make a matching design on the front and back of the envelope. This cohesive look adds a special touch when your recipient first opens the mail.
- Stamping on the Envelope: You can stamp a simple floral design in the corners or along the edges of the envelope.
- Washi Tape Accents: Use washi tape to add borders or seal the envelope. It's a fun and quick way to tie in colors from your postcard design.
- Address Labels: If you don't want to stamp directly onto the envelope, print out address labels and decorate those instead.
Step 7: Add Embellishments (Optional)
While not necessary, adding embellishments can take your postcard design to the next level. Here are a few ideas:
- Washi Tape Borders: Outline the edges of your postcard with washi tape for a pop of color or pattern.
- Sequins or Rhinestones: Add a bit of sparkle to your postcard by gluing sequins or rhinestones strategically around your design. Just be mindful of mailing restrictions if the postcard is too bulky.
- Textured Paper or Fabric: Layer textured materials like lace or burlap for a rustic touch.
Tips for a Perfect Postcard
- Practice Stamping: Before stamping directly onto your postcard, practice on a scrap piece of paper. This ensures that your ink is even and gives you a chance to adjust your technique.
- Test Your Ink: If you plan on adding multiple colors or layers, make sure the ink is dry before applying the next layer to prevent smudging.
- Use a Sealant: If you're using watercolor or any other medium that might smudge or wear down over time, consider using a spray sealant to protect your work.
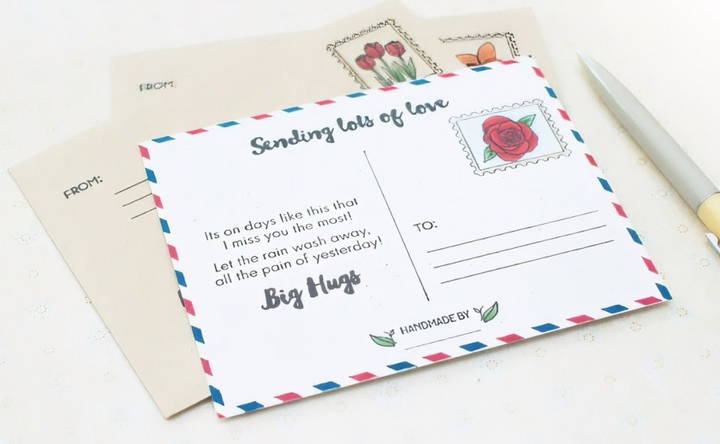
Mailing Your Postcard
Once your postcard is finished, it's time to send it off! Make sure to add the correct postage, especially if you're mailing internationally or using non-standard dimensions. If your postcard includes embellishments or is particularly delicate, placing it in a clear protective sleeve or mailing envelope is recommended.
FAQs About How to Design and Make Your Own Postcard
Discover essential FAQs on how to design and make your own postcard, including tips, tools, and techniques for crafting the perfect postcard.
Yes, you can mail a postcard with embellishments, but make sure it isn’t too bulky. If the postcard is delicate or includes raised decorations, consider mailing it in an envelope to protect it during transit.
Ensure your ink pad is well-saturated but not overly wet. After stamping, allow the ink to dry completely before handling the postcard or layering additional designs. Testing the stamp on scrap paper first can help avoid smudges.
If you don't have stamps, you can still make a postcard by drawing your own designs or using stickers. Many artists use simple materials like ballpoint pens and colored pencils to make beautiful, hand-drawn postcards.
It’s not required to use an envelope for a postcard, but it can be helpful if your design includes delicate elements or if you want to keep the card’s design private. Some people also enjoy decorating the envelope to match the postcard.
It’s not recommended to use regular printer paper, as it’s too thin and may not withstand the mailing process. Heavyweight cardstock (at least 100-110 lb) is ideal to ensure durability.
Using a ruler or light pencil guidelines can help you keep your design centered. Alternatively, practice on scrap paper first to refine your layout before stamping on the actual postcard.
Yes, you can use watercolors, but be sure to use watercolor-safe cardstock and test your ink to ensure it won't smudge when wet. Consider sealing the postcard after painting to prevent any color bleeding during mailing.
Conclusion
Designing and making your own postcard is not only a rewarding creative process but also a meaningful way to communicate with friends and family. With the help of Altenew's Happy Mail Stamp Set, you can make beautiful, personalized postcards that reflect your personality and artistic vision. By following this guide, you'll be able to design, color, and assemble a postcard that's both professional-looking and deeply personal. So why not give it a try? Your next piece of mail could be a work of art!


