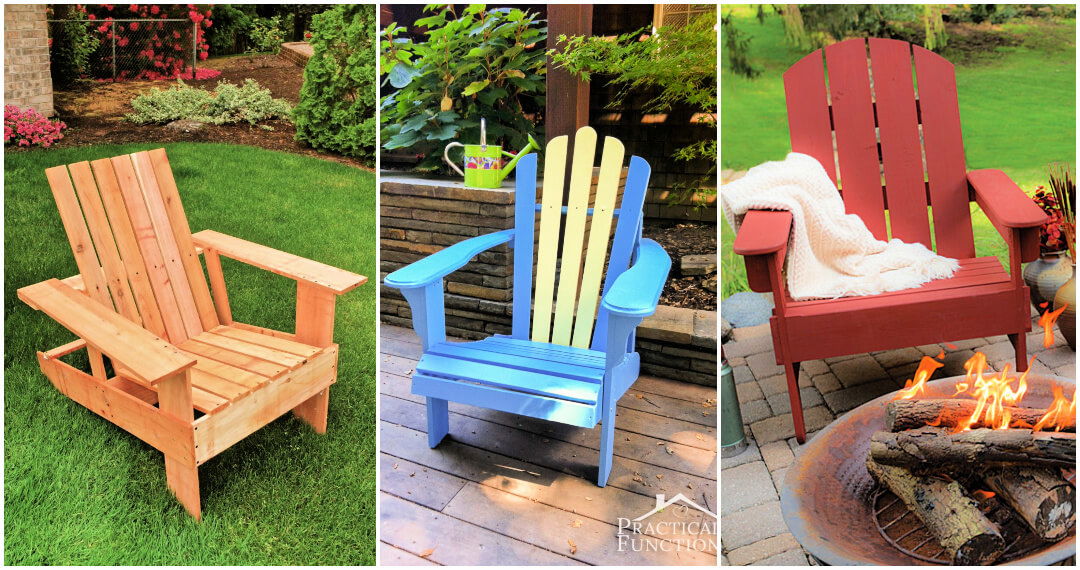
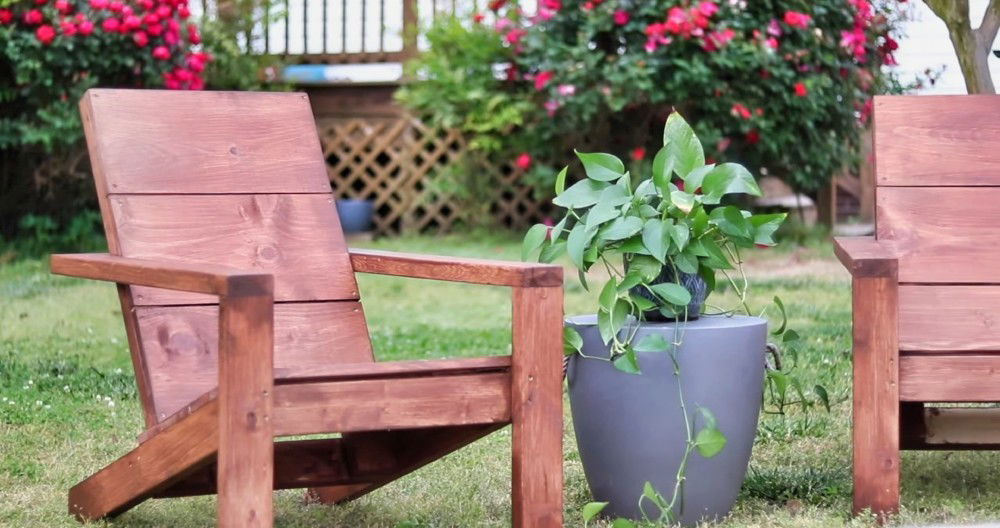
Embarking on a DIY project can be a rewarding way to spend your time, and what better project than making your very own folding Adirondack chair? This guide provides you with 05 free folding Adirondack chair plans, perfect for adding a touch of comfort and style to your outdoor space. Designed with both durability and aesthetics in mind, these chairs are not only comfortable but also practical thanks to their folding feature, enabling easy storage and maintenance.
Crafting a DIY folding Adirondack chair can be a fulfilling endeavor, allowing you to tailor the design to fit your personal taste and the décor of your outdoor area. With step-by-step instructions, this guide ensures you have all the information you need, from selecting the right materials and tools to assembling your chair with ease. Whether you're keen on woodworking or looking to tackle a new challenge, these plans are designed to guide you through the process, making woodworking accessible to all skill levels. Ready to build a cozy retreat in your garden or patio? Let's dive into the next section and start your project!

Why Choose DIY Folding Adirondack Chairs
Choosing to DIY your folding Adirondack chairs comes with a multitude of benefits that cater to your comfort, budget, and personal taste. Let’s explore why taking on this project is a worthwhile endeavor:
- Cost-Effective: Building your own chairs can significantly reduce costs compared to purchasing pre-made versions. You control the budget by selecting materials that meet both your financial and aesthetic requirements.
- Customization: One of the most appealing aspects of DIY is the ability to tailor the project to your preferences. Whether it’s adjusting the size for a perfect fit or choosing a specific wood type that matches your outdoor décor, the customization options are endless.
- Durability: By selecting high-quality materials and applying your craftsmanship, you ensure that the chairs are built to last. You're not just making furniture; you're crafting future heirlooms that can withstand the test of time.
- Skill Development: Even if you’re new to woodworking, building a folding Adirondack chair provides a fantastic opportunity to develop your skills. Each step of the process, from measuring to assembling, enhances your craftsmanship abilities.
- Satisfaction: The pride of completing a project with your own hands cannot be overstated. There’s a unique joy in using and displaying furniture that you’ve personally crafted, providing a constant reminder of your hard work and creativity.
Embarking on a DIY folding Adirondack chair project marries functionality with creativity. It’s an investment in your comfort, a boost to your skills, and a nod to your financial savvy—all wrapped up in one enjoyable package.
How to Make a Folding Adirondack Chair: A Step-by-Step Guide
Making a folding Adirondack chair is a rewarding project that combines functionality with aesthetic appeal. Using this guide, you'll learn how to construct your own chair that can be easily stored away when not in use. This DIY project is perfect for both novices and experienced woodworkers alike.
Materials and Tools You Will Need
Before you begin, ensure you have the following materials and tools:
- Four 1x6x12 ft. Cedar (or your preferred wood)
- 3/4 inch plywood (optional for templates)
- Stainless steel screws and hardware
- Wood glue
- Power drill
- Band saw
- Spindle sander
- Router (optional)
- Double-sided tape or screws for templates
- PDF plans for the chair (available in the video description)
Preparing the Wood
- Cutting the Wood: Begin by cutting the cedar boards according to the measurements provided in the free PDF plans. If using plywood for a prototype or templates, cut it as needed.
- Making Templates: For parts of the chair that require precise curves, it's advisable to make hardboard templates. You can also use the first piece you cut as a template for its counterpart to ensure both pieces are identical.
Assembling the Chair
- Arms and Legs: Start by cutting out the arms and legs of the chair using your templates. Refine their shape with a band saw, then smooth the edges with a spindle sander for a professional finish.
- Seat and Back: Follow the same process for the seat slats and the back of the chair. Pay special attention to the back; you'll need to construct a box frame to support the slats, ensuring to pre-drill for a bolt that will hold everything securely in place.
- Assembly: With all pieces prepared, begin assembling the chair, starting from the base. Attach the legs, followed by the seat, and finally, fit the back into place. Use stainless steel screws and wood glue for a durable build.
- Finishing Touches: Round over any sharp edges for comfort and apply any desired finishes. If you plan to use the chair outdoors, consider applying a weather-resistant sealant.
Maintenance and Storage
This chair design allows for easy folding and storage. Simply collapse the chair when not in use and store it in a dry, protected area to prolong its life. Regular checks for loose screws and occasional reapplication of sealant will keep your chair in great condition for years to come.
Video Tutorial
For a step-by-step video tutorial, watch this YouTube video.
It pairs well with this written guide, enriching the learning experience by providing visual instructions and practical tips for each step of the project.
Following this guide will help you build a stunning folding Adirondack chair that combines convenience with the classic comfort of this iconic design. Whether you're looking to add to your outdoor furniture collection or take on a rewarding woodworking project, this guide is your pathway to success. Happy building!
FAQs on DIY Folding Adirondack Chair Plans
Here, we address the most commonly asked questions related to DIY Folding Adirondack Chair Plans to help you start your project with confidence.
What is the best wood to use for Folding Adirondack Chairs?
For Folding Adirondack Chairs, durable and weather-resistant woods are ideal. Cedar, redwood, teak, and mahogany are top choices due to their ability to withstand outdoor elements and resist decay. Cedar is particularly popular for its affordability and natural insect-repelling properties.
Can I make a Folding Adirondack Chair as a beginner?
Yes, with the right plans and a basic understanding of woodworking tools and techniques, beginners can successfully build a Folding Adirondack Chair. Starting with a simple design and carefully following step-by-step instructions will help ensure a successful project.
What tools do I need to build a Folding Adirondack Chair?
The essential tools for building a Folding Adirondack Chair include:
- Power drill
- Band saw or jigsaw for cutting curves
- Spindle sander or sandpaper for smoothing edges
- Screwdriver
- Measuring tape and pencil
- Optional: Router for rounding edges
How long does it take to build a Folding Adirondack Chair?
The time it takes to build a Folding Adirondack Chair can vary based on the complexity of the design and your woodworking experience. Generally, a straightforward chair design can take a weekend to complete, including preparation, assembly, and finishing.
How can I protect my Folding Adirondack Chair from the weather?
To protect your folding adirondack chair from weathering, consider the following steps:
- Use weather-resistant wood like cedar or apply a protective finish.
- Regularly apply a water-repellent finish or wood sealant to shield against moisture.
- Store the chair in a dry, sheltered area during extreme weather conditions.
Can I customize the size of my Folding Adirondack Chair?
Yes, one of the benefits of DIY folding adirondack chair projects is the ability to customize. You can adjust the dimensions of your Folding Adirondack Chair plans to better suit your space or personal preference. Just ensure that any adjustments maintain the chair's balance and structural integrity.
What maintenance is required for a Folding Adirondack Chair?
Regular maintenance can extend the life of your Folding Adirondack Chair. This includes:
- Tightening any loose screws or bolts periodically.
- Sand and reapply sealant or paint as needed to keep the wood protected.
- Cleaning the chair with a mild soap and water solution to remove dirt and grime.
By addressing these frequently asked questions, you should feel more equipped to tackle your DIY Folding Adirondack Chair project, resulting in a beautiful and functional addition to your outdoor space.
5 Free Folding Adirondack Chair Plans
Discover 5 free folding Adirondack chair plans to build your own stylish and practical outdoor seating. Easy-to-follow guides for all skill levels!
1. DIY Folding Adirondack Chairs
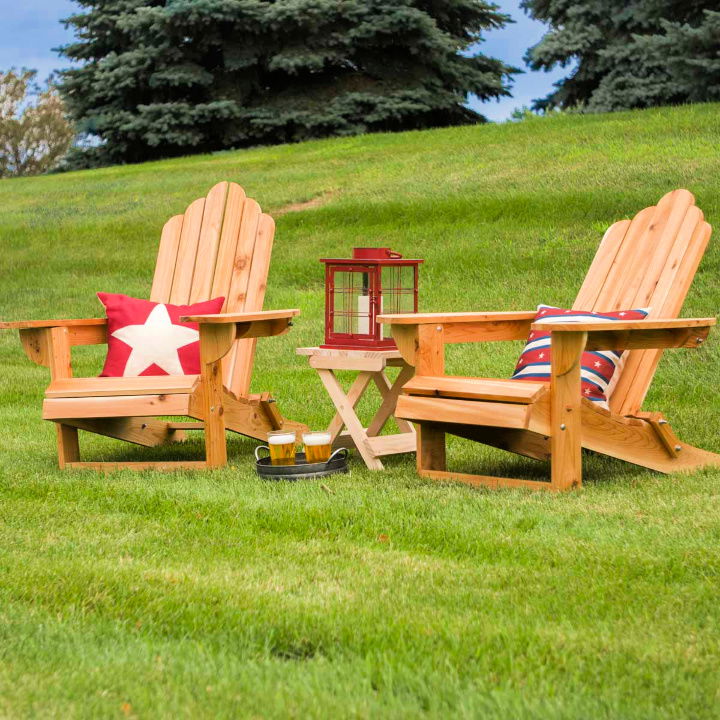
Build your own patio furniture with folding Adirondack chair plans, perfect for storage and style. Elevate your outdoor relaxation with a DIY project! Learn to craft a folding Adirondack chair with this easy-to-follow tutorial. Ideal for any skill level, this guide walks you through every step, from sanding to assembly.
Transform your backyard or patio into a cozy escape with this classic chair that stores away conveniently. Perfect for enjoying those sunny days or serene evenings at home. Start building today by clicking here.
2. Build a Folding Adirondack Chair for Your Garden
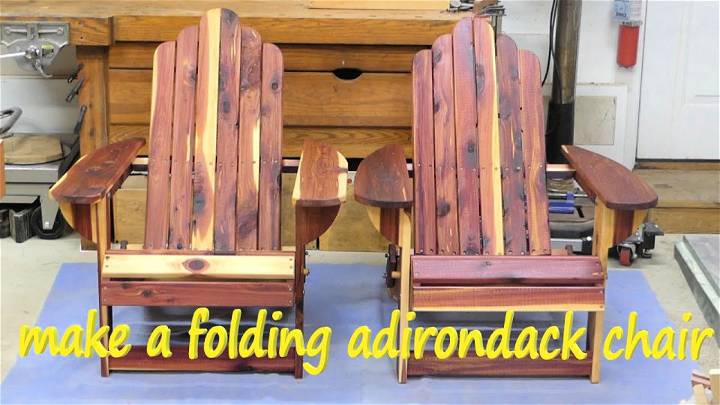
Elevate your outdoor relaxation with a DIY folding Adirondack chair! Perfect for enthusiasts ready to enhance their patio or garden. This project, featured in a detailed tutorial by YoungJe, guides you through making your own aromatic cedar chair. It's not just a craft; it's an investment in comfort and style. Ready to get hands-on? Jump straight into the action by watching the tutorial here. Start crafting today for those perfect sunny days ahead!
3. Making Folding Adirondack Chairs
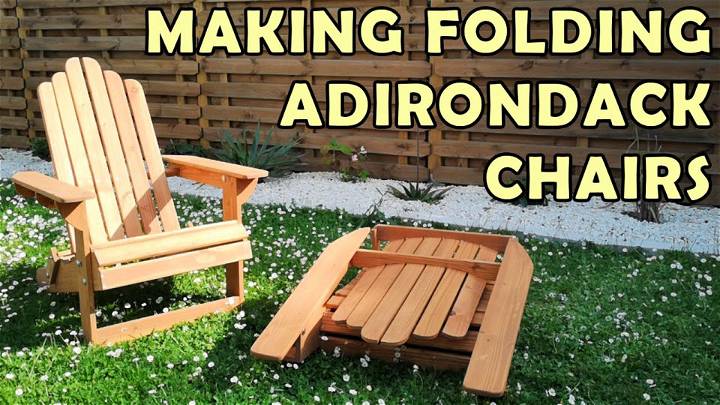
Build a portable relaxation spot with DIY folding Adirondack chair plans, blending convenience with comfort. Dive into the world of DIY with our step-by-step guide on crafting a folding Adirondack chair. Perfect for those who love to personalize their outdoor space. Our tutorial is easy to follow, ensuring a successful project regardless of your skill level. For an in-depth visual guide, check out our video here. Get ready to transform your backyard into a cozy retreat with your own handcrafted chair.
4. Free Folding Adirondack Chair Plans
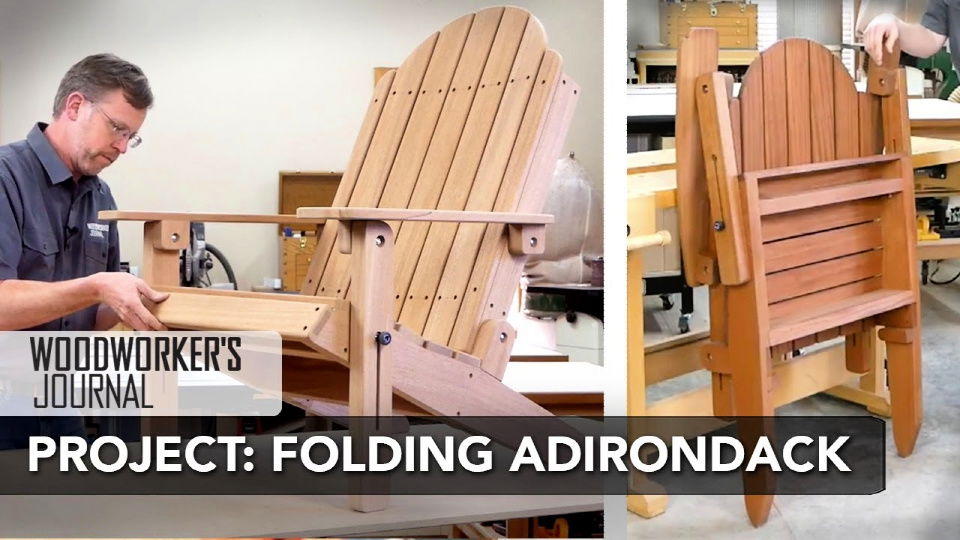
Craft the classic outdoor seat using Adirondack chair plans with templates for precision and ease. Embark on a DIY journey with our informative guide on crafting a folding Adirondack chair—a perfect addition to any garden or patio. This step-by-step project is showcased in a comprehensive video tutorial, making it accessible for crafters of all levels.
Beyond its classic charm, this chair stands out with its unique folding feature for easy storage. All essential details, including measured drawings and materials, are available for you. Dive into the project by checking out the complete tutorial here. Begin your build today for a cozy retreat in your outdoor space!
5. Folding Adirondack Chair Project
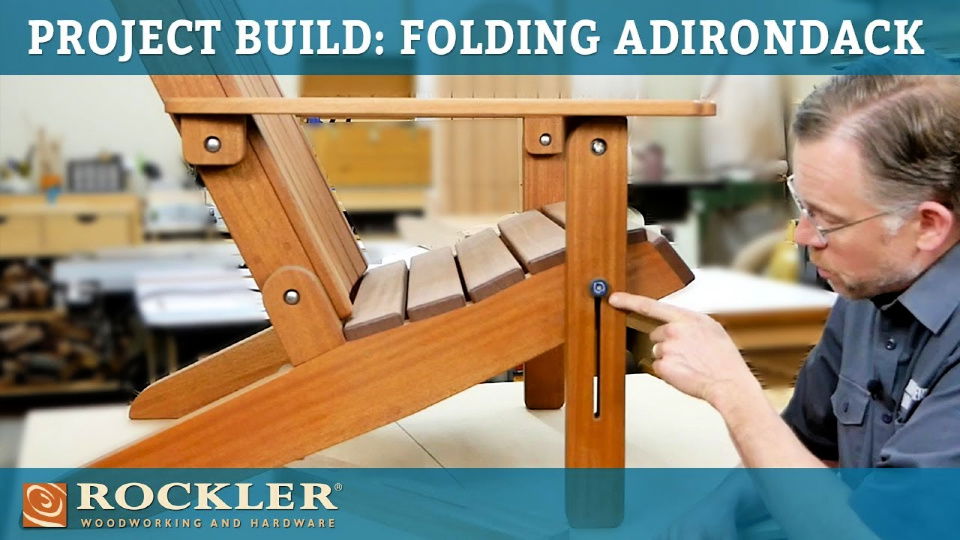
Unlock the secrets of crafting a beautiful Folding Adirondack Chair that offers both style and convenience. This innovative design allows for easy storage by simply loosening knobs, adjusting the seat, and folding. Detailed instructions, including a video tutorial by Rockler Woodworking and Hardware, guide you through the process of making this versatile piece of outdoor furniture. Enjoy the satisfaction of building a custom chair that combines classic aesthetics with practical functionality. Perfect for any skill level, this project promises to enhance your outdoor living space.
DIY Shed Plans: Discover simple DIY shed designs for your home with our DIY Shed Plans. Get ready to enhance your outdoor space with these easy-to-follow plans.
Conclusion:
In conclusion, these 5 free folding Adirondack chair plans offer a fantastic opportunity for anyone looking to add a touch of comfort and style to their outdoor space. By following the step-by-step guide, from selecting the right materials to assembling the chair, you can build a beautiful and practical piece of furniture. Remember, maintaining and storing your DIY folding Adirondack chair properly will ensure it lasts for many enjoyable seasons. Dive into this rewarding DIY project today and transform your garden or patio into a cozy retreat.


