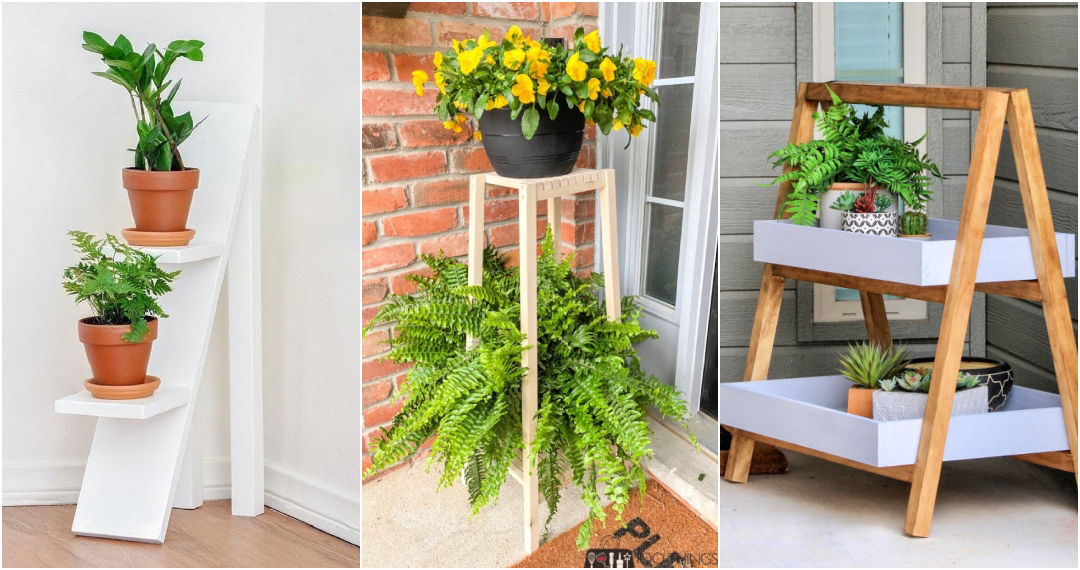
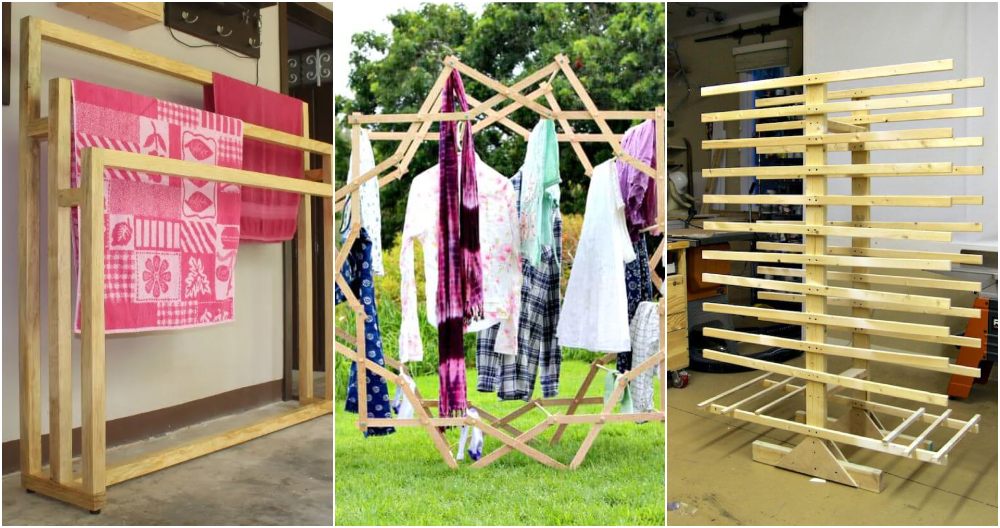
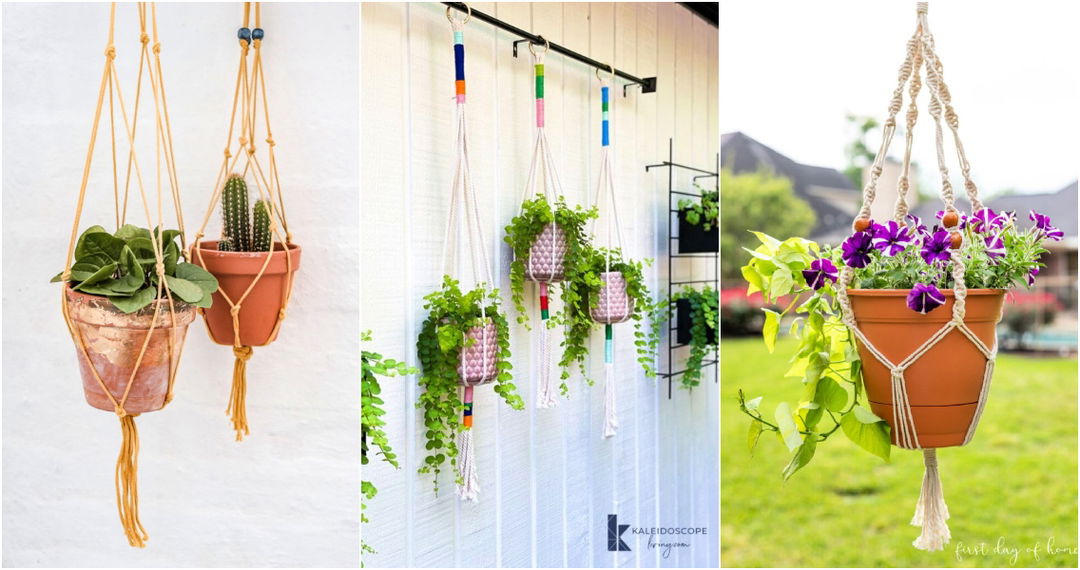
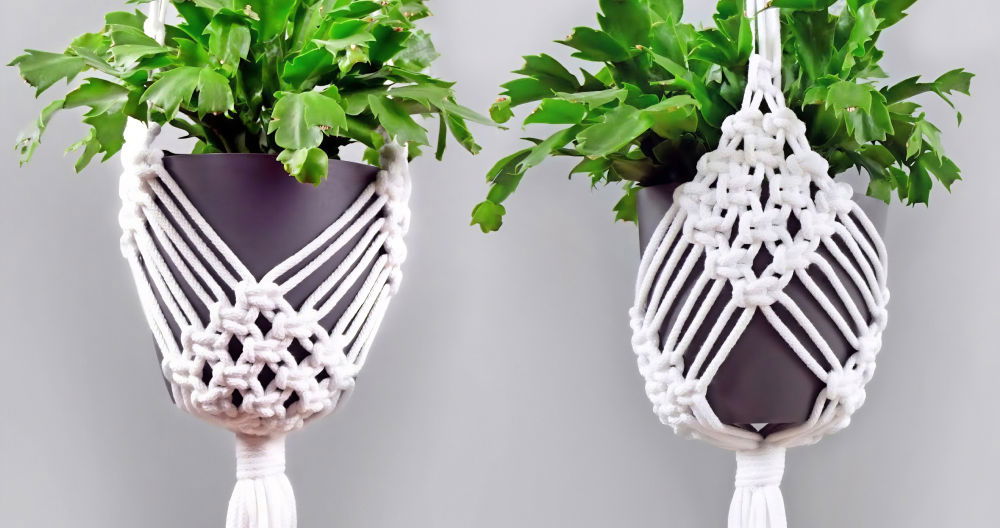
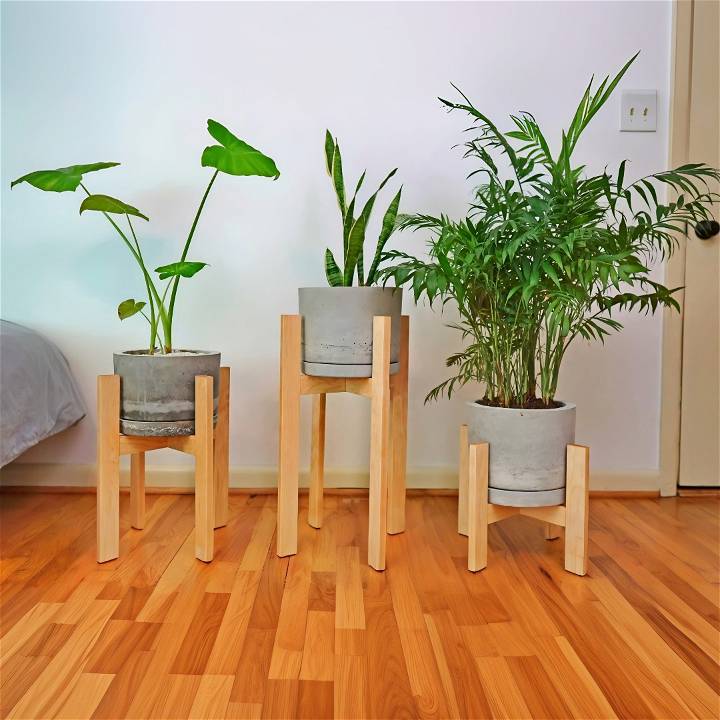
When I decided to add some life to my home with indoor plants, I knew I wanted something unique for them to stand on. That's when the idea of making wooden planter stands came to my mind. I embarked on this woodworking journey with excitement, hoping to craft something both beautiful and functional. Here, I intend to share my experience, providing a step-by-step guide.
Materials Needed and Their Purpose
1. Maple Wood
I chose maple for its durability and appealing grain. You'll need fresh lumber, from which you'll cut all the pieces for your stands. The quantity depends on how many stands you intend to make.
2. Tools for Cutting and Shaping
- A jointing sled and a planer were used to ensure the wood was smooth and even.
- A table saw sled was crucial for making precise cuts.
- For the joinery, a beadlock basic loose tenon kit was utilized, although it had its challenges.
- Sandpaper: Essential for smoothing out the wood after cutting and before finishing.
- Wood Glue: To bond the wood pieces together securely.
- Clamps: Needed to hold the wood pieces together while the glue dries.
- Finish: I used a simple clear coat to enhance the wood's natural beauty and protect it.
The Process
Learn how to build a DIY plant stand with step-by-step instructions. From preparing the wood to finishing touches, find easy solutions to assembly challenges.
Step 1: Preparing the Wood
First, I gathered my maple lumber and used a jointing sled and planer to flatten and smooth each side. Once smooth, I laid out and cut all the pieces to their precise dimensions using a table saw sled.
Step 2: Cutting the Joinery
The stands are held together with half lap joints at the center cross sections and mortise and tenon joints for the legs. I found establishing the outer edges of each notch critical for the lap joints, utilizing a dado stop for accuracy. Cutting multiple test pieces before the actual pieces ensured a snug fit.
Step 3: Assembly Challenges and Solutions
Using the beadlock kit for the mortise and tenon joints presented a learning curve. Initially, the tenons didn't fit well, reminding me of the importance of not forcing pieces together. After some adjustments, including sanding the tenons for a better fit, I managed to keep the assembly process moving forward, albeit slower than anticipated.
Step 4: Sanding and Gluing
Before gluing, I sanded all pieces to ensure the corners wouldn't be hard to reach later. During glue-up, I closely followed my test runs, using clamps to hold everything in place. It was a lesson in patience, waiting for the glue to dry before moving on to the next piece.
Step 5: Correcting Mistakes
Facing issues with the first assembly due to forced tenons, I had to rethink my approach. I decided to trim the tenons, redo the mortises, and sand for a better fit. This step corrected the wobble in the stands, ensuring stability.
Step 6: Finishing Touches
The final step involved a thorough sanding and applying a finish. Not only did this enhance the wood's natural grain, but it also provided a protective layer, extending the life of the planter stands.
Lessons Learned
This project taught me the value of patience and precision in woodworking. Each challenge, from the joint fitting to the final finish, was an opportunity to grow and adapt. Here are some key takeaways:
- Test First: Always make test cuts before working on your actual pieces. This can save you from making irreversible errors.
- Be Flexible: If a method isn't working, be open to trying different approaches until you find a solution.
- Finish Strong: Don't underestimate the power of sanding and finishing. These steps truly bring your project to life.
In conclusion, building these wooden planter stands was both challenging and rewarding. While I encountered obstacles along the way, overcoming them added to my sense of accomplishment. I hope this guide encourages you to embark on your woodworking project, armed with the knowledge and confidence to succeed. Happy crafting!
Design Customization Ideas for Your DIY Plant Stand
Building a DIY plant stand is not just about functionality; it's also an opportunity to express your personal style and add a unique touch to your home decor. Here are some ideas to inspire you to customize your plant stand:
Choose Your Color Palette
Think about the colors that you love and that match your home's decor. You can paint your plant stand in one solid color, use multiple colors for a fun look, or even try patterns like stripes or polka dots. For a more natural look, consider staining the wood to enhance its natural grain.
Add Some Texture
Texture can add depth and interest to your plant stand. You could wrap sections in rope or twine for a rustic feel, or add decorative metal sheeting for an industrial vibe. Fabrics like burlap can also be used to build a soft, textured shelf for your plants.
Personalize with Stencils
Stencils are a great way to add intricate designs without needing advanced artistic skills. From geometric patterns to floral motifs, there's a stencil for every style. Use them to build a border, a central feature, or an all-over design.
Incorporate Artistic Elements
If you're artistically inclined, freehand painting or decoupage can turn your plant stand into a piece of art. Consider themes like nature, abstract shapes, or even a scene that tells a story.
Mix Materials
Don't be afraid to mix different materials. Use metal legs with a wooden top, or incorporate glass or ceramic tiles into the design. Mixing materials can give your plant stand a modern, eclectic look.
Functional Add-Ons
Think about adding hooks for hanging tools or a space for storing watering cans and other gardening supplies. These functional touches can make your plant stand not only beautiful but also practical.
Lighting
Adding lighting can build ambiance and highlight your plants. Consider fairy lights, LED strips, or even small lamps. Make sure any electrical components are safely installed and suitable for use around plants.
By considering these customization ideas, you can build a plant stand that is not only a home for your plants but also a reflection of your personal style. Remember, the key is to have fun and let your creativity shine through your DIY project.
Plant Pairing Suggestions for Your DIY Plant Stand
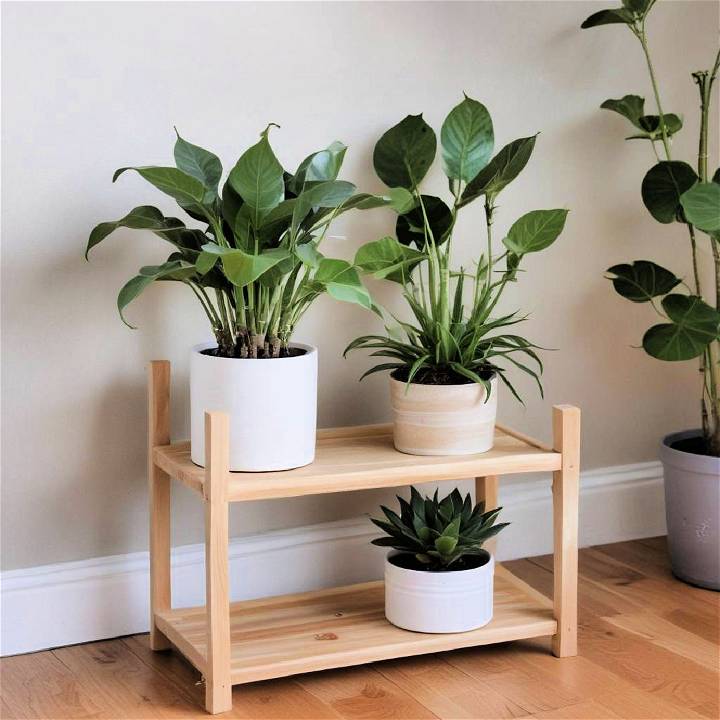
When it comes to beautifying your DIY plant stand, selecting the right plants is just as important as the design of the stand itself. Here are some suggestions to help you choose plants that will complement your creation and thrive in your new home.
Consider the Size and Structure
The size and structure of your plant stand will dictate the type of plants that will look best. For a small or delicate stand, choose lighter plants like air plants or small succulents. Larger, sturdier stands can support bigger pots with more substantial plants like ferns or snake plants.
Light Requirements
Pay attention to the amount of light your plant stand will receive. If it's placed in a sunny spot, opt for sun-loving plants like geraniums or petunias. For shadier areas, plants such as peace lilies or philodendrons are a better choice.
Aesthetics and Design
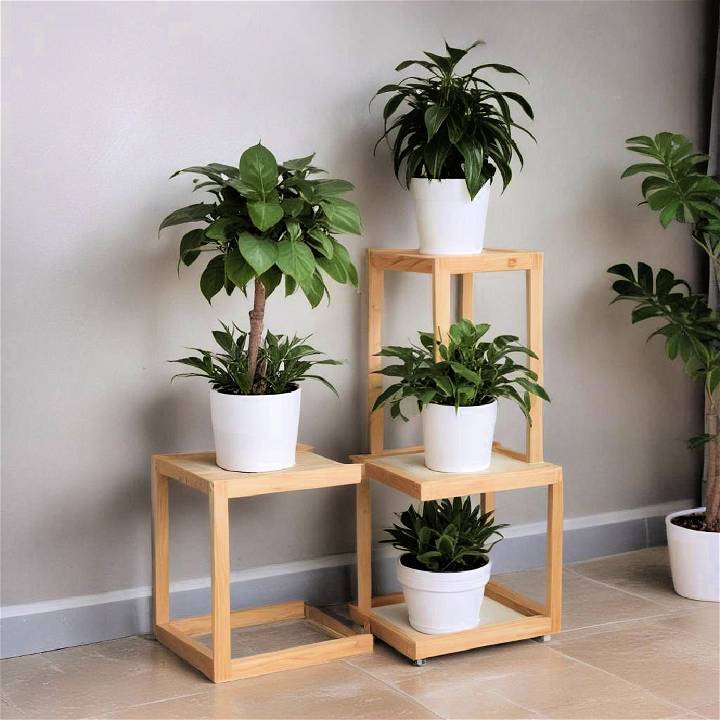
Think about the overall look you want to achieve. For a minimalist stand, a single, striking plant can make a bold statement. A tiered stand, on the other hand, might look best with a variety of plants that offer different textures and heights.
Easy Care Options
If you're new to plant care or have a busy lifestyle, consider low-maintenance plants. Succulents, cacti, and ZZ plants require minimal watering and care, making them perfect for beginners.
Seasonal Varieties
To keep your plant stand looking fresh and vibrant all year round, rotate seasonal plants in and out. Spring might feature tulips and daffodils, while autumn could showcase chrysanthemums or ornamental kale.
Personal Touch
Finally, choose plants that speak to you personally. Whether it's a plant you've nurtured from a seedling or a species that reminds you of a special place, adding a personal touch will make your plant stand truly unique.
By considering these factors, you can build a harmonious and attractive display that not only enhances your DIY plant stand but also brings a touch of nature into your space.
Certainly! Here's the revised section with the hyperlink removed and the questions formatted as H3 for better readability:
FAQs and Troubleshooting for DIY Plant Stands
Building a DIY plant stand can be a rewarding project, but it may come with its own set of questions and challenges. Here's a helpful section addressing some common concerns and providing solutions to ensure your plant stand is both beautiful and functional.
Is My Plant Stand Necessary?
Absolutely! Plant stands are more than just decorative; they elevate your plants to different heights, helping them get better light and adding dimension to your space.
How Do I Prevent My Plant Stand from Falling Over?
Ensure your plant stand has a sturdy base. If it's top-heavy, consider adding weight to the bottom or securing it to a wall. Always check that the weight of the plants is evenly distributed.
Are Plant Stands Good for Plants?
Yes, they can be very beneficial. They help improve air circulation around the plants and prevent water damage to your floors by catching excess water.
Maximizing Space for Plants
To maximize space, consider tiered or stackable plant stands. Vertical stands are excellent for small spaces and can hold multiple plants in a compact area.
Uses Beyond Holding Plants
Plant stands can be versatile. Use them to display other items like books, candles, or collectibles when you're not using them for plants.
Alternatives to Plant Stands
If you don't have a plant stand, get creative! Use sturdy boxes, inverted buckets, or even a stack of books as a temporary solution.
Troubleshooting Common Issues
- Wobbling: If your stand wobbles, check for uneven legs or surfaces. Adjust as necessary or add felt pads for stability.
- Wood Rot: For wooden stands, protect them with a suitable sealant, especially if they're used outdoors.
- Rust: Metal stands can rust over time. Use rust-resistant paint or keep them in dry areas to prolong their life.
Conclusion:
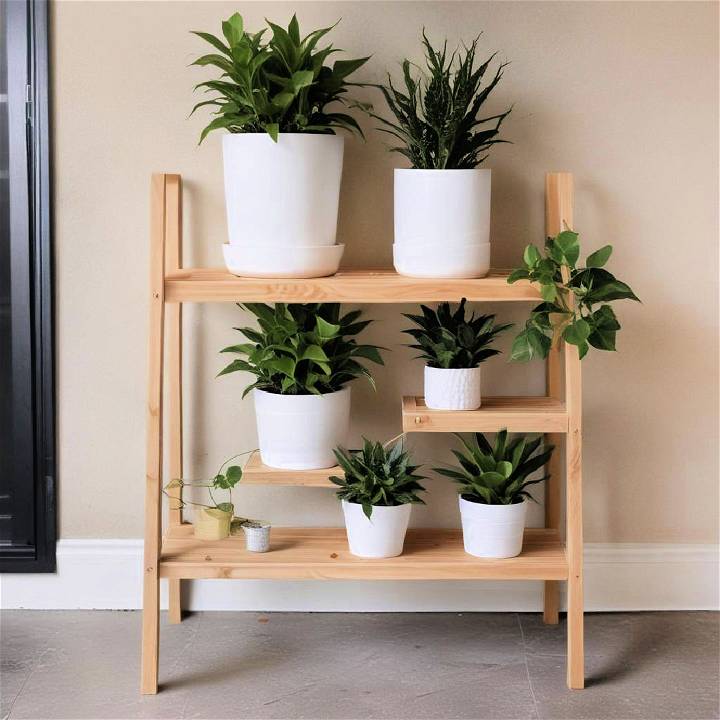
In conclusion, making your DIY plant stand can add a touch of greenery to your space while showcasing your creativity. Get started on this fun project today and enjoy the beauty of your handmade creation!


