When I set out to make a simple, engaging, and personalized wooden DIY Tic Tac Toe board, I discovered it was not only a fun DIY craft but also an opportunity to hone some woodworking skills. This project is straightforward and makes for an excellent gift. Plus, you might already have most of the materials lying around if you're a hobbyist like me.
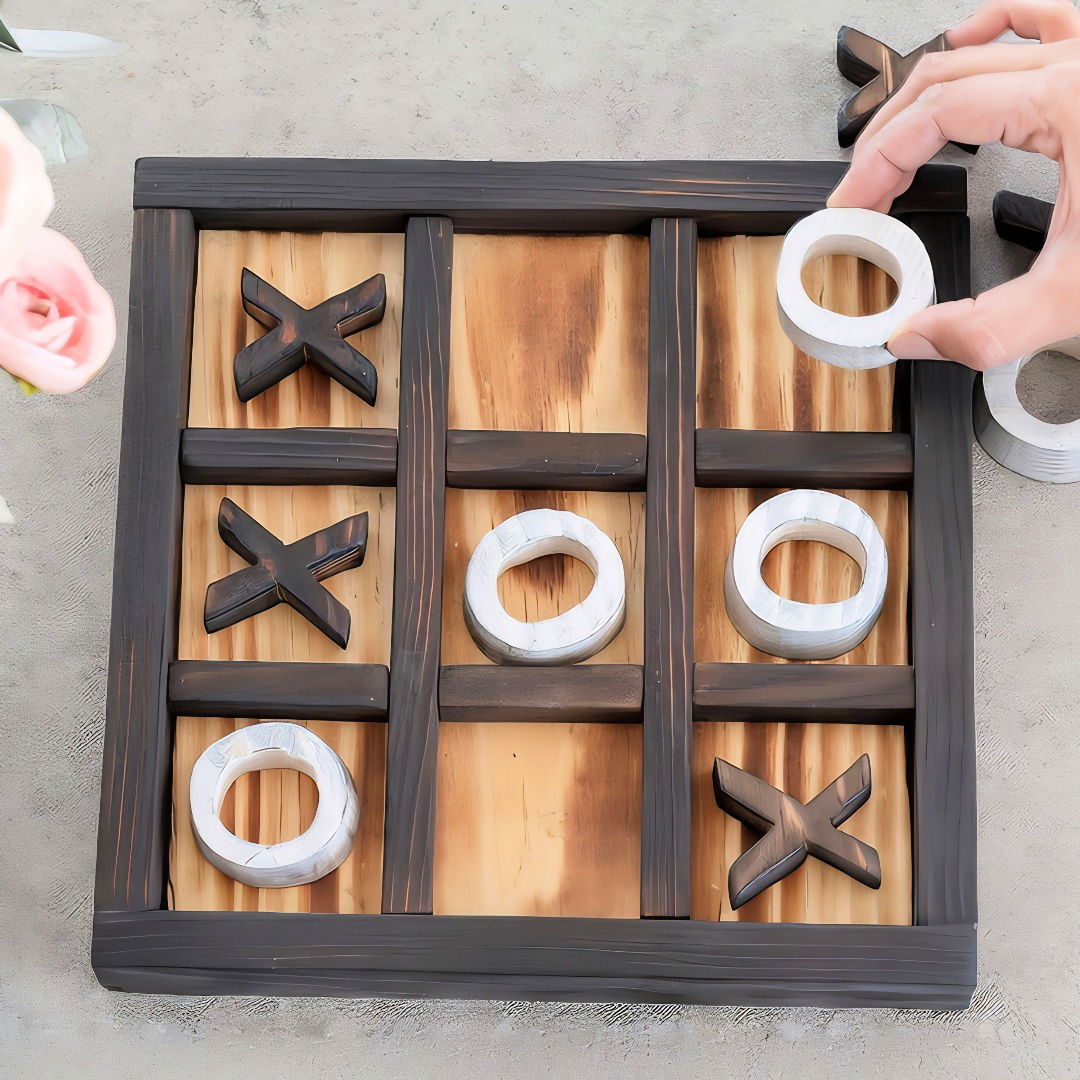
Let me walk you through how I buildd this rustic game board, step by step. Not only will you have a functional game, but it can also double as a unique piece of décor.
Materials You'll Need
Get ready to craft with wood boards, dowels, paper, adhesives, tools, and optional extras. Perfect materials for your next DIY project!
Wood Boards
- 1x10 Board: This serves as the main base where the game is played. I had some leftover wood from previous projects, perfect for recycling.
- 1x2 Boards: These are used for framing the sides of the board. They add structure and enhance the visual appeal.
Dowels or Thin Sticks
- 5/8-inch Dowels: Used to build the grid for the game. Dowels are easy to work with and durable.
Paper and Adhesive
- Paper Templates for X and O: These help cut out the shapes accurately. I printed mine on regular printer paper.
- Spray Adhesive: Ensures the paper sticks to the wood securely while cutting.
Cutting and Sanding Tools
- Jigsaw: For cutting out the X and O pieces. It's versatile and ideal for such detailed work.
- 120 Grit Sandpaper: To smooth out the surfaces and edges post cutting.
Blowtorch (optional)
- Burns-o-matic BZ4500 HS Torch: I used this to build a beautiful charred wood effect, known as Shou Sugi Ban. This isn't necessary unless you want the charred effect.
Extras for Finishing Touches
- Metallic White Craft Paint: To paint the O's and add contrast.
- Wood Glue and Brad Nails: For assembling the game board.
- Clear Spray Sealer: Seals and protects the finished product.
Step by Step Instructions
Learn how to make a DIY tic tac toe board with step-by-step instructions, from cutting wood to sealing the masterpiece. Perfect for craft enthusiasts!
Step 1: Cut the Wood
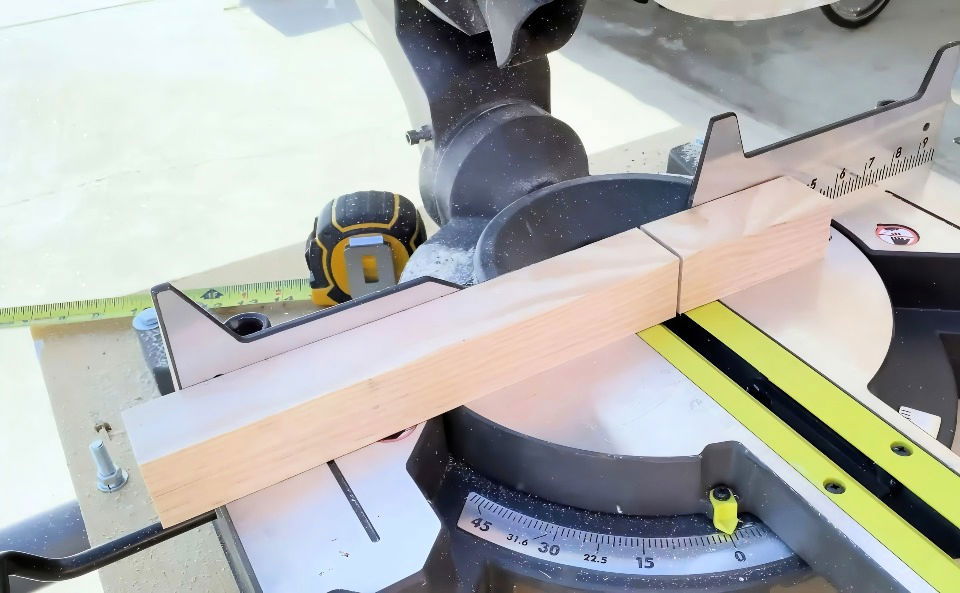
Start by cutting a perfect square from the 1x10 board. This is your base. For those who lack a large enough board, you can glue two smaller pieces together to reach the desired size.
Next, cut the 1x2 boards to fit around the pre-cut square base. These will frame the Tic Tac Toe board nicely. Measure twice before cutting, ensuring everything fits seamlessly together.
Step 2: Build the Grid
Cut the 5/8-inch dowels into the right lengths to form horizontal and vertical grid lines on the board. This division is crucial as it defines the playing area for your X's and O's. Before attaching, lay everything out to visualize the setup.
Step 3: Design Your X's and O's
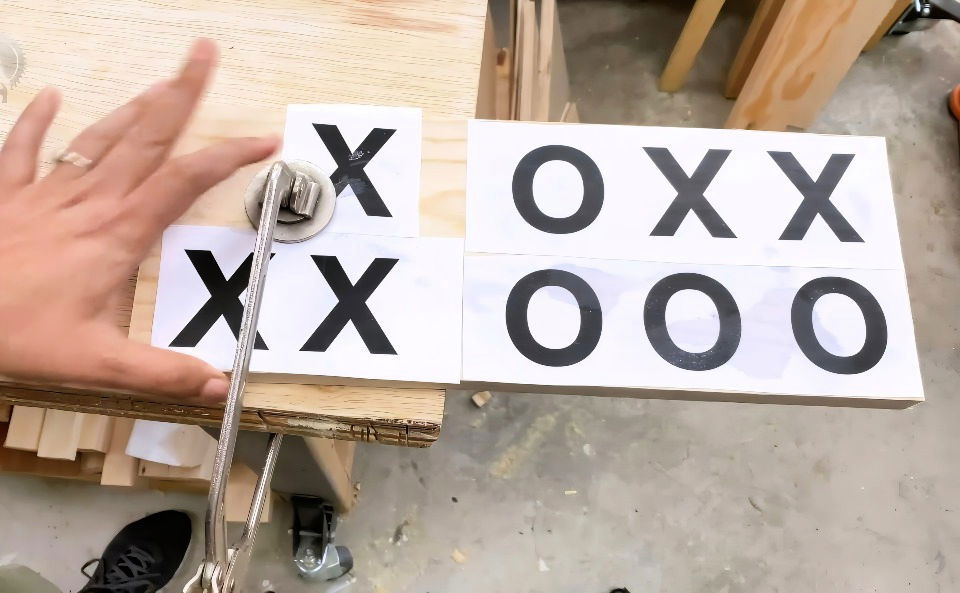
Designing the X's and O's was one of the more intricate parts of this project. First, I printed their shapes and used spray adhesive to stick the templates onto the scrap wood. Trust me—having these templates will save you headaches later!
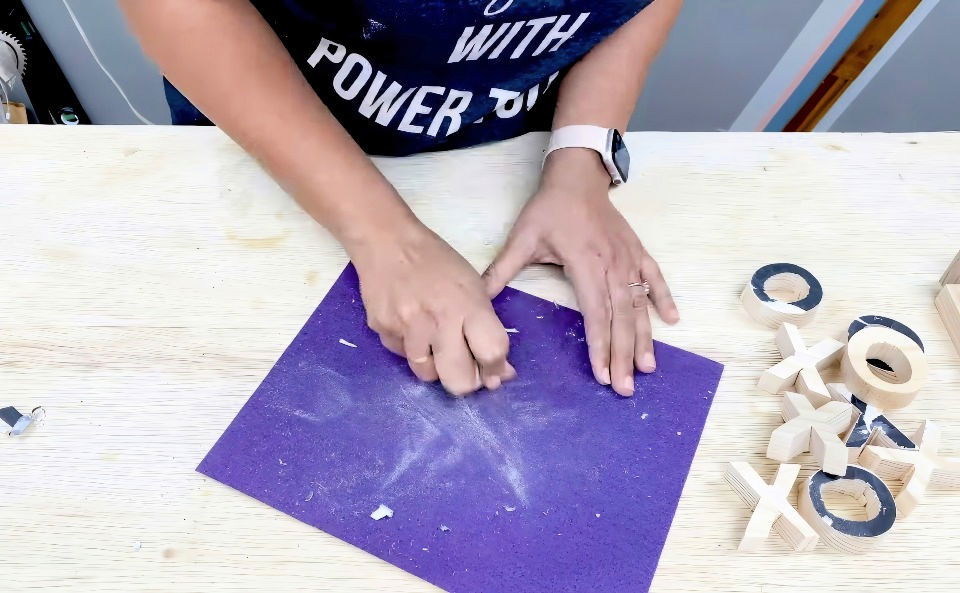
Using the jigsaw, carefully cut along the template outlines. This task improved my dexterity with the jigsaw, especially around the rounded parts of the O's. After cutting, smooth out the edges with sandpaper to avoid splinters.
Step 4: Deluxe Charred Effect
Now, for a unique twist, consider adding a charred effect to your board and pieces. This technique, known as Shou Sugi Ban, not only enhances the wood's visual texture but also provides a slightly weather-resistant finish.
Ensure you're working in a safe, well-ventilated area—preferably on a concrete surface outdoors. Attach the blowtorch to the propane cylinder, ignite it, and gently run the flame across the wood surface. I focused on making a consistent char, allowing the grain to beautifully stand out with just one pass for the main board. For the frame and grid, I went over them slowly to achieve a deeper effect.
Step 5: Sand and Re-Torch
Sanding between torching sessions helps you remove loose ash and builds a smoother finish. After the initial torch, I sanded all the pieces lightly and passed them through the torch one more time, ensuring an even charring across all components.
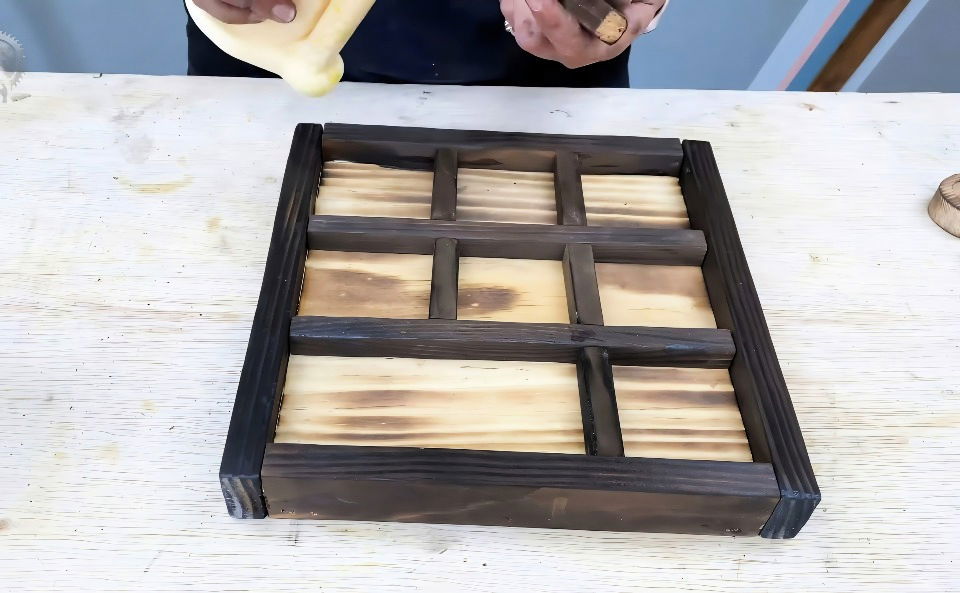
Step 6: Assemble the Board
With all pieces ready, it's time to assemble. Start by attaching the 1x2 sides to the base using wood glue and brad nails. It was important for me to ensure everything was square and aligned. For the grid, a dab of wood glue at the ends of each dowel was sufficient for a sturdy hold.
Step 7: Final Touches
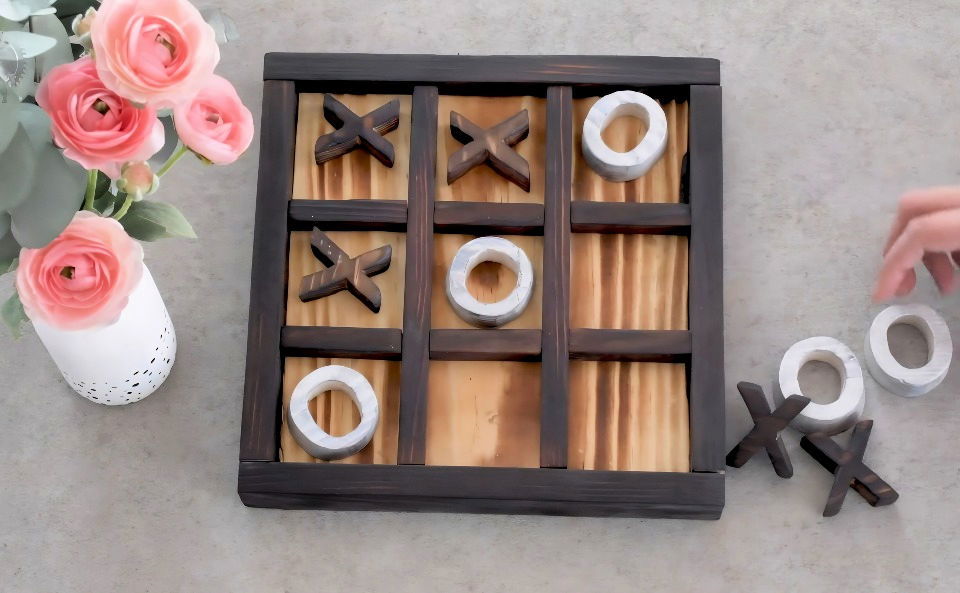
Finally, let's add some flair. I chose to paint the O's with metallic white paint to contrast against the dark X's. The shimmer of the metallic finish adds a lively pop to the rustic board.
Another neat personalization trick—use a heat-activated marker to write secret messages on the board. Once torched, these words magically appear, adding a mysterious and charming layer to your project.
Step 8: Seal the Masterpiece
Seal your beautifully crafted game board with several light coats of clear spray sealer. This step is crucial as it preserves the wood's finish and offers protection from wear and tear. Allow everything to dry thoroughly before your first game.
Customization Ideas
Customizing your DIY Tic Tac Toe board can make it unique and more enjoyable. Here are some creative ideas to personalize your game:
Themed Designs
Choose a theme that reflects your interests or the interests of the person you're making it for. For example:
- Superheroes: Use superhero symbols for the X's and O's.
- Animals: Paint or draw different animals for each player.
- Seasonal Themes: Decorate the board with seasonal elements like snowflakes for winter or flowers for spring.
Material Choices
Experiment with different materials to give your board a unique look and feel:
- Wood: A classic choice that can be stained or painted.
- Fabric: Use fabric squares for a soft, portable version.
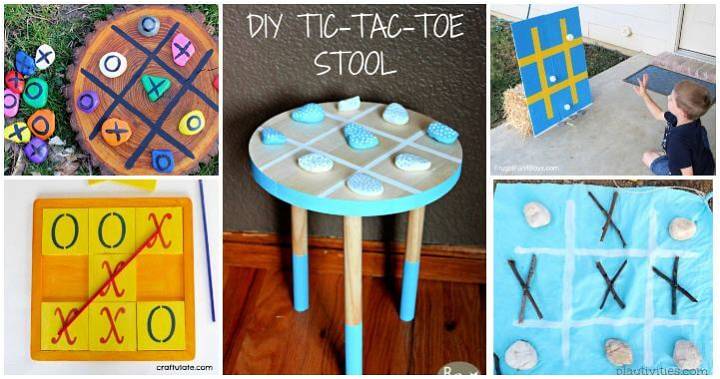
- Stones: Paint flat stones for a rustic, natural look.
Home Decor Integration
Match the board to your home decor:
- Color Coordination: Use colors that complement your living space.
- Style Matching: If your home has a rustic theme, use distressed wood and earthy tones.
Travel-Friendly Versions
Make a portable version that you can take anywhere:
- Magnetic Board: Use a metal board and magnetic pieces to keep everything in place.
- Compact Design: Build a foldable or roll-up board for easy storage and transport.
Personal Touches
Add personal elements to make the game special:
- Engraving: If you have the tools, engrave names or messages on the board.
- Hand-Painted Details: Add hand-painted designs or patterns to the board and pieces.
Functional Enhancements
Incorporate features that enhance the functionality of the game:
- Storage Solutions: Add a compartment or a small bag to store the pieces when not in use.
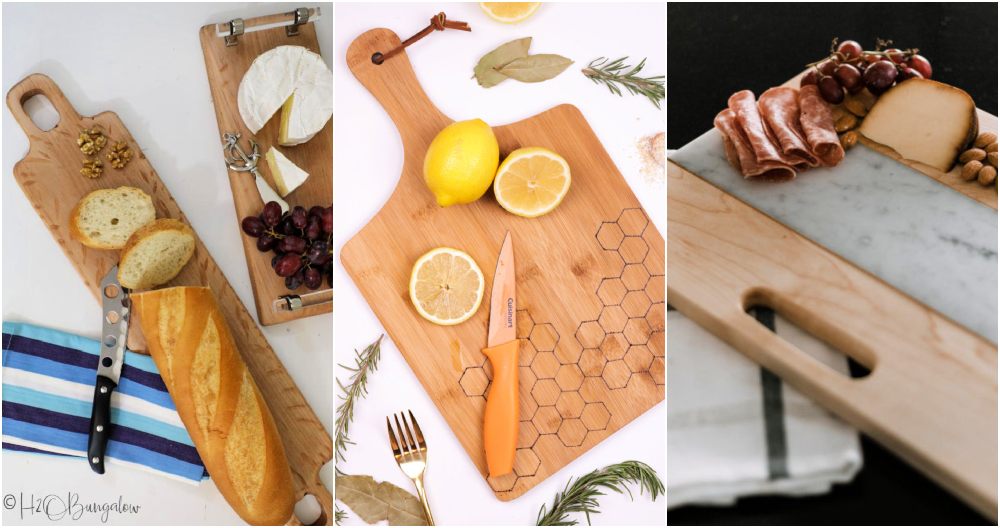
- Dual-Purpose Boards: Design the board to serve another function, like a serving tray or a decorative piece when not in use.
Eco-Friendly Options
Consider using sustainable materials:
- Recycled Materials: Use reclaimed wood, old buttons, or other recycled items.
- Eco-Friendly Paints: Choose paints and finishes that are environmentally friendly.
By incorporating these customization ideas, you can build a tic tac toe board that is not only fun to play but also a reflection of your creativity and personal style.
Troubleshooting Tips
Building a DIY Tic Tac Toe board can be a fun and rewarding project, but sometimes things don't go as planned. Here are some common issues you might encounter and how to solve them:
Uneven Cuts
- Problem: The board pieces are not cut evenly, causing the board to be lopsided.
- Solution: Use a ruler or a measuring tape to ensure all pieces are the same size before cutting. A miter saw or a circular saw with a guide can help make precise cuts.
Glue Not Holding
- Problem: The pieces of the board are not sticking together properly.
- Solution: Make sure the surfaces are clean and dry before applying glue. Use clamps to hold the pieces together while the glue dries. Allow sufficient drying time as recommended by the glue manufacturer.
Paint Chipping
- Problem: The paint on the board or pieces is chipping off.
- Solution: Sand the surfaces lightly before painting to help the paint adhere better. Use a primer before applying the paint and finish with a clear sealant to protect the paint.
Misaligned Grid Lines
- Problem: The grid lines on the board are not straight or evenly spaced.
- Solution: Use a ruler and a pencil to lightly mark the grid lines before painting or drawing them. A stencil can also help ensure straight and even lines.
Pieces Not Fitting
- Problem: The X's and O's are too big or too small for the grid squares.
- Solution: Measure the grid squares and the pieces carefully before cutting or purchasing them. Adjust the size of the pieces or the grid squares as needed to ensure a good fit.
Board Warping
- Problem: The board is warping or bending.
- Solution: Use high-quality, dry wood to prevent warping. Store the board in a cool, dry place to avoid moisture damage. If warping occurs, try to flatten the board by placing it under a heavy object for a few days.
Difficulty in Drawing or Painting Designs
- Problem: Designs on the board or pieces are not turning out as expected.
- Solution: Practice your designs on paper first. Use stencils or templates to help with more complex designs. If painting, use fine brushes for detailed work and consider using paint pens for more control.
Safety Concerns
- Problem: Risk of injury while using tools.
- Solution: Always wear safety gear such as goggles and gloves when using tools. Follow the manufacturer's instructions for each tool. Keep your work area clean and organized to avoid accidents.
By addressing these common issues, you can ensure your DIY tic tac-toe board project goes smoothly and results in a beautiful, functional game.
FAQs About DIY Tic Tac Toe Boards
Discover answers to the most common FAQs about DIY tic tac toe boards. Get tips and tricks for making your own fun and engaging game at home.
First, measure your board to find the center. Use a ruler to draw two vertical and two horizontal lines, making a 3x3 grid. Ensure the lines are evenly spaced. If you're using paint, mark the lines lightly with a pencil first, then paint over them.
You can customize your board by:
Painting it in your favorite colors
Using themed pieces (e.g., seashells for a beach theme)
Adding decorations like stickers or glitter
Building a rustic look with natural materials like wood and stones
Here are some fun variations:
Fruity Tic Tac Toe: Use fruit-shaped pieces for a fun twist.
Button Tic Tac Toe: Use colorful buttons as pieces.
Outdoor Tic Tac Toe: Use large stones and draw the grid on the ground with chalk.
Mini Tic Tac Toe: Make a small version to carry in your bag.
To ensure your tic tac toe board lasts:
Use sturdy materials: Opt for wood, thick cardboard, or durable fabric.
Seal and protect: If using wood, sand it smooth and apply a sealant to protect against wear and tear.
Store properly: Keep your board and pieces in a dry place when not in use to prevent damage from moisture or sunlight.
Making a travel-friendly tic tac toe board is easy and convenient:
Materials: Use a small, flat tin (like an Altoids tin) for the board and magnetic pieces for the Xs and Os.
Steps: Draw or paint the grid inside the lid of the tin. Attach small magnets to the back of your pieces. This way, the pieces will stay in place, making it perfect for travel.
Conclusion
Completing this DIY Tic Tac Toe game board project was deeply satisfying. It fuses practicality with artistry and showcases the intriguing beauty of turned and charred wood. Visualizing the joy on my kids' faces as they engaged with a game they helped make was rewarding in itself. Not to mention, the board serves as a handmade gift that will surely be cherished.
Reflecting on this experience, it's evident that the integration of functional design and creativity doesn't need to be compromised. You don't need advanced carpentry skills to build something beautiful and long-lasting. Just a bit of patience and willingness to learn along the way is enough.


