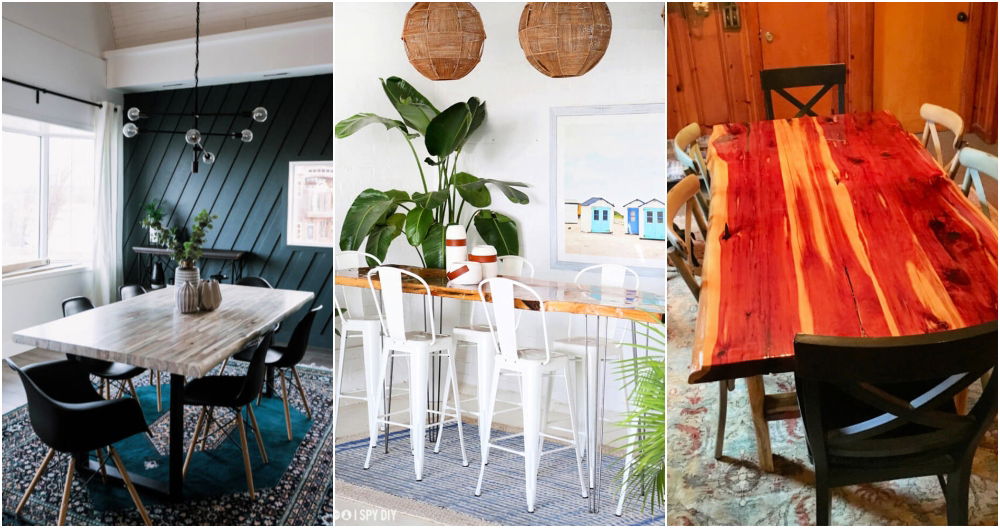
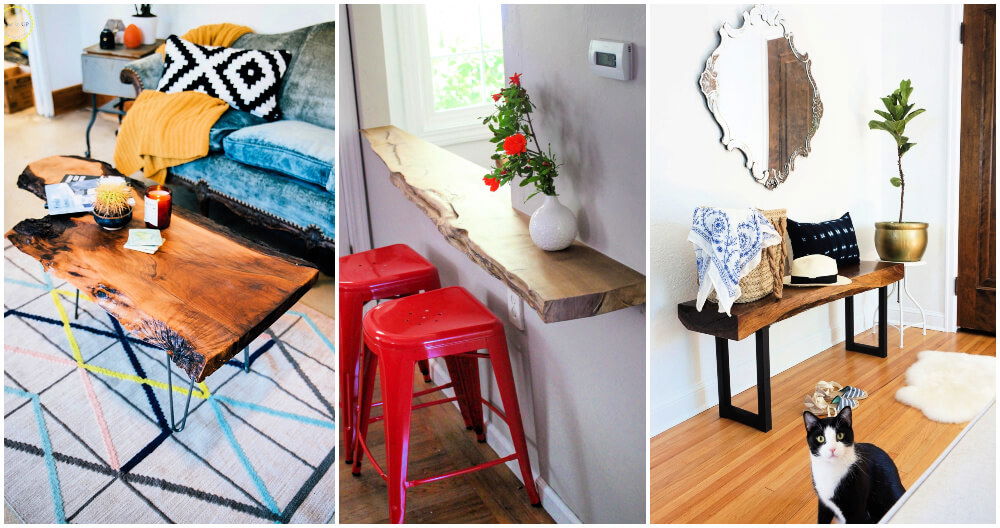
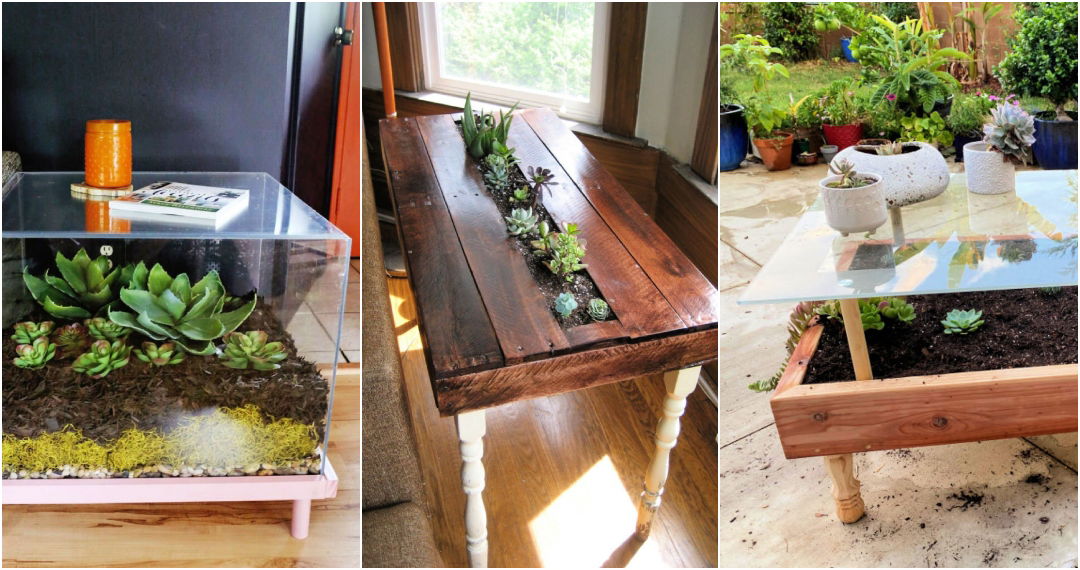
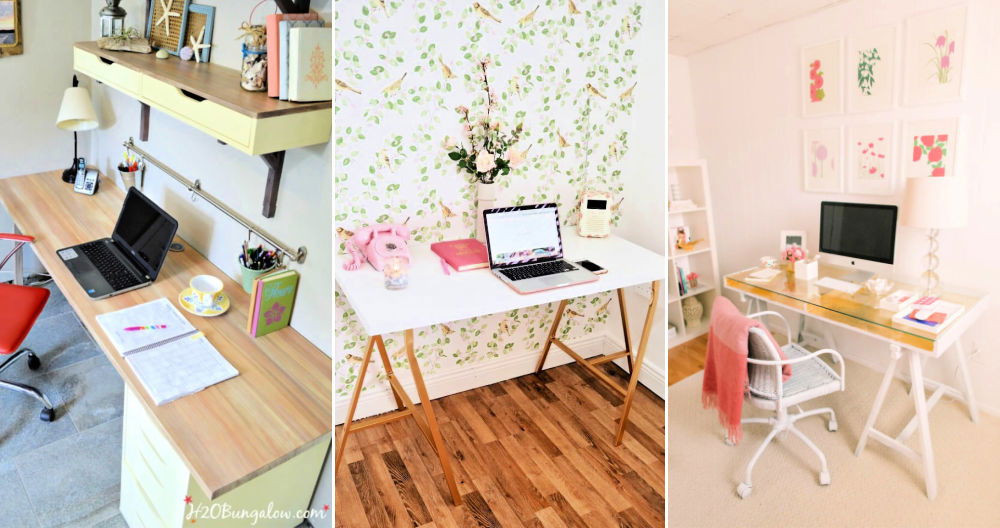
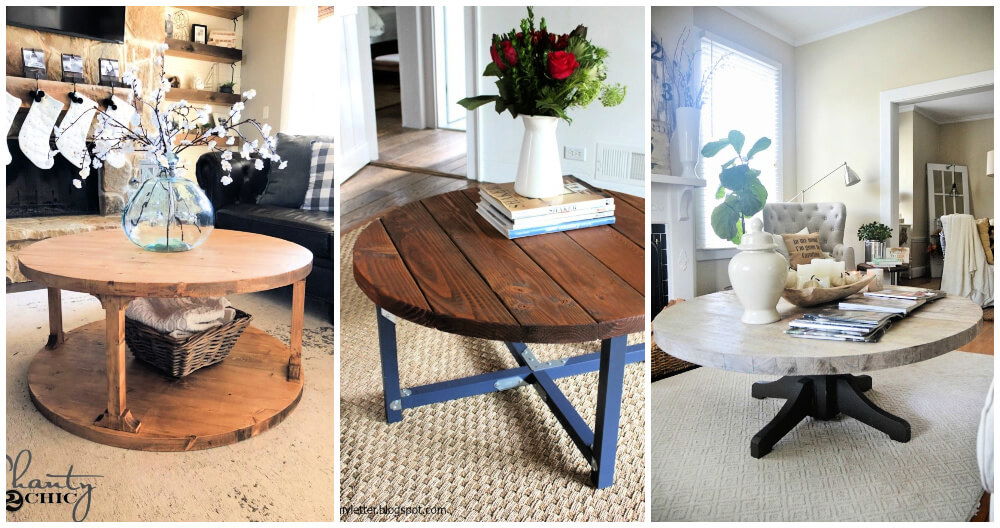
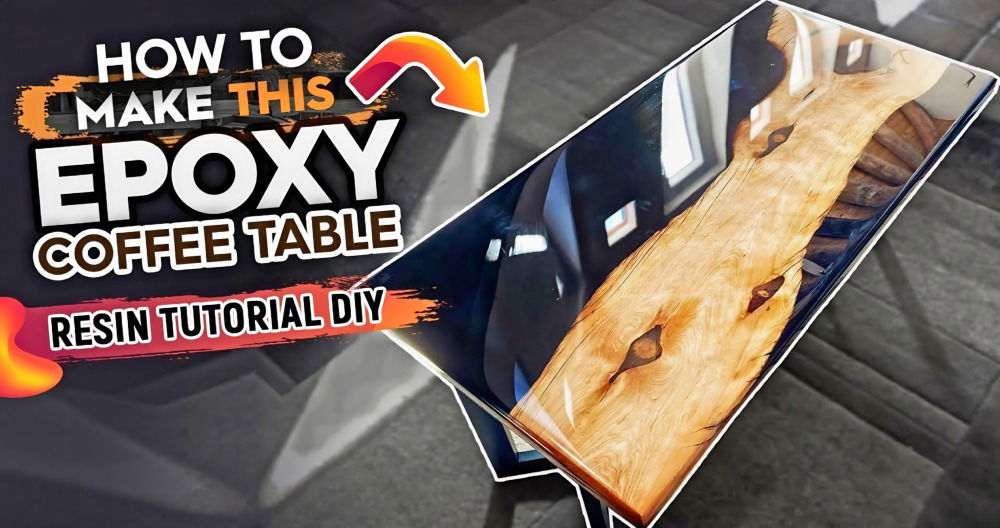
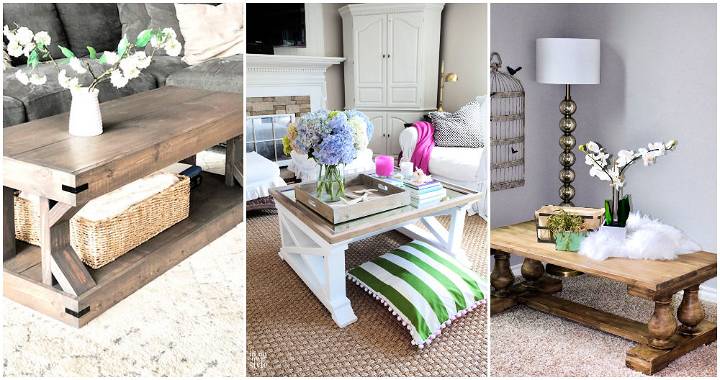
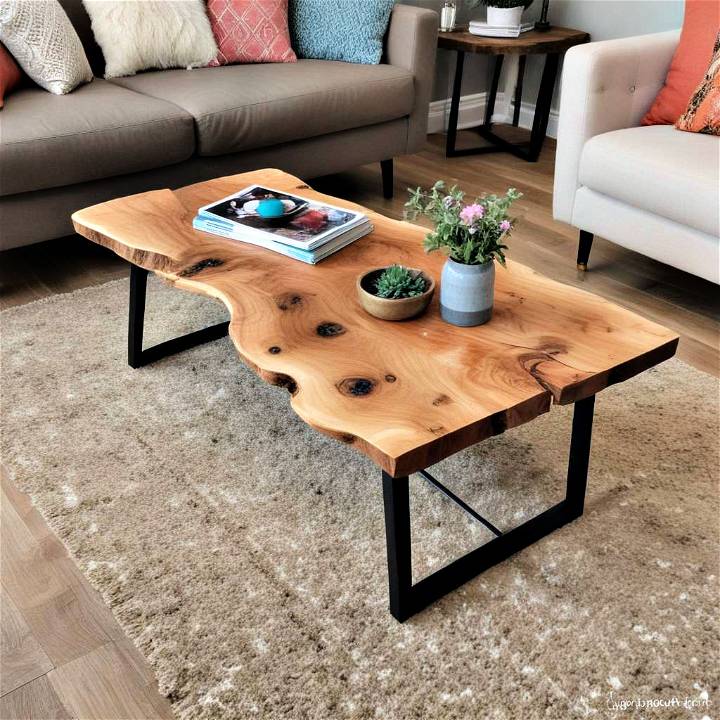
I've always admired the raw beauty of live edge wood. It brings a touch of nature indoors, reminding us of the pure, unfiltered world outside. My journey to making a live edge coffee table began when I ventured into this project, equipped with enthusiasm but very little in the way of actual experience. This tale isn't just about crafting furniture; it's about learning, experimenting, and ultimately succeeding in bringing a vision to life. Here's how I transformed a hefty wood slab, lovingly referred to as a "cookie," into a stunning coffee table.
Selecting and Preparing the Wood
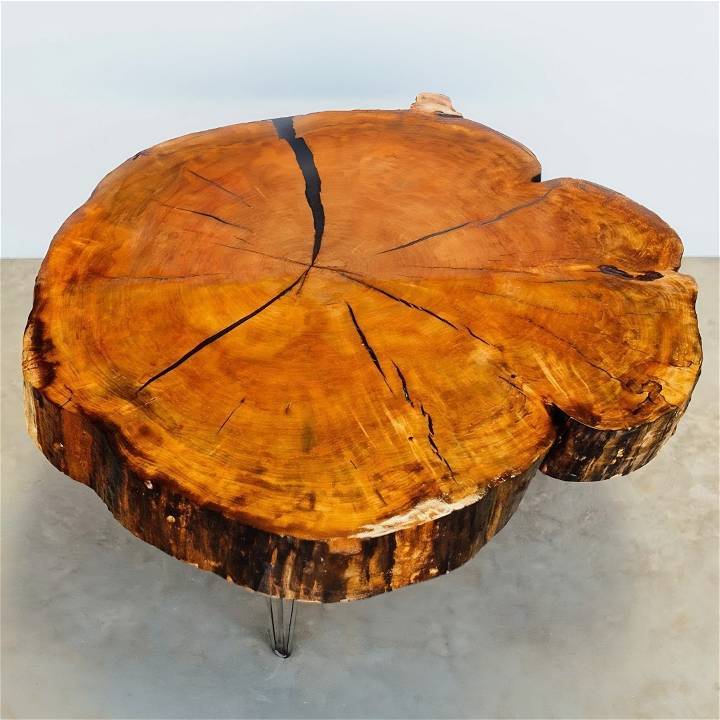
My adventure started with picking the perfect wood slab or "cookie," as it's sometimes affectionately known. The cookie was a generous gift from a friend, massive in size and with a personality defined by its cracks and crevices. For those embarking on this journey, finding your wood can be as simple as visiting a local sawyer or repurposing a piece from a fallen tree. The challenge and beauty lie in its uniqueness.
Materials Needed:
- Wood Slab (Cookie): The heart of the project; its size and shape dictate the table's final dimensions.
- Epoxy Resin: To fill in the cracks, ensuring a smooth, finished surface.
- Tape: For sealing the underside before pouring epoxy.
- Spray Foam: An innovative method to reduce the amount of epoxy needed.
- Sanding Tools: Crucial for smoothing the surface after the epoxy sets.
- Hairpin Legs: For a modern touch that doesn't overpower the natural beauty of the slab.
The Process
Learn how to make a DIY live edge coffee table with this step-by-step guide. From evaluating cracks to sealing and protecting, master the process now!
Step 1: Evaluating and Preparing the Cracks
The first task was to decide what surface would serve as the top of the table. After flipping the slab to my chosen orientation, I meticulously inspected the cracks, which were to be filled with epoxy for a smooth finish. With a multi-tool, I carefully shaped the edges of the cracks, aiming for clean, sharp lines at the surface, while less concerned about the deeper parts which would be filled.
Step 2: Sealing and Filling
Sealing the bottom of the cookie was crucial. I applied tape thoroughly to prevent epoxy from dripping through. Although I had only narrow painter's tape, wider tape or even Tyvek house wrap tape would have expedited this step by offering better coverage and easier removal.
Next came a somewhat experimental phase where I chose to fill the larger voids with spray foam before applying epoxy. This was both a cost-saving measure and a way to reduce the weight of the final piece. After letting the foam expand and cure, I trimmed it to build a smooth, recessed surface for the epoxy pour.
Step 3: The Epoxy Pour
With the cracks and voids prepped, it was time for the epoxy, mixed precisely according to the manufacturer's instructions. As I wanted a dark, opaque finish to hide the foam underneath, I added tint until the mixture achieved the desired depth of color. Pouring was a patient process, completed in layers to ensure proper curing and avoiding the trap of introducing bubbles into the mix. This step was both nerve-wracking and exciting, gradually seeing the imperfections beautifully encapsulated by the resin.
Step 4: Sanding and Finishing
After the epoxy cured, an extensive sanding session transformed the rough and uneven surface into a smooth and inviting plane. This step was a revelation, turning what looked like a chaotic mess into something resembling a luxury furniture piece.
Finally, attaching the hairpin legs was straightforward but transformative, elevating the slab from a mere piece of wood to a functional work of art. I chose unobtrusive legs to keep the focus on the natural beauty of the wood.
Step 5: Sealing and Protecting
A layer of finishing oil or sealant enhanced the grain's depth and protected the wood, ensuring it would withstand the test of time and use in a home environment.
Reflections on the Process
This project was more than just woodworking; it was an adventure that tested my patience, creativity, and problem-solving skills. I learned that the beauty of working with natural materials lies in their unpredictability and the unique story each piece tells.
For those inspired to undertake their own live edge table project, remember: the process is as unique as the wood itself. There are no mistakes, only learning experiences that contribute to the final piece's character and beauty.
Observations and Tips:
- Experiment: Don't be afraid to try unconventional methods, like using spray foam to reduce epoxy volume.
- Research: Spend time understanding the materials you're working with. Every wood species reacts differently to finishes and treatments.
- Enjoy the Process: The journey from raw slab to finished table is rewarding. Embrace each step, even the setbacks.
In hindsight, making a live edge coffee table was more than just a DIY project; it was a profound lesson in craftsmanship, resilience, and the beauty of bringing a piece of the natural world into my home. I hope my story inspires you to embrace the challenges and joys of making something truly your own.
Customization Tips for Your Live Edge Coffee Table
Making a live edge coffee table is not just about following steps; it's about infusing your personality and style into the piece. Here are some tips to help you customize your coffee table to make it uniquely yours.
Choose Your Finish
Selecting the right finish can significantly affect the look and feel of your coffee table. Here are a few options:
- Oil Finish: Brings out the natural beauty of the wood and is easy to apply.
- Lacquer: Provides a durable and glossy finish, perfect for a modern look.
- Wax: Offers a soft sheen and smooth feel, ideal for a rustic touch.
Pick the Legs
The legs of your coffee table are its foundation and can change its overall design:
- Hairpin Legs: Sleek and simple, they give a mid-century modern vibe.
- Industrial Pipes: Build an edgy, industrial look with sturdy pipe legs.
- Wooden Blocks: For a cohesive, all-wood design, consider thick wooden legs that match the tabletop.
Add Functional Features
Think about how you can make your coffee table more than just a showpiece:
- Drawers: A great way to add storage for remotes, magazines, and coasters.
- Shelves: Use the space under the table for books or decorative items.
- Lift Top: A lift-top mechanism can turn your coffee table into a temporary workspace.
Personal Touches
Finally, add elements that reflect your personal taste:
- Engravings: Carve your initials, a special date, or a design that means something to you.
- Inlays: Use a contrasting wood or material like resin to add an artistic flair.
- Colorful Accents: Paint the underside of the table or the legs for a pop of color.
Remember, the beauty of DIY is that there are no strict rules. Feel free to mix and match these suggestions to build a coffee table that's as unique as you are. Keep it simple, and most importantly, have fun with it!
DIY Live Edge Coffee Table FAQs
Discover answers to all your questions about DIY live edge coffee tables in this comprehensive FAQ guide. Learn everything you need to know!
What is a live edge coffee table?
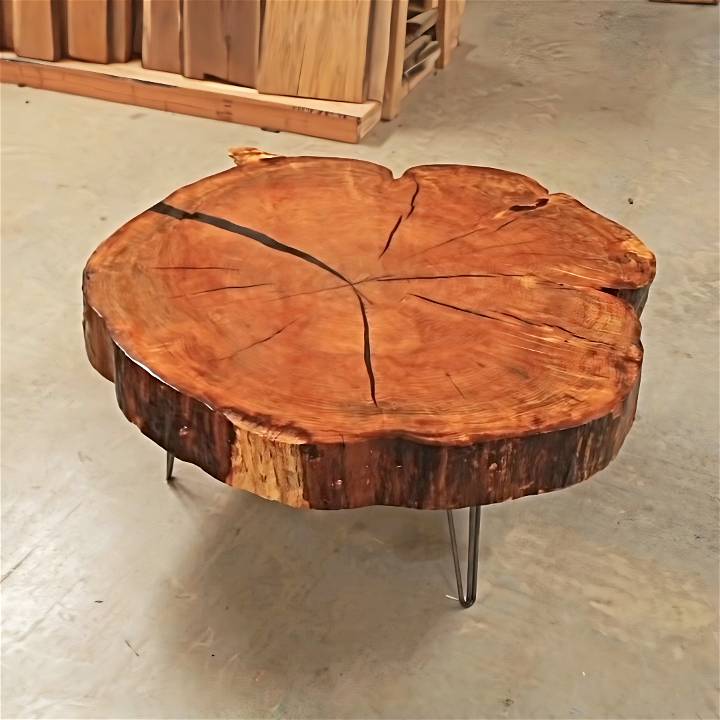
A live edge coffee table is a piece of furniture where the natural edge of the wood is preserved and incorporated into the design. This edge is often wavy and irregular, contrasting with the straight, cut edges of most lumber. Live edge tables celebrate the original shape of the tree, making each piece unique.
How do I choose the right wood slab for my coffee table?
Selecting the right wood slab is crucial. Look for a slab that fits your desired size and aesthetic. Consider the wood species, grain patterns, and any natural features like knots or burls. Ensure the slab is kiln-dried to the appropriate moisture content to prevent warping or cracking.
Can I make a live edge table if I'm new to woodworking?
Yes, even beginners can build a live edge table. Start by watching instructional videos to familiarize yourself with the process. Take your time with each step, from flattening and sanding the slab to attaching the legs and applying the finish. Remember, safety first—always wear protective gear when working with tools.
How do I finish and protect my live edge coffee table?
Finishing your table properly is vital for protection and aesthetics. After sanding the wood to a smooth finish, apply a sealant or oil that enhances the wood's natural beauty and provides a durable finish. Popular choices include Odie's Oil and Rubio Monocoat, which are easy to apply and maintain.
How do I maintain my live edge coffee table?
To maintain your live edge coffee table, regularly clean and occasionally apply finish to protect the wood. Dust with a soft cloth, clean spills promptly, and follow product instructions to reapply finish when needed. Use coasters to prevent rings and avoid placing hot items directly on the wood. Regular care will keep your table looking beautiful.
Conclusion:
In conclusion, making a DIY live edge coffee table can be a rewarding and creative project for enhancing your home decor. With the right tools and materials, you can craft a unique piece that adds a touch of natural beauty to your living space.


