Creating your very own DIY light box can transform your photography, enabling you to capture images with professional-grade lighting and clarity. At its core, a light box is a simple yet incredibly effective tool that photographers of all skill levels can use to enhance product photography, art, and much more. The process of making a DIY photo light box is straightforward, requiring some basic materials and a bit of creative ingenuity.
This guide aims to walk you through the essential steps of building a photo light box from the comfort of your own home. By following our easy-to-understand instructions, you'll learn how to select the right materials, assemble them, and fine-tune your setup for the best possible lighting conditions.
The project is not only rewarding but also a fun way to improve your photography on a budget. Read on to explore how you can bring your 25 easy DIY light box ideas to life and significantly boost the quality of your photos.
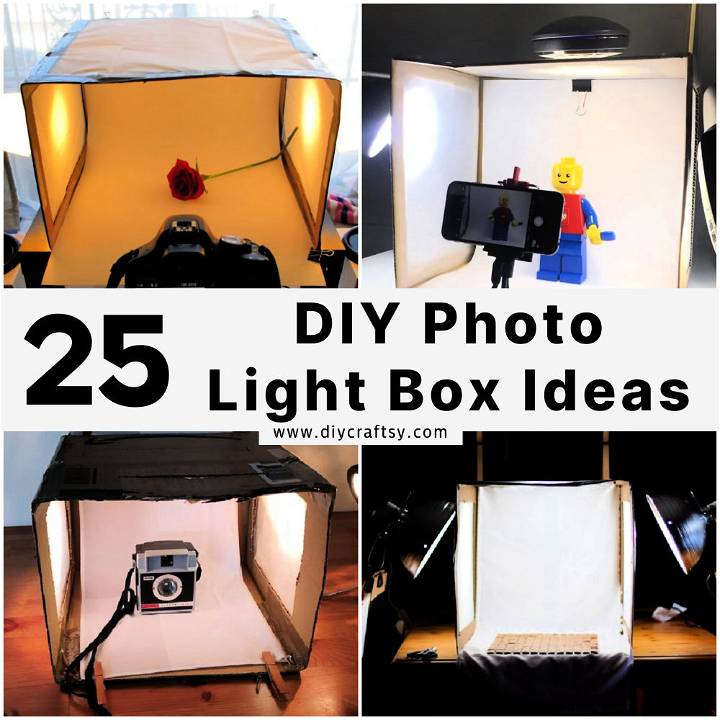
Why Build a DIY Light Box?
Making a DIY light box is not just an engaging project; it's a practical solution for many photographers, artists, and online sellers. Here's why investing time in this project can be incredibly beneficial:
- Cost-Effective: Professional lighting equipment can be expensive. A DIY light box is a budget-friendly alternative that uses affordable materials you might already have at home.
- Customizable: One of the best parts about making your own light box is the ability to tailor it to your specific needs. Whether you need a larger space for bigger items or specific lighting conditions, you can adjust your design accordingly.
- Portable: Many DIY light box designs are foldable or easily disassembled, making them perfect for photographers on the go. This portability ensures you can have professional lighting anywhere you need it.
- Improves Photo Quality: The primary purpose of a light box is to diffuse light evenly, reducing harsh shadows and highlights. This results in clearer, more appealing photos, essential for product photography or capturing detailed shots.
- Easy to Make: With the right guide, constructing a DIY light box is straightforward. Even if you're not particularly handy, the process can be a fun and achievable weekend project.
Building a DIY light box can significantly elevate the quality of your photos without draining your wallet. It's a rewarding project that pays dividends in the quality of your work, whether for professional use or personal projects.
How To Build A Photo Light Box
Making your own photo light box is a great way to enhance your product photography, especially if you're selling goods online. With a budget of under $10, you can put together a DIY light box that will illuminate your products evenly, making them look professional and appealing to potential buyers. This step-by-step guide will show you how to construct your light box with easy-to-find materials and some simple tools.
Materials You'll Need:
- A large box (18x18x24 inches recommended)
- Diffusing fabric or sheer fabric (1.5 yards)
- Bright white poster board (without creases)
- Scissors
- Box cutter
- Tape (duct tape or packing tape works well)
- 2 to 3 clip lamps (depending on your lighting needs)
- Fluorescent light bulbs, 100 watts (for each clip lamp)
Step 1: Prepare the Box
Start by assembling your box, securing it with tape at the bottom so it holds together nicely. If your box isn't already set up, fold the flaps inward and seal them with tape.
Step 2: Mark and Cut the Box
Lay the diffusing fabric over the box to determine how big the cutouts should be. Mark the sides of the box under the fabric, leaving enough space to cover it completely. Using the box cutter, cut out the sides of the box, leaving the back and bottom intact. You can also cut out a piece on top for an additional light source if needed.
Step 3: Prepare the Backdrop
Take the white poster board and lay it over the box to measure the size needed for the inside background. Mark and cut the poster board so it fits neatly within the box, ensuring it's smooth and free from creases. Fix one end of the poster board at the top inside the back of the box with tape, letting it curve gently towards the bottom to make an infinite background effect.
Step 4: Attach the Diffusing Fabric
Cover the cut-out sides (and top if you've opted for that) with the diffusing fabric, securing it with tape around the edges. Ensure the fabric is stretched tightly enough to not sag but loose enough to not strain at the tape.
Step 5: Set Up the Lighting
Position a clip lamp on each side of the box, equipping them with the fluorescent bulbs. If you've made a top cut-out and want additional lighting, set up a third lamp over it. Adjust the lights so they evenly illuminate the interior of the box.
Step 6: Product Photography Tips
When taking photos, keep the box’s side flaps open to prevent unwanted light leakages that could cause lens flare. Wear solid-colored, long sleeve clothing to minimize reflections, especially when photographing reflective products.
Your light box is now complete! With this setup, you're ready to shoot professional-looking product photos that can boost your online sales.
Video Tutorial
For a step by step video tutorial on "How To Build A Photo Light Box For Less Than $10", check out this YouTube video.
This visual guide complements the written instructions by providing a clear explanation of the construction process at each step.
By following this guide, you can easily and affordably make a functional photo light box. Happy photographing!
DIY Light Box FAQs
Making a DIY light box can be a game-changer for enhancing the quality of your photography. Here are some of the most commonly asked questions to help you get started on your project.
What is a DIY light box used for?
A DIY light box is primarily used to achieve evenly lit, professional-quality photos, particularly useful in product photography, by minimizing shadows and glare. It's a favorite tool among photographers, artists, and online sellers.
What materials do I need to make a DIY light box?
Typical materials include:
- A cardboard box or a frame made of PVC pipes
- White fabric or tissue paper for diffusing light
- Poster board for the interior backdrop
- Tape or glue
- Lighting sources such as lamps or LED strips
How do I size my DIY light box?
The size of your DIY light box should be based on the size of the items you plan to photograph. For small to medium products, a box around 24 inches on each side is usually sufficient. For larger items, consider constructing a larger frame or box.
Can I make a portable DIY light box?
Yes, many DIY light box designs are foldable or easily disassembled for portability. Using lightweight materials and a design that allows for folding or rolling can help make your light box more portable.
How can I improve the lighting in my DIY light box?
Improving lighting in your DIY light box involves:
- Using multiple light sources to evenly distribute light
- Adjusting the position of the lights to reduce shadows
- Experimenting with different types of bulbs (e.g., LED, fluorescent) to find the best color temperature
- Adding reflective materials like aluminum foil to bounce light
Can I use a DIY light box for photographing large items?
While a standard-sized DIY light box is better suited for smaller items, you can construct a larger one using similar principles. For larger items, consider building a frame with PVC pipes and draping it with diffuse fabric, ensuring you have enough space and lighting to cover the item evenly.
How do I maintain a DIY light box?
Maintaining your DIY light box involves:
- Regularly cleaning the fabric or paper diffusers to prevent dust build-up
- Replacing any torn or damaged materials
- Ensuring the lights are working and replace bulbs as needed
- Storing it in a dry, safe place to prevent damage when not in use
Are there alternatives to making a DIY light box?
If DIY isn't for you, there are ready-made light boxes available for purchase. However, making your own allows for customization to your specific needs and is often more cost-effective.
With these FAQs, you're well on your way to making a useful and effective DIY light box that can elevate your photography to professional levels.
25 DIY Light Box Ideas (How to Make a Photo Light Box)
Discover 25 DIY light box ideas for photography enthusiasts. Learn how to make a photo light box at home with these creative and easy-to-follow tutorials.
1. How to Make a Photo Light Box
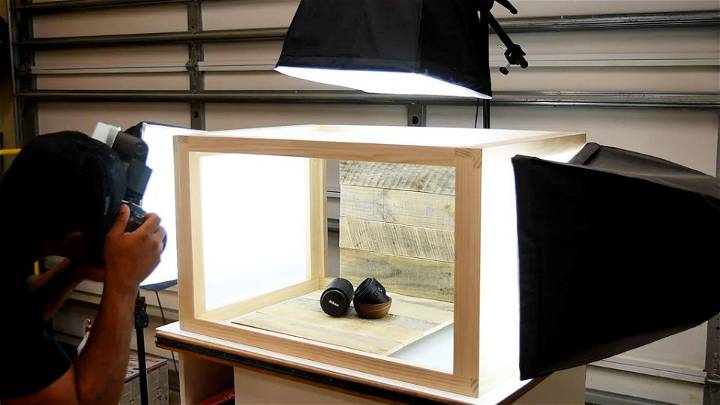
Elevate your photography game with a DIY photo light box! Perfect for hobbyists and professionals alike, making a light box can significantly improve your photos' quality, highlighting details and eliminating harsh shadows.
For a step-by-step guide on making your own without breaking the bank, visit Instructables. This instructive, detailed tutorial ensures a smooth crafting process, making it accessible and engaging for everyone interested. Start capturing stunning, well-lit photos today!
2. Make Your Own Light Box With Cardboard
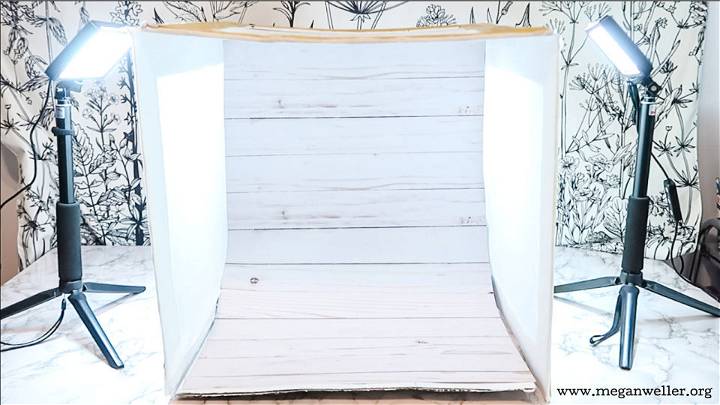
Elevate your photography with a DIY portable photo studio! Using simple materials like cardboard and white fabric, you can build an effective light box to enhance product shots for blogs, instagram, or online stores.
This budget-friendly project requires only a few items and can be assembled quickly. Great for anyone looking to improve their photography without breaking the bank. For a step-by-step guide, visit Megan Weller's blog. Happy crafting and happy shooting!
3. DIY Light Box in 6 Easy Steps
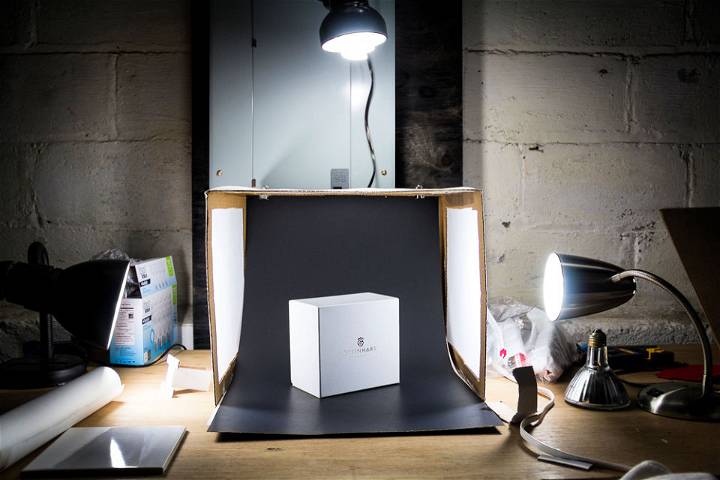
Learn to craft a professional-grade DIY Light Box with a straightforward, step-by-step guide from FixThePhoto. This guide empowers photographers to construct an affordable yet effective light box using easily accessible materials like cardboard boxes, fabric, and household lamps.
Perfect for enhancing product photography, each step is designed to be easy to follow, ensuring even novices can achieve a studio-quality lighting setup at home. Discover the simple process of building, setting up, and utilizing a DIY light box to elevate your photography today.
4. How to Make a Lightbox at Home
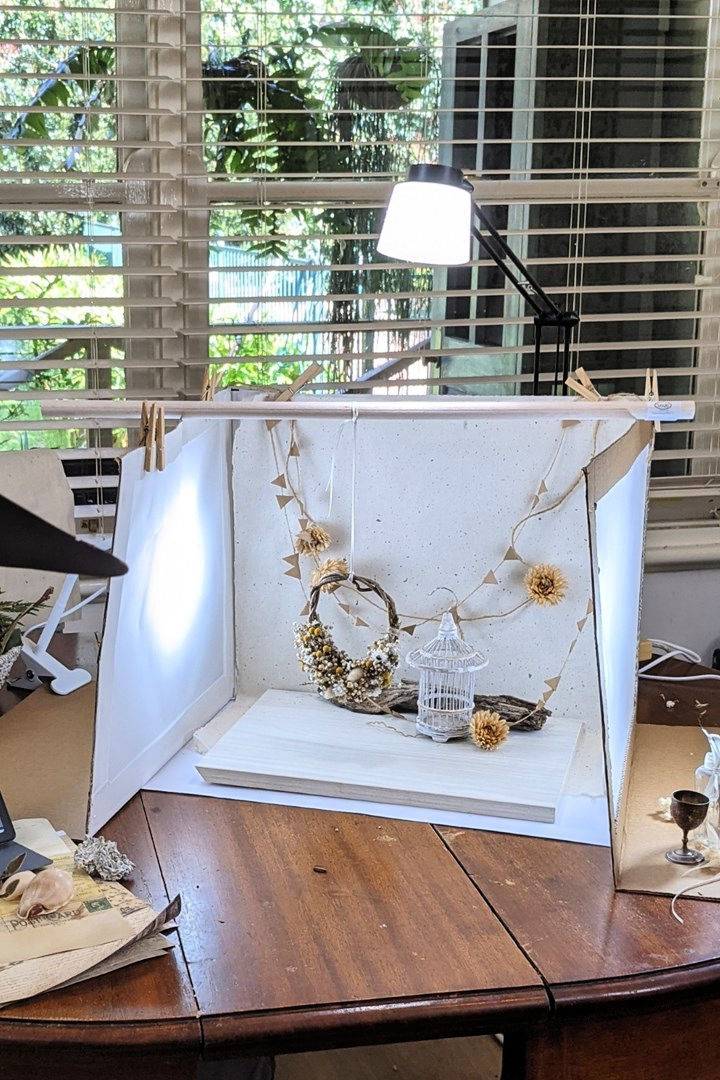
Transform your creative vision into stunning photographs with your own DIY lightbox and hanging window art. Perfect for artists, online sellers, or anyone eager to spotlight their treasures, this cost-effective mini studio unlocks professional-quality images right from home. Embrace the magic of perfect lighting with just a cardboard box, some tracing paper, and your smartphone. For a step-by-step guide on crafting this photo game-changer, visit Better Homes & Gardens. Get ready to elevate your photography game effortlessly!
5. Making a Lightbox for Expert Photos
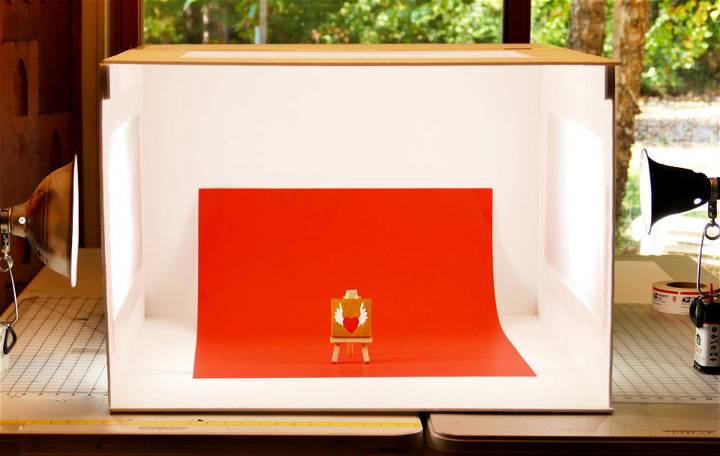
Transform your photography with a homemade DIY Lightbox, following the comprehensive tutorial by Jennifer Maker. Crafting a lightbox doesn't have to be expensive or complicated. With just $9 worth of materials from the dollar store, you can achieve professional-quality photos.
The tutorial offers a simple, step-by-step guide, including a list of materials and measurements to ensure your lightbox enhances your photographs with soft shadows and bright, diffused light. Perfect for both product photography and creative shots. Start elevating your photography game today! Learn how to make a DIY Lightbox.
6. Easy DIY Photo Light Box
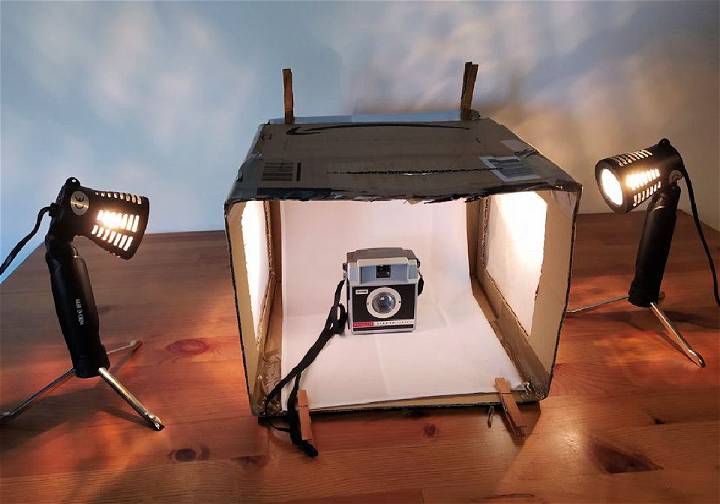
Unlock the secrets to studio-quality product shots with our easy-to-follow guide on constructing your own DIY photo lightbox! Ideal for photography enthusiasts, this project is perfect if you aim to elevate your product photography—without breaking the bank.
From selection of materials to step-by-step assembly, learn to craft a lightbox that diffuses light beautifully, ensuring your shots are evenly lit with minimized shadows. Perfect for showcasing everything from jewelry to food, a homemade lightbox is an affordable and rewarding venture. Ready to enhance your photography game? Dive into our comprehensive guide here.
7. Inexpensive DIY Light Box From the Scratch
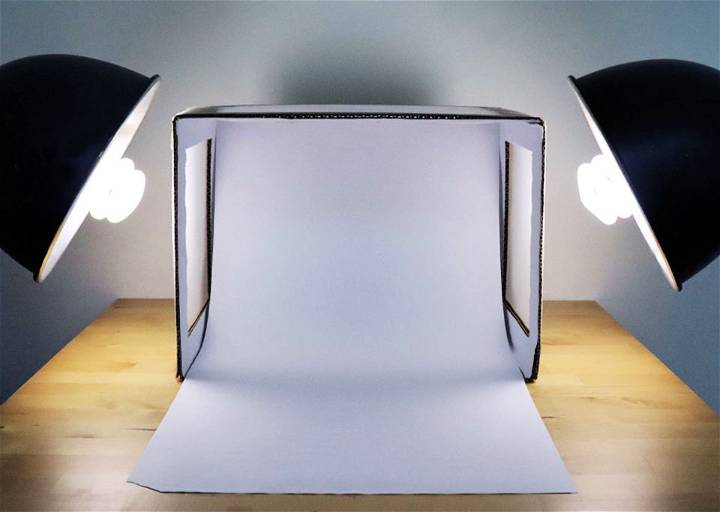
Unlock the secret to professional-looking product photos with a homemade light box—an affordable, easy-to-assemble solution! This ingenious method utilizes everyday items, including a cardboard box, tapes, and paper, transforming them into a powerful photography tool. Perfect for capturing images with a seamless white background, it relies on the strategic placement of diffusers and light sources.
Curious about building your own? Learn the step-by-step process, from crafting the box to achieving flawless lighting. Elevate your photography skills with this cost-effective approach today by visiting the guide on Canon Asia. Ideal for small to medium-sized product shots, discover how to replicate studio-quality photos right at home!
8. Homemade Light Box
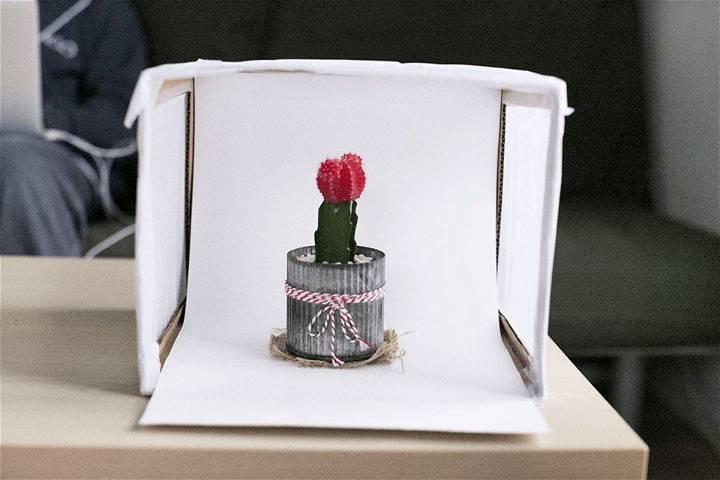
Unlock the power of professional-looking product photos with our simple guide on constructing a DIY light box. Making engaging images is crucial for any online business, and a homemade light box is your key to achieving high-quality product photography with ease. Not only is this project budget-friendly, but it's also straightforward and fast to assemble.
You'll discover how to utilize basic materials like a cardboard box, tissue paper, and poster board to design a versatile photo studio right at home. Say goodbye to shadows and hello to beautifully lit, compelling product visuals. Start capturing stunning product photos today by visiting Jimdo for more invaluable tips and step-by-step instructions.
9. Handmade Photography Light Tent
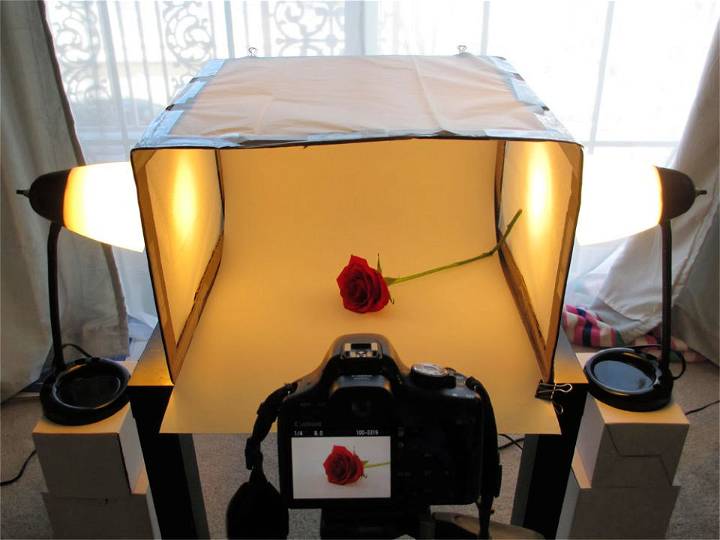
Unlock your photography potential with a homemade, foldable DIY Photography Light Tent, ideal for achieving professional-quality product shots and detailed close-ups. This guide walks you through an easy-to-follow process using common household items. Perfect for those needing consistent backgrounds and soft lighting, it also folds flat for convenient storage. Elevate your photography game by constructing your own light tent and capture stunning, evenly-lit photographs every time.
10. Making a Folding Light Box
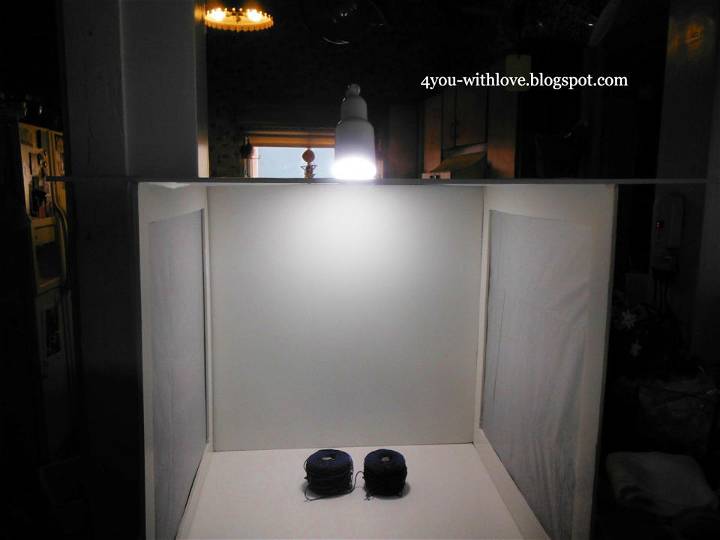
Elevate your photography game with a simple yet ingenious DIY Folding Light Box! Ideal for bloggers and creatives with limited space, this tutorial from 4 You With Love walks you through making a cost-effective, foldable solution that diffuses light, eliminating glare for clearer, softer images. Whether dealing with a compact crafting area or a lack of storage, this project ensures your light box conveniently folds away when not in use, making it a must-try for enhanced photography on a budget.
11. How to Make a Photo Light Box
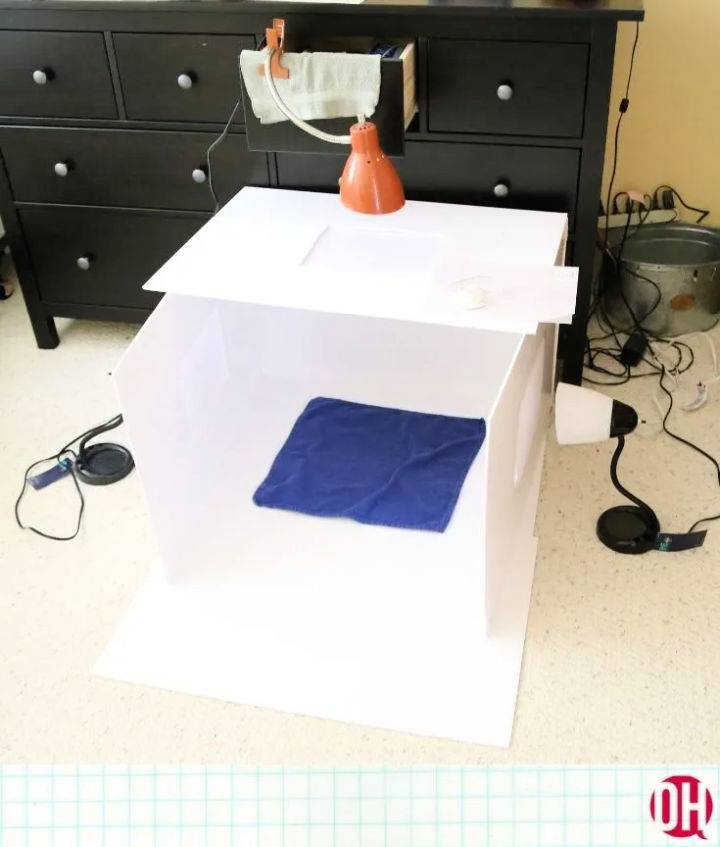
Step into the world of DIY brilliance with an essential guide for making your own portable photo light box—for under $20! Ideal for photographers who crave control over their lighting without breaking the bank, this project is not only budget-friendly but also quick to assemble.
Perfect for product photography, food shots, or any scenario where natural light falls short, a DIY light box offers consistent, soft lighting to make your images pop. Say goodbye to unpredictable lighting and hello to clarity and precision in your photos. Dive into the complete tutorial now and transform your photography game. Start building today with this step-by-step guide at ohmrstucker.com. Capture the magic in every shot, effortlessly!
12. Simple DIY Lightbox
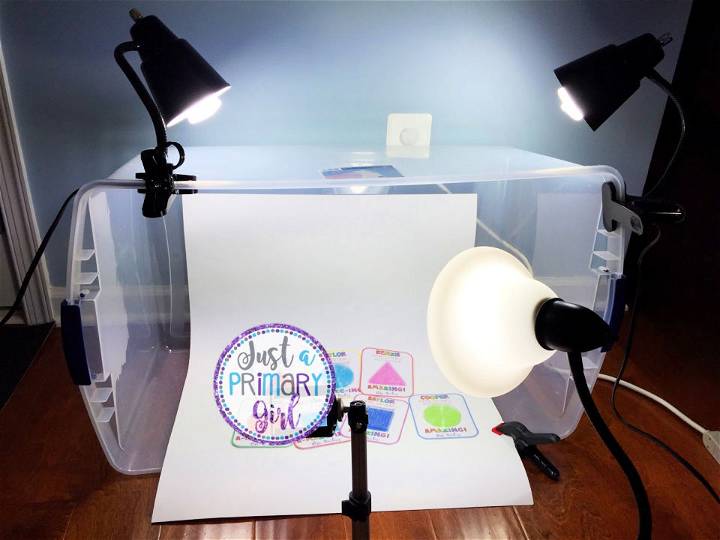
Unlock your creative potential and elevate your photography with a simple, budget-friendly DIY lightbox, courtesy of a detailed guide on Just a Primary Girl. For a fraction of the cost, you can make a professional-looking lightbox using items you may already have at home or can easily find at a dollar store. The tutorial outlines a straightforward process, utilizing foam boards, parchment paper, and a few other basic materials. Perfect for enhancing the quality of your photos, this DIY lightbox is a must-try for anyone seeking an affordable solution to achieve stunning visual content.
13. Build a Pvc Light Tent
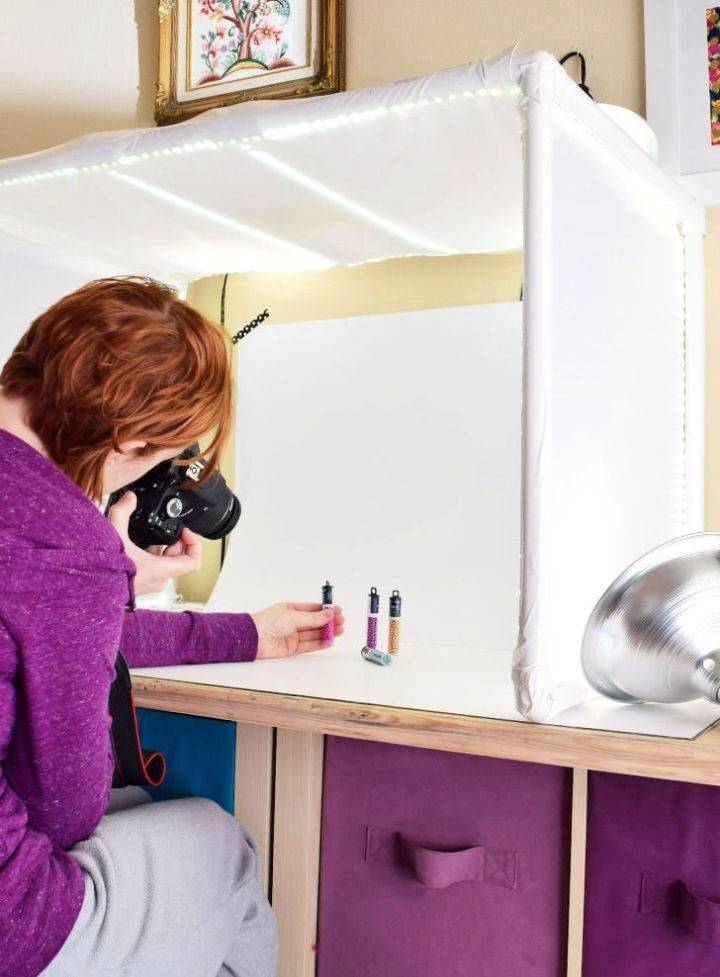
Level up your photography game with this easy-to-follow guide on making your own DIY PVC light tent, a perfect solution for anyone looking to improve their photo quality. Whether you sell handmade items online or aspire to be a YouTube sensation, mastering the art of lighting can dramatically enhance your photographs and videos.
From struggling with color corrections to finally achieving that perfect light, this guide walks you through the journey of building a customizable light tent that's both budget-friendly and highly effective. Discover valuable tips, from selecting the right PVC pipe to optimizing LED lighting, to achieve professional-grade visuals right from your desk. Ready to embark on this creative project? Click here for the full tutorial and transform your photo setup today!
14. How to Make a Light Box
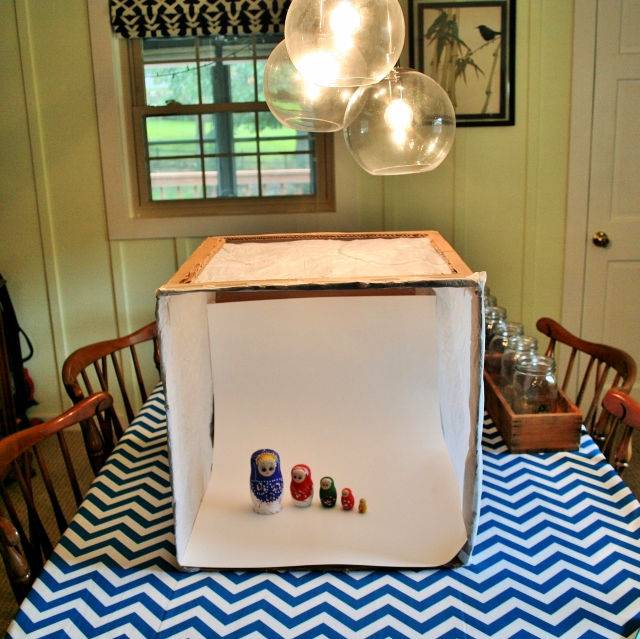
Transform your photography with a homemade DIY light box, as detailed by Rhapsody in Rooms. This easy, cost-effective project requires simple materials like a cardboard box, white tissue paper, poster board, box cutter, and tape. Steps include modifying the box, adding light diffusion with tissue paper, and setting it up with ample lighting for stunning, distraction-free photos of small objects. Ideal for enhancing your photography on a budget!
15. DIY Light Box on Budget
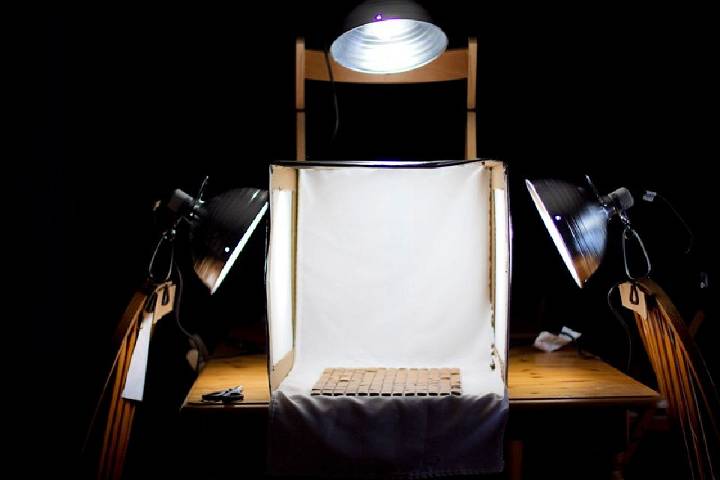
Discover how to illuminate your photography with your very own homemade light box, courtesy of the inventive guide on Oh She Glows. Fusing simple materials like a cardboard box, duct tape, and white fabric, you can craft a photography studio that enhances your shots, mimicking natural light. Ideal for capturing vivid, shadow-less images, this light box design is not only effective but also empowers your creative journey into product photography or even playful cat portraits. Dive into this straightforward tutorial and elevate your photography game without breaking the bank.
16. Make Your Own Photo Light Box
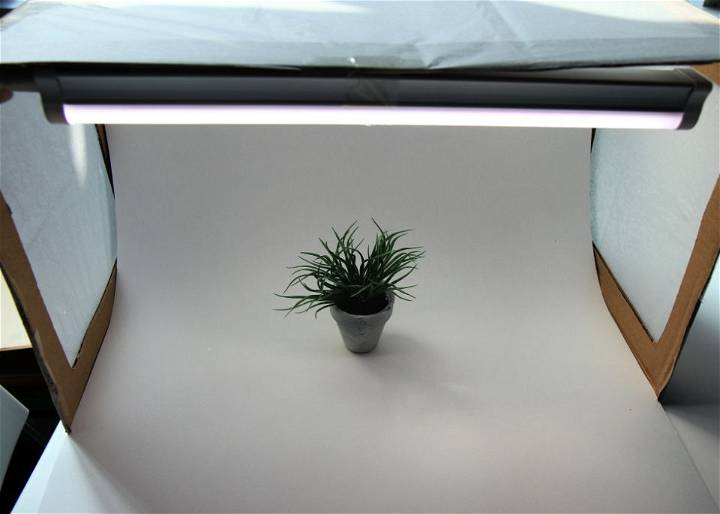
Elevate your photography game without breaking the bank! Learn how to construct your own DIY Photo Light Box with a simple tutorial that can dramatically improve your photo quality, especially in low-light conditions. All you need is a few affordable supplies like a cardboard box, tissue paper, and white construction paper.
Follow straightforward steps from cutting the box to attaching the paper and discover how to achieve professional-looking photos with this budget-friendly solution. Perfect for bloggers, online sellers, or anyone keen on photography. For a detailed guide, visit Print For Fun Blog. Happy crafting and capturing!
17. Easy Photo Light Box Tutorial
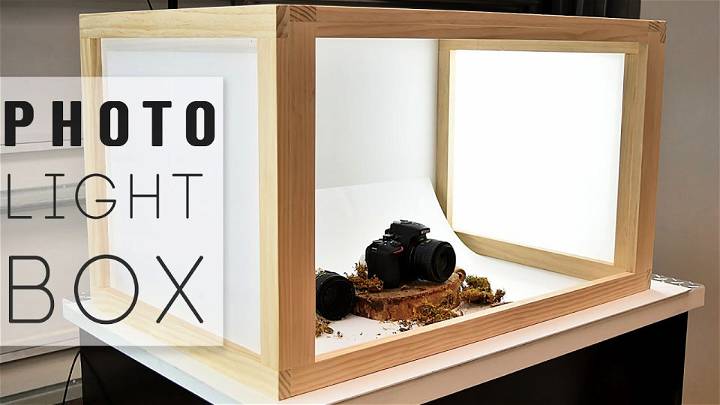
Elevate your photography skills by crafting a DIY light box with this easy-to-follow guide from DIY Creators. Perfect for enhancing product photos, food photography, or any subject needing that professional touch. A light box makes evenly lit shots, transforming your images with minimal effort.
Ideal for DIY enthusiasts and photographers aiming to showcase their work in the best light. For a detailed step-by-step video, visit the talented DIY Creators on YouTube here: DIY Creators. Dive in and make your own light box — a simple, yet impactful project!
18. Lightbox for Product Photography for Under $20
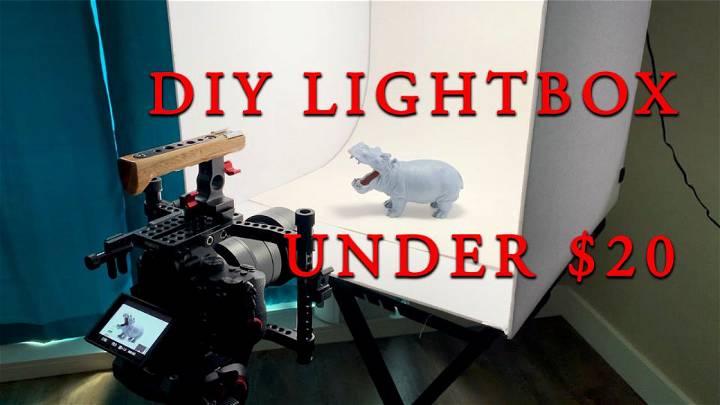
Elevate your product photography with a budget-friendly DIY lightbox, all for under $20. Tim Townley guides you through building a portable 20x20 inch lightbox, perfect for enhancing your photos. You'll just need some basic supplies, most of which you might already have at home or can easily get from a dollar store.
This lightbox is not only cost-effective but also foldable, making it your go-anywhere solution for professional-looking product images. For a step-by-step walkthrough, watch Tim's video here. Perfect for photographers and videographers seeking DIY solutions to make stunning product visuals.
19. Make a Lightbox Under $10 Dollars
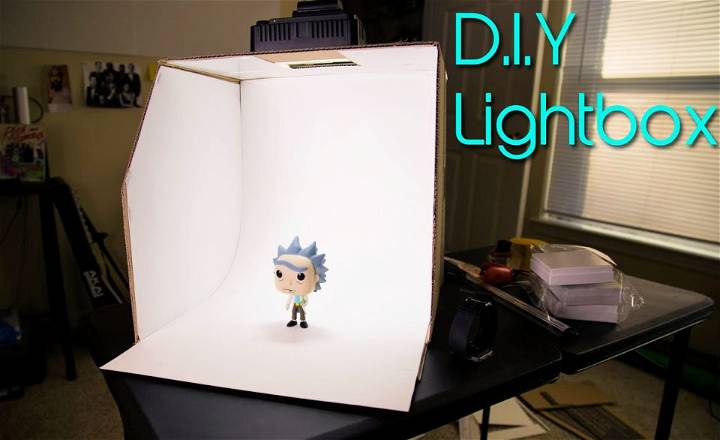
Looking to enhance your photography without breaking the bank? Discover how to make a DIY lightbox for under $10. This easy-to-follow tutorial will guide you through making an affordable lightbox in less than an hour - perfect for beginners hoping to improve their photography game. For a detailed step-by-step guide, check out the video by clicking here. Elevate your photos with this budget-friendly solution today!
20. DIY Lightbox - Step by Step Instructions
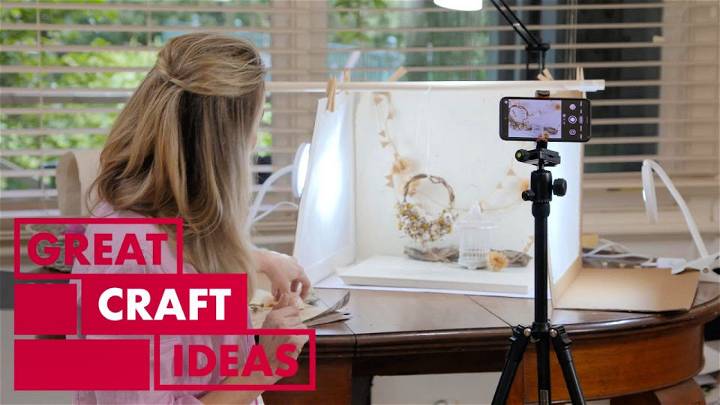
Elevate your photography game with a simple DIY lightbox, perfect for creators wanting to showcase their work with professional crispness. Learn to craft your own lightbox using basic materials and transform your images with beautifully diffused lighting. Ideal for online sellers, artists, or hobbyists aiming to sharpen their styling and photography skills. Follow this easy, step-by-step guide at Great Home Ideas. Capture stunning shots with ease, starting with just a cardboard box!
21. Photo Light Box Making Ideas
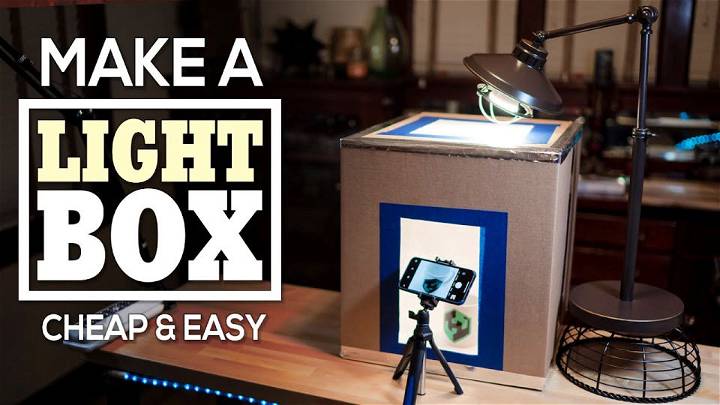
Elevate your photography game with a DIY light box! This tutorial guides you through making an affordable light box with household items. Perfect for enhancing your online sales listings or capturing that Instagram-worthy meal. You'll need basics like a box, white poster board, aluminum foil, and tape. Follow our steps for a seamless backdrop and optimal lighting, using simple LED lights or a flashlight. Dive in and make your DIY light box today for standout photos.
22. DIY Photo Light Box for Under $10
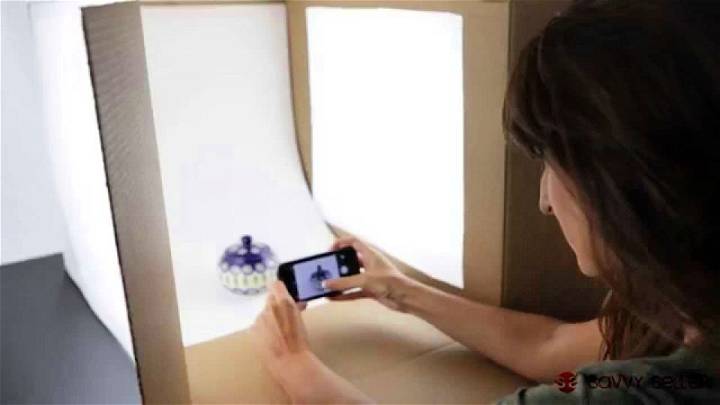
Elevate your product photography game without breaking the bank! Learn how to craft a DIY photo light box for under $10 with an easy-to-follow tutorial. From the essentials like a cardboard box and diffusing fabric to the simple assembly steps, this guide has everything you need. Perfect lighting is crucial for showcasing your items online, and this budget-friendly setup delivers just that. Click here to watch the full tutorial and start capturing stunning images today. No advanced skills required, just a keen eye for detail and a passion for photography!
23. Portable Folding Lightbox Design
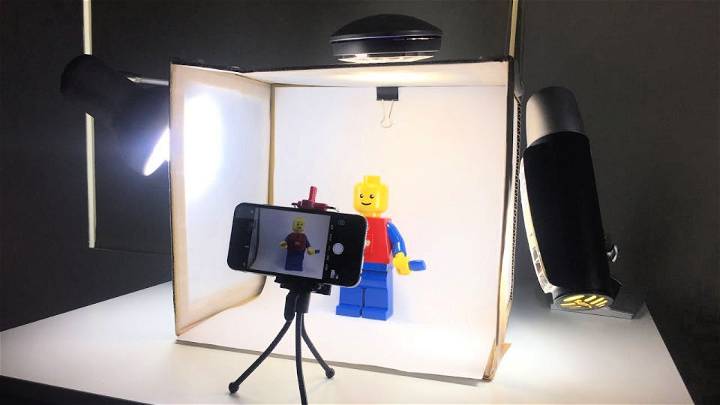
Dive into the exciting project of making your own DIY Portable Folding Lightbox, perfect for photographers aiming for professional results on a budget. Learn step-by-step how to craft this innovative tool with a helpful video from the Corel Discovery Center. Ideal for enhancing your photo quality, this guide makes it easy and affordable. Visit the project page for a comprehensive materials list to get started!
24. Easy DIY Jewelry Lightbox
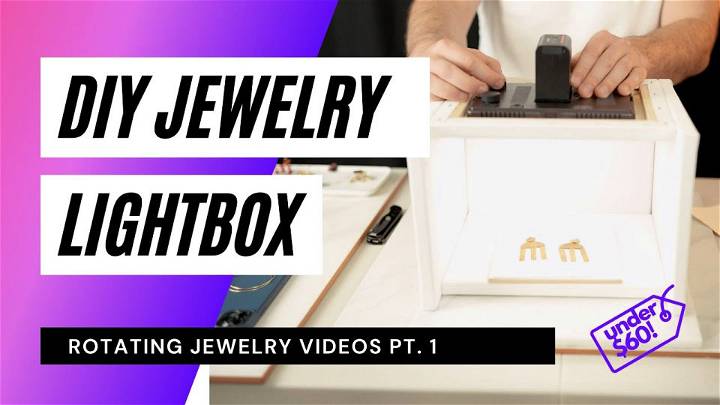
Elevate your DIY skills by making your very own jewelry lightbox, allowing you to capture stunning, consistent photos and videos of your jewelry creations. Robbie Haddad's step-by-step guide here demystifies the entire process. For under $40, you'll learn to assemble a lightbox with customizable lighting options—far cheaper and arguably better quality than pricier models. This tutorial is clear, concise, and perfect for anyone looking to improve their product photography without breaking the bank.
25. How to Make a Photography Light Box
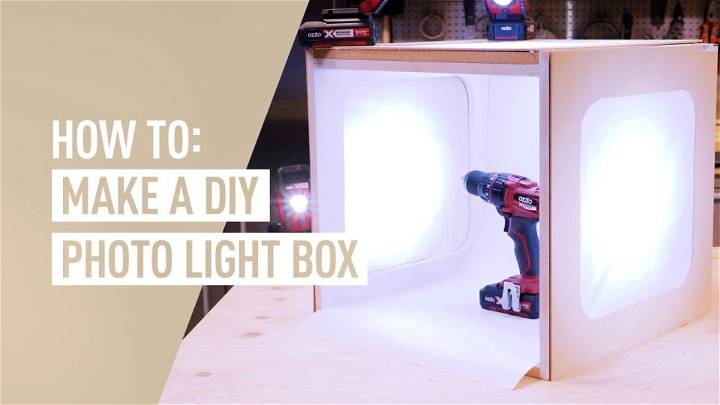
Unlock your photography potential with this straightforward DIY guide to crafting a photography light box! Ideal for product photography or online sales, this tutorial will walk you through making a versatile light box at home using simple tools and materials. Say goodbye to complex setups and hello to beautiful, well-lit photos with ease. For a step-by-step guide, check out the video at Ozito DIY. Light up your photographic journey today!
Conclusion:
In conclusion, crafting your own DIY light box offers a creative and cost-effective solution for enhancing your product photography or artistic projects. From selecting the right materials to following a step-by-step guide on how to make a photo light box, this article has equipped you with valuable insights to embark on this rewarding DIY journey.
Whether capturing detailed photographs for an online store or exploring new dimensions in your artistic expressions, a DIY light box is an indispensable tool that elevates the quality of your images. So, seize the opportunity to elevate your photography skills and bring your imaginative ideas to light with these 25 DIY light box ideas.


