Making your own homemade DIY leave-in conditioner for natural hair can be a game-changer. Not only does it provide a personalized hair care solution, but it also offers a sense of accomplishment. By choosing to make your own conditioner, you have the opportunity to select natural ingredients that cater specifically to your hair's needs, ensuring that every strand gets the nourishment it deserves. This process not only benefits your hair but also promotes a healthier lifestyle and environment.
The journey of crafting a DIY leave-in conditioner is filled with exploration and learning. From understanding the unique needs of different hair types—be it dry, oily, curly, or straight—to mastering the art of combining ingredients in the right proportions, this experience is both rewarding and enlightening. As you embark on this venture, keep an open mind and be ready to adjust your recipe as you discover what works best for your natural hair.
Let's delve deeper into the benefits, techniques, and tips to help you make the perfect leave-in conditioner that your hair will love.
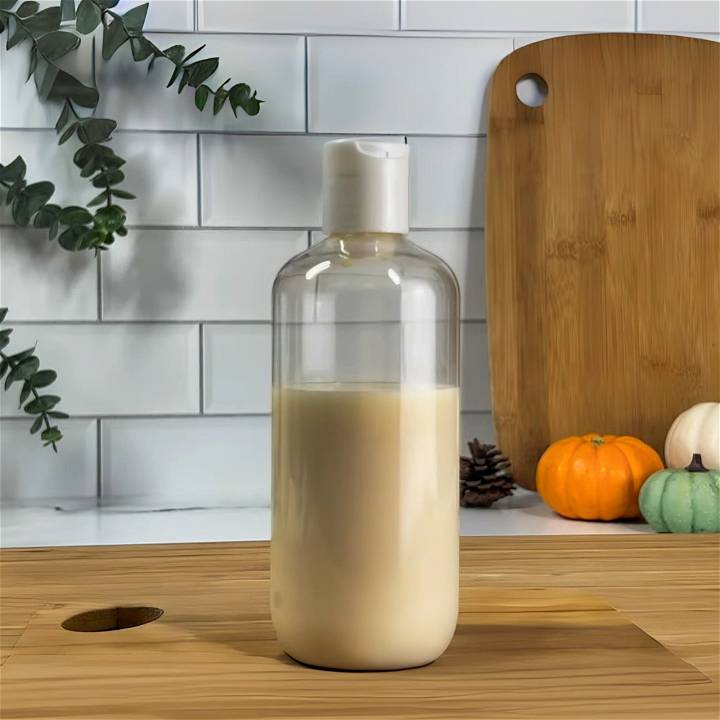
Benefits of DIY Leave-In Conditioner
DIY leave-in conditioner has several advantages that make it a great choice for hair care. Here's why you might want to consider making your own:
Cost-Effective
One of the main benefits of DIY leave-in conditioners is that they can be more cost-effective than buying commercial products. The ingredients used in homemade conditioners are often common household items or easily available at local stores. This means you can make a supply of conditioner at a fraction of the cost of store-bought versions.
Control Over Ingredients
When you make your own leave-in conditioner, you have complete control over what goes into it. This is particularly beneficial for those with sensitive scalps or allergies, as it allows you to avoid potentially irritating ingredients. Furthermore, you can customize the recipe to suit your specific hair needs, whether that's extra moisture, frizz control, or color protection.
Environmental Sustainability
DIY leave-in conditioners are typically made with natural ingredients, making them a more environmentally friendly choice. Additionally, by making your own conditioner, you can reduce waste from packaging. You can reuse the same container each time you make a new batch, which is a small but meaningful step towards reducing plastic waste.
Making leave-in conditioners saves money and helps the environment. It's a win-win!
Understanding Hair Types
When it comes to hair care, one size does not fit all. Different hair types have unique needs and respond differently to various ingredients. Understanding your hair type can help you choose the right ingredients for your DIY leave-in conditioner.
Dry Hair
Dry hair often lacks shine and may feel rough to the touch. It can be caused by factors like overwashing, heat styling, or environmental conditions. For dry hair, consider ingredients that provide deep hydration, such as aloe vera gel or coconut oil.
Oily Hair
Oily hair can look greasy or heavy, often due to overactive sebaceous glands. Ingredients that balance oil production without stripping the hair, such as apple cider vinegar or tea tree oil, can be beneficial.
Curly Hair
Curly hair tends to be more prone to frizz and dryness because the natural oils from the scalp have a harder time traveling down the hair shaft. Ingredients that enhance curl definition and reduce frizz, like shea butter or jojoba oil, are often helpful.
Straight Hair
Straight hair can often become limp or oily. Lightweight, volumizing ingredients such as rose water or peppermint oil can help add to the body without weighing the hair down.
Remember, these are just general guidelines. Everyone's hair is unique, and what works best for you might take some experimentation. But understanding your hair type is the first step towards making a DIY leave-in conditioner that truly meets your hair's needs. 😊
Ingredients and Equipment
Before starting, ensure you have all the necessary ingredients and equipment:
For the Water Phase (Phase A):
- Distilled Water
- Garcat (water-soluble thickener and conditioning agent)
- Glycerin (humectant)
- Propane Dial (moisture booster and preservative enhancer)
- Polyquaternium 10 (conditioning agent and thickener)
For the Oil Phase (Phase B):
- Lotion Pro 165 (emulsifier)
- Shea Butter
- Dimethicone (silicone for slip and moisture barrier)
- Polyquat 7 (conditioning agent for slip and curl definition)
- Sweet Almond Oil (emollient for softening and frizz reduction)
For the Cool Down Phase (Phase C):
- Poly Gel Emollient (eco-friendly emollient and thickener)
- Hydrolyzed Rice Protein (for nourishment and manageability)
- Preservative
- Fragrance Oil (optional)
- Citric Acid (pH adjuster, if necessary)
You'll also need equipment like a blender, a pH test kit, measuring tools, a stove, and containers for storage.
Step by Step Guide:
Learn how to make your own homemade DIY leave-in conditioner for natural hair below:
Phase A: The Water Phase
- Hydrate Garcat: Start by agitating the distilled water. Gradually sprinkle in Garcat while stirring vigorously. Avoid adding glycerin at this stage to prevent clumping.
- Adjust pH: Garcat thickens under a pH of 7, so you might need to adjust the pH accordingly using a pH adjuster.
- Add Glycerin and Propane Dial: Once Garcat is fully incorporated, stir in glycerin and propane dial to attract and retain moisture.
- Incorporate Polyquaternium 10: This adds to the conditioner's thickening and curl-retention properties.
Phase B: The Oil Phase
- Combine Oil Phase Ingredients: Mix Lotion Pro 165, shea butter, dimethicone, Polyquat 7, and sweet almond oil.
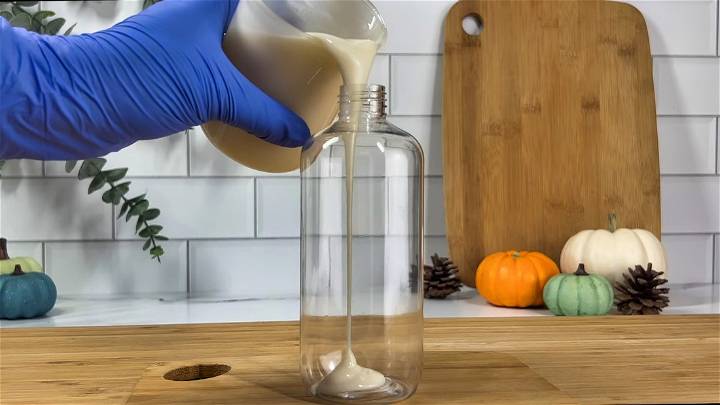
- Heat and Combine Phases: Heat both the water and oil phases in a water bath until they reach a similar temperature. Combine them, stirring continuously rather than blending, until the mixture cools down and starts to thicken.
Phase C: The Cool Down Phase
- Add Sensitive Ingredients: Once the mixture is below 104* °F, stir in Poly Gel Emollient, hydrolyzed rice protein, preservative, and fragrance oil if using.
- pH Adjustment: Ensure the product's pH is within a 4.5 to 5.5 range, adjusting with citric acid if necessary for optimum hair compatibility.
Using Your Leave-In Conditioner
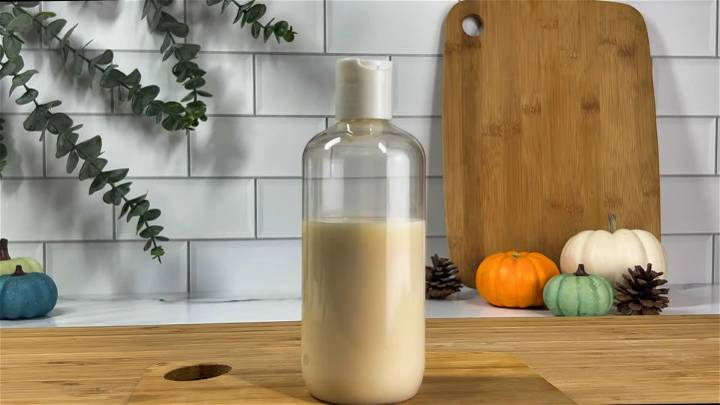
Apply the conditioner to damp hair, working from roots to tips. You can use your fingers, a wide-tooth comb, or a detangling brush for an even application. If desired, follow up with your regular styling routine. This conditioner is designed to offer light hold, enhance curl definition, and leave hair feeling soft, not weighed down.
Video Tutorial
For a step-by-step video tutorial on making leave-in hair conditioners with extreme slip-ups, watch this helpful guide on YouTube.
It pairs well with this written guide, enhancing your learning experience by showcasing the process in action for better comprehension.
Following these detailed steps will help you achieve a conditioner that not only deeply nourishes your hair but also ensures detangling is a breeze, supporting healthy, hydrated, and beautifully defined locks.
Usage Tips for DIY Leave-In Conditioner
Using a DIY leave-in conditioner effectively can make a significant difference in the health and appearance of your hair. Here are some tips to get the most out of your homemade product:
Determine the Right Amount
The amount of conditioner you should use depends on your hair length and type. Start with a small amount, about the size of a coin, and adjust as needed. Remember, less is more when it comes to leave-in conditioner. Using too much can weigh down your hair or make it look greasy.
Apply to Damp Hair
For best results, apply the leave-in conditioner to damp hair. This helps the conditioner distribute evenly and absorb better into your hair. You can use it after showering, or dampen your hair with a spray bottle before application.
Focus on the Ends
When applying the conditioner, focus on the ends of your hair, which tend to be the driest part. Avoid applying too much product near your roots, as this can make your hair look oily.
Comb Through Your Hair
After applying the conditioner, use a wide-tooth comb to distribute the product evenly through your hair. This ensures that every strand benefits from the conditioner.
Adjust Based on Your Hair's Needs
Finally, remember to adjust your usage based on your hair's needs. If your hair is feeling particularly dry, you might want to use a bit more conditioner, or apply it more frequently. On the other hand, if your hair is looking oily, you might want to use less product or apply it less often.
Remember, every person's hair is unique, so what works best for you might take some experimentation.
Troubleshooting Guide for DIY Leave-In Conditioner
Even with the best recipes and ingredients, you might encounter some issues when making or using your DIY leave-in conditioner. Here's a guide to help you troubleshoot some common problems:
Conditioner Feels Too Heavy
If your conditioner feels too heavy or greasy, it could be that you're using too much oil in your recipe. Try reducing the amount of oil and see if that helps. Alternatively, you might be applying too much conditioner to your hair. Remember, a little goes a long way!
Hair Feels Dry After Use
If your hair still feels dry after using the conditioner, you might need to add more moisturizing ingredients to your recipe. Ingredients like aloe vera gel, shea butter, or honey can provide extra hydration.
Conditioner is Causing Buildup
If you notice buildup on your hair after using the conditioner, it could be due to waxy ingredients like shea butter or coconut oil. Try using less of these ingredients, or substitute them with lighter oils like jojoba or argan oil.
Conditioner is Separating
If your conditioner is separating, it could be that the ingredients are not mixing well. Make sure to stir your conditioner thoroughly when making it. You can also try adding an emulsifier like lecithin to help the ingredients blend better.
Making your own leave-in conditioner is a process of trial and error. Don't be discouraged if you don't get it right the first time. With a little patience and experimentation, you'll find the perfect recipe for your hair type and needs. 😊
Frequently Asked Questions
Here are some common questions and answers that might help you when making and using your DIY leave-in conditioner:
How Often Should I Use My DIY Leave-In Conditioner?
The frequency of use depends on your hair type and needs. For dry or damaged hair, you might find it beneficial to use the conditioner after every wash. For oily hair, you might prefer to use it less frequently. Listen to your hair and adjust accordingly.
Can I Use My DIY Leave-In Conditioner on Colored Hair?
Yes, you can. In fact, DIY leave-in conditioners can be particularly beneficial for colored hair, which often needs extra moisture to prevent damage and fading. However, always patch test the conditioner on a small section of hair first to ensure it doesn't affect the color.
How Long Can I Keep My DIY Leave-In Conditioner?
The shelf life of your DIY leave-in conditioner depends on the ingredients used. As a general rule, if your conditioner contains water or aloe vera, it should be used within 1-2 weeks and stored in the refrigerator. If it only contains oils, it can last for several months if stored in a cool, dark place.
Can I Use Essential Oils in My DIY Leave-In Conditioner?
Yes, essential oils can add a pleasant scent and have additional benefits for your hair. However, they should always be used sparingly and never applied directly to the scalp or hair without being diluted in a carrier oil.
Is DIY Leave-In Conditioner Suitable for Both Straight and Curly Hair?
This recipe is suitable for all hair types because you can use the conditioner that best suits your hair. You can also experiment with different dilution ratios of conditioner to water to suit your hair type.
Can I Use Canned Coconut Milk in My DIY Leave-In Conditioner?
Yes, you can use canned coconut milk in your DIY leave-in conditioner. In fact, canned coconut milk often works better than homemade coconut milk.
Can I Use Homemade Coconut Milk in My DIY Leave-In Conditioner?
Yes, you can use homemade coconut milk in your DIY leave-in conditioner. However, you might need to adjust the recipe slightly as homemade coconut milk can be thinner than canned coconut milk.
What Can I Do If My DIY Leave-In Conditioner Feels Too Heavy?
If your conditioner feels too heavy, try using less oil in your recipe or applying less conditioner to your hair. Remember, a little goes a long way!
What Can I Do If My Hair Feels Dry After Using the DIY Leave-In Conditioner?
If your hair still feels dry after using the conditioner, try adding more moisturizing ingredients to your recipe, such as aloe vera gel or shea butter.
What Can I Do If My DIY Leave-In Conditioner Is Causing Buildup?
If you notice buildup on your hair after using the conditioner, try using less of the waxy ingredients like shea butter or coconut oil, or substitute them with lighter oils like jojoba or argan oil.
Everyone's hair is unique, so what works best for one person might not work for another. Don't be afraid to experiment and find what works best for your hair. Happy conditioning! 😊
Conclusion:
In conclusion, crafting your own homemade DIY leave-in conditioner for natural hair presents an array of benefits, including cost-effectiveness, control over ingredients, and a nod to environmental sustainability. Understanding your hair type is crucial in customizing a formula that caters specifically to your needs, whether it's for dry, oily, curly, or straight hair. The guide provided lays out a simple framework from selecting the right ingredients and equipment to the actual crafting process involving the water phase, oil phase, and cool-down phase.
Moreover, the usage tips and troubleshooting guide aim to enhance your experience, ensuring your hair receives the utmost care it deserves. Remember, adapting the usage based on your hair's needs and focusing on the ends can dramatically improve your hair's health and appearance. Embrace the journey of making a conditioner that is uniquely yours and enjoy the lush, nourished locks that follow.


