In this guide, you'll learn a homemade eyeglass cleaner recipe that is both effective and easy to make. Using household ingredients, you can make a cleaner that keeps your lenses sparkling without harsh chemicals. This simple DIY eyeglass cleaner will save you money and ensure your glasses are clear for better vision. All you need are a few common items from your kitchen or bathroom.
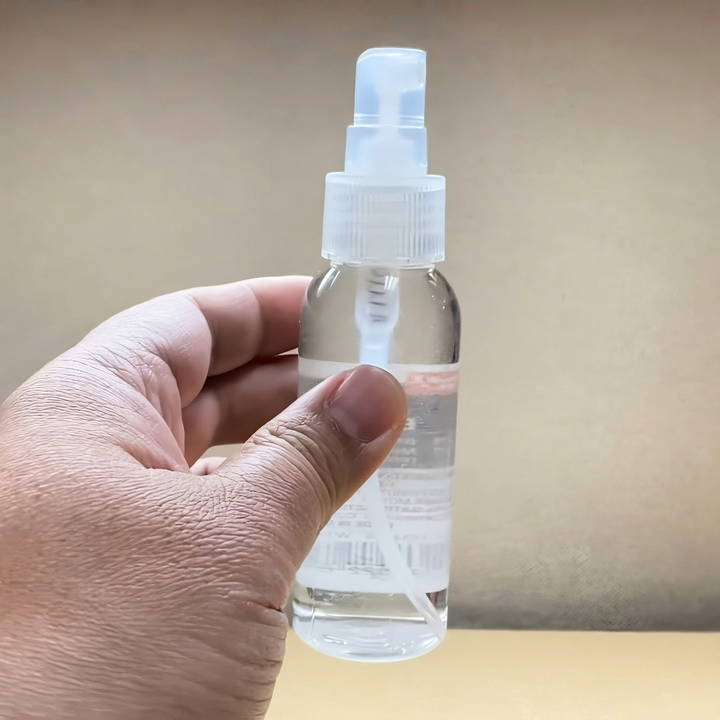
We will provide step-by-step instructions on how to mix and store your homemade eyeglass cleaner. Plus, you'll get tips on the best ways to use it for optimal results. With our guidance, making and using this DIY eyeglass cleaner will be straightforward and rewarding.
Ready to get started? Let's dive into the details and make your perfect eyeglass cleaner!
Materials Needed
Before diving into the process, gather these materials. Each item plays a crucial role in ensuring the effectiveness of your DIY cleaner:
- Empty Spray Bottle: This is essential for dispensing the cleaner onto your lenses. You can find these at any local drugstore like Walgreens, CVS, Walmart, or Target. Look for a small spray bottle that can easily fit in your bag or pocket.
- Dishwashing Liquid: This mild detergent helps break down oils and grease on your lenses. Use any brand you have in your kitchen; no need for something fancy.
- Rubbing Alcohol (Isopropyl Alcohol): Alcohol is the main ingredient for cleaning and sanitizing your lenses, effectively eliminating smudges and fingerprints. This can be found at any pharmacy or grocery store.
- Water: This dilutes the alcohol and helps in evenly spreading the solution on your lenses.
Step by Step Instructions
Learn how to make homemade eyeglass cleaner with our step-by-step guide. Simple, effective, and perfect for clear lenses every time!
Step 1: Preparing the Spray Bottle
The first thing I did was get my spray bottle ready. Make sure it is clean to avoid any contamination.
- Cleaning the Bottle: If you are repurposing an old bottle, rinse it thoroughly with warm water and allow it to dry completely. This prevents any leftover substances from interfering with your new mixture.
Step 2: Adding Rubbing Alcohol
Alcohol is the primary cleaning agent in this mixture.
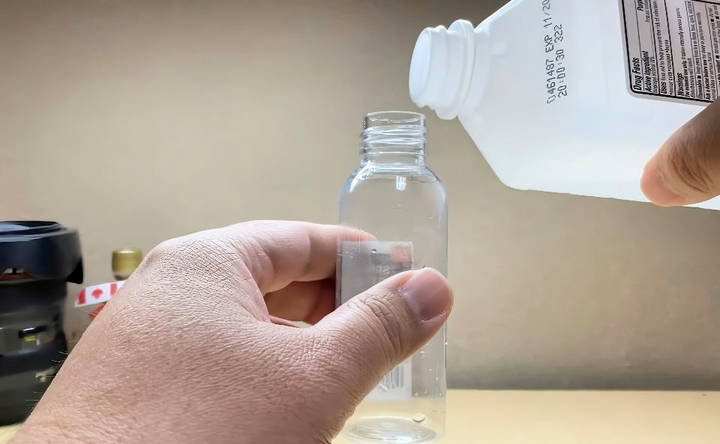
- Measure the Alcohol: Pour one-third of the bottle with rubbing alcohol. It's important to leave enough space for water and dishwashing liquid. [You can imagine the level of alcohol in the bottle – it's somewhere just below halfway but more than a quarter.]
- Pour into the Bottle: Carefully pour the measured alcohol into your spray bottle. This ensures that your solution has the right potency to clean effectively.
Step 3: Adding Water
Water is crucial for diluting the alcohol and ensuring the mixture isn't too harsh on your lenses.
- Fill the Remainder with Water: Now, fill the bottle with water up to the top, leaving a little room for the dishwashing liquid. This makes sure your solution is gentle and effective. [Picture the bottle filling up slowly – alcohol is now combined with water.]
- Mix the Solution: Gently shake the bottle to mix water and alcohol.
Step 4: Incorporating Dishwashing Liquid
The dishwashing liquid acts as a gentle detergent to break down oils and grime.
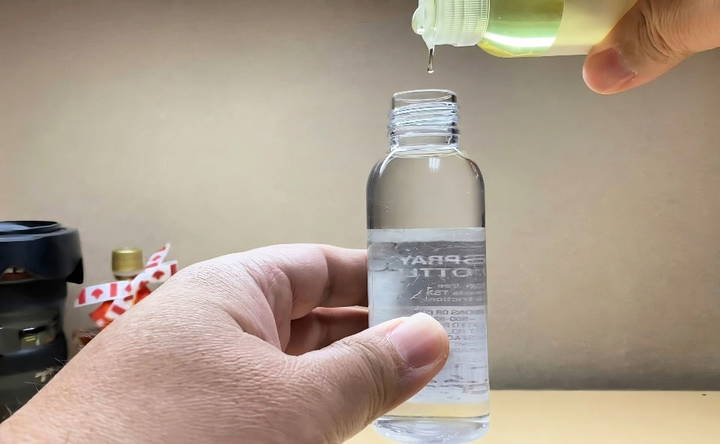
- Add Drops of Dishwashing Liquid: Add 2 to 3 drops of dishwashing liquid into the bottle. Too much can leave streaks, so keep it minimal. [Visualize it – tiny drops making little ripples in your solution.]
- Shake lightly: Close the bottle's lid and give it a light shake. Mix it gently to avoid foam, which could make dispensing the cleaner tricky.
Step 5: Testing and Using the Cleaner
Now that your DIY cleaner is ready, it's time to test it.
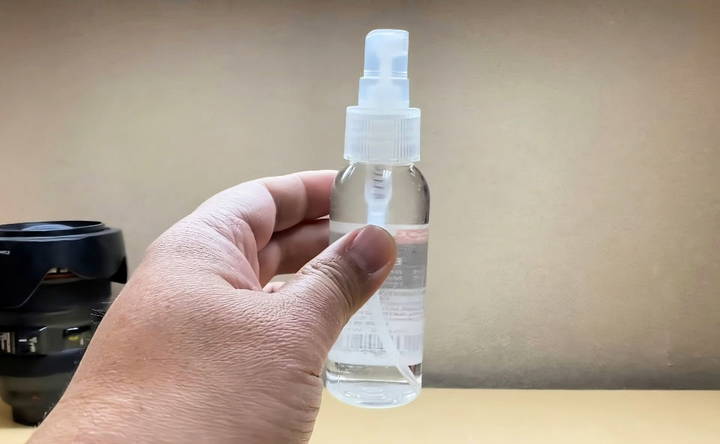
- Spray on Lens: Give the bottle a quick press to spray the solution onto your eyeglasses or lenses. [Think about how refreshing the spray looks on smudged lenses.]
- Clean with a Microfiber Cloth: Use a microfiber cloth to wipe the lenses. These cloths are designed not to leave any streaks or scratches. Avoid using paper towels or t-shirts, as they can damage your lenses.
Additional Tips for Best Results
- Avoid Scratching: Always use a microfiber cloth to clean your lenses. Other materials can cause tiny scratches over time.
- Store Properly: Keep your cleaner in a cool place. Avoid leaving it in a hot car, as the high temperature can degrade the effectiveness of the solution.
- Regular Cleaning: Make it a habit to clean your glasses at least once a day. This prevents heavy buildup of oils and grime, making each cleaning session easier.
Troubleshooting Common Issues with Homemade Eyeglass Cleaners
When using homemade eyeglass cleaners, you might sometimes face issues that leave your lenses less than perfect. Here's how to troubleshoot some common problems:
Streaks on Lenses
- Cause: Often caused by using too much cleaner or not wiping thoroughly.
- Solution: Use a small amount of cleaner. Wipe with a clean, lint-free microfiber cloth in a circular motion until dry.
Residue Build-Up
- Cause: Residue can build up from excessive use of soap or not rinsing well.
- Solution: Rinse glasses under lukewarm water after cleaning. If residue persists, reduce the amount of soap in your solution.
Scratches on Lenses
- Cause: Scratches may occur if there's grit on the cloth or lenses before cleaning.
- Solution: Always rinse your glasses under water to remove debris before wiping. Use a soft, clean cloth.
Lenses Fogging Up
- Cause: This can happen if the cleaner leaves a film on the lenses.
- Solution: Ensure you're using a streak-free recipe and wipe lenses until completely dry.
Allergic Reactions
- Cause: Some people may react to certain ingredients, like essential oils.
- Solution: Test the cleaner on a small part of the frame first. If irritation occurs, remove the offending ingredient.
Effectiveness on Different Coatings
- Cause: Some coatings may require specific cleaning solutions.
- Solution: Check with your optometrist about the compatibility of homemade cleaners with your specific lens coatings.
Cloudiness on Lenses
- Cause: Can be caused by using tap water with high mineral content.
- Solution: Use distilled water in your cleaner to prevent mineral deposits.
Start with a good recipe, use the right materials, and clean carefully. If problems persist, consult an eyewear professional to care for your glasses.
FAQs About Homemade Eyeglass Cleaner
Learn all about homemade eyeglass cleaner with these frequently asked questions. Discover how to make and use DIY solutions effectively.
Yes, rubbing alcohol can be used to clean eyeglasses, especially if they are very greasy or smudged. However, it’s important to note that rubbing alcohol should be avoided if your glasses have special coatings like anti-reflective, anti-fog, or anti-scratch, as it can damage these coatings.
For glasses with special coatings, a safe cleaning solution can be made using distilled water and a few drops of lotion-free dish soap. This mixture is gentle and effective for cleaning without damaging the coatings.
It’s best to clean your eyeglasses regularly to maintain clear vision and prevent the buildup of bacteria and grime. A daily cleaning routine is recommended, especially if you use your glasses frequently throughout the day.
When making a homemade eyeglass cleaner, avoid using harsh chemicals like ammonia or strong solvents, which can damage the lens material or coatings. Also, steer clear of lotions or soaps with added moisturizers, as they can leave a residue on the lenses.
While vinegar is a common household cleaning agent, it's not recommended for eyeglasses, especially those with coatings. Vinegar's acidity can be harsh and potentially strip away the coatings over time. For a safer alternative, stick to a mild dish soap and distilled water solution.
Conclusion:
Making your own DIY eyeglass cleaner is incredibly easy and cost-effective. With just an empty spray bottle, some rubbing alcohol, water, and a few drops of dishwashing liquid, you can keep your lenses crystal clear. I found this method not only saved me money but also ensured I always had a reliable cleaner on hand.
So, next time you find your lenses smeared and blurry, don't rush to the store for an overpriced solution. Instead, try this homemade cleaner and see the difference for yourself. Happy cleaning!


