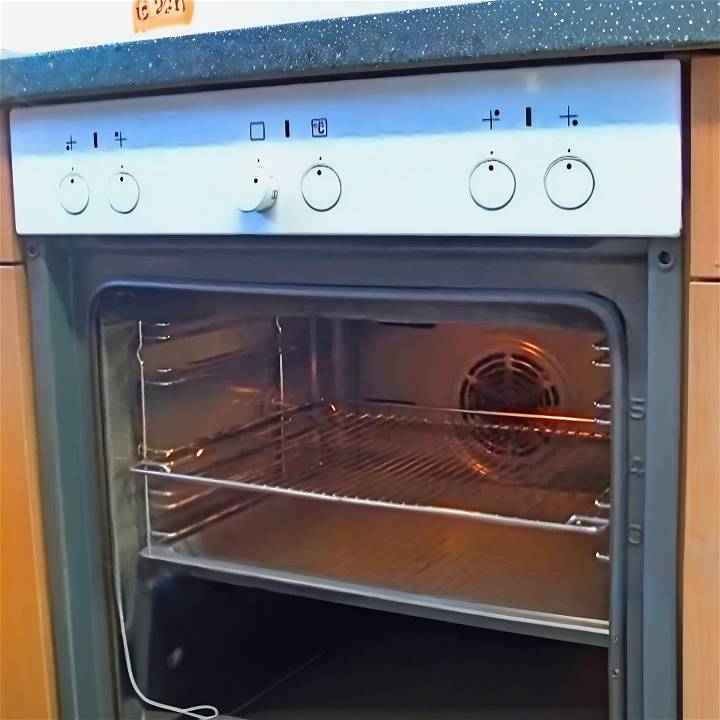
As someone who's not particularly a fan of cleaning and would rather spend my time doing literally anything else, I recently found myself in uncharted territory: my oven was a mess, and I couldn't ignore it any longer. So, I embarked on a DIY journey that not only promised to tackle my oven's grime but also assured me it would be easy and, importantly, asthma-friendly. Here's my step-by-step guide based on personal experience, transforming my oven from grimy to sparkling with a homemade oven cleaner that truly rocks.
Materials Needed and Why:
- Vinegar: Acts as a natural disinfectant and breaks down the grime.
- Baking Soda: A mild abrasive that scrubs without scratching surfaces.
- Dish Soap: Cuts through grease and leaves surfaces clean and shiny.
- Empty Bottle: To store your cleaner for future use.
- Sponge: For applying the cleaner and scrubbing.
- Bucket or Basin: To hold water for rinsing the sponge.
These ingredients are not only cost-effective but also environmentally friendly and safe for those with sensitivities to harsh chemicals.
Step by Step Instructions
Learn how to make an effective DIY oven cleaner with step-by-step instructions, including creating the cleaner, preparing the oven, applying and scrubbing, and more!
Step 1: Creating the Cleaner
I mixed baking soda and vinegar first, which created an exciting fizz (a perk for anyone with kids who want to get involved!). After the initial science experiment vibes, I added dish soap into the mix, turning it into a paste reminiscent of pancake batter. The consistency is key here as it clings to the oven surfaces to do its magic.
Step 2: Preparing the Oven
Before applying the mixture, I removed the oven racks to ensure every nook and cranny could be coated. This might seem like a small step, but it's crucial for thorough cleaning.
Step 3: Applying the Cleaner
Using a sponge, I applied a generous layer of the homemade cleaner inside the oven, making sure to cover all surfaces. The goal is to create a thick coating that can penetrate the built-up grime. Even if one side of your oven seems cleaner, don't skip it – a uniform application ensures no spot is left behind.
Step 4: Let It Sit
Patience is a virtue, especially in cleaning. I let the mixture sit for 15 minutes, which allows the ingredients to work their magic, softening and lifting the grime.
Step 5: Scrubbing Time
After waiting, I took my sponge and started scrubbing. Some areas required more elbow grease than others, but I could see the grime coming off. It was satisfying to see the transformation unfolding before my eyes.
Step 6: Rinsing and Drying
Using a bucket of water, I rinsed my sponge frequently as I wiped the cleaner off. This step required several bucket changes to ensure I wasn't just spreading the dirt around. After removing all the cleaner, I dried the surfaces with a towel, revealing a surprisingly clean oven.
Additional Tips:
- Racks and Glass Door: Don't forget these parts. You can apply the same cleaner to the racks and use a similar process for removing and cleaning the glass door if necessary.
- Stubborn Areas: For spots that didn't come clean on the first attempt, a second application of the cleaner did the trick.
- Regular Maintenance: Keeping on top of oven spills and splatters by doing quick cleans regularly can prevent the overwhelming task I faced.
Other Natural Oven Cleaner Options
When it comes to keeping your oven clean, there's no need to rely on harsh chemicals. Nature provides us with plenty of effective, eco-friendly options for tackling grease and grime. Here are some natural alternatives that are not only easy to use but also kind to the environment.
Lemon Essential Oil Cleaner
Lemon essential oil is renowned for its degreasing properties and refreshing scent. To create a natural oven cleaner:
- Mix: Combine 10 drops of lemon essential oil with 1 cup of warm water in a spray bottle.
- Spray: Liberally spray the solution inside the oven, focusing on areas with built-up grease.
- Wait: Allow the mixture to sit for at least 15 minutes.
- Wipe: Use a damp cloth or sponge to wipe away the grime.
This method is perfect for a quick refresh between deep cleans.
Salt Scrub
Salt is a natural abrasive that can help scrub away stubborn stains without scratching surfaces.
- Prepare: Mix 1/2 cup of salt with enough water to form a paste.
- Apply: Spread the paste on tough spots and let it sit for 5 to 10 minutes.
- Scrub: Use a sponge or brush to gently scrub the area.
- Rinse: Wipe clean with a damp cloth.
Salt is especially useful for cleaning up fresh spills that haven't yet set.
Fresh Lemons
The acidity in lemons makes them a great natural cleaner.
- Heat: Preheat the oven to a low temperature and then turn it off.
- Place: Cut two lemons in half and place them cut-side up in an oven-safe dish with a little water.
- Steam: Put the dish in the oven for about 30 minutes to help loosen grime.
- Clean: After the oven cools, use the lemon halves to scrub the interior.
This method not only cleans but also leaves your oven smelling fresh.
Steam Cleaning
Steam can soften even the most stubborn baked-on food residue.
- Fill: Place a pot of water on the bottom rack of the oven.
- Heat: Turn the oven on to a high temperature and let the water boil for 20 to 30 minutes.
- Cool: Turn off the oven and let it cool slightly.
- Wipe: Once it's safe to touch, wipe away the softened grime with a cloth.
Steam cleaning is a gentle way to maintain your oven without any scrubbing.
By using natural cleaning methods, you can keep your oven in great shape without harsh chemicals. Prioritize health and the environment.
Frequency of Cleaning an Oven
Keeping your oven clean is not just about maintaining its appearance; it's essential for ensuring that it operates efficiently and safely. A regular cleaning schedule can prevent potential hazards and extend the life of your appliance. Here's a detailed guide on how often you should clean your oven and why it's important.
Understanding the Need for Regular Cleaning
A clean oven is crucial for several reasons:
- It ensures even heating and optimal cooking results.
- It prevents unpleasant odors and smoke during cooking.
- It reduces the risk of fire hazards due to grease buildup.
Determining Your Oven Cleaning Schedule
The frequency of cleaning your oven depends on several factors, including how often you use it and the types of food you cook. Here are some general guidelines:
- Regular Users: If you use your oven frequently, especially for baking or roasting, you should aim to clean it every three to six months.
- Occasional Users: For those who use their oven less often, a thorough cleaning every six months should suffice.
Monthly Quick Checks
In between deep cleanings, it's a good idea to perform a quick check once a month:
- Look for any noticeable food particles or grease splashes.
- Clean up any spills immediately to prevent them from becoming baked on.
The Role of Cooking Habits
Your cooking habits can influence how often you need to clean your oven:
- If you often cook food directly on the racks or have frequent spills, you may need to clean your oven more regularly.
- Using trays and foil to catch drips can help keep your oven cleaner for longer.
Tips for a Clean Oven
Here are some practical tips to maintain a clean oven:
- Use your oven's self-cleaning cycle if available, but not too frequently as it can wear down parts over time.
- For manual cleaning, a paste made of baking soda and water is effective for stubborn spots. Let it sit overnight and then scrub away.
- Avoid using abrasive sponges or harsh chemicals that can damage the oven's interior.
By following these guidelines, you can ensure that your oven remains a reliable and safe tool in your kitchen. Remember, a little effort in maintaining your oven can save you time and trouble in the long run.
Final Thoughts
To say I was proud of my efforts is an understatement. Not only did this DIY oven cleaner work wonders, but it was also a breeze to make and use, all while being gentle on my asthma and the planet. I can confidently say that this experience has changed my view on DIY cleaning solutions, and I'm already looking for the next project to tackle.
Remember, cleaning doesn't have to be a chore dreaded by many. With the right tools and a bit of know-how, it can be rewarding and, dare I say, enjoyable. Whether you're a cleaning enthusiast or someone who'd rather avoid it at all costs, this homemade oven cleaner recipe might just be the game-changer you've been looking for.


