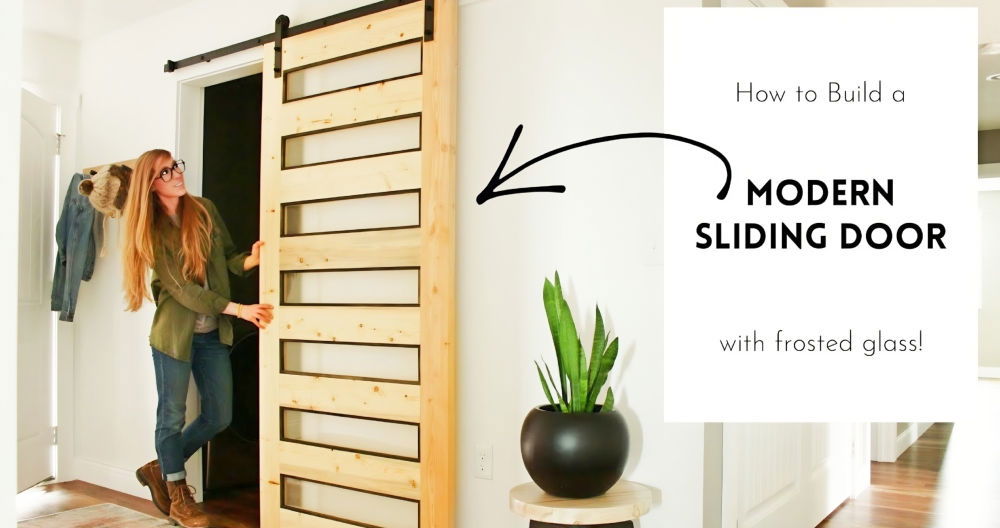
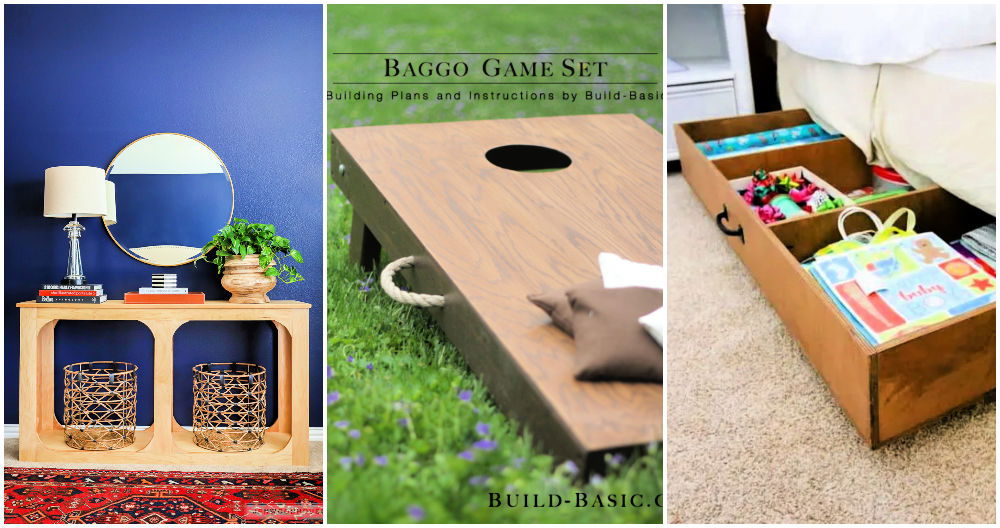
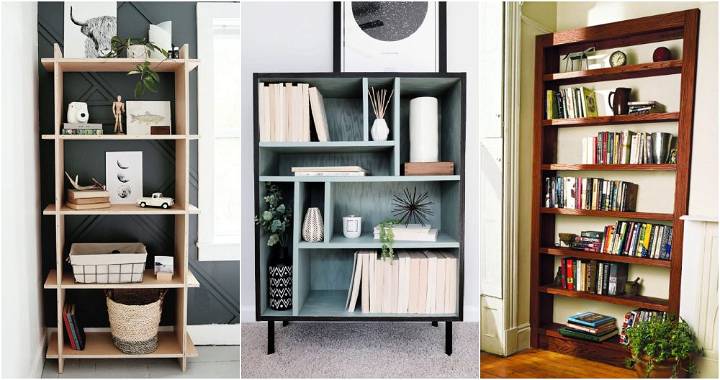
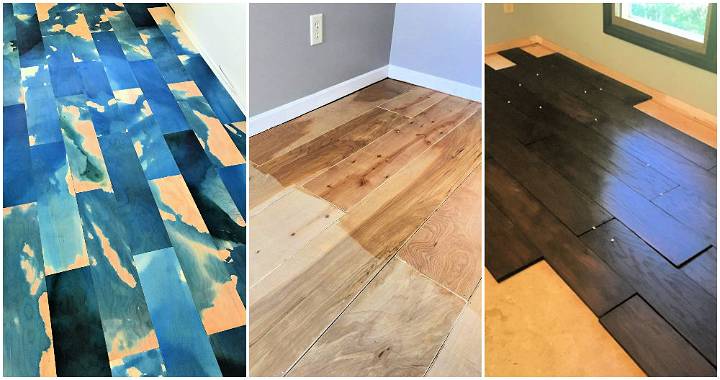
Building a DIY plywood door is a simple and affordable way to update your home. Plywood is a sturdy material that works well for doors, and with just a few tools and some effort, you can make one yourself. The process is straightforward, making it perfect for anyone who wants to tackle a hands-on home project and enjoy the satisfaction of building something useful.
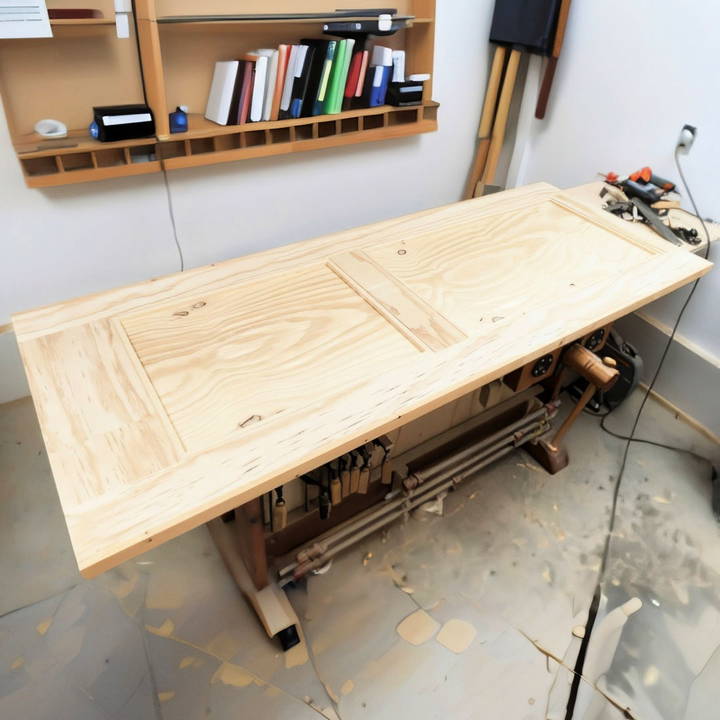
By following some basic steps, you can have a functional plywood door that adds a personal touch to your space. I'm here to help you with the steps, tips, and information needed to get started. This guide will give you everything you need to confidently build a door out of plywood that fits your style and space.
I'm here to guide you through each step, and with these tips, you'll be ready to build your own door in no time!
Preparing the Workspace
Before diving into construction, I knew that having a proper workspace was essential. I started by removing the vise from my workbench to build a flat surface without any obstructions. To extend the length of my work area, I stacked a couple of pieces of half-inch plywood on the bench. This setup provided a longer, uninterrupted surface, which is crucial when building something as large as a door.
Clamping is vital to ensure the door remains flat during assembly. By clamping the workpieces to the bench, I could prevent any warping or unevenness as the glue dried. Setting up the workspace took some time, but it was worth the effort to ensure a quality finished product.
Gathering Materials and Tools
Having the right materials and tools on hand made the process smoother. Here's what I used:
Materials:
- 1 sheet of half-inch plywood
- Recycled two-by-fours
- Wood glue
- Construction adhesive
- 3/4-inch brads
- 5/8-inch pin nails
- Sandpaper (various grits)
Tools:
- Workbench
- Clamps
- Pencil and measuring tape
- Miter saw
- Brad nailer
- Pin nailer
- Rubber mallet
- Sander (orbital and block)
- Table saw
- Planer and jointer
Step by Step Instructions
Learn how to build a DIY plywood door from scratch with this detailed guide. Follow step-by-step plywood door instructions for a professional finish.
Assembling the Door Frame
With the workspace ready and materials gathered, I began assembling the door frame.
Attaching the First Stile
I started by attaching a piece of wood one inch in from the edge of the plywood panel. To ensure accuracy, I marked the position with a pencil on both ends. Applying a bead of glue along the edge, I carefully positioned the piece and secured it with 3/4-inch brads.
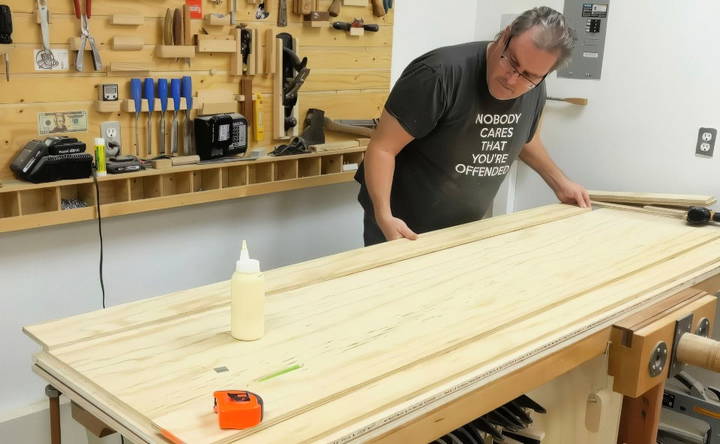
To keep everything flat, I clamped the assembly down to the plywood beneath it. Having the materials dry in a flat position increases the likelihood that the finished door will remain straight and true.
Adding the Rails
Understanding the terminology helped me plan the next steps. The vertical parts of the door are called stiles, and the horizontal parts are known as rails.
Bottom Rail
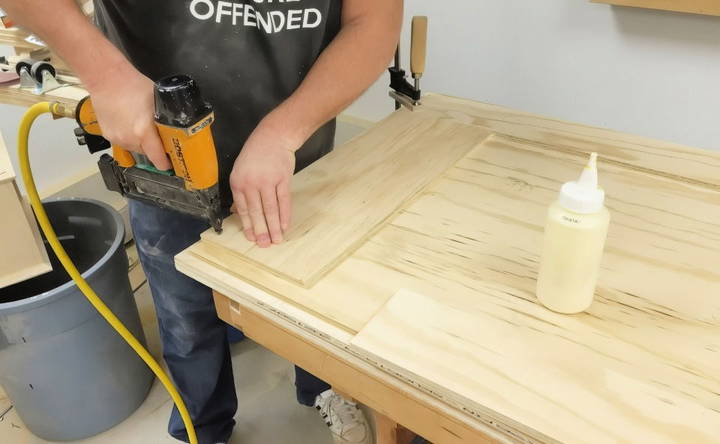
For the bottom rail, I had to join two pieces together because I was working with a single sheet of plywood and needed to make the most of the material. I applied glue to the joint and aligned it with the bottom of the door, securing it with a few brads. Since the door would be painted, the joint wouldn't be visible after finishing.
Middle Rail
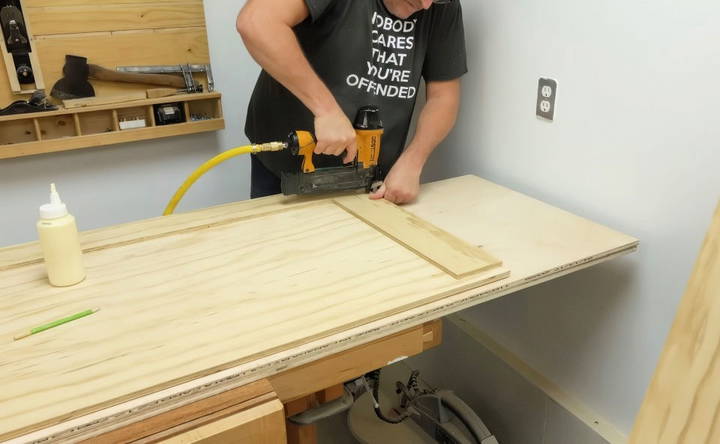
I chose to make a two-panel door, and for both aesthetic and functional reasons, I wanted the middle rail to line up with the lockset. In most residential doors in North America, the lock is centered at 36 inches above the finished floor. I measured up 35 1/2 inches from the bottom of the door to account for a 1/2-inch gap at the bottom, which is standard for clearance. After marking the position, I glued and pinned the middle rail in place.
Top Rail and Second Stile
Next, I attached the top rail, aligning it flush with the top edge of the door. Then, I added the second stile on the opposite side, using glue and brads just as before. Throughout this process, I continued to clamp the assembly to ensure everything remained flat and square.
Preparing the Lumber for Edges
Working with recycled two-by-fours required some preparation.
Inspecting and Cutting
I began by inspecting each piece for defects, nails, or screws that might have been left behind. After ensuring they were safe to use, I cut them to approximate lengths needed for the door edges.
Straightening and Sizing
Using a planer and jointer, I straightened the boards, removing any warps or bows. This step is critical because uneven lumber can cause misalignment during assembly. Once the boards were straight, I ripped them to the correct width using a table saw, ensuring they would fit snugly on the door edges.
Building the Panel Trim
Once the basic frame was complete, I considered how to finish the panels.
Choosing the Trim Style
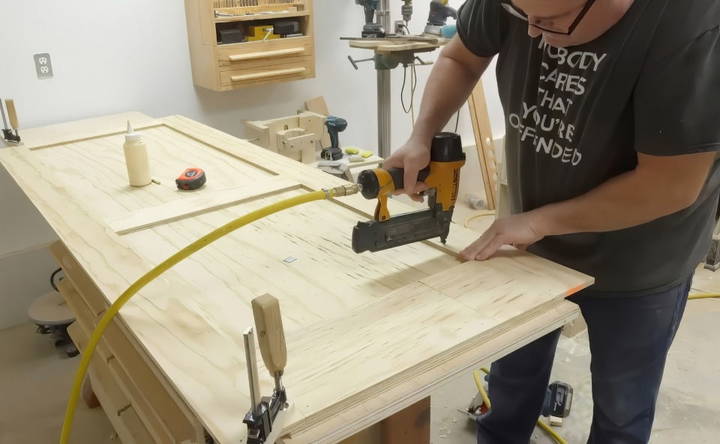
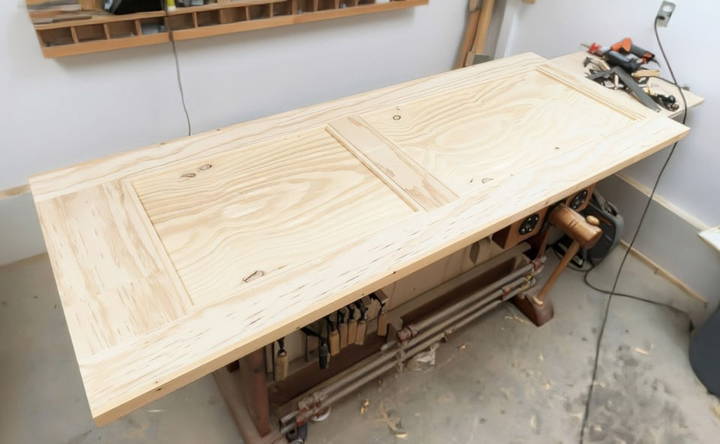
One option was to leave the plywood panels as they were, sanding them smooth and painting them. However, I wanted to add a bit more character to the door. I decided to build a reveal by adding block trim around the panels. Using half-inch square strips would provide subtle depth and definition beside the stiles and rails.
Cutting and Sanding the Trim
I cut the trim pieces with mitered corners for a clean look. Before installing the trim, I sanded the edges of the panels to ensure they were smooth. Sanding the edges beforehand made the installation smoother and ensured a better finish.
Installing the Trim
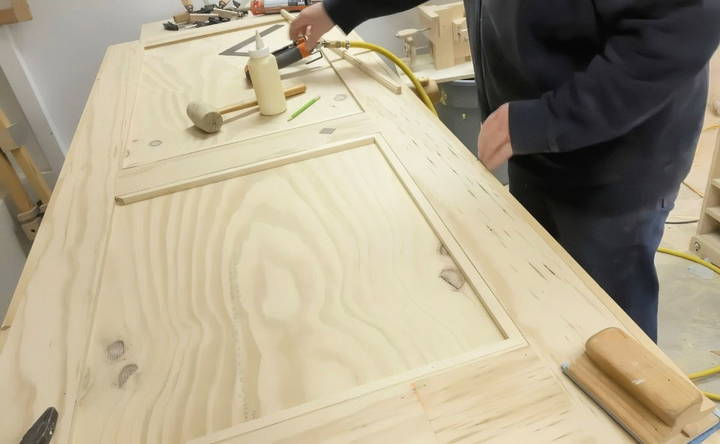
Applying glue to the back of each piece, I carefully positioned them and secured them with 5/8-inch pin nails. I was cautious not to use too much glue to avoid excess squeeze-out, which can build a mess and require additional cleanup.
Finishing the Edges
The next day, I flipped the door over and repeated the process on the other side. With both sides trimmed, I turned my attention to the edges of the door.
Crafting the Edge Pieces
To give the door a solid feel and a finished look, I needed to add pieces to each edge.
Using Scarf Joints
On the ends of the edge pieces, I made scarf joints by cutting them at a 45-degree angle. This type of joint provides more glue surface area than a simple butt joint, resulting in a stronger connection.
Applying Construction Adhesive
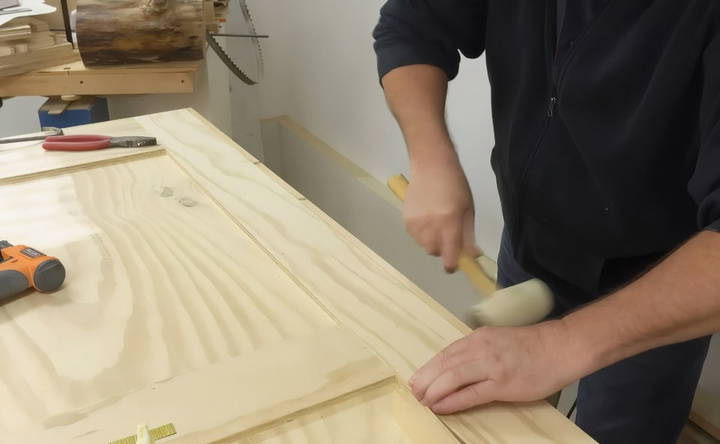
To attach these edge pieces, I used construction adhesive. The longer open time of the adhesive gave me the flexibility to adjust the pieces as needed. I applied a bead of adhesive along the edge and pressed the pieces into place, sometimes needing to tap them with a rubber mallet due to the snug fit.
Securing with Pins
To ensure they stayed in place, I drove in a couple of pins, being careful to avoid areas where I would later drill or cut for hardware installation.
Final Touches
With the edge pieces installed, the door was nearly complete.
Sanding the Door
I gave the entire door a thorough sanding, focusing on smoothing out any imperfections and ensuring that all surfaces were ready for finishing. Since I planned to paint the door, I didn't need to worry about the natural wood grain matching or showing through.
Installing the Trim on Both Sides
As a final step, I installed the trim around the panels on both sides, following the same process as before. The door now had a solid feel, and the added trim gave it a custom, professional look.
Challenges Faced and How I Overcame Them
Learn the challenges faced in joining bottom rail pieces, fitting edge pieces, and ensuring flatness, and learn how i overcame them effectively.
Joining the Bottom Rail Pieces
One of the challenges was joining two pieces for the bottom rail. Working with limited material meant I had to piece together shorter lengths. I ensured a strong joint by applying glue generously and aligning the pieces carefully. Once assembled and secured with brads, the joint was solid and unnoticeable after sanding and finishing.
Fitting the Edge Pieces
Fitting the edge pieces made from recycled two-by-fours required precision. The snug fit meant that I sometimes had to tap them into place with a rubber mallet. I was cautious to avoid damaging the door during this process.
Ensuring Flatness
Keeping the door flat during assembly was crucial. Using multiple clamps and regularly checking for flatness helped prevent warping. Taking the time to adjust and re-clamp as needed ensured a straight and true door.
Tips for a Professional Finish
Learn essential tips for a professional finish: sanding, attention to detail, hardware installation planning, and using quality materials for perfect results.
Sanding is Essential
Taking the time to sand all surfaces thoroughly pays off in the final appearance. I started with a coarser grit to remove any roughness and gradually moved to finer grits for a smooth finish.
Mind the Details
Paying attention to small details like aligning the grain direction or ensuring the miters fit tightly enhances the overall look of the door. Double-checking measurements before cutting prevents errors that can be difficult to fix later.
Plan for Hardware Installation
Before final assembly, I considered where the hinges and lockset would be installed. Avoiding nails or pins in these areas prevented complications when drilling holes later.
Use Quality Materials
While I saved money by using recycled lumber, I made sure it was still of good quality. Avoiding warped or damaged wood prevents problems during assembly.
Design & Customization Ideas
Your plywood door doesn't have to be plain! Let's explore some creative ways to turn it into a statement piece:
Play with Patterns:
- Geometric Designs: Use painter's tape or stencils to build eye-catching patterns like chevrons, diamonds, or stripes. Paint them in contrasting colors for a bold look.
- Wood Veneer Inlays: Add visual interest with different types of wood veneer. You can build simple borders, or intricate patterns for a more elaborate design.
Embrace Textures:
- Routered Edges: Give your door a professional touch by routing the edges with decorative profiles. There's a wide variety to choose from, from simple bevels to more complex designs.
- Recessed Panels: Build depth by adding recessed panels to your door. These can be square, rectangular, or even have arched tops for a more traditional feel.
Hardware Accents:
- Unique Handles and Knobs: Swap out standard hardware for something more distinctive. Antique brass, hammered iron, or sleek modern designs can elevate your door's style.
- Knockers and Kick Plates: Add personality with a decorative door knocker or a stylish kick plate. These small details can make a big difference.
Style it Up:
- Modern Minimalist: Keep it sleek with clean lines, a simple paint finish, and understated hardware.
- Rustic Farmhouse: Embrace the natural beauty of wood with a warm stain, exposed grain, and rustic hardware.
- Industrial Chic: Opt for a dark, distressed finish, exposed hardware, and bold geometric patterns.
Remember:
- Plan Ahead: Sketch your design ideas on paper before you start building. This will help you visualize the final product and avoid mistakes.
- Start Simple: If you're new to woodworking, start with a simple design and gradually add more complex elements as you gain experience.
- Have Fun: Let your creativity flow and enjoy the process of making a one-of-a-kind door for your home!
Enhance your plywood door to reflect your style and make your home entrance impressive. With some creativity, you can build a stunning entryway.
Safety Considerations
Safety should always be your top priority when tackling a DIY project like building a plywood door. Here are some key points to keep in mind:
Protective Gear is a Must:
- Always wear safety glasses to protect your eyes from flying debris.
- Use ear protection when operating loud power tools like saws or routers.
- Wear gloves to shield your hands from splinters and sharp edges.
- Consider a dust mask, especially when sanding or cutting plywood, to avoid inhaling harmful particles.
Handle Tools with Care:
- Make sure you understand how to operate each tool safely before you start.
- Use the right tool for the job.
- Keep tools sharp and in good condition.
- Never carry a tool by its cord or leave it plugged in when unattended.
Mind Your Surroundings:
- Work in a well-ventilated area to avoid inhaling fumes from paints, stains, or adhesives.
- Keep your workspace clean and organized to prevent trips and falls.
- Make sure children and pets are kept away from the work area.
Be Mindful of Your Body:
- Lift heavy objects with your legs, not your back.
- Take breaks to avoid fatigue and repetitive strain injuries.
- If you feel any pain or discomfort, stop working and rest.
First Aid is Essential:
- Have a first aid kit readily available in case of minor injuries.
- Know how to treat cuts, splinters, and other common woodworking injuries.
- If you experience a serious injury, seek medical attention immediately.
Safety is not an afterthought. Taking the time to follow these precautions can help prevent accidents and ensure a successful and enjoyable DIY experience.
FAQs about DIY Plywood Doors
Find answers to all your FAQ about DIY plywood doors, including materials, tools, and step-by-step instructions, to guide your home improvement project.
While you have some flexibility, it's recommended to use a high-quality hardwood plywood like birch or maple for its durability and stability. Avoid using softwood plywood, as it may warp or dent easily. The thickness of the plywood will depend on the size of the door and its intended use. Generally, a 1-inch thick plywood is a good choice for most interior doors.
Warping can occur due to moisture or uneven stress on the plywood. To prevent this, seal all edges of the plywood with a good-quality primer and paint or sealant. Ensure proper support and bracing during construction, and avoid exposing the door to extreme temperature or humidity fluctuations.
While plywood itself offers some sound insulation, you can improve it further by adding a layer of mass-loaded vinyl or green glue between two layers of plywood. Sealing any gaps around the door frame with weatherstripping will also help reduce noise transmission.
The best finish depends on your desired look and the environment the door will be in. For a natural look, consider staining and sealing the plywood. If you prefer a painted finish, use a high-quality primer and paint designed for wood surfaces. For exterior doors, use an exterior-grade paint or sealant to protect them from the elements.
Installing a plywood door is similar to installing a standard door. You'll need to attach hinges to the door and the door frame, then carefully hang the door. Make sure the door is plumb (vertically level) and swings freely without binding. You may need to adjust the hinges or plane the edges of the door for a perfect fit.
Reflections on the Project
Throughout this project, I learned the importance of patience and attention to detail. Working with plywood requires careful handling to prevent splintering or damage. Clamping the pieces securely and ensuring everything is flat and square makes a significant difference in the final product.
Using recycled materials not only saved money but also added a sense of sustainability to the project. Repurposing old two-by-fours for the edge pieces was both economical and environmentally friendly.
Final Thoughts
There's a deep sense of accomplishment that comes from building a custom DIY plywood door from scratch. Not only did I end up with a door that fits my exact specifications, but I also gained valuable experience and confidence in my woodworking skills.
If you're considering a similar project, remember that patience and attention to detail are your best tools. Whether you're an experienced woodworker or a DIY enthusiast looking for a new challenge, crafting a door from plywood is a rewarding endeavor that enhances both your home and your skills.
By sharing my experience step by step, I hope to inspire others to take on their own woodworking projects. Building this door was more than just a home improvement task; it was an opportunity to learn, build, and take pride in a job well done.


