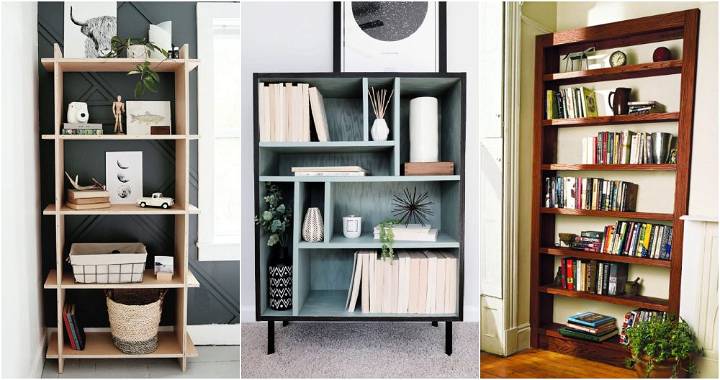
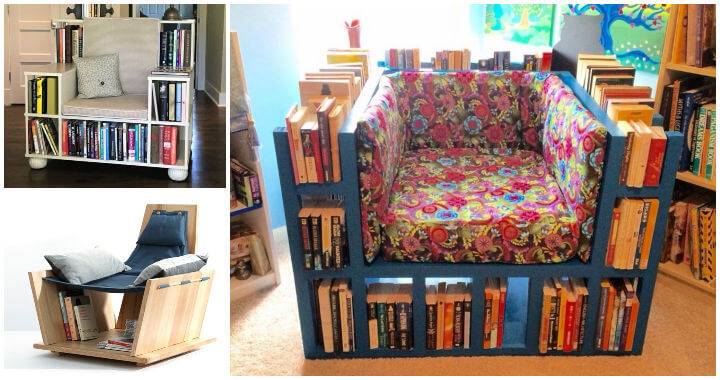
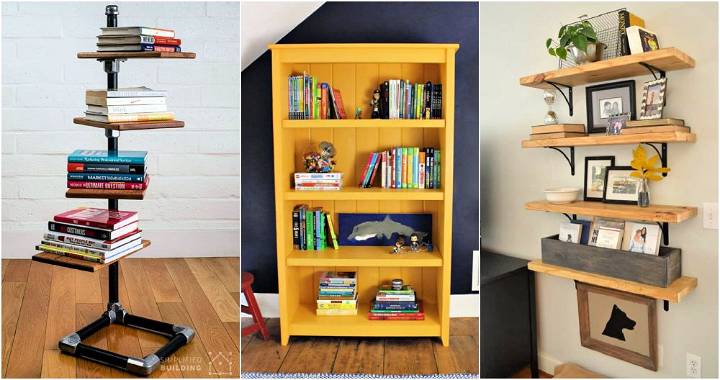
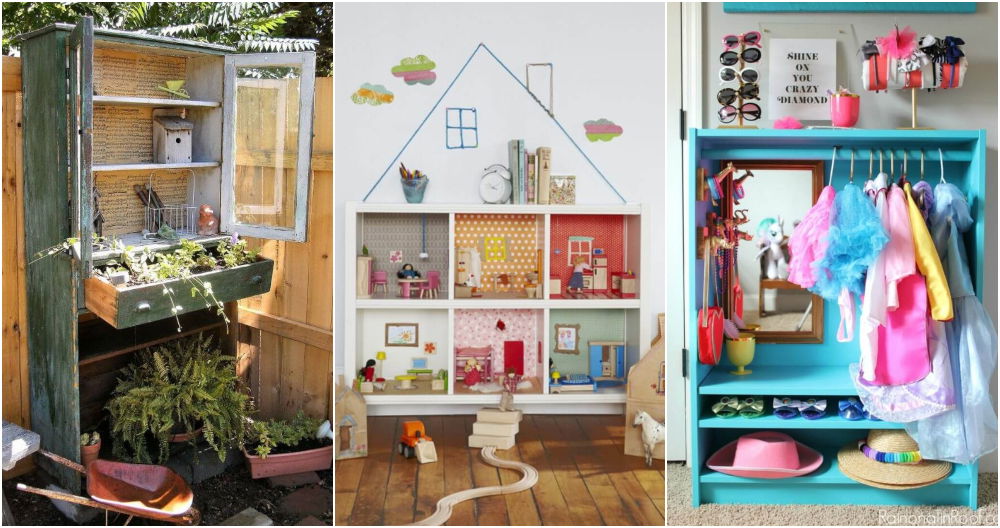
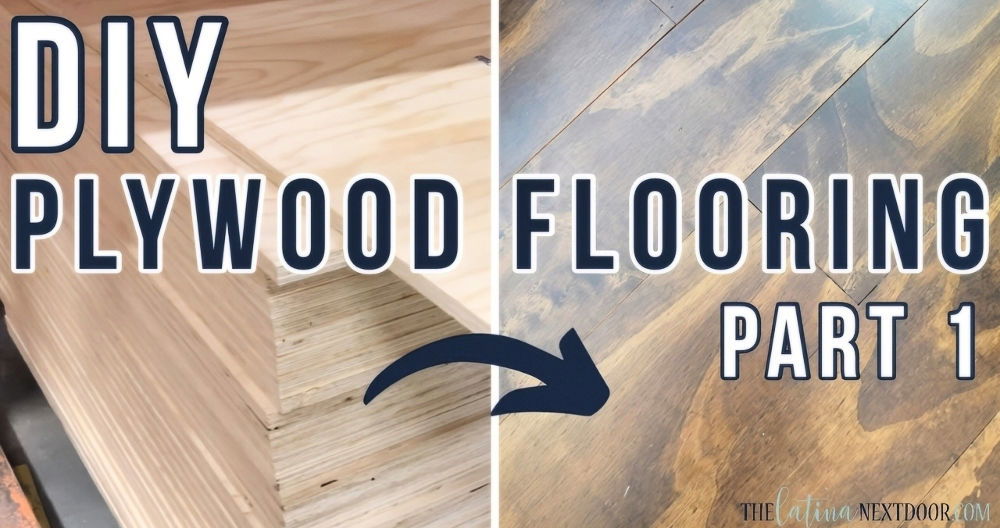
I've always admired the sleek lines and timeless appeal of mid-century modern furniture. The blend of simplicity and functionality speaks to me, and I decided it was time to bring a piece of that elegance into my home. Building my own DIY plywood bookshelf seemed like the perfect project to dive into. Let me walk you through my journey of making a DIY mid-century modern bookshelf, sharing the lessons I learned along the way.

Materials Used:
- 3/4-inch maple plywood sheet
- Wood glue
- 1 1/4-inch wood screws
- 3/8-inch oak flathead plugs
- Finish oil with wax
Tools Required:
- Circular saw
- Jigsaw
- Drill with bits
- Kreg jig drill bit (optional but helpful)
- Right-angle clamps
- Multi-square or protractor
- Sandpaper (120-grit recommended)
- Clean cloths for finishing
Gathering Materials and Planning the Design
Before picking up any tools, I knew that careful planning was essential. I wanted a bookshelf that wasn't just functional but also reflected my personal style.
Choosing the Right Plywood
I headed to my local home improvement store and selected a sheet of 3/4-inch maple plywood. Maple offers a beautiful grain that takes finish well, and the 3/4-inch thickness provides the sturdiness I was aiming for.
Customizing the Dimensions
While there are countless designs out there, I wanted something tailored to my space. I decided on shelves with 6-inch and 11-inch spacings to accommodate a mix of books and some IKEA storage bins I already owned. Sketching out the design helped me visualize the final product and ensure all measurements would align.
Step by Step Instructions
Build an attractive DIY plywood bookshelf with our step-by-step guide! Perfect for beginners, featuring custom shelves and a mid-century modern base.
Cutting the Plywood to Size
With my design in hand, it was time to cut the plywood.
Utilizing the Panel Saw
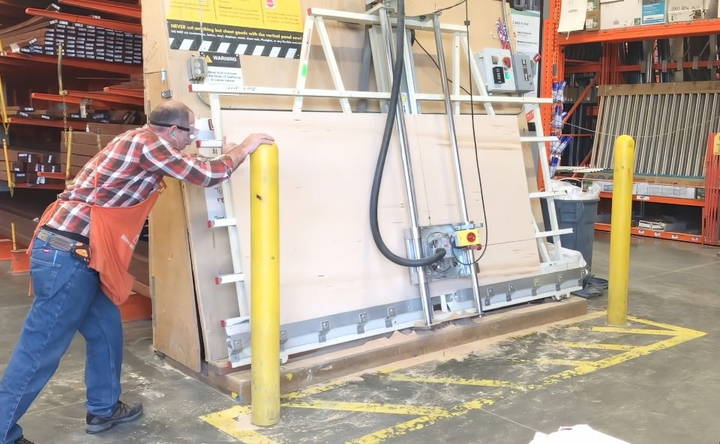
At the store, I had the large sheet cut into more manageable pieces using their panel saw. This not only made transportation easier but also ensured straight cuts for the larger sections.
Fine-Tuning at Home
Back in my workshop, I used a circular saw with a guide to cut the pieces to their final dimensions. Precision here is key; any discrepancies can throw off the entire assembly. I double-checked all measurements before making each cut.
Laying Out the Shelves
With all pieces cut, laying out the shelves was the next step.
Marking Shelf Positions
I used a scrap piece of the same plywood as a spacer to mark where each shelf would sit on the side panels. This ensured consistent spacing and saved me from measuring each time.
Pre-Drilling Holes
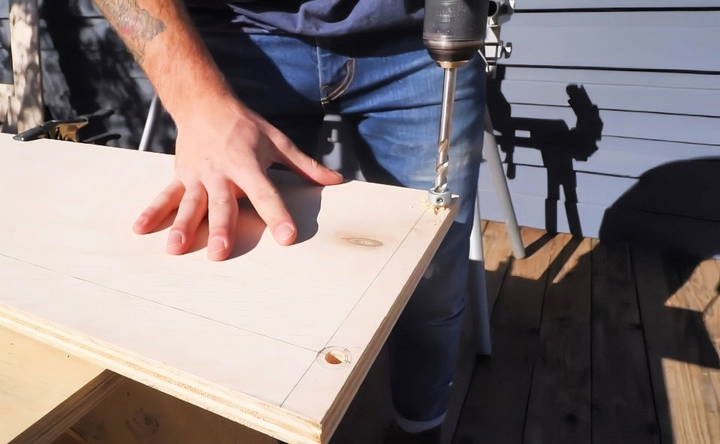
To make assembly smoother, I pre-drilled holes for the screws. I discovered that using a Kreg jig drill bit was incredibly helpful. Its 3/8-inch diameter with a fine brad point allowed me to build holes that would recess the screw heads perfectly.
Assembling the Bookshelf Frame
Bringing the pieces together was both exciting and challenging.
Using Right-Angle Clamps
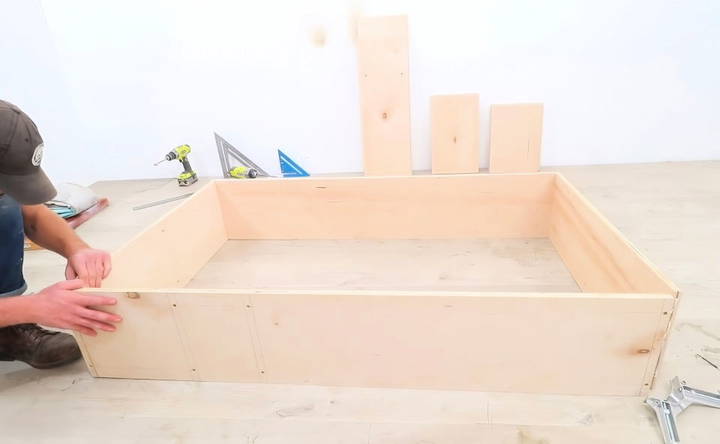
I found that right-angle clamps were indispensable. They held the panels at perfect 90-degree angles, freeing up my hands to focus on driving the screws.
Applying Wood Glue
Before joining any pieces, I applied a generous amount of wood glue to the edges. This not only strengthens the joints but also fills in any minor gaps.
Driving the Screws
I carefully drove 1 1/4-inch wood screws into the pre-drilled holes. One tip I learned was not to over-tighten the screws, especially since they were recessed halfway into the plywood. Over-tightening can cause the plywood to split or the screw to strip.
Customizing Shelf Placement
One of the joys of building your own furniture is the ability to customize it completely.
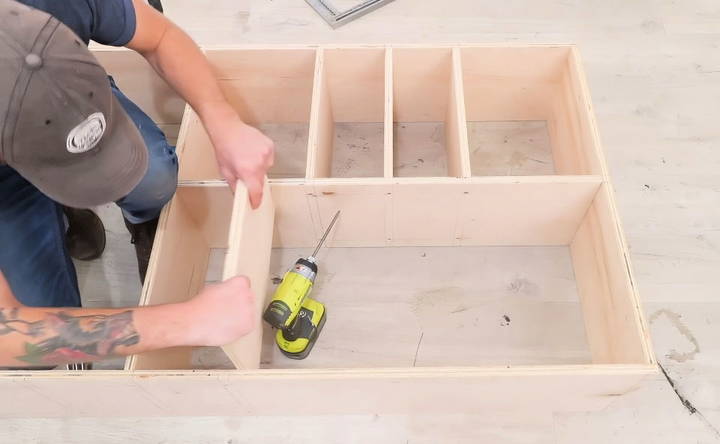
Configuring Inner Shelves
I arranged the inner shelves based on what I planned to store. For my collection, varying the shelf heights added both visual interest and practicality.
Assembling Inner Sections
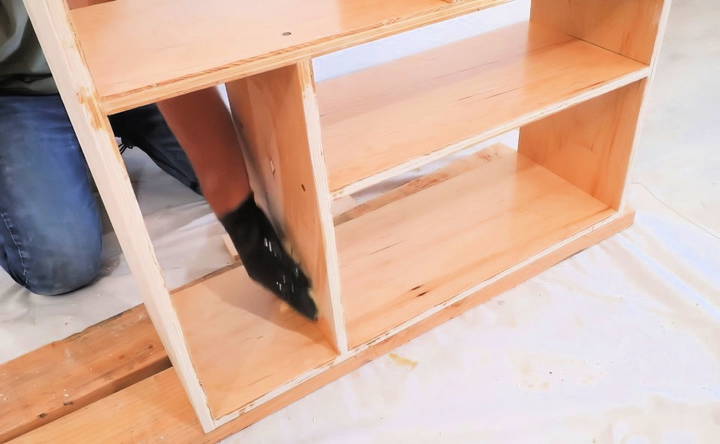
In some tight spots, driving screws became tricky. In those cases, I used a combination of a screwdriver bit and a wrench to tighten the screws in confined spaces. It was a bit tedious, but patience paid off.
Finishing Touches: Filling Screw Holes
I wanted the bookshelf to have a clean, polished look.
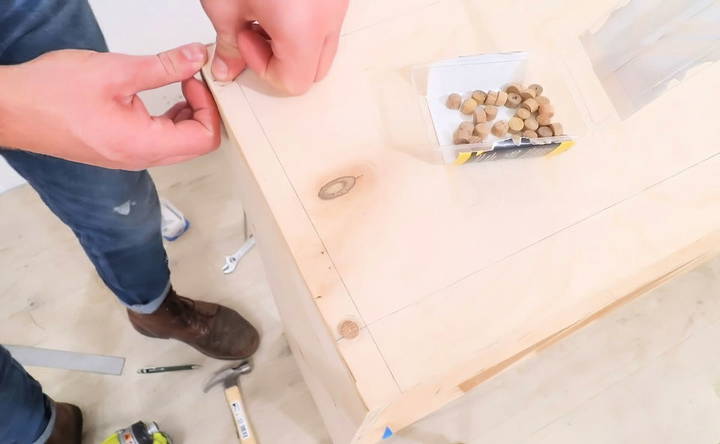
Using Flathead Plugs
To cover the recessed screw holes, I used 3/8-inch oak flathead plugs. These are tapered and fit snugly into the holes without the need for glue. Tapping them gently with a mallet ensured they sat flush with the surface.
Benefits of Removable Plugs
An added advantage is that if I ever decide to reconfigure the shelves, I can remove the plugs and access the screws easily.
Crafting the Mid-Century Modern Base
To elevate the design—both literally and figuratively—I decided to build a classic mid-century modern base.
Designing the Base
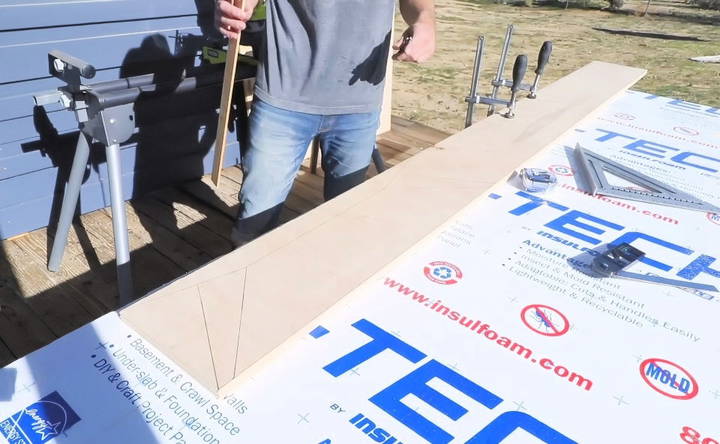
I wanted the base to be 9 inches tall, giving the bookshelf a lifted appearance. Using a multi-square, I set out angles of 15 degrees, 60 degrees, and 45 degrees to achieve the characteristic splayed leg look.
Cutting with a Jigsaw
Cutting precise angles can be daunting, but my jigsaw with a clean wood-cutting blade handled it well. The key was to go slowly and keep a steady hand, following the lines carefully.
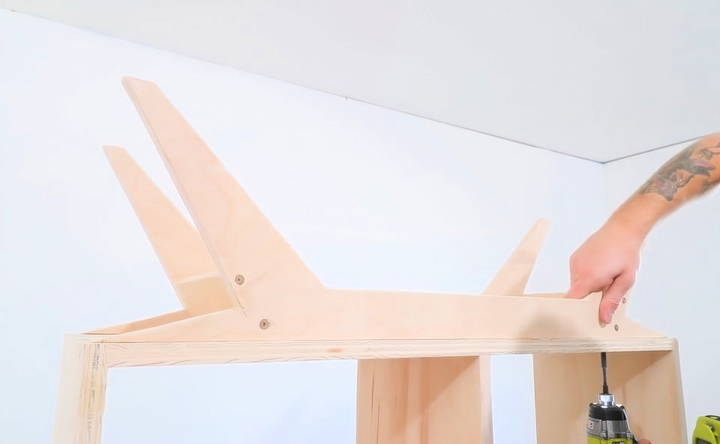
Assembling the Base
I joined the base pieces using the same technique as the main frame: wood glue and recessed screws. Ensuring the legs were symmetrical was crucial for stability and aesthetics.
Sanding and Finishing
With construction complete, it was time to bring out the natural beauty of the wood.
Sanding Smooth
I started with 120-grit sandpaper, smoothing out any rough edges and removing pencil marks. Taking care not to sand through the thin maple veneer was important.
Applying the Finish
For the finish, I chose a simple oil with wax. Applying it was straightforward:
- Wipe On: Using a clean cloth, I applied the oil generously, following the grain of the wood.
- Let It Soak: I allowed it to penetrate the wood for about 15 minutes.
- Wipe Off Excess: I then wiped off any excess oil, leaving a smooth, matte finish.
The finish enhanced the maple's natural tones and provided a subtle sheen.
Final Assembly and Reflection
Putting it all together was incredibly satisfying.
Attaching the Base to the Bookshelf
I carefully aligned the base with the bottom of the bookshelf and secured it using screws from the inside, so no hardware was visible from the outside.
Stepping Back to Admire
Seeing the completed bookshelf standing in my living room was a proud moment. It not only served its purpose but also added a touch of mid-century flair to the space.

Lessons Learned and Tips
Looking back, there are a few insights I'd love to share:
- Measure Twice, Cut Once: It's a timeless adage for a reason. Double-checking measurements saved me from potential mistakes.
- Take Your Time with Cuts: Especially when using a jigsaw, patience leads to cleaner cuts and less sanding later on.
- Customize to Your Needs: Don't hesitate to adjust designs to suit your storage needs or aesthetic preferences.
- Embrace Imperfections: Small flaws add character. Handmade furniture doesn't need to look machine-perfect.
Possible Variations and Ideas
This project opened my eyes to other possibilities.
- Alternate Finishes: Experimenting with stains or paints could dramatically change the look to match different decor styles.
- Different Wood Types: Using walnut or oak plywood might offer different textures and colors.
- Scaling the Design: Adjusting the dimensions could transform the bookshelf into a media console or even a room divider.
Level Up Your Bookshelf: Advanced Techniques and Skill-Building
Ready to take your DIY bookshelf to the next level? Let's dive into some techniques that will not only make your project look more professional but also help you hone your woodworking skills.
Fancy Joinery: Beyond the Basics
- Dovetails: These interlocking joints are strong and beautiful, adding a touch of elegance to your bookshelf. They require careful cutting and fitting, but the result is worth it.
- Mortise and Tenon: This classic joint is known for its strength and durability. It involves making a hole (mortise) in one piece of wood and a matching projection (tenon) in another.
- Finger Joints: These joints build a visually striking pattern and are surprisingly strong. They require a router or table saw, but they're a great way to add a unique touch to your project.
Decorative Touches: Make It Your Own
- Inlays: Add contrasting wood or other materials into your bookshelf for a truly custom look. This technique requires precision, but the results can be stunning.
- Wood Burning: Build beautiful designs or patterns on your bookshelf using a wood-burning tool. This is a great way to personalize your project and showcase your artistic skills.
- Painted Designs: Add a pop of color or a unique pattern to your bookshelf with paint. You can use stencils or freehand designs to build a truly one-of-a-kind piece.
Tips for Success:
- Start Small: If you're new to these techniques, start with a smaller project or practice on scrap wood before tackling your bookshelf.
- Invest in the Right Tools: Having the right tools for the job will make a big difference in the quality of your results.
- Take Your Time: Don't rush. These techniques require patience and attention to detail.
- Don't Be Afraid to Ask for Help: If you get stuck, there are plenty of resources available, including online tutorials, woodworking classes, and local maker spaces.
Enjoy the fun and creativity of making something beautiful. With practice, you'll be amazed at your achievements.
Oops! Handling Hiccups: Problem-Solving & Troubleshooting
Even the best DIY projects can hit a snag. Don't worry, we've got you covered with solutions to common issues you might face when building your plywood bookshelf.
Warped Plywood: The Unwanted Curve
- Prevention is Key: Buy plywood from a reputable supplier and store it flat in a dry place to minimize warping.
- Minor Warping Fix: If the warp is slight, you might be able to clamp it flat while the glue dries during assembly.
- Severe Warping: Sadly, severely warped plywood is best avoided. It's time for a replacement piece.
Uneven Cuts: Not Quite Square
- Measure Twice, Cut Once: Double-check your measurements before making any cuts. A sharp pencil and a good ruler are your best friends.
- Use a Guide: A saw guide or a clamped-down straightedge can help ensure straight cuts.
- Sanding to the Rescue: Minor imperfections can often be sanded smooth.
Wobbly Bookshelf: The Leaning Tower of Literature
- Check for Square: Make sure your assembled bookshelf is square. Use a carpenter's square to check corners and adjust as needed.
- Reinforce with Braces: Adding diagonal braces or a back panel can significantly improve stability.
- Secure to the Wall: If possible, anchor your bookshelf to the wall for added safety, especially if you have children or pets.
Other Common Issues:
- Misaligned Shelves: Pre-drill pilot holes to help guide your screws and prevent them from wandering.
- Stripped Screw Holes: If you strip a screw hole, try using a slightly larger screw or filling the hole with wood filler and re-drilling.
- Glue Squeeze-Out: Wipe away excess glue immediately with a damp cloth to prevent it from drying and making a mess.
Stay calm, assess, and find a solution. Ask for help if needed. With patience and perseverance, you can build a beautiful bookshelf.
FAQs About DIY Plywood Bookshelf
Learn everything you need to know with our FAQs about DIY plywood bookshelfs, covering tools, materials, assembly tips, and finishing touches.
Absolutely! You can achieve this using wood glue and dowels for a clean, seamless look. Make sure to clamp the pieces securely while the glue dries for optimal strength. Alternatively, consider using pocket hole joinery, which provides hidden screws for a neat finish.
Several options are available, depending on your desired look and level of protection. A clear polyurethane or varnish will provide a durable, water-resistant finish. For a more natural look, consider using a penetrating oil or wax. Paint is also a popular choice, offering endless color possibilities. Remember to sand the plywood lightly before applying any finish for better adhesion.
Plywood's versatility allows for easy customization. You can adjust the dimensions, add shelves or drawers, or incorporate decorative elements like molding or trim. Consider using different plywood thicknesses for various parts of the bookcase to achieve a unique look. You can also paint or stain the plywood to match your existing decor.
A plywood bookcase can showcase various items beyond books. Use baskets or bins to organize smaller items like magazines, DVDs, or games. Display decorative objects like vases, sculptures, or framed photos. You can also incorporate plants to add a touch of nature to your space. Consider using the bookcase as a room divider or to create a cozy reading nook.
Yes! Plywood is a relatively affordable material, especially compared to solid wood. To save even more, look for sales or discounts at your local hardware store. Consider using salvaged or reclaimed wood for a unique and eco-friendly option. You can also repurpose old furniture or materials to build a one-of-a-kind bookshelf.
Conclusion
Building this mid-century modern DIY plywood bookshelf was more than just a weekend project; it was a fulfilling experience that combined creativity, craftsmanship, and practicality. Not only do I now have a custom piece of furniture that fits my space perfectly, but I've also gained confidence in my woodworking skills.
If you've been considering a DIY furniture project, I wholeheartedly encourage you to give it a try. There's something uniquely rewarding about making something with your own hands that you can use and admire every day.
Embarking on this project was a journey of learning and satisfaction. I hope sharing my experience inspires you to build something special of your own. Every expert was once a beginner, and every piece you build tells a story. What's yours going to be?


