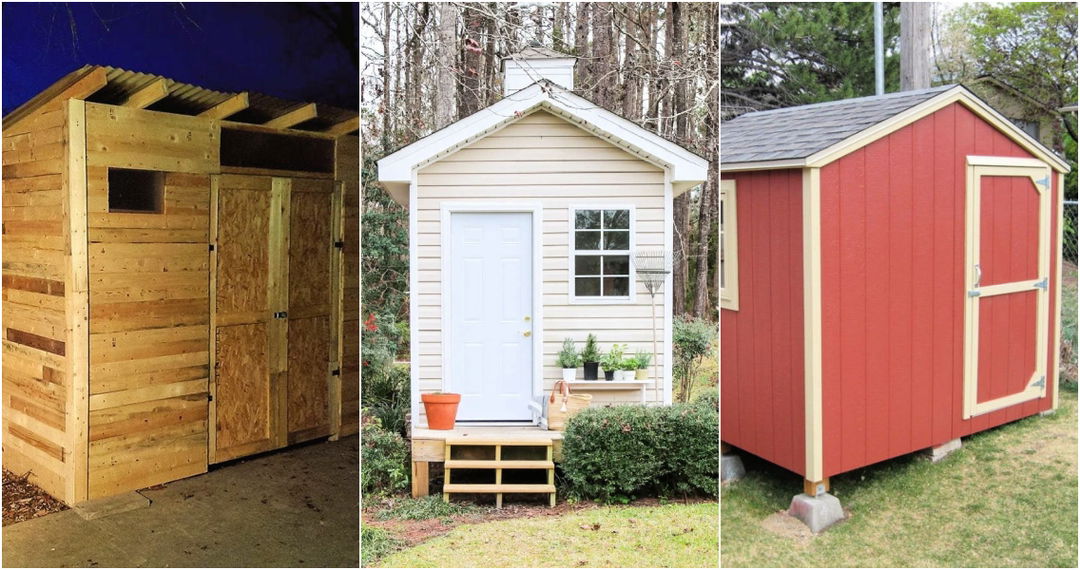
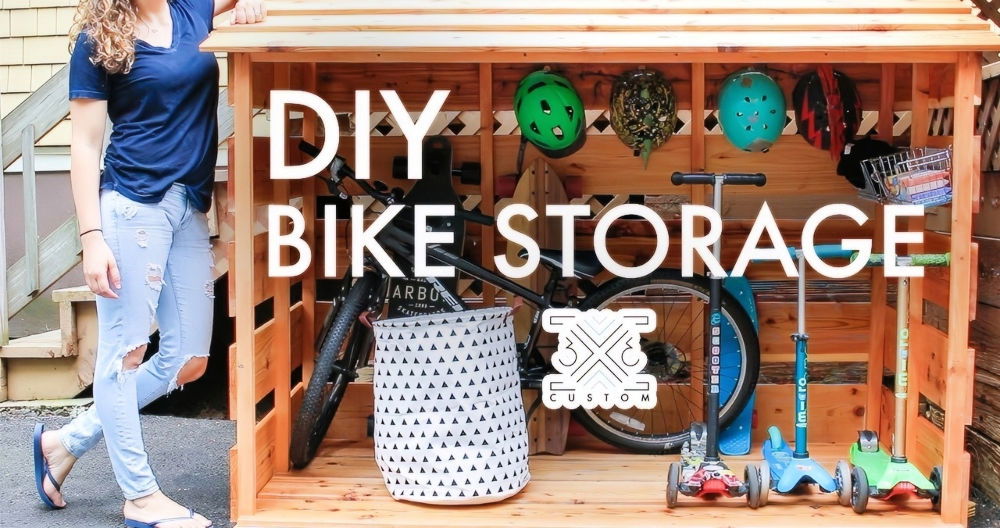
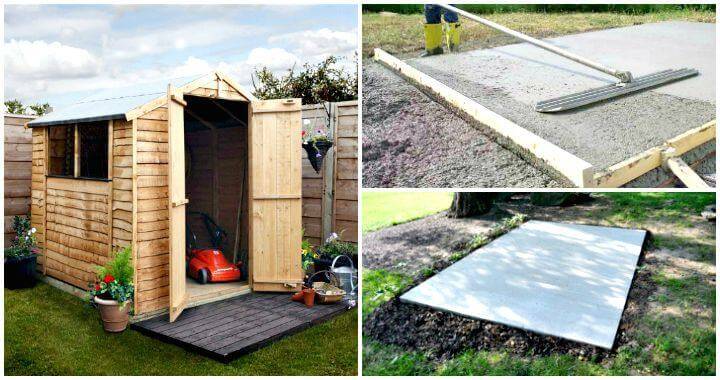
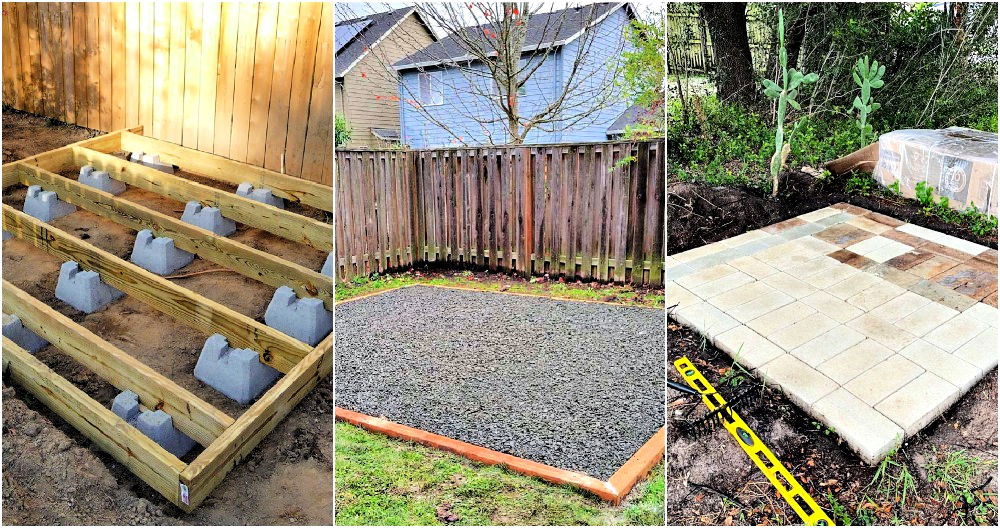
Building a shed from reclaimed pallets is an excellent and affordable way to build storage space while also being environmentally conscious. This guide will inspire you to build a DIY pallet shed using salvaged materials. The result? A sturdy, functional shed that can be customized for various purposes, such as housing tools, garden equipment, or even scooters.
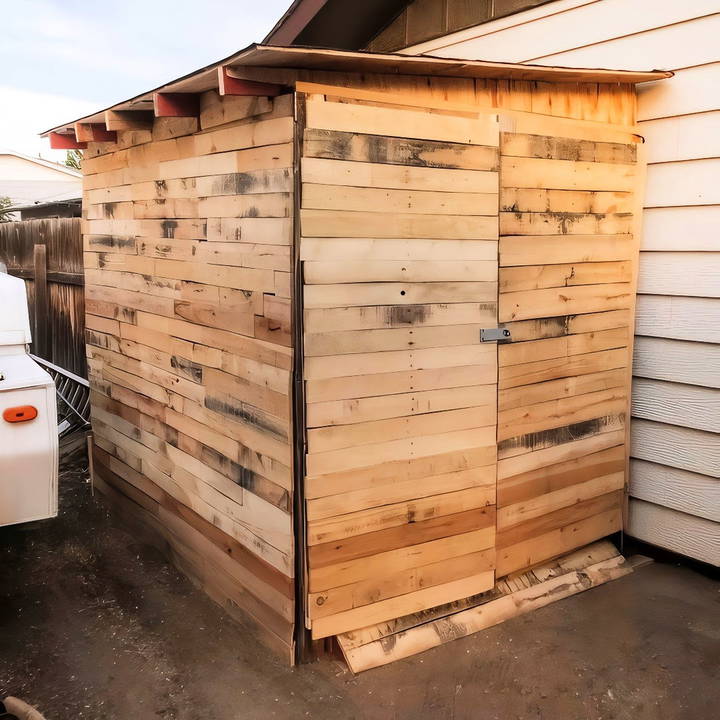
In this tutorial, we'll explore the steps outlined in the "Shed MK III - Pallet Shed for $40" project, which focuses on building a shed using mainly free or low-cost materials, with only minor purchases like asphalt felt and door latches. Whether you're trying to save money, upcycle, or simply enjoy a rewarding DIY challenge, this guide will help you build your own pallet shed.
Materials and Tools You'll Need
Before starting, gather the following materials and tools. You can source most materials from reclaimed pallets or scrap wood from previous projects.
Materials:
- Pallets: The primary building material. Try to find pallets in good condition without broken boards.
- Asphalt felt or tar paper: Used to make the shed weather-resistant.
- Screws and nails: If possible, use screws or nails salvaged from the pallets.
- Lumber (2x4s): Some additional structural support may be necessary, particularly for the roof.
- Door latch: Purchased for securing the door.
- Reclaimed wood boards: Used for additional cladding, shelving, or flooring if needed.
- Expanding foam (optional): To seal small gaps and further weatherproof the shed.
Tools:
- Drill and screws: For fastening pallets and lumber.
- Nail gun or hammer: For affixing wood and roofing materials.
- Saw: To trim pallets and other materials to size.
- Staple gun: Used to attach the tar paper.
- Measuring tape: Ensures accuracy in your cuts and structure size.
- Level: To ensure the shed is even.
Step by Step Instructions
Learn how to build a DIY pallet shed with step-by-step instructions, from site prep to weatherproofing, and transform your outdoor space easily.
Step 1: Choose and Prepare Your Site
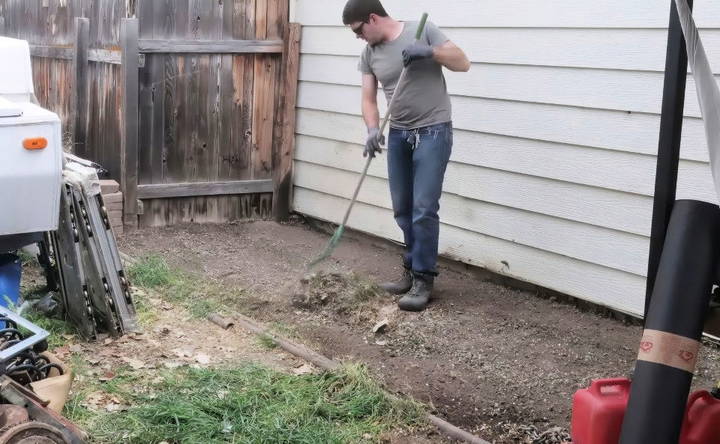
Select a location for your pallet shed. Ideally, choose an area that is relatively flat and doesn't have major drainage issues. You'll want to place your shed in an accessible location where it can serve its purpose without being in the way.
Before building, clean and level the site. Remove any debris, including rocks, weeds, or uneven ground. This will provide a stable foundation for your shed and prevent future problems like uneven settling or moisture damage.
Step 2: Build the Shed Floor
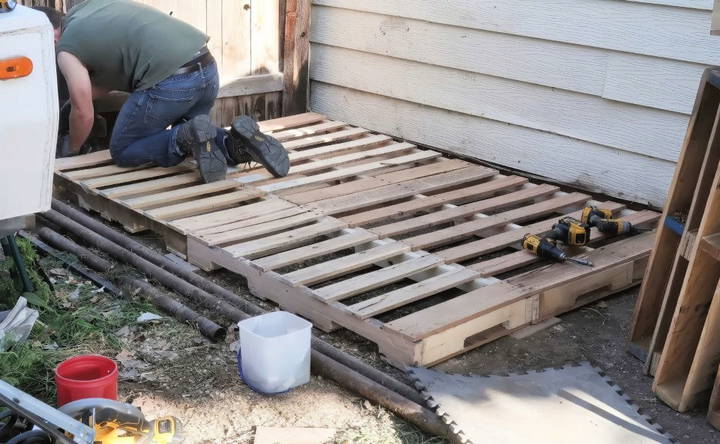
To start, lay down pallets to form the base of your shed. This builds a raised platform, which helps prevent moisture from accumulating at the base and protects the structure from rot.
Steps:
- Arrange pallets: Place pallets side by side to build a floor that's the desired size of your shed. Make sure the pallets are tightly aligned and level with each other.
- Fasten the pallets: Use screws or nails to secure the pallets together, forming a solid base. Ensure that the base is stable by checking it with a level.
- Add extra support (optional): If the pallets you're using aren't sturdy enough, add 2x4 supports underneath.
Step 3: Erect the Pallet Walls
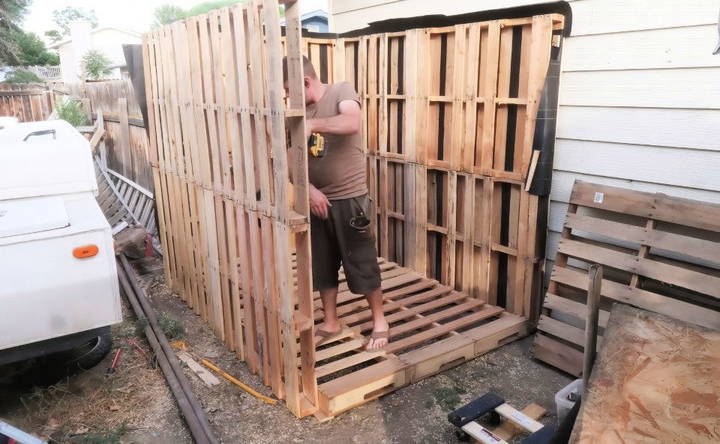
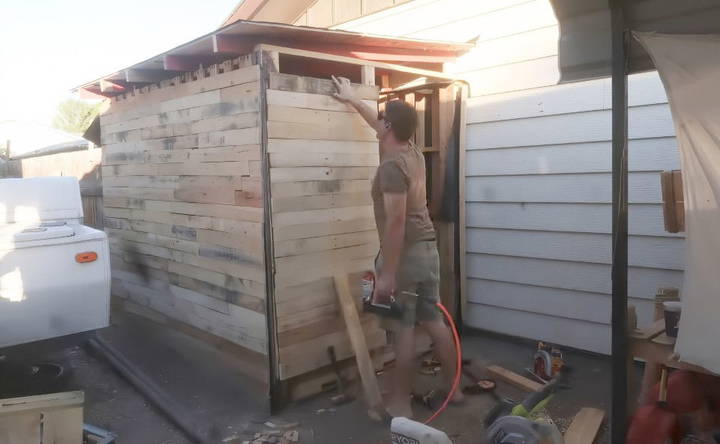
Now that the base is ready, it's time to build the walls using additional pallets. You'll fasten them together and use lumber to provide additional structure.
Steps:
- Select pallet walls: Choose pallets for the walls that are in good condition. Each wall section should fit the height you need for your shed.
- Frame the walls: Stand the pallets up vertically around the base, building the structure's four walls. Use screws to attach the pallets to the base and to each other at the corners.
- Add extra framing: For added stability, use 2x4s at the corners and midpoints to strengthen the frame. Attach them to the pallet walls using screws.
- Weatherproof with tar paper: Once the walls are up, cover the outside with asphalt felt or tar paper. This will prevent water from seeping into the structure. Use a staple gun to secure the tar paper in place, overlapping sections to ensure full coverage.
Step 4: Construct the Roof
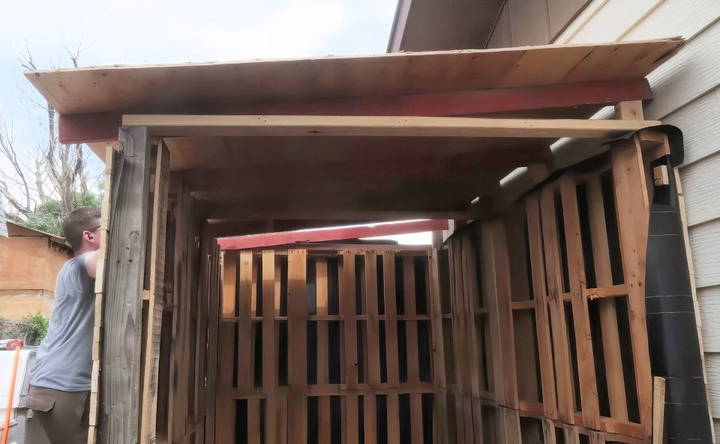
Your shed needs a durable roof to protect it from the elements. In this project, the roof was built using a slight slope, which allows water to drain away from the shed. You can use a flat roof or a more traditional slanted design based on your preferences and local climate.
Steps:
- Build roof supports: Attach 2x4s across the top of the walls to serve as rafters. Ensure they extend slightly beyond the shed to build overhangs that prevent rain from running down the walls.
- Add roofing material: Once the rafters are in place, cover the roof with plywood or reclaimed boards. Secure them with nails or screws.
- Seal the roof: Use asphalt felt or tar paper to cover the roof, adding another layer of weather protection. Make sure to secure it tightly with a staple gun.
Step 5: Install the Door
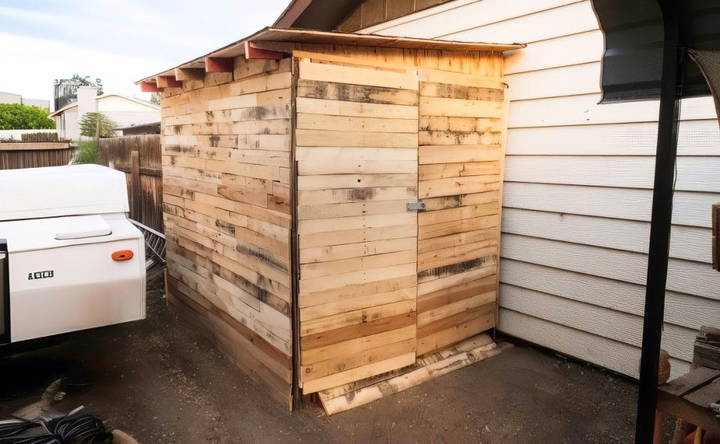
For the door, you can either build one from scratch using pallet boards or modify an existing door. In this example, the creator used wood from crates to fashion the door.
Steps:
- Build the door frame: Attach two 2x4s vertically to one of the pallet walls, leaving space for the door to swing open.
- Construct the door: Cut a pallet or crate to fit the door opening. Attach hinges to one side, and fasten the door securely to the door frame.
- Install the latch: Attach the purchased door latch to the door and frame to secure the shed when it's not in use.
Step 6: Finishing Touches and Weatherproofing
Once the structure is complete, you can add finishing touches and weatherproofing to ensure your shed stays durable through all seasons.
Steps:
- Seal gaps: Use expanding foam to fill in any gaps where rain or critters might enter the shed. Focus on the corners and edges.
- Interior shelving: If desired, add shelves inside the shed using reclaimed wood. Shelving is useful for storing small items or keeping tools organized.
- Exterior paint or finish (optional): If you want a more polished look, consider painting or staining the shed. This will also add an extra layer of protection against moisture.
Step 7: Move the Shed into Position
Before adding the final touches, you'll need to move your shed into its permanent position, especially if you built it near your house like in the Shed MK III project. Here's how:
Steps:
- Lift and shift: With assistance, carefully lift the shed and move it to the desired spot.
- Secure to the ground: Anchor the shed to the ground if necessary, especially if you live in an area prone to strong winds. This can be done by driving metal stakes into the ground at the base of the shed and securing them to the structure.
Key Considerations and Tips
- Recycling and sourcing materials: Much of the material used in this project was salvaged or reclaimed. You can find pallets at local businesses, construction sites, or through online community groups.
- Take your time: Building with pallets can be time-consuming, particularly if you're reclaiming nails or other materials. Don't rush the process. Take the time to measure and secure each part correctly.
- Weatherproofing: Pay special attention to weatherproofing your shed. Water and moisture can lead to rot, so be thorough with your tar paper and sealing methods.
- Customization: Feel free to customize the size and layout of your shed based on your specific needs. Whether you need a small scooter garage like in the original project, or something bigger for your tools, pallets are versatile enough for various shed designs.
Conclusion
Building a DIY pallet shed is an affordable and environmentally friendly way to add extra storage space to your property. By following these steps, you can build a sturdy, weatherproof structure using mostly salvaged materials. Whether you're storing tools, outdoor equipment, or even vehicles like scooters, a pallet shed can meet your needs while keeping costs low. Plus, the satisfaction of building it yourself adds even more value to the project.
FAQs About DIY Pallet Shed
Explore essential FAQs about DIY pallet shed construction. Get insights, tips, and answers to build your perfect shed efficiently.
To prevent rot, consider adding a drip edge or using bricks or blocks to elevate the shed. This allows for airflow under the base and keeps moisture away from the wood, prolonging the structure's life.
Using a sawzall is a practical method for cutting nails rather than pulling them out. This helps reduce the chance of splitting the wood and speeds up the process.
Attach the pallets to the base using screws or nails. Make sure to fasten the walls at the bottom and reinforce them with additional supports to keep the structure stable.
The number of pallets varies depending on the size of your shed. In this project, around 80 pallets were used, but this count included pallets dismantled for extra boards.
While stacking pallets vertically is a common method, adding studs or reinforcing the joints will ensure a sturdier structure, especially if you plan to add a roof.
Cover the walls and roof with asphalt felt or tar paper to build a water-resistant barrier. You can also use expanding foam to seal gaps and prevent moisture from entering.
Yes, painting or staining your pallet shed can add an extra layer of protection against moisture. An oil-based paint or stain is especially effective for areas exposed to the elements.
Yes, but it might take longer, especially if you're new to building. Some users have found creative ways to simplify the process, such as using wood screws instead of removing rusty nails.
If you don’t have materials like screws, plywood, or tar paper available, the project could cost more than $40. Consider repurposing scrap wood or checking salvage shops for affordable supplies.
Moving the shed requires a few extra hands. Lift carefully and position it in its final location. Make sure it's stable before adding any finishing touches.


