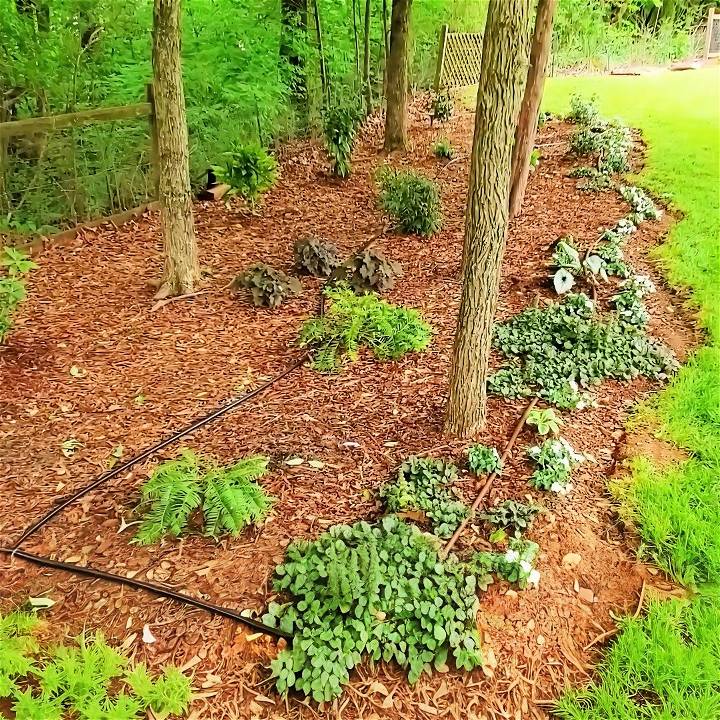
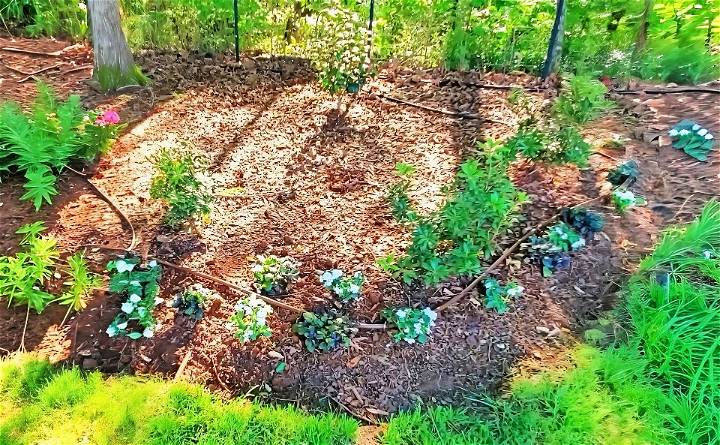
One sunny Saturday, I decided to set up a DIY drip irrigation system in my garden. It all started when I realized my plants needed consistent watering, but I didn't have the time to do it manually. I gathered the necessary materials, which included a hose, drip lines, emitters, and connectors. Then, I mapped out a simple plan to ensure each plant would get water directly.

After laying out the hoses and attaching the components, I tested the system to make sure everything worked smoothly. It felt rewarding to see my garden getting a steady water supply without much effort. With this guide, installing a drip irrigation system can be an easy and effective way to keep your garden well-watered.
I'm helping with this to make your gardening more efficient and enjoyable.
Understanding Your Garden's Unique Needs
Making a thriving garden starts with understanding its unique needs. Every plant has its own preferences for moisture, and the soil and climate conditions can greatly affect how water is retained and used. Here's how to ensure your garden gets just the right amount of water it needs.
Assessing Water Requirements
Water requirements vary significantly between different types of plants. Succulents and cacti, for example, need far less water than vegetables or flowering plants. Start by grouping plants with similar water needs together. This not only makes watering more efficient but also prevents overwatering or underwatering.
Soil Conditions
The type of soil in your garden is a crucial factor in water retention. Sandy soils drain quickly and may require more frequent watering, while clay soils retain moisture longer and may need less. To test your soil's moisture, dig a small hole and feel the soil about a hand's length deep. If it's dry, it's time to water.
Climate Factors
Your local climate plays a big role in your garden's hydration. Hot, dry climates will evaporate water quickly, while cooler, shady areas may keep the soil moist for longer. Adjust your watering schedule according to the seasons and weather patterns.
Calculating Flow Rate and Volume
To calculate the flow rate for your drip irrigation system, you'll need to know the water pressure in your garden's supply line. A simple way to measure this is by filling a bucket from your hose and timing how long it takes. Once you have the flow rate, you can determine how many emitters you can run at once and for how long.
Supply your plants' roots with water by designing a drip irrigation system tailored to your garden's needs.
Understanding Drip Irrigation
At its core, drip irrigation is about delivering water directly from your source (like a hose bib) to the roots of your plants, using a network of tubing, valves, and emitters. It's an efficient, water-saving way to ensure your plants get the moisture they need without waste.
Materials Needed and Their Purpose
- Hose Splitter or Four-Way Manifold: Great for connecting multiple hoses or systems to one source, like your backyard hose bib.
- Water Hammer Arrestor Tee: Though optional, it protects your pipes by absorbing the shock of suddenly stopping water flow.
- Timer: Highly recommended to avoid over or under-watering. It's perfect for automating the watering schedule.
- Backflow Preventer: Prevents contaminated water from flowing back into your clean water supply.
- Filter: Keeps dirt and debris from clogging your emitters.
- Pressure Regulator: Ensures the system operates at the correct pressure, which is crucial for the emitters to function correctly.
- Adapters and Tubing: These connect your system to the water source and lay the foundation of your drip system.
- Barb Fittings, Elbows, End Caps: Essential for directing and managing the flow of water through your system.
Each of these materials plays a crucial role in ensuring your drip irrigation system works efficiently and effectively.
Planning Your System
Before diving into installation, planning is crucial. Determine the layout based on your gardening needs, considering the placement of each plant and the overall coverage needed. Sketching a rough map can help visualize the setup.
Step by Step Instructions
Step-by-step instructions for installing a drip irrigation system: from water source to plants, troubleshooting, testing, and maintenance tips.
Starting at the Water Source
- Attach the hose splitter to your hose bib, followed by the water hammer arrestor and the timer.
- The backflow preventer comes next, ensuring no cross-contamination between your irrigation water and household supply.
- Attach the filter to prevent any debris from entering the system, followed by the pressure regulator, which keeps water flow at the ideal rate for your drip system.
- Finally, connect the adapter, which links your setup to the main line of poly tubing.
Laying Out the Main Line
The main line tubing acts as the system's backbone. Rolling it out while it's warm makes it more pliable and easier to work with. Use landscape staples to secure it in place, and at corners, use barbed elbows to achieve neat, 90-degree turns.
From Main Line to Plants
From the main line, smaller tubing or emitters carry water to each plant. The number of emitters and their placement depends on your plant's watering needs. If plants are spaced further apart, micro tubing with individual emitters positioned near the root zone of each plant can be a more efficient choice.
Troubleshooting and Adjustments
Throughout the process, you may run into issues like leaks at the connections. This is where I learned that using quality fittings like Perma-Lock systems can save time and prevent leaks. Also, be prepared to make adjustments—drip irrigation is forgiving, and you can easily add, remove, or reposition emitters as your garden grows.
Testing Your System
After installation, a thorough test run is essential. Look for leaks and ensure each plant is receiving adequate water. This step may reveal the need for additional emitters or adjustments to your setup.
Overwintering and Maintenance
Before the first freeze, it's important to drain your system to prevent damage. Remove end caps and allow the water to drain out completely. I also disconnect and store any removable parts indoors through the winter months.
Technological Integration
In the world of gardening, technological integration can transform a simple drip irrigation system into a smart, sustainable, and highly efficient watering solution. Let's explore how you can bring this innovation to your garden.
Embracing Smart Technology
Smart technology allows your drip irrigation system to be more responsive and adaptive to the needs of your plants. By integrating smart sensors and IoT devices, you can monitor soil moisture levels and weather conditions in real-time. This means your system can automatically adjust the watering schedule based on the actual needs of your garden, ensuring that every drop of water is used efficiently.
Real-Time Monitoring and Automation
Imagine being able to control your garden's watering system from anywhere, at any time. With real-time monitoring, you can check soil moisture levels through your smartphone or computer. Automated systems can even adjust to local weather data, turning off when it rains to prevent water wastage.
Zone-Specific Irrigation
Your garden likely has a variety of plants, each with different watering needs. Technological integration allows for zone-specific irrigation, where you can set different watering schedules for different areas of your garden. This ensures that each plant gets the right amount of water without over or under-watering.
Efficient and Precise Watering
The precision of smart drip irrigation systems means that water is delivered slowly and directly to the plant roots, reducing evaporation and runoff. This method is not only water-wise but also promotes healthier plant growth and fuller yields.
Optimum Moisture Levels
Maintaining the optimum moisture level is key to plant health. With smart technology, your drip irrigation system can keep the soil consistently moist, which is especially beneficial during dry spells or in arid climates.
Integrating advanced tech into your drip irrigation system precisely waters your garden, saving water and supporting plant health efficiently and sustainably.

Maintenance and Troubleshooting
Keeping your DIY drip irrigation system in top shape is key to ensuring your garden stays lush and healthy. Here's a straightforward guide to maintaining and troubleshooting your system.
Regular Checks
Make it a habit to check your system regularly. Look for signs of leaks, such as wet spots along the tubing or parts that have come loose. A simple walk-through can catch issues early before they become bigger problems.
Cleaning Filters
Your system's filter keeps debris from clogging the emitters. Clean it out every few months or more often if you have hard water. Just remove the filter, rinse it under running water, and put it back in place.
Flushing the System
At the start and end of the growing season, flush out your system. Remove the end caps of your drip lines and let water run through for a few minutes. This clears out any dirt or small particles that could cause blockages.
Checking Emitters
Emitters can get clogged, especially if you have mineral-rich water. Take a look at them and if you see any buildup, remove the emitter and soak it in vinegar to dissolve the minerals. Rinse well and replace.
Dealing with Damage
If you find a damaged section of tubing, it's an easy fix. Cut out the damaged part and join the two ends with a coupler. Make sure it's snug to prevent leaks.
Winter Care
If you live in a cold climate, protect your system from freezing. Drain the water before the first frost and disconnect any hoses from the tap. This prevents water from freezing inside the tubing, which can cause cracks.
Follow these steps to keep your drip irrigation system running smoothly, ensuring your plants get the water they need efficiently. A bit of maintenance in the garden goes a long way!
FAQs About DIY Drip Irrigation
Get answers to common questions about DIY drip irrigation. Learn installation tips, benefits, and troubleshooting for efficient garden watering.
DIY drip irrigation is a watering system that delivers water directly to the roots of your plants through a network of tubes and emitters. It works by allowing water to drip slowly to the plant’s base, minimizing evaporation and ensuring that water goes where it’s needed most.
Start by sketching your garden and noting the locations of your plants. Consider the water needs of each plant and the soil type. Then, choose the appropriate emitters and plan the tubing route to ensure all root zones are covered. Remember, the goal is to match the system’s flow rate with your plant’s water requirements.
The benefits of using a drip irrigation system include:
Water conservation: By delivering water directly to the plant’s roots, you minimize evaporation and runoff.
Healthier plants: Watering at the roots reduces the risk of leaf diseases and promotes strong root development.
Weed reduction: Watering only the areas where your plants grow means less water for weeds.
Time-saving: Once set up, the system can be automated, freeing you from daily watering chores.
Maintaining your DIY drip irrigation system is crucial for its longevity and efficiency. Here’s a straightforward FAQ to help you keep your system in top shape.
It's a good idea to check your system at least once a month during the growing season. Look for leaks, clogged emitters, and signs of wear or damage. Regular checks can prevent small issues from becoming bigger problems.
Final Thoughts
Installing a DIY drip irrigation system can transform how you care for your garden. It saves you time and ensures your plants get the right amount of water. Give it a try, and your garden will thank you.


