ASCII art is a fascinating and creative way to create artwork using only text characters. This artistic approach dates back to the early days of computing when computers were limited to displaying characters from the ASCII (American Standard Code for Information Interchange) set, which includes letters, numbers, and symbols. The simplicity and constraints of ASCII art are what make it so charming and unique, as artists use the basic building blocks of text to create images that can be highly detailed and visually striking.
Learn how to make ASCII art easily with step-by-step tips, turning simple text characters into creative and unique designs. We'll also cover how to export your ASCII art for various uses, including print-on-demand designs. By the end of this tutorial, you'll be equipped with the knowledge and skills to start creating your own ASCII masterpieces.
What is ASCII Art?
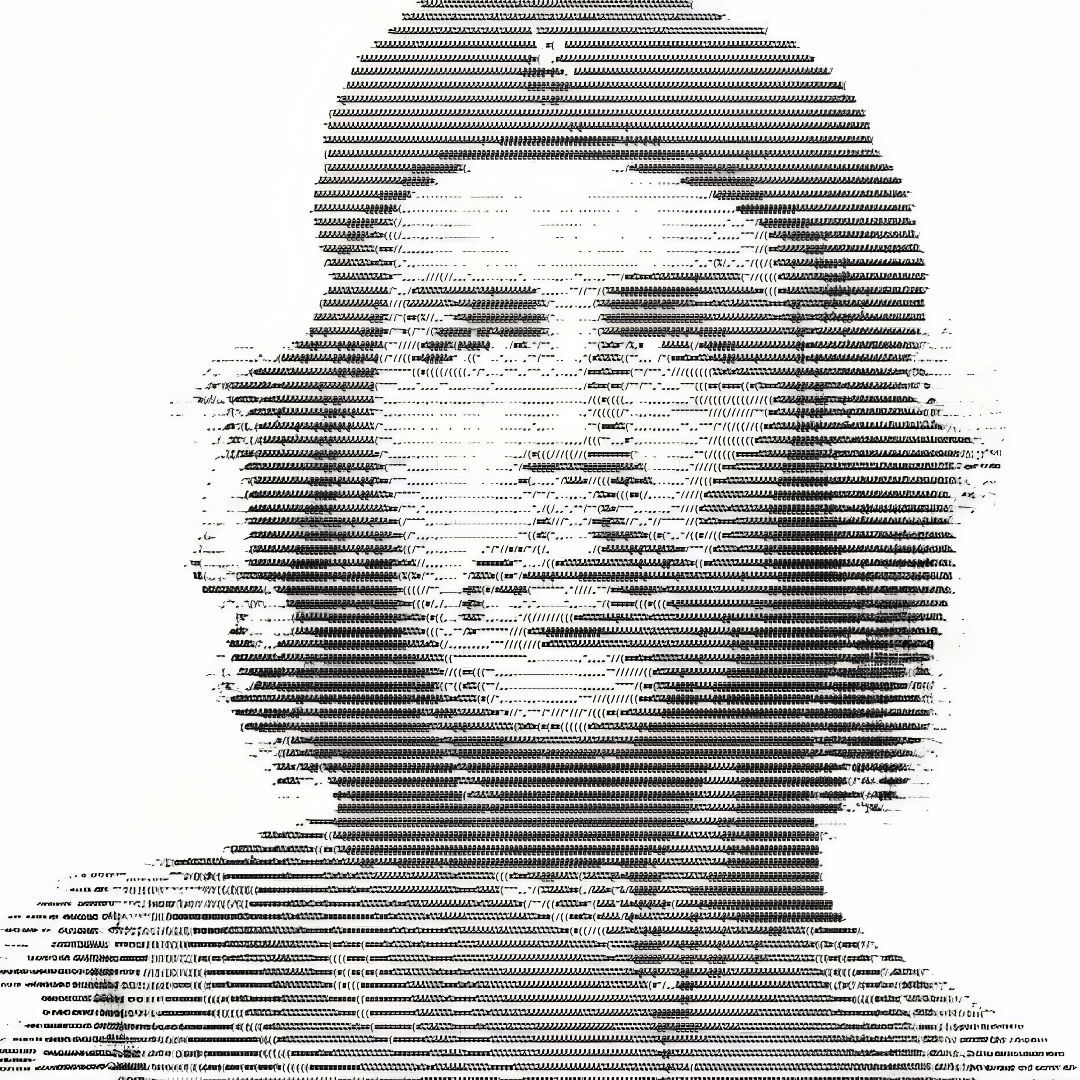
ASCII art refers to images or designs made entirely from text characters. The most common form involves using characters such as letters, numbers, and symbols to represent different parts of an image. These characters are carefully arranged in patterns to form pictures or designs. ASCII art can be simple, like smiley faces or basic shapes, or highly complex, like intricate portraits or landscapes.
The Roots of ASCII Art
The origins of ASCII art go back to the early days of computing in the 1960s and 1970s. Computers at that time were largely text-based, and graphical interfaces were limited. Programmers and artists found creative ways to represent images and designs using only the available ASCII character set. Because of the restrictions of early computer displays and printers, ASCII art was one of the first forms of digital artwork.
Many people who grew up in the 1970s or 1980s remember ASCII art from bulletin board systems (BBS) or text-based computer games, where it was a prominent feature. With the rise of modern graphical displays, ASCII art fell somewhat out of favor, but it has seen a resurgence in recent years, particularly among digital artists and creators who appreciate its retro charm.
Tools for Creating ASCII Art
In the past, ASCII art was created manually by carefully arranging characters line by line. Today, there are a variety of tools available that can help you create ASCII art more quickly and easily. In this section, we'll go over some of the most popular tools for creating ASCII art, including both manual methods and automatic generators.
Step by Step Instructions
Learn how to make ASCII art step by step, from manual methods to using generators and design tools, plus tips on adding color and exporting for digital use.
Manual ASCII Art Creation
If you're interested in creating ASCII art from scratch, you can do so using a simple text editor. Here are the basic steps:
- Choose Your Characters: ASCII art relies on choosing the right characters to represent different parts of the image. Some common characters used in ASCII art include:
- Light shades or open spaces: Space (" "), period (".")
- Medium shades: Plus sign ("+"), equal sign ("=")
- Darker shades: Hash ("#"), dollar sign ("$")
- Plan Your Image: Decide what you want to create. It could be a simple geometric shape or a more complex image like a face or an animal.
- Arrange Characters: Begin by placing characters line by line to build your image. The more detailed the image, the more lines and characters you'll need.
- Adjust for Detail: Depending on the complexity of your design, you may need to adjust spacing or characters to create the desired effect.
Using an ASCII Art Generator
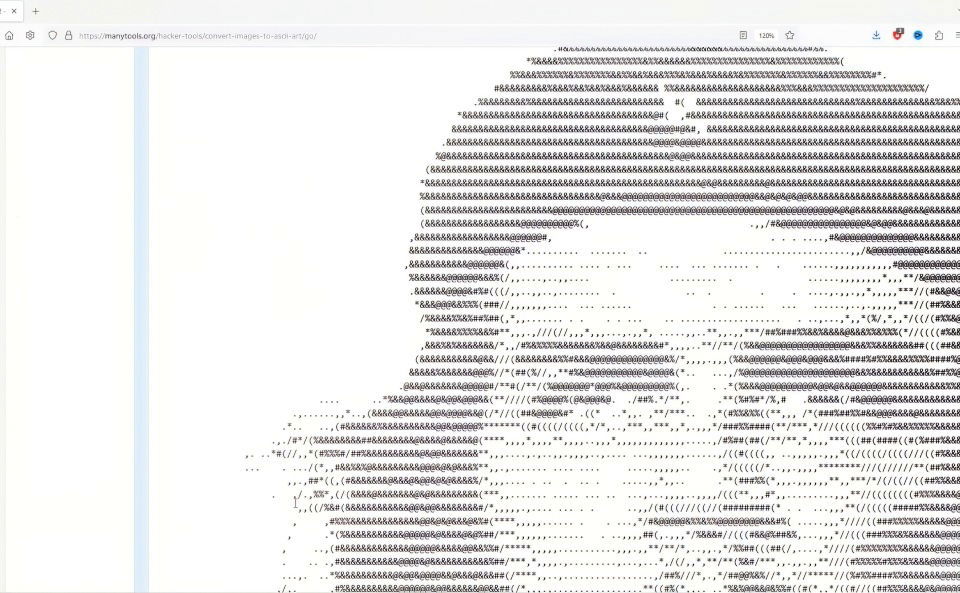
One of the easiest ways to create ASCII art today is by using an online ASCII art generator. These tools allow you to upload an image, and the generator will automatically convert it into an ASCII art representation. One highly recommended tool for this purpose is MiniTools ASCII Generator, which is completely free.
How to Use an ASCII Art Generator:
- Upload Your Image: Choose an image you want to convert into ASCII art. Keep in mind that simpler images, such as portraits or logos, tend to work best for ASCII conversion.
- Set the Width of the Output: Most generators will allow you to set the width of the output in characters. For example, you might choose a width of 200 characters for a larger, more detailed image.
- Click Convert: The tool will convert your image into ASCII art within seconds. The output will consist of text characters arranged to represent the original image.
- Download the ASCII Art: After generating the image, you can download the result as an HTML file or a text file. HTML files can be opened in a web browser, while text files can be opened in any text editor.
- Copy and Paste the ASCII Art: If you prefer, you can copy and paste the ASCII art directly from the generator into a document or another design tool.
Working with ASCII Art in Design Tools
Once you've created your ASCII art, you may want to refine or customize it for different uses. For example, you might want to add color, scale it, or export it as a PNG file for printing. One of the best tools for this purpose is Inkscape, a free and open-source vector graphics editor similar to Adobe Illustrator.
Importing ASCII Art into Inkscape
Inkscape allows you to work with text in a flexible way, making it ideal for refining ASCII art. Here's how to import and work with your ASCII art in Inkscape:
- Open Inkscape: Download and install Inkscape from Inkscape.org if you haven't already. Launch the program.
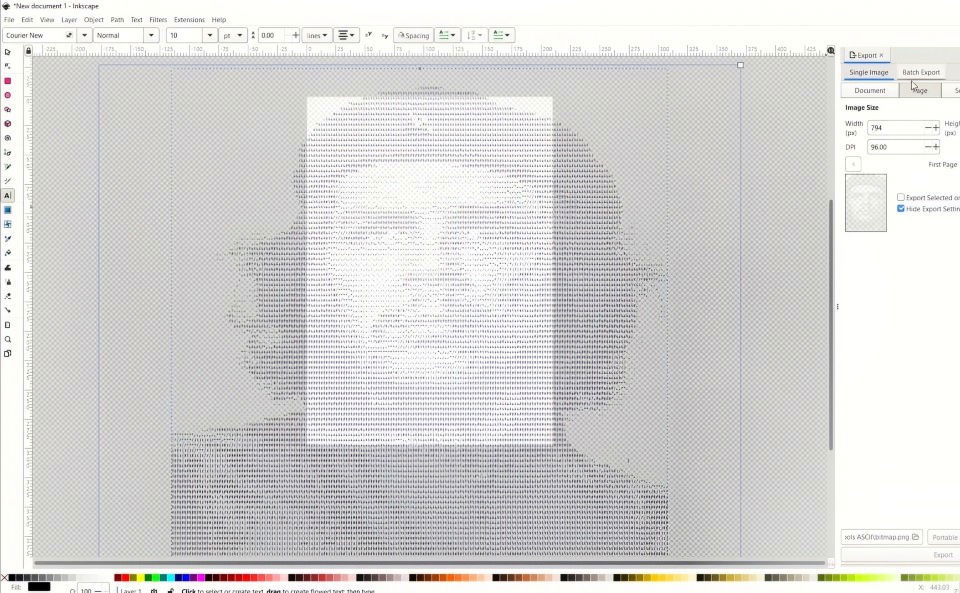
- Make a Text Box: In Inkscape, select the text tool from the toolbar on the left (it looks like a letter "A"). Click and drag to create a large text box.
- Paste the ASCII Art: After copying your ASCII art from the generator or text file, paste it into the text box in Inkscape by pressing
Ctrl + V. The ASCII art will appear as a block of text. - Adjust the Font and Size: For best results, set the font to Courier New, a monospaced font where each character takes up the same amount of space. Start with a 10-point font size, but feel free to adjust this depending on your design needs.
- Resize and Export: If the image is too large or small, you can resize the text box and adjust the font size. Once you're satisfied, export the design as a PNG or another image format. Go to
File > Export PNG Imageand select the appropriate options for your output.
Adding Color to ASCII Art
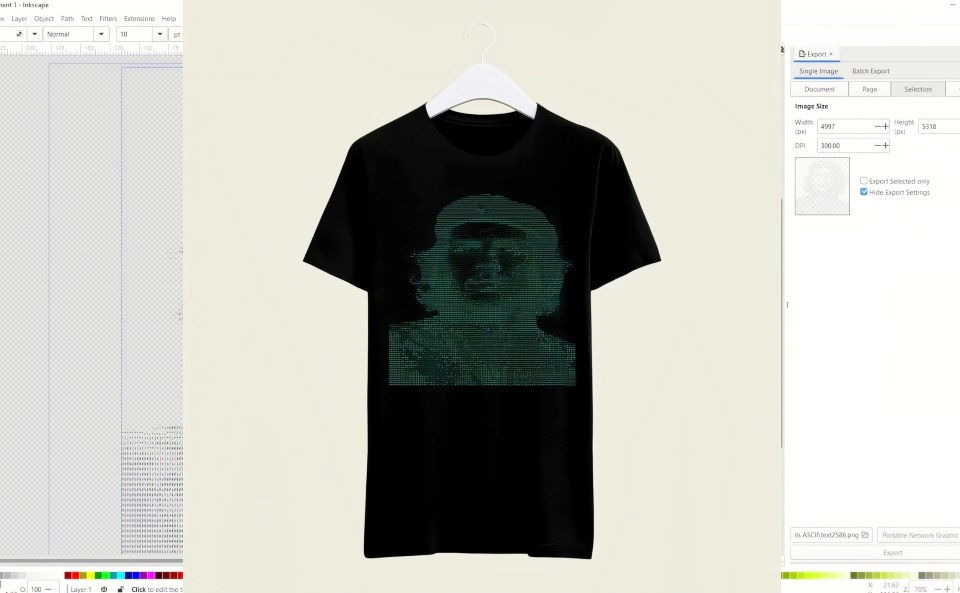
While traditional ASCII art is monochrome, you can easily add color to your design in Inkscape. Here's how:
- Select the Text Box: Click on the text box containing your ASCII art.
- Choose a Color: At the bottom of the Inkscape window, you'll see a color palette. Click on a color to change the color of your ASCII art. You can also experiment with gradients or other effects.
- Preview the Result: Once you've added color, take a look at how it changes the overall effect of the art. Colored ASCII art can make for great digital designs or even custom-printed merchandise.
Exporting ASCII Art for Print-on-Demand or Digital Use
Once you've created your ASCII art, there are several ways you can use it for print-on-demand services or digital downloads.
Preparing for Print
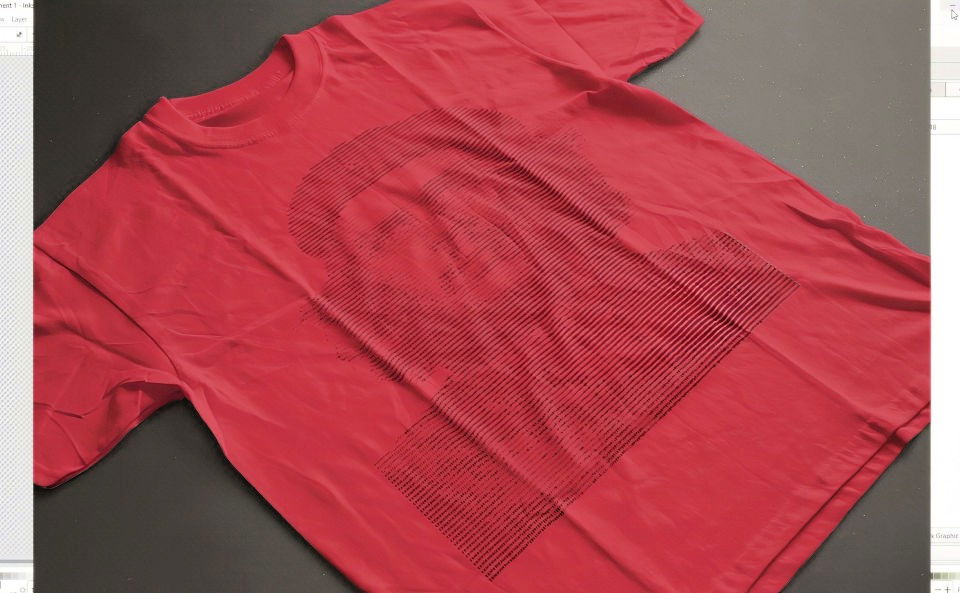
If you're planning to sell your ASCII art on print-on-demand platforms (such as Redbubble or Printful), you'll want to ensure the image is high-resolution and properly formatted.
- Set DPI to 300: In Inkscape, go to the export options and set the DPI (dots per inch) to 300. This ensures that your image will be of high enough quality for printing on items like t-shirts or posters.
- Choose the Right File Format: Export your design as a PNG file, as this format supports transparent backgrounds and is commonly used for print-on-demand designs.
- Test Your Design: Before uploading to a print-on-demand platform, make sure to test the design by previewing it on different products. Check for any cropping issues or resolution problems.
Selling Digital Designs
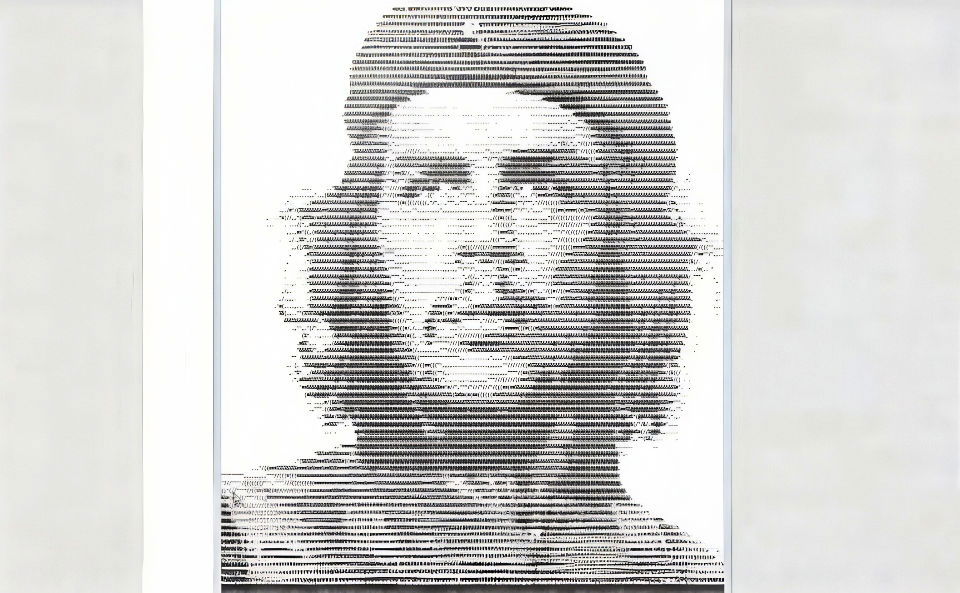
If you'd prefer to sell your ASCII art as a digital download, you can easily create files that customers can purchase and download online. Platforms like Etsy or Creative Fabrica are great places to sell digital artwork.
- Export as PNG or SVG: Export your ASCII art as a PNG file for images or an SVG file for scalable vector graphics. The SVG format is useful for customers who want to resize the design without losing quality.
- Bundle Multiple Designs: Consider bundling several ASCII art designs together to create a value pack for customers. Offering a variety of designs can help you stand out in the digital marketplace.
Conclusion
Creating ASCII art is a rewarding way to express your creativity using just text characters. Whether you're interested in making retro-inspired art, customizing designs for digital use, or creating artwork for print-on-demand products, there are plenty of tools and techniques available to help you get started. With free tools like ASCII art generators and Inkscape, you can easily create, refine, and export your ASCII art for a wide range of uses. So go ahead—experiment with different images, characters, and styles, and start crafting your own ASCII masterpieces!
FAQs About Enhancing Your ASCII Art Creation Process
Enhance your ASCII art creation process with our FAQs. Discover tips, tools, and techniques to improve your ASCII art skills efficiently.
To keep track of design elements, create folders for each type of resource (Creative Fabrica, public domain, etc.) and separate completed designs by project. Label files with descriptive names, and use a digital asset management tool to categorize designs and keywords for easy retrieval.
Yes, but you would need to manually replace each character in the ASCII image with your desired text, which can be time-consuming. Automated methods for this aren't widely available yet.
Ensure the text box fits the entire ASCII art. If necessary, resize the box by dragging the corners. When exporting, choose "Selection" instead of "Page" to prevent the artwork from being cropped.
Increase the resolution by setting a higher DPI (300 DPI is recommended for print) when exporting. You can also adjust the width and font size to ensure clearer character placement.
Yes, Inkscape allows you to change the color of the ASCII text by selecting the text box and choosing a color from the palette. You can experiment with different colors or gradients for unique effects.


