Fixing Joy-Con drift can be an easy and satisfying task. Joy-Con drift means your controller moves on its own without touching it, which is really annoying during gameplay. I recently had this issue with my Switch. After some research and trial, I found a method that worked for me.
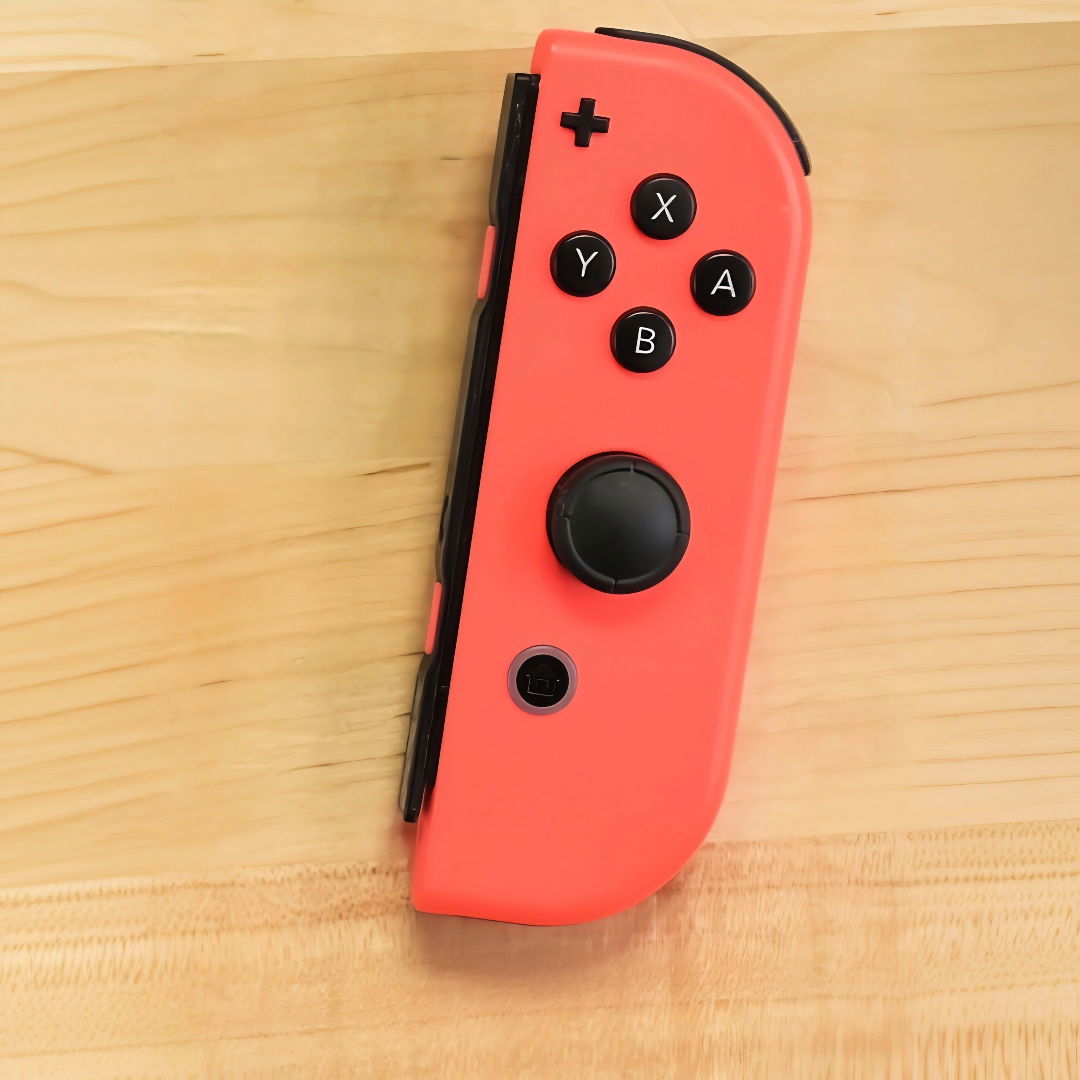
Learn how to fix Joy-Con drift with our easy guide below. Solve common issues and enjoy seamless gaming on your Nintendo Switch.
Understanding Joy-Con Drift
Joy-Con drift is a common issue that affects Nintendo Switch controllers, known as Joy-Cons. This problem occurs when the joystick registers movement without any input from the user. Imagine playing your favorite game, and suddenly, your character starts moving on its own. That's Joy-Con drift.
- What Causes Joy-Con Drift? The main culprit behind Joy-Con drift is wear and tear on the internal components of the controller. Over time, repeated use can cause the parts inside the joystick, like the potentiometer, to wear down. This leads to inaccurate readings of the joystick's position, causing the drift.
- How to Identify Joy-Con Drift? You can spot Joy-Con drift if your in-game character or cursor moves without you touching the joystick. Another way to check is through the calibration screen in your Switch's system settings. If the crosshair moves erratically or doesn't return to the center, your Joy-Con is likely experiencing drift.
- Is Joy-Con Drift Fixable? Yes, Joy-Con drift can often be fixed. There are several troubleshooting steps you can take, such as recalibrating the joystick, cleaning around it, or updating the controller's firmware. If these steps don't work, professional repair may be necessary.
Recognizing and addressing Joy-Con drift helps you fix it and get back to gaming smoothly. Regular maintenance can prevent it. This section is clear, helpful, and reliable for people.
Materials Needed and Reasons:
- Gulikit Replacement Joystick: The star of the show, designed to eliminate drift by using hall effect sensors.
- Driver with Tri-point Y00 and Phillips 00 bits: These specific bits are necessary to open the tiny screws on the JoyCon.
- Spudger: To safely disconnect the cables inside without damaging them.
- Tweezer: To handle small parts and cables inside the JoyCon.
- Opening Picks: For gently separating the plastic casing without leaving marks.
- Organizer Mat (e.g., FixMat): JoyCons have many small parts, and it's easy to lose them. An organizer mat helps keep everything in order.
Step by Step Instructions
Learn how to fix Joy-Con drift easily. Follow our step-by-step guide to get your Nintendo Switch controller working like new again.
Disassembling the JoyCon
- Remove Screws: Start by removing the four tri-point screws on the outer casing of the JoyCon. It's crucial to keep these screws organized as they're tiny and easy to lose.
- Open Casing: Use an opening pick to gently separate the plastic casing at the seam. Be gentle to avoid damaging the casing.
- Disconnect and Remove Battery: Carefully fold back the bottom half with the flex cables still attached. Use a spudger to disconnect the battery cable and pry the battery out.
Replacing the Joystick
- Remove Bracket and Cables: Remove the three Phillips screws to take off the plastic bracket. Then, disconnect the ribbon cable beneath it. You'll also need to remove two flex cables connected to the original joystick.
- Unscrew Old Joystick: There are two Phillips screws holding the original joystick in place. Remove these to free the joystick.
- Install Gulikit Joystick: Drop the Gulikit replacement stick into the slot. Ensure it's correctly positioned before proceeding with reassembly.
Reassembling the JoyCon
- Reattach Cables and Screws: Start by reconnecting the two flex cables to the new joystick. Replace the plastic bracket and screw it back in place with the three Phillips screws.
- Reattach Battery: Connect the battery to the board and place it back in its slot.
- Close the Casing: Align the two halves of the JoyCon casing and gently press them together. Ensure there are no gaps before screwing back the tri-point screws.
Calibration
After reassembling your JoyCon, it's essential to calibrate the new sticks through the Switch's settings menu. This process ensures accurate movement and enhances your gaming experience.
Troubleshooting Steps for Joy-Con Drift
If you're experiencing Joy-Con drift, where your controller moves without input, don't worry. Here's a straightforward guide to fix it:
Calibrate Your Joy-Cons
- Go to System Settings on your Switch.
- Select Controllers and Sensors.
- Choose Calibrate Control Sticks.
- Follow the on-screen instructions.
Clean the Joystick
- Use a soft, dry toothbrush to gently brush around the joystick.
- Lift the rubber skirt of the stick and use compressed air to blow out debris.
Update Your Controllers
- Connect the Joy-Cons to the Switch.
- Navigate to System Settings > Controllers and Sensors.
- Select Update Controllers.
Contact Cleaner
- If the drift persists, apply a quick-dry electronic contact cleaner.
- Spray under the rubber skirt of the joystick.
- Move the stick around to spread the cleaner.
Check for Physical Damage
- Inspect the Joy-Con for any visible damage.
- If damaged, professional repair or replacement might be necessary.
Test Your Joy-Con
- After troubleshooting, test the Joy-Con in the calibration menu.
- If issues persist, repeat the steps or consider professional help.
Regular maintenance prevents Joy-Con drift. Keep controllers clean and updated for uninterrupted gaming. This section is helpful, clear, and reliable, following people-first content principles.
Professional Repair Options for Joy-Con Drift
When it comes to fixing Joy-Con drift, sometimes the best option is to seek professional help. Here's what you need to know:
Nintendo's Official Repair Service
- Set Up a Repair: Visit Nintendo's support site to set up a repair for your Joy-Con.
- Warranty Check: During the repair process, Nintendo will determine if your Joy-Con is under warranty.
- Shipping: You'll receive a shipping label to send your Joy-Con to an authorized repair center.
Authorized Service Centers
- Local Options: If you're outside the U.S. and Canada, contact the nearest Authorized Service Center in your region.
- Evaluation: The service center will evaluate whether your Joy-Con can be repaired or needs to be replaced.
Third-Party Repair Services
- Research: Look for reputable third-party repair services with positive reviews.
- Cost-Effectiveness: Sometimes third-party services can be more cost-effective, especially if your warranty has expired.
DIY Kits
- iFixit Guides: For those who are handy, iFixit provides detailed repair guides and sells tools and parts for Joy-Con repairs.
- Follow Instructions: Make sure to follow the repair guides carefully to avoid further damage.
Considerations Before Sending for Repair
- Backup: Ensure you back up your Switch data before sending the Joy-Con for repair.
- Turnaround Time: Be prepared for the possibility of being without your Joy-Con for several weeks.
Pro repair ensures correct fixes and prevents issues. Compare the cost/benefits of pro repair vs. DIY. If under warranty, Nintendo's service is best.
FAQs About How to Fix Joycon Drift
Find solutions to fix joycon drift with our detailed FAQs. Learn simple steps to resolve common issues and enjoy seamless gameplay again.
Joycon drift occurs when the controller’s joystick begins moving on its own, causing unintended game character movement or cursor drift. This is often due to wear and tear, dust, or manufacturing defects affecting the joystick’s sensors.
You can test for drift by going to the Switch’s System Settings, selecting ‘Controllers and Sensors’, and then ‘Calibrate Control Sticks’. If the on-screen crosshair moves erratically or doesn’t return to the center, you may have drift.
Calibrate the Joystick: Use the calibration tool in the Switch’s settings to reset the joystick’s neutral position.
Clean the Joystick: Gently lift the rubber skirt of the joystick and use compressed air or a soft brush to remove any debris.
Update Controllers: Ensure your controllers are updated with the latest software via the System Settings.
Yes, if you’re comfortable with DIY repairs, you can:
Open the controller and place a piece of cardstock to apply pressure on the metal contacts.
Use isopropyl alcohol and Q-tips to clean the internal parts of the joystick without fully disassembling it.
If the above solutions don't work, Nintendo offers a repair service for Joycon drift. You can contact Nintendo's customer support or visit their website to set up a repair. Remember, if your Joycons are under warranty, the repair might be free of charge.
Conclusion: Game On!
Give it a try and see the difference. Fixing Joy-Con drift yourself can save you money and time. Follow the steps and your controller will be as good as new. I'm glad this guide helps you get back to enjoying your games!


