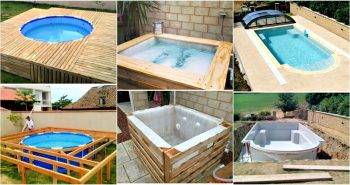
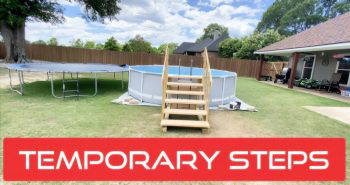
When setting up an above-ground pool, one of the most important factors for a successful installation is ensuring the ground is level. A level foundation not only keeps your pool looking neat but also prevents structural damage and uneven water distribution. Even a small slope or uneven surface can lead to big problems later. In this comprehensive guide, we'll walk you through everything you need to know about leveling the ground for an above-ground pool, drawing from practical experience to ensure you get the job done right.
Why Is Leveling the Ground Important for a Pool?
Leveling the ground for your above-ground pool is crucial for several reasons:
- Pool Stability: An unlevel surface can cause the pool to shift, leading to uneven stress on the pool walls and frame. Over time, this can lead to damage or even a collapse.
- Safety: Uneven surfaces can be hazardous, especially when water is involved. Ensuring your pool is level helps prevent accidents or injuries due to unexpected water movement or a structural failure.
- Aesthetics: A pool on unlevel ground can look unsightly. Leveling your pool ensures a professional and clean appearance.
- Water Distribution: Uneven ground causes water to collect more on one side, which may strain the pool liner and reduce the overall capacity of the pool.
Tools and Materials You'll Need
Before starting the leveling process, gather the necessary tools and materials to make the job smoother. Here's what you'll need:
- Shovel: Essential for digging and moving dirt around.
- 2x4 Wood Board: A long board will act as a guide to check for levelness across the surface.
- Level (or Line Level): Used to confirm the ground is even.
- Rebar or Stakes: These are used to mark your pool area and serve as a reference point when leveling.
- Sand or Dirt: For filling in low spots or raising the ground level. Sand is often preferred because it provides a smooth, stable surface.
- Tarp: A barrier between the pool and the ground to protect the pool liner from sharp objects like rocks.
- Tamper or Compactor: To flatten and compact the soil or sand.
- Measuring Tape: To ensure accuracy when marking out the pool area.
Step by Step Instructions
Learn how to level ground for a pool with these step-by-step instructions. Ensure a smooth setup by following our detailed guide and avoiding common mistakes.
Step 1: Choose the Right Location
The first thing you need to do is find a suitable spot for your pool. Ideally, this area should already be relatively flat and free of debris like rocks, sticks, or sharp objects. However, even a small slope can cause problems, so even in a seemingly level area, it's still important to verify the ground's flatness. Additionally, consider:
- Sunlight: Choose a location that gets plenty of sunlight to help maintain pool temperature.
- Proximity to trees: Avoid placing the pool near trees to minimize leaves and debris falling into the pool.
- Access to water and electricity: If you plan to run a filter or heater, ensure the pool is close to a power source.
Step 2: Mark the Pool Area
Once you've chosen the perfect spot, mark out the exact area where the pool will go. Measure the diameter of your pool (e.g., if your pool is 15 feet across, you'll need to mark a circle that wide). You can drive rebar or stakes into the ground to outline this area, ensuring you leave enough room for the pool walls and support structure.
- Pro Tip: Use spray paint or string to clearly define the boundaries of your pool area. This will help keep everything organized during the leveling process.
Step 3: Check for Levelness
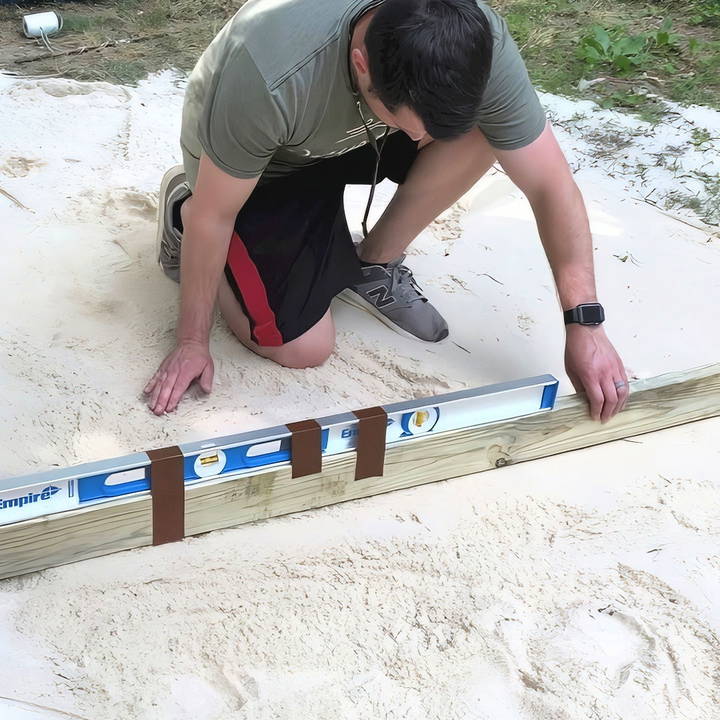
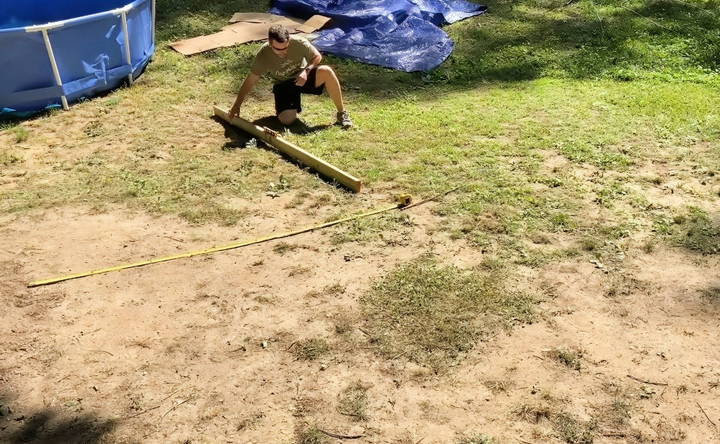
Next, use your 2x4 board and level to determine how uneven the ground is. Place one end of the board at the center of your marked area and rest the other end along the edges. Lay the level on top of the board, and slowly move it around the entire circle, checking for high and low spots.
For a more accurate reading, you can make your own simple leveling tool:
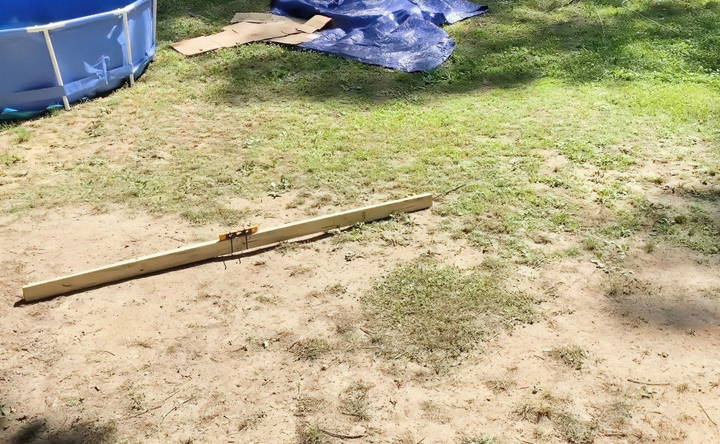
- Make a DIY Level: Attach a small bubble level to the top of a long 2x4 board using zip ties or duct tape. The board should be long enough to span the radius of your pool. In many cases, a board about 8 feet long will work well for pools with a diameter of 15 feet.
- Use Rebar as a Pivot Point: Insert a piece of rebar into the ground at the center of the pool area. Place one end of the 2x4 on top of the rebar and move the other end around the perimeter to check for levelness.
Step 4: Adjust the Ground
Once you've identified the high and low points, you have two options:
- Digging Out High Spots: If the ground is higher in some areas, you'll need to dig out the soil to make it even with the lower spots. This process might be labor-intensive, but it's one of the most effective ways to ensure an even surface.
- Filling Low Spots with Sand or Dirt: If the ground is mostly level but has low spots, you can fill these areas with sand or dirt. Sand is often the preferred material for leveling because it provides a smoother, more stable surface for the pool liner.
For extreme slopes, using sand might be the better option. In this case, use multiple truckloads of sand to gradually build up the low side of the pool area. Spread the sand evenly and compact it regularly with a tamper to ensure the ground remains solid.
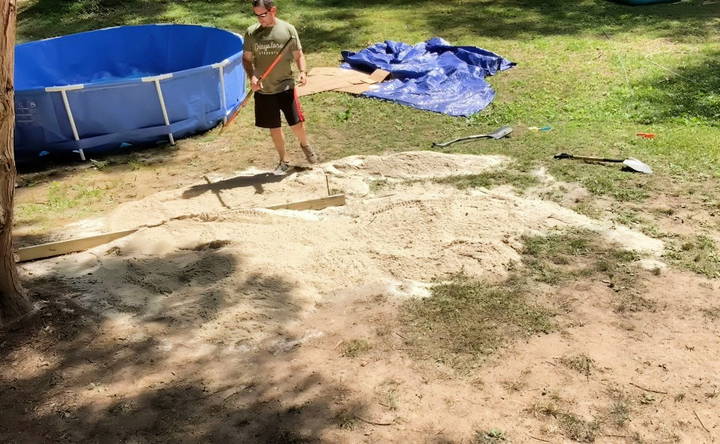
- Tip: If you're filling in low spots with sand, make sure to compact it well. Loose sand can shift, which could cause the pool to become uneven again over time.
Step 5: Use a Line Level for Precision
If the ground is very unlevel or you're dealing with a slope, you may need to use a line level. Here's how:
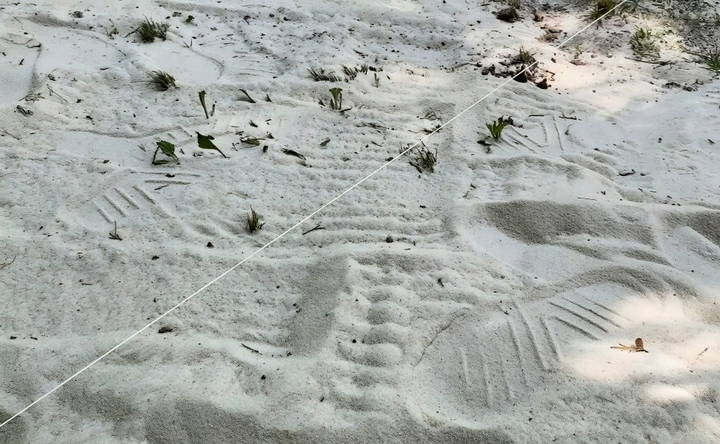
- Set Up Line Levels: Run strings across the diameter of the pool area, attaching one end of each string to stakes or nails driven into the ground. Use a line level to ensure the string is perfectly level.
- Add Sand or Dirt as Needed: Once the strings are in place and level, add sand or dirt to raise the low areas up to the string's height. This method is especially useful for ensuring that the entire surface is even.
- Multiple Lines for Large Areas: For larger pools, consider making multiple line levels that extend from the highest point in the pool area to various other points, making the pattern resemble a star. This will help you better gauge where adjustments need to be made.
Step 6: Fine-Tune the Leveling
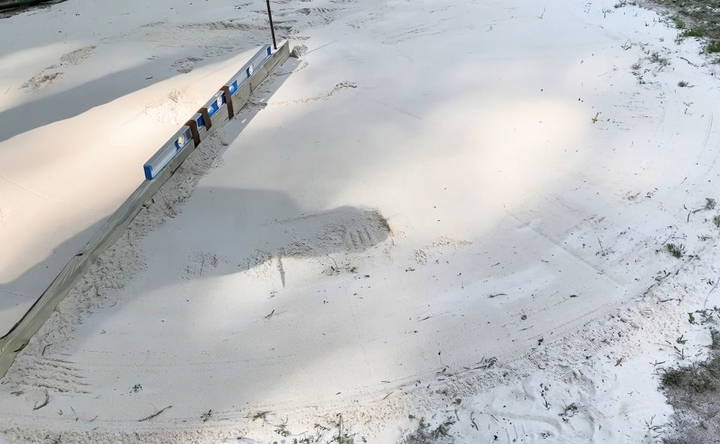
Once the majority of the leveling is complete, bring your 2x4 board and level back out for fine adjustments. Go over the entire area, using the board to spread out sand or dirt to fill in small gaps and ensure there are no dips or bumps. Make sure the board touches the ground evenly across all points of the pool area.
Repeat this process a few times until the entire surface is as level as possible. The more careful you are at this stage, the better your pool installation will be.
Step 7: Lay Down a Tarp
Once the ground is level, lay down a tarp to act as a protective barrier between the ground and the pool liner. This prevents any sharp rocks or debris from puncturing the liner and provides an extra layer of cushioning.
Step 8: Set Up and Fill Your Pool
With the ground level and your tarp in place, it's time to set up your pool! Follow the manufacturer's instructions for assembling the pool, making sure to place the liner evenly and securely. As you fill the pool with water, keep an eye on the water level to confirm that it remains even across the pool.
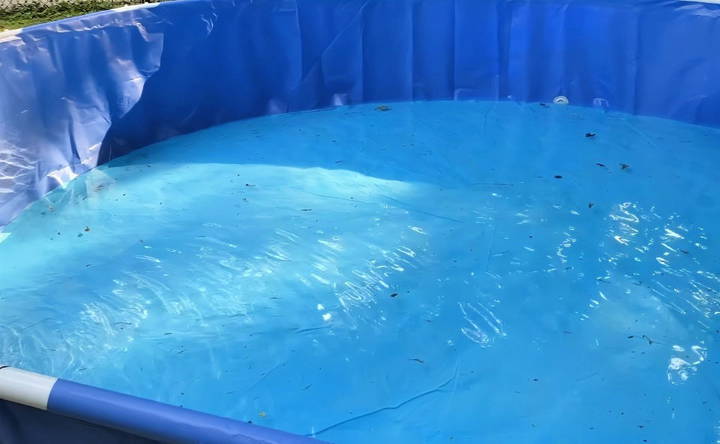
If you notice any areas where the water level seems higher or lower, stop filling and make adjustments to the ground as needed before proceeding.
Common Mistakes to Avoid
- Skipping the Level Check: Always verify the levelness of the ground multiple times throughout the process. Even a small unevenness can cause significant issues later.
- Not Compacting the Sand: Loose sand will shift under the weight of the water. Always compact the sand thoroughly to make a stable base.
- Ignoring High Spots: Digging out high spots may seem like a lot of work, but it's essential to making a level surface. Skipping this step could result in an unbalanced pool.
Conclusion
Leveling the ground for an above-ground pool is a crucial step to ensure the longevity and safety of your pool. While it may seem like a daunting task, with the right tools and a step-by-step approach, it's entirely manageable. By carefully following these instructions, you'll make a stable, level foundation for your pool that will provide years of enjoyment.
By taking the time to level the ground properly, you're not only safeguarding the structural integrity of your pool but also ensuring a safer and more enjoyable swimming experience. So, roll up your sleeves, grab your tools, and get to work—summer fun awaits!
FAQs About How to Level Ground for Pool
Discover expert answers to FAQs about how to level ground for your pool efficiently, ensuring a smooth, hassle-free setup.
Playground sand or masonry sand is commonly used. However, it’s essential to compact the sand properly to prevent shifting over time, especially after rain. Some people also prefer using construction sand, but ensure it is well-compacted to avoid future issues.
It's recommended to dig out the high spots rather than just filling the low spots with sand. Sand can erode over time, making the pool uneven again. By leveling the earth itself, you make a more stable base.
Yes, you can put a pool on a driveway, but instead of sand, consider using foam pads or cardboard to provide cushioning between the pool and the hard surface. Sand can erode quickly in this scenario.
Yes, compacting the sand is essential. If you don’t, the sand may shift under the pool’s weight, leading to an uneven surface over time. A hand tamper or plate compactor works well for this.
Using patio blocks or pavers under the legs of the pool helps distribute the weight more evenly and prevents the legs from sinking into the ground. Make sure the blocks are level with the ground to avoid putting extra stress on the pool liner.
Installing a water barrier or edging around the pool area can help prevent sand from washing away during heavy rains. Additionally, packing the sand tightly will reduce the chances of erosion.
While sand can help fine-tune small uneven spots, it should not be used to level the entire area if the ground is significantly unlevel. The weight of the pool will cause the sand to settle unevenly. It's better to dig down high areas first.
Yes, laying a tarp under the pool adds an extra layer of protection for the liner, preventing punctures from sharp rocks or other debris. It also reduces direct contact with the ground, which can minimize mold growth.
The amount of sand depends on the pool size and the level of the area. A typical above-ground pool might require several truckloads of sand. It's better to overestimate and adjust during the process.
If the pool legs are sinking, you likely need more stable support, such as pavers or patio blocks, under the legs. Make sure they are level with the ground to prevent further sinking.


