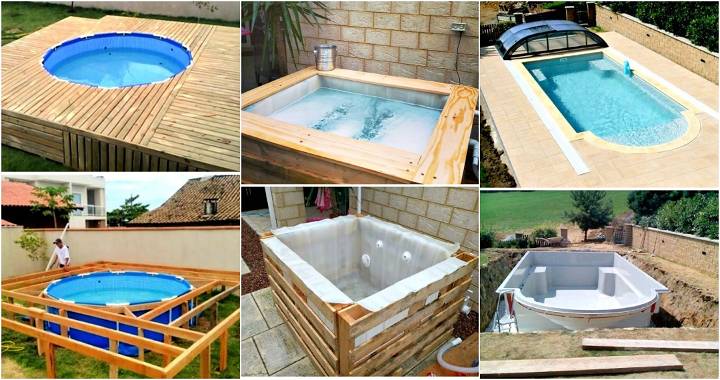
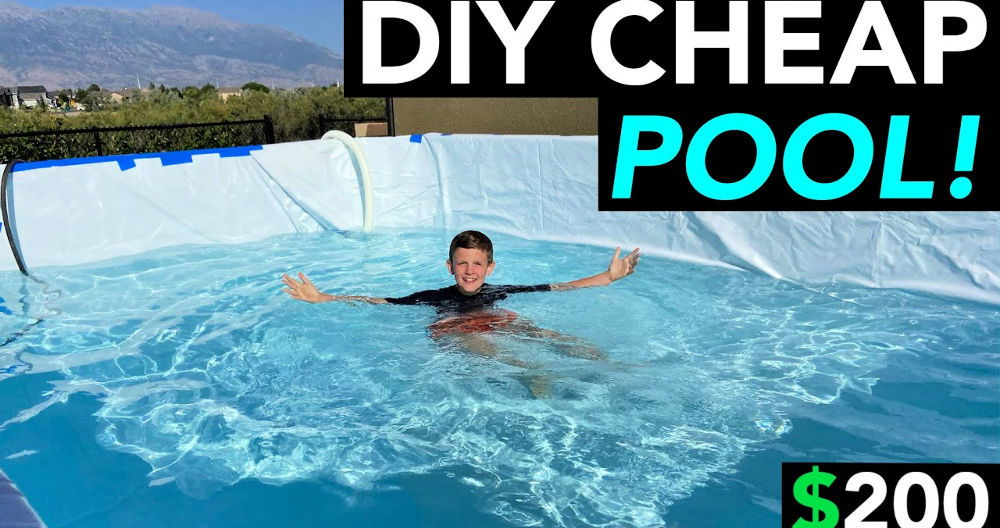
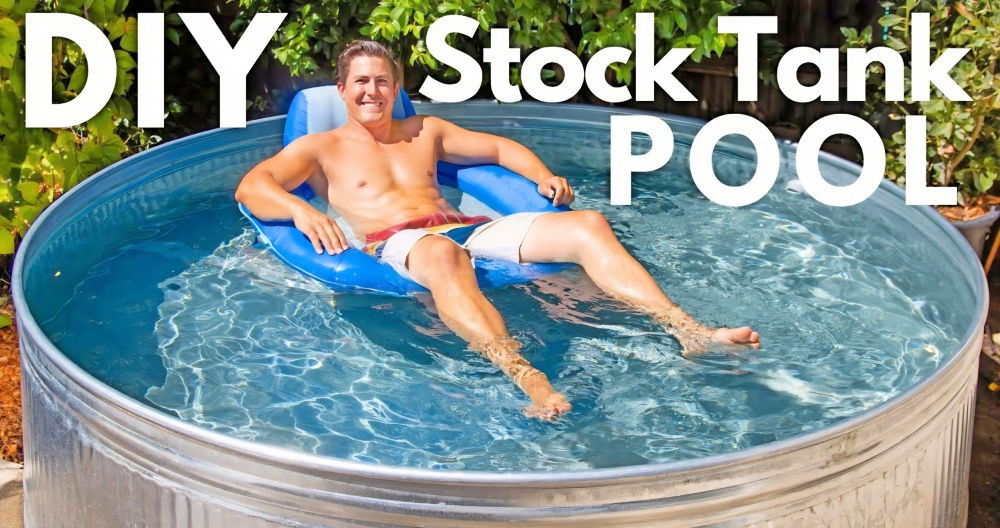
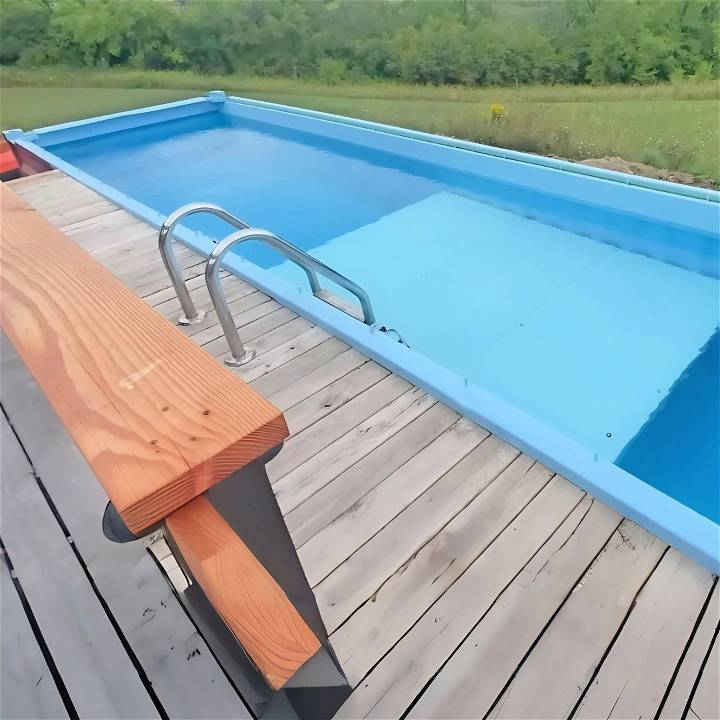
Building a DIY shipping container pool can be a rewarding project that adds both value and enjoyment to your home. By transforming a simple shipping container into a pool, you can achieve a unique and customizable swimming experience. These pools are cost-effective, environmentally friendly, and adaptable to various yard sizes and designs.
In just seven easy steps, you can have your very own container swimming pool. This guide offers clear instructions and practical tips to help you through the entire process. Whether you’re interested in a simple dip pool or something with added features, these steps will cover everything you need to know.
Ready to dive in? Follow along to start building the DIY container pool of your dreams.
Materials You'll Need and Why
- 40-Foot Shipping Container: The foundation of your pool. I chose an open-top for easy conversion.
- Mini Excavator: For digging the pool pit. Essential for making space for the container.
- Concrete and Steel Mesh: To build a solid, supportive base inside the container.
- Angle Iron and Square Tubes: For fabricating the middle shallow end and reinforcing the container walls.
- Epoxy Pool Paint and Fiberglass: To ensure the pool is watertight and durable.
- Sandblaster and High-Pressure Washer: To prepare the container by removing rust and ensuring the paint and fiberglass adhere well.
- Pool Filtration System: Because clean water is non-negotiable.
Step by Step Instructions
Learn how to create a DIY shipping container pool with our step-by-step instructions, from planning and positioning to concreting, rust treatment, and fiberglass.
Planning and Preparing the Pit
Digging a precise hole for the container was my first task. A friend's mini excavator was a lifesaver here. The strategy was simple: make a hole just big enough for our container, then layer the bottom with aggregate to prevent standing water under our pool, which could lead to rust or instability.
Positioning the Container
With our pit ready, the next puzzle was getting the heavy shipping container perfectly into place. Thanks to Ken and his skills in moving large objects, we managed this with surprising ease. Ensuring the container sat snugly in its new home was a critical step.
Concreting the Base
Pouring concrete inside the container buildd a solid, flat floor. We mixed in steel mesh for extra strength. This step was all about ensuring the container could withstand the pressure of the water without warping or leaking.
Building the Shallow End
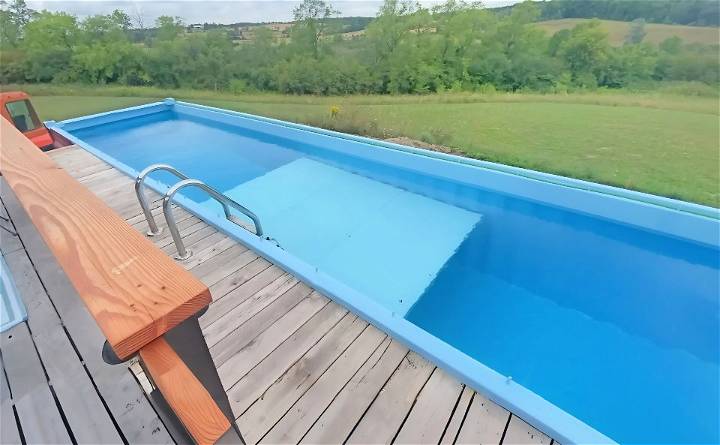
I wanted a unique element - a shallow end in the middle of the pool. This required careful planning and plenty of steel fabrication work. Using angle iron and square tubes, we constructed a sturdy frame bolted through the container sides. This not only gave us our desired shallow area but also added crucial structural integrity to prevent the container walls from bowing out under water pressure.
The Importance of Sandblasting and Rust Treatment
Before proceeding with painting, it was essential to tackle any rust. A high-pressure washer with a sandblasting attachment did the job. This preparation was critical for the epoxy paint and fiberglass to adhere properly, ensuring our pool would be leak-free and durable.
Applying Epoxy and Fiberglass
The next phase involved applying epoxy paint. Every potentially rusty spot received a generous coating. Fiberglass reinforcement was added around the base and seams for additional assurance against leaks. This step was painstaking but crucial for a waterproof finish.
Setting up Filtration and Final Touches
No pool is complete without a proper filtration system. I installed a standard filter pump and UV light to keep the water clean and safe for swimming. Final touches included a deck around the pool, making access easier and adding a visual appeal to the setup.
Overcoming Challenges
Despite thorough planning, the project wasn't without its setbacks. Minor leaks tested my patience and problem-solving skills, but with targeted fixes and a bit of creativity, I managed to seal them up. Developing solutions on the fly became a theme of this project.
Design and Customization Ideas
When it comes to making a container pool, the design and customization possibilities are as vast as your imagination. This section will guide you through various ideas to enhance the aesthetic appeal and functionality of your container pool, ensuring that the end result is as unique as you are.
- Choosing Your Style Firstly, consider the overall style that resonates with you. Do you prefer a modern, sleek look with clean lines and minimalistic features? Or are you drawn to a more rustic, natural aesthetic that blends with your garden? Your style choice will influence all subsequent design decisions, so take the time to browse different styles and decide what speaks to you.
- Color and Finish: The color of your container pool can dramatically affect its appearance. Classic blue is popular for its refreshing look, but don’t be afraid to think outside the box with vibrant colors or even transparent sides for a contemporary touch. The finish can range from the raw, industrial feel of the original container to a fully tiled or plastered interior.
- Decking and Surrounds Decking is not only functional but also a key design element. Wood decking offers warmth and a natural feel, while composite materials provide durability and a modern flair. Consider incorporating built-in seating or planters to make the space more inviting and functional.
- Lighting Proper lighting can transform your container pool into a nighttime oasis. Underwater LED lights add a magical touch, and solar-powered lights around the pool can enhance safety and ambiance. Think about color-changing options for a fun twist.
- Landscaping Integrate your pool into your backyard with thoughtful landscaping. Use plants and shrubs to build privacy, add texture, or accentuate certain features of the pool. For a low-maintenance option, consider drought-resistant plants or artificial grass.
- Accessories and Features: Personalize your pool with accessories like a diving board, slide, or even a waterfall for a touch of luxury. For practicality, include steps or a ladder for easy access, and don’t forget about storage for pool toys and equipment.
- Safety Measures Safety should always be a priority. Ensure that the pool area is fenced and has a self-closing, self-latching gate. Non-slip surfaces around the pool can prevent accidents, and a pool cover can provide additional security when the pool is not in use.
Use these design ideas to build a stylish container pool. Build a relaxing, fun space for lasting memories. Keep it simple and enjoy making it your own.
Technical Considerations
When embarking on the construction of a DIY container pool, it’s crucial to address the technical aspects that will ensure its safety, durability, and functionality. This section will cover the key technical considerations in a straightforward and easy-to-understand manner.
- Structural Integrity The backbone of a container pool is its structure. Shipping containers are designed to be sturdy, but once you cut openings for windows or doors, their structural integrity can be compromised. Reinforcing these modifications with additional steel framing is essential to maintain the container’s strength.
- Insulation and Waterproofing Insulation is vital to keep the water temperature comfortable and to reduce heating costs. Closed-cell spray foam is a popular choice as it acts as both insulation and a vapor barrier. Waterproofing is equally important to prevent leaks. A combination of a cementitious coating and a waterproof membrane can provide a robust solution.
- Filtration System A good filtration system is the heart of a clean and clear pool. It’s important to choose a system that matches the size and volume of your pool. Cartridge filters are a common choice for container pools due to their efficiency and ease of maintenance.
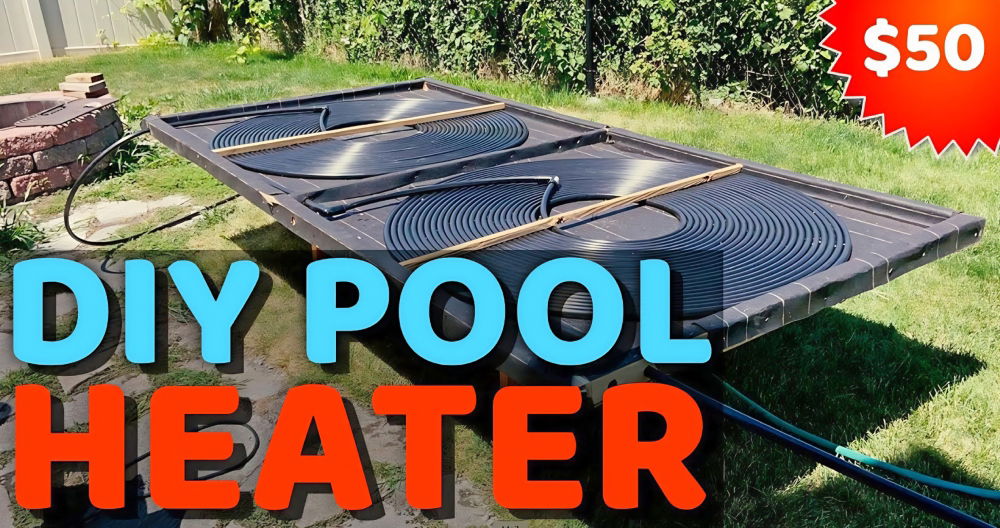
- Pumps and Heaters The pump circulates water through the filtration system, keeping your pool clean. An appropriately sized pump will save energy and reduce noise. Heaters are optional but recommended for extending the swimming season. Solar heaters are an eco-friendly option that can harness the power of the sun to warm your pool.
- Plumbing and Electrical Work Professional installation of plumbing and electrical systems is highly recommended. This ensures that all components are safely connected and comply with local building codes. Remember to include a drain system for easy water changes and maintenance.
- Safety Features Safety should never be an afterthought. Install pool ladders for easy entry and exit, and consider adding a pool cover to prevent accidental falls. Non-slip surfaces around the pool can minimize the risk of slipping.
Think about these technical details to make a container pool that's enjoyable, safe, and durable. DIY can be fun, but consult professionals for technical pool matters.
Maintenance and Upkeep
Maintaining a container pool is crucial for ensuring the water remains clean, clear, and safe to swim in. Regular upkeep also extends the life of your pool and its equipment. Here’s a straightforward guide to help you keep your container pool in top condition.
Regular Cleaning
- Skim the surface of the pool daily to remove leaves and other debris.
- Brush the sides and bottom of the pool weekly to prevent algae buildup.
- Vacuum the pool to remove dirt that the brush can’t reach.
Water Quality Management
- Test the water regularly for pH, chlorine, and other chemical levels. Aim for a pH level between 7.2 and 7.8.
- Adjust the chemicals as needed to maintain proper balance. This may include adding chlorine or a pH increaser/decreaser.
Filtration System Care
- Clean the filter cartridge every few weeks or as recommended by the manufacturer.
- Replace the filter annually, or more often if it shows signs of wear and tear.
Seasonal Care
- Winterize your pool if you live in a cold climate. This includes draining the water below the freezing line and adding antifreeze.
- Cover the pool during off-seasons to protect it from debris and reduce maintenance efforts.
Equipment Checks
- Inspect pumps, heaters, and other equipment regularly for signs of damage or wear.
- Service your equipment according to the manufacturer’s recommendations to ensure it’s running efficiently.
Professional Assistance
- Consult with a pool professional if you encounter issues beyond basic maintenance, such as leaks or persistent algae problems.
Follow these guidelines for a clean and inviting pool, avoiding issues from neglect. Regular care preserves your pool for years of enjoyment.
FAQs About DIY Container Pool
Discover answers to all your DIY container pool questions! Find expert advice, tips, and solutions for your container pool project.
A DIY container pool is a swimming pool made from a repurposed shipping container. These pools are known for their durability, affordability, and ease of installation compared to traditional pools. You can customize them to fit your space and design preferences.
Building your own container pool can be cost-effective and allows for customization. It’s a great way to save money compared to buying a pre-made pool, and you have more control over the design and features.
Yes, if you have the necessary DIY skills. However, it’s a significant project that involves plumbing, electrical work, and structural modifications. If you’re not experienced, it might be safer and more efficient to hire professionals.
Maintaining a container pool involves:
Regular cleaning - Skim off leaves and debris and vacuum the pool floor.
Chemical balance - Test and adjust the pH, chlorine, and other chemical levels to keep the water safe.
Filter maintenance - Clean or replace the filter as needed to ensure efficient water circulation.
To enhance your container pool, consider adding:
LED lighting - For night-time swimming and ambiance.
Heating system - To extend the swimming season in cooler climates.
Decking and landscaping - To build a relaxing poolside area.
Final Thoughts
In conclusion, making a DIY shipping container pool in 7 easy steps can be both rewarding and achievable. With the right planning, you can transform a simple container into a stylish and functional DIY container pool. Follow these steps, and soon, you'll enjoy a refreshing dip in your own backyard oasis. Happy building!


