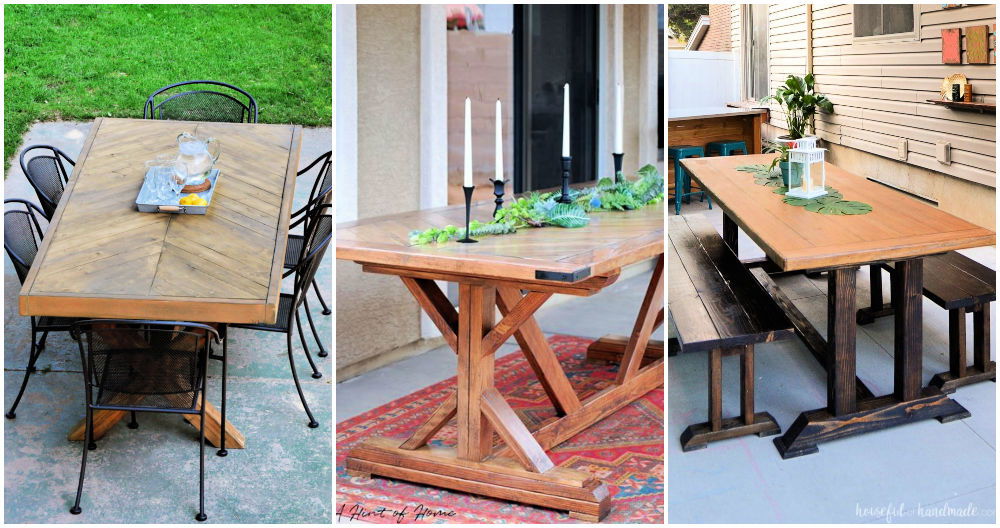
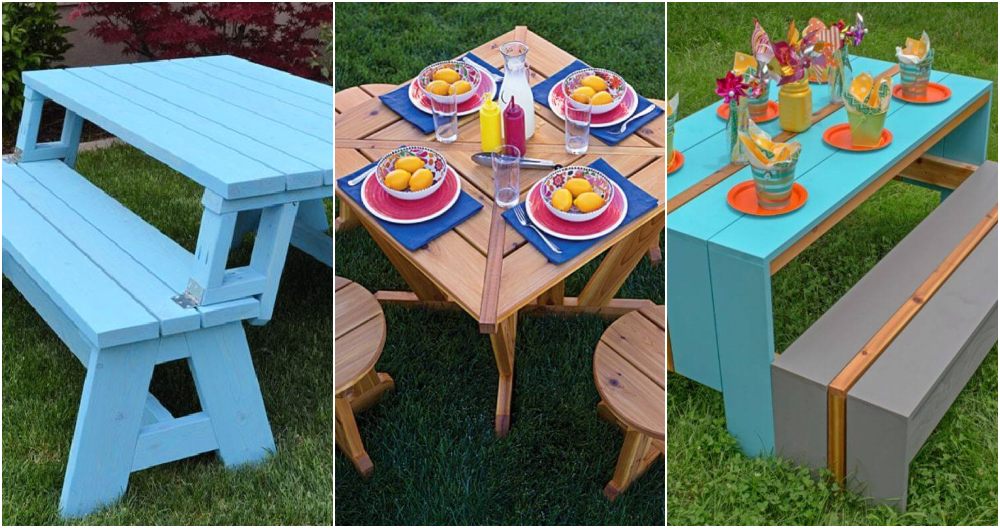
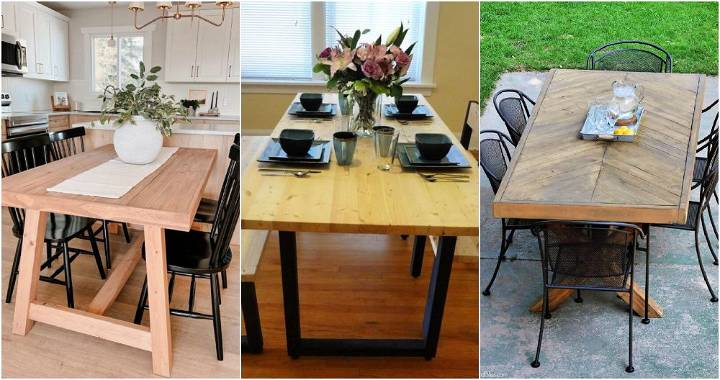
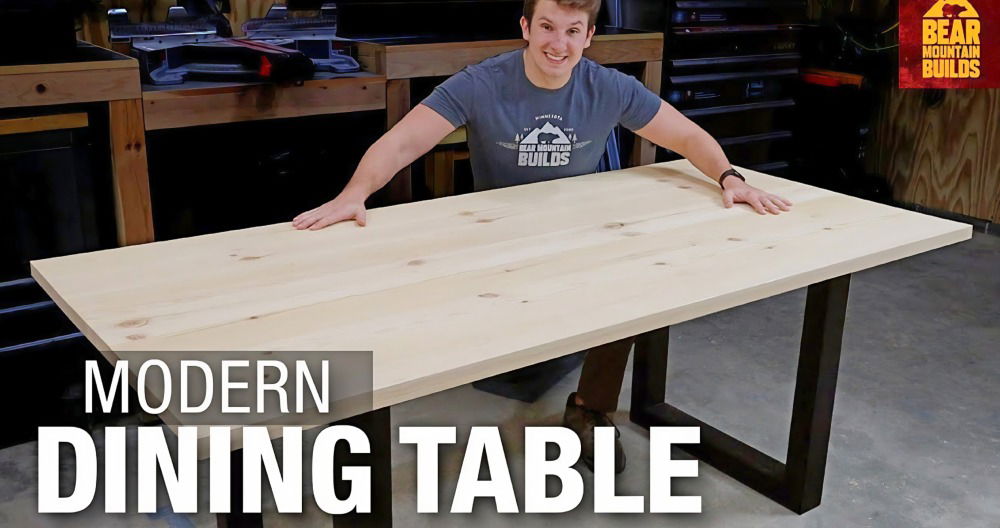
When I set out to build my own DIY picnic table, I wasn't just aiming for a piece of outdoor furniture. My vision was to build a gathering spot—a place where meals become memories, where laughter blends with the clinking of glasses, and where the simple joy of togetherness is celebrated. Inspired by online tutorials and driven by a dose of DIY enthusiasm, I embarked on a project that would not only test my craftsmanship but also enrich family gatherings for years to come. Here's how I made it happen, step by step.
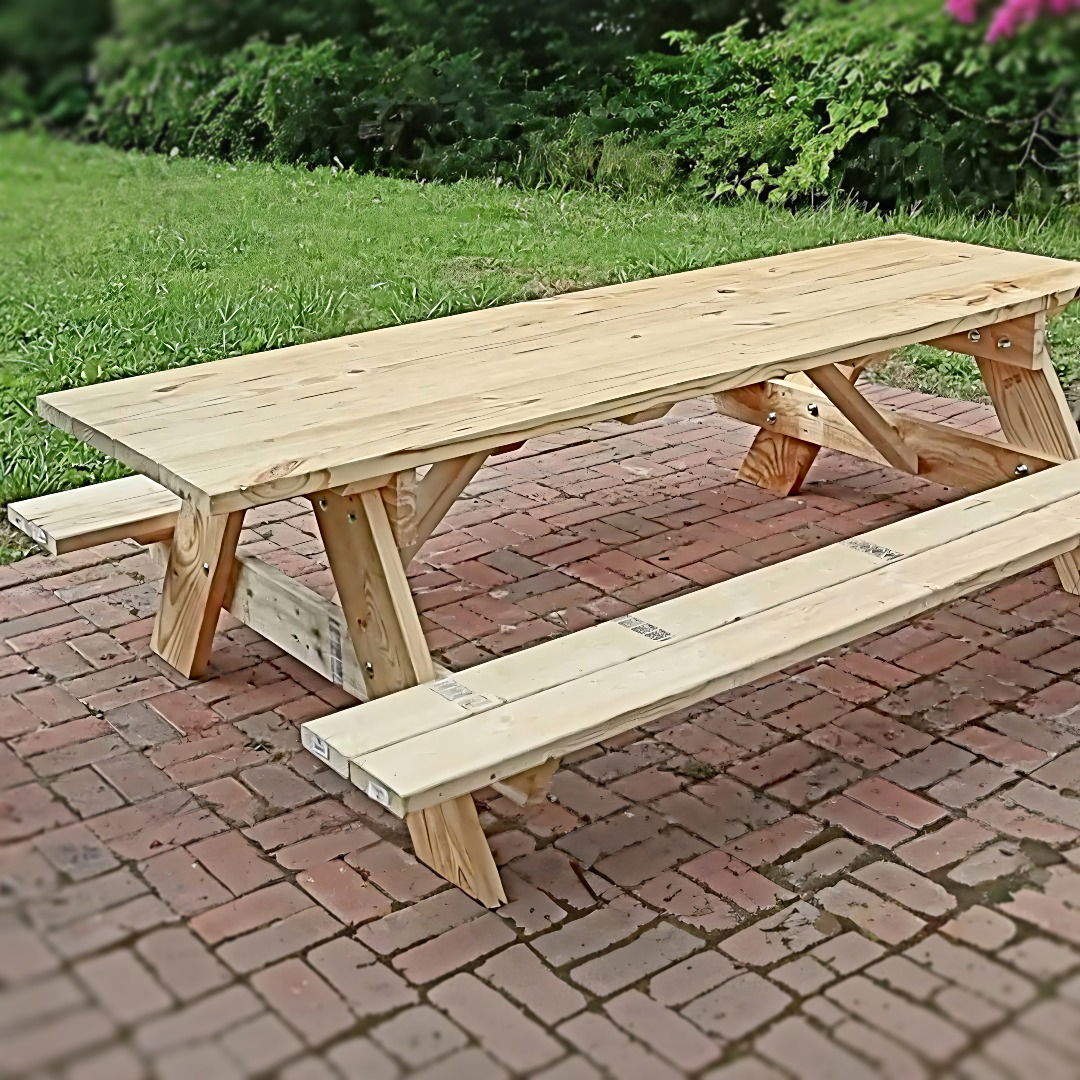
Gathering Materials: The Foundation of Any Great Project
First things first, I headed to my local hardware store to gather the necessary materials. I purchased six 2x8s for the top and seats, six 2x6s for the support, and three 2x4s for additional bracing. Choosing the right lumber was crucial—not only for structural integrity but also for the aesthetics of my table. Each board was selected with care, ensuring they were straight and free from excessive knots.
Why these materials? Dimensional lumber is not only sturdy but also easy to work with. It's cost-effective and can withstand outdoor conditions, especially with the right treatment.
Tools: Equipping Myself for Success
Equipped with a circular saw, miter saw, a few hand tools (including a tape measure and speed square), clamps, a drill, and screws, I was ready. The saws were necessary for precise cuts, ensuring every piece fit together like a puzzle. Clamps held the wood in place during assembly, maintaining alignment and safety.
Why these tools? Precision and safety. Each tool had its role, from measuring to cutting to assembling. The right tools not only made the process smoother but also allowed for a more polished final product.
Building the Table: A Step-by-Step Guide
Learn how to build your own picnic table with our step-by-step guide. Perfect for DIY enthusiasts looking to build a stylish outdoor dining space.
Cutting the Lumber to Size
I began by cutting my timber according to the dimensions specified in the tutorial I was following. Each cut was measured twice and executed with precision, mindful of the old adage, "Measure twice, cut once."
Assembling the Table Top
With my pieces cut, I laid out the top boards face-down and spaced them about a quarter inch apart for a slight expansion gap. Aligning them was key to a flat surface. I then secured the cross supports underneath, ensuring everything was square and flush.
Crafting the Benches
The benches were approached with the same meticulous attention to detail. I measured and cut, then assembled the bench tops using supports to keep them aligned and sturdy.
The Legs: A Lesson in Adaptation
Here, I faced a challenge. The initial cut for my table legs seemed a bit short, making the table lower than I preferred. However, improvisation is a craftsman's friend. I readjusted the design slightly, allowing for a height that felt just right. This involved securing the legs firmly with carriage bolts, ensuring they were both strong and aesthetically pleasing.
Final Touches: Sanding and Sealing
With the assembly complete, my project's final phase was to sand down rough edges and apply a protective sealant, safeguarding my creation from the elements and ensuring its longevity.
The Outcome
In the end, the table stood as a testament to the value of DIY—a labor of love, a centerpiece for gatherings, and a durable, functional piece of furniture that boasted a personal touch. It may sit slightly lower than commercial tables, but it fit perfectly with the easygoing charm of our outdoor space.
Reflections and Tips for Fellow DIYers
- Precision is key. Always measure twice and cut once.
- Adaptation is part of the process. Not everything will go to plan, and that's okay. Be prepared to think on your feet.
- The right tools make all the difference. Invest in or borrow quality tools for a smoother project experience.
- Enjoy the process. Building something with your own hands is incredibly rewarding. Take your time and savor the achievement.
My DIY table project was rewarding. It added to our garden and family life. It shows what can be done with determination, wood, and tools. Build your own project - the memories will be worth it.
Customization Ideas for Your DIY Picnic Table
When it comes to building a picnic table, adding personalized touches can transform a simple outdoor seating area into a delightful and functional space. Here are some creative customization ideas to make your picnic table stand out:
1. Built-In Benches and Storage:
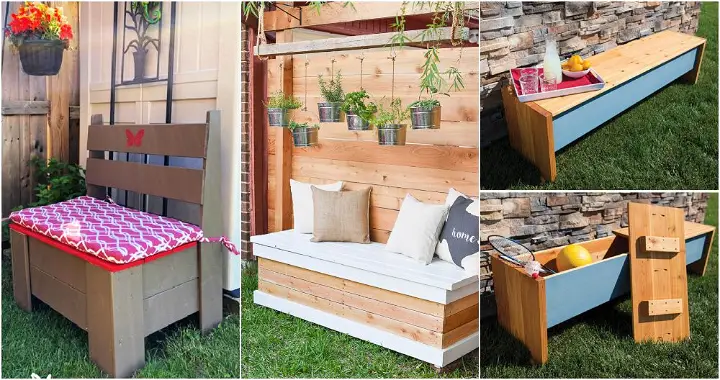
- Consider incorporating built-in benches along the sides of your picnic table. These benches provide extra seating without the need for additional chairs.
- To maximize functionality, design the benches with hinged lids. This way, you can use the space underneath for storage. Store picnic essentials like blankets, outdoor games, or even extra cushions.
2. Cup Holders:
- Nothing beats enjoying a refreshing beverage while sitting outdoors. Add cup holders to your picnic table design.
- Drill holes into the tabletop near the seating area to accommodate cups, cans, or bottles. Opt for a snug fit to prevent spills.
3. Umbrella Hole:
- Sunny days call for shade! If your picnic area lacks natural tree cover, consider adding an umbrella hole to your table.
- Drill a centered hole in the middle of the tabletop. Insert an umbrella pole through the hole to build a shaded spot for your meals.
4. Personalized Engravings:
- Make your picnic table truly unique by adding personalized engravings or carvings.
- Choose meaningful quotes, family names, or special dates. You can engrave these onto the tabletop or the bench surfaces.
5. Stain or Paint Selection:
- The finish you choose for your picnic table affects both aesthetics and durability.
- Staining: Enhance the natural beauty of the wood by applying a wood stain. Stains come in various shades, from light oak to rich mahogany. Choose one that complements your outdoor space.
- Painting: For a pop of color, consider painting your picnic table. Opt for weather-resistant outdoor paint in cheerful hues. Coordinate with your garden or patio theme.
6. Kid-Friendly Additions:
- If your picnic table will be used by children, think about their needs.
- Rounded Edges: Sand down any sharp edges to prevent accidents.
- Chalkboard Surface: Paint a section of the tabletop with chalkboard paint. Kids can doodle, play tic-tac-toe, or write messages while enjoying their snacks.
7. Convertible Picnic Table-Bench Combo:
- Get creative with space-saving designs. Build a convertible picnic table that easily transforms into two separate benches.
- Perfect for small patios or balconies, this dual-purpose furniture piece provides flexibility for different occasions.
Make sure to match your customization with your preferences and how you plan to use the picnic table. These ideas will improve your outdoor experience, whether you're dining alone or with friends.
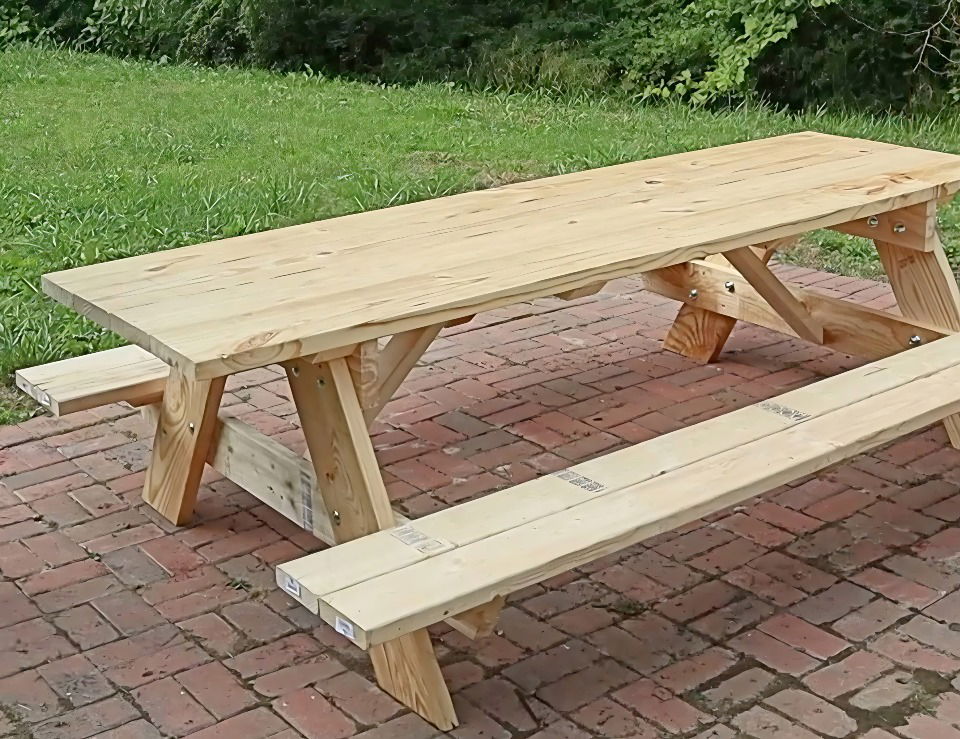
Troubleshooting Common Issues
When embarking on a DIY picnic table project, it's common to encounter a few hiccups along the way. Here's an easy guide to troubleshooting some of the typical problems you might face.
Selecting the Right Materials
Problem: Wood splits or cracks after assembly. Solution: Choose high-quality, seasoned wood. Avoid “green” wood that hasn't been properly dried.
Cutting and Assembling
Problem: Pieces don't fit together as planned. Solution: Double-check measurements before cutting. Use a template for repetitive cuts to ensure consistency.
Stability and Strength
Problem: The table wobbles or feels unstable. Solution: Ensure all joints are square during assembly. Reinforce with corner brackets if necessary.
Finishing Touches
Problem: Paint or stain doesn't apply evenly. Solution: Sand the wood thoroughly before applying finishes. Use a primer for paint or a pre-stain conditioner for staining.
Weatherproofing
Problem: Wood deteriorates quickly outdoors. Solution: Apply a weather-resistant sealant and consider a sheltered location to extend the table's life.
If you encounter an issue not listed here, take a step back, review your process, and don't hesitate to seek advice from local woodworking communities or online forums. Your perfect picnic table is within reach!
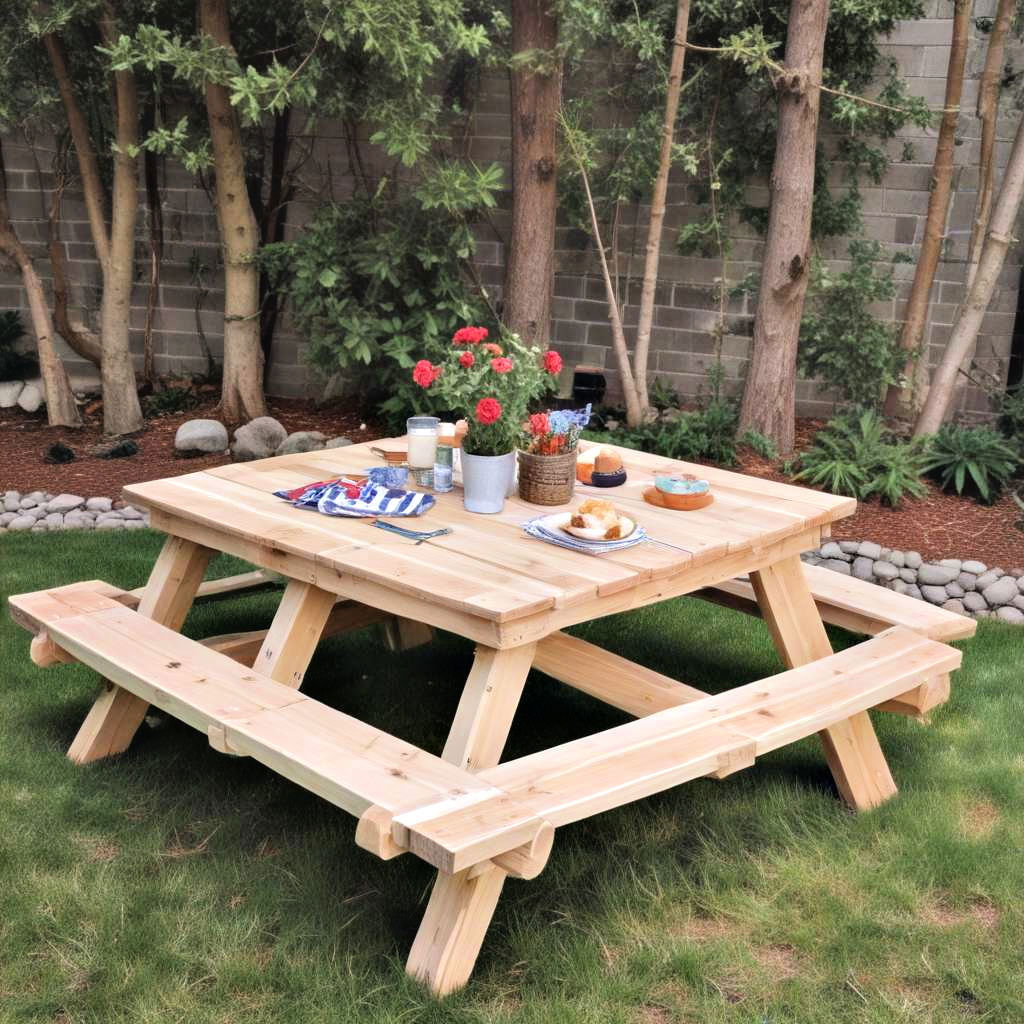
Maintenance and Care for Your DIY Picnic Table
Maintaining your DIY picnic table is crucial to ensure it lasts through many seasons of outdoor fun. Here's a straightforward guide to keeping your table in top condition.
Protecting the Wood
Wood is vulnerable to the elements. To protect it:
- Apply a sealant annually.
- Choose a water-resistant variety for longevity.
Cleaning
Regular cleaning prevents the buildup of dirt and grime:
- Wipe the surface with a mild soap and water.
- Avoid harsh chemicals that can damage the wood.
Winter Care
Winter can be tough on outdoor furniture. To safeguard your table:
- Store it in a dry, covered area if possible.
- If left outside, cover it with a waterproof tarp.
Repairing Damage
Immediate attention to damage can prevent further issues:
- Sand down any rough spots or splinters.
- Tighten any loose screws or bolts to ensure stability.
By following these simple steps, you can enjoy your picnic table for years to come. Regular maintenance not only preserves the table's appearance but also its functionality and safety.
FAQs About DIY Picnic Tables
Building a DIY picnic table can be a fun and rewarding project. Here are answers to some common questions to help you get started.
What is the best wood to use for a picnic table?
The best woods for a picnic table are those that are durable and can withstand outdoor conditions. Cedar and redwood are excellent choices due to their natural resistance to decay and pests. Treated pine is also a popular, cost-effective option.
How do I ensure my picnic table is stable?
To ensure stability, make sure all the table legs are cut to the same length and the ground where you place the table is level. During assembly, use braces and make sure all screws and bolts are tightened properly.
Can I use pressure-treated wood for my picnic table?
Yes, you can use pressure-treated wood for your picnic table as it's resistant to rot and insects. However, make sure it's safe for use in residential settings and has been treated with non-toxic preservatives.
What size should my picnic table be?
The size of your picnic table should be based on your needs and available space. A standard picnic table is usually around 6 to 8 feet long, which comfortably seats 6 to 8 people.
How do I protect my picnic table from the weather?
To protect your picnic table from the weather, apply a sealant that provides UV protection and waterproofing. Reapply the sealant every year or as needed to maintain its protective layer.
By addressing these FAQs, you'll be better prepared to tackle your DIY picnic table project with confidence.
Conclusion:
In conclusion, building your own DIY picnic table can be a fun and rewarding project for any outdoor enthusiast. From choosing the right materials to customizing the design, this guide provides all the steps you need to get started. Happy crafting!


