Making a dream space for your kids isn't just about buying the right items; it's about understanding their passions, getting creative, and investing your time and energy to bring joy to their eyes. Recently, I undertook the task of transforming a spare room in our home into a gaming paradise for my children.
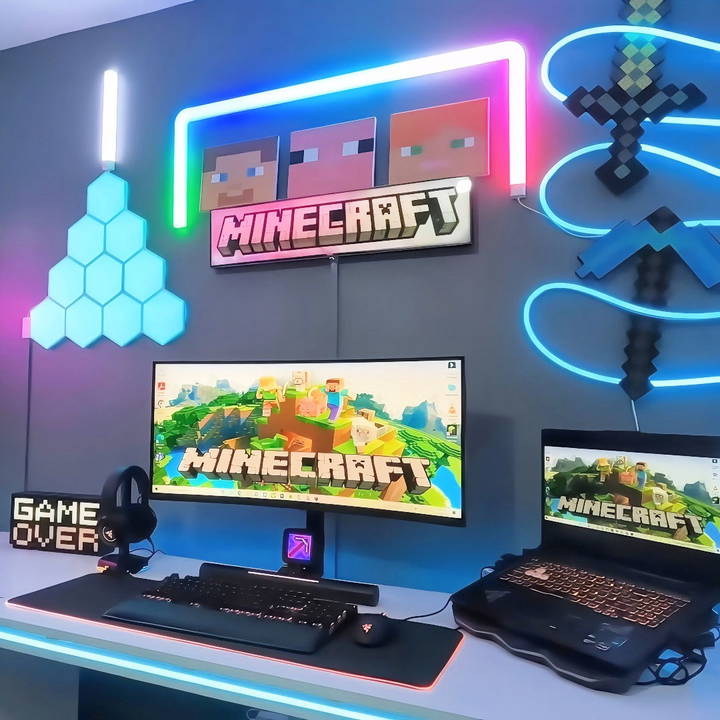
Here, I'll share every step of my journey, providing insights and practical advice to help you make the perfect DIY boy gaming bedroom for the young gamers in your life.
Step by Step Instructions
Transform your boy's room with our DIY boy gaming bedroom step-by-step guide. From planning and prep to the final reveal, make the ultimate gaming space!
Step 1: Planning the Dream Gaming Room
The first step in making my kids' dream gaming room was thorough planning. I needed to know what would make this room special and functional. I began by sitting down with my kids and asking them what they envisioned. It was essential because their input set the foundation and generated excitement for the project.
Understanding Needs and Wants
- Favorite Games: We discussed their favorite games, like Minecraft and Fortnite, to ensure the room reflected their preferences.
- Must-Have Gadgets: They wanted dual monitors and high-quality speakers for immersive gameplay.
- Comfort and Aesthetics: A comfortable gaming chair and vibrant lighting were at the top of their list.
Making a Layout
With their wish list in mind, I sketched the room's layout. This ensured we effectively utilized the space while keeping it organized—a key step to avoid clutter and maintain neatness.
- Desk Placement: Central focus for monitors and gaming setup.
- Seating Area: Comfort for long gaming sessions.
- Storage Solutions: Shelving for game CDs, controllers, and collectibles.
Step 2: Preparing the Room
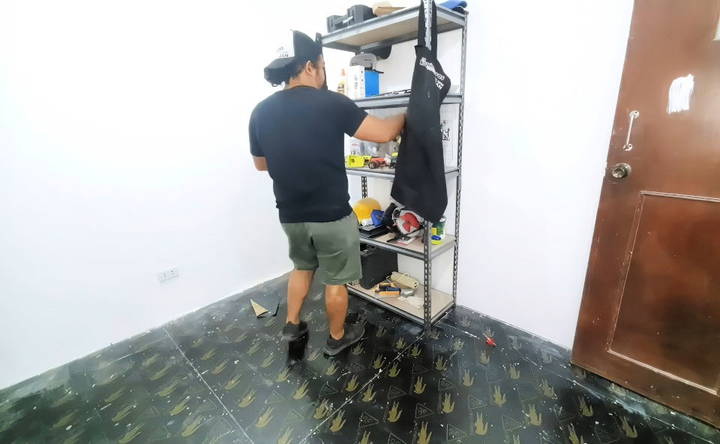
Preparing the room involved some physical labor but was crucial for setting a clean slate for creativity. This involved removing existing furniture and giving the space a fresh look.
Cleaning and Minor Repairs
Before starting, it was essential to clean the room. We scrubbed the walls, removed dust, and made minor repairs. This included patching holes and touching up paint, ensuring a smooth surface for the new décor.
Setting Up the Electrical Framework
Having adequate outlets was paramount, given the number of electronic devices. Installing surge protectors and managing cables provided safety and organization.
Step 3: Choosing the Right Materials
Building a dream gaming room requires selecting the right materials to ensure durability and aesthetic appeal. Here's what we used and why:
Paint and Décor
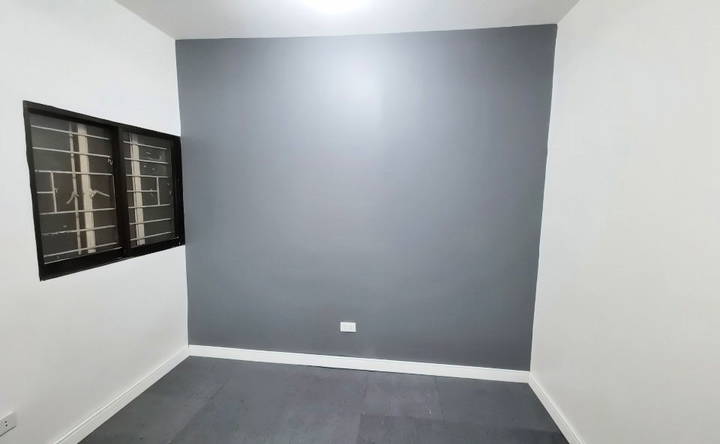
- Paint: I chose a soothing yet vibrant color scheme, using dark blues and greens to mimic a gaming environment that wouldn't be too distracting but still exciting.
- Wall Décor: Posters of favorite games added personality to the room.
Furniture and Equipment
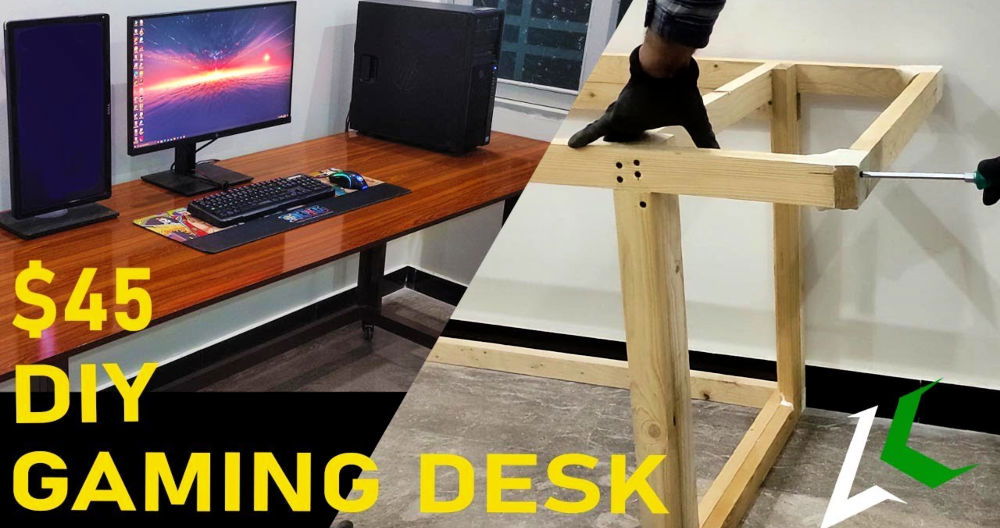
- Gaming Desk: Opted for a spacious desk with enough surface area for monitors and gaming peripherals.
- Gaming Chair: Selected an ergonomic chair offering support for those extended gaming sessions, prioritizing their comfort.
Gaming and Tech Gadgets
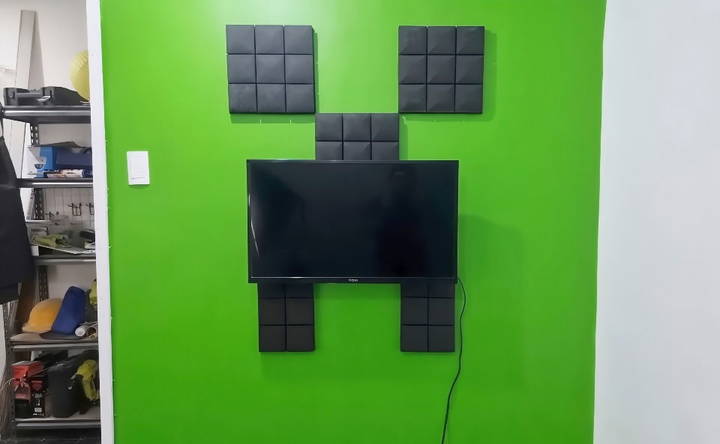
- Monitors: Dual high-resolution monitors were crucial for multitasking during games.
- Sound System: Quality speakers ensured a surround sound experience, enhancing immersion.
Step 4: Installing Gaming Lighting
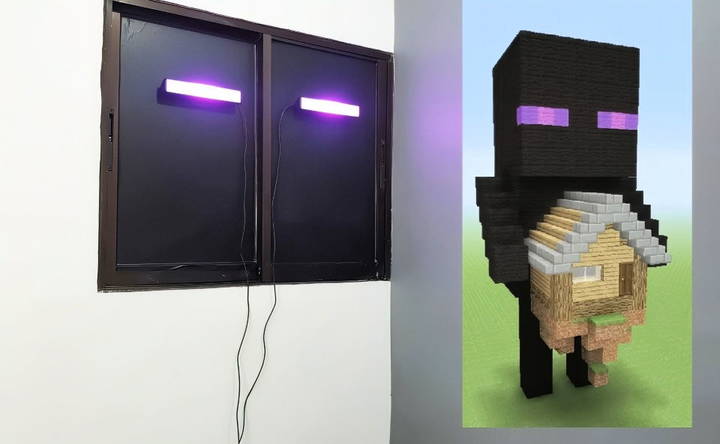
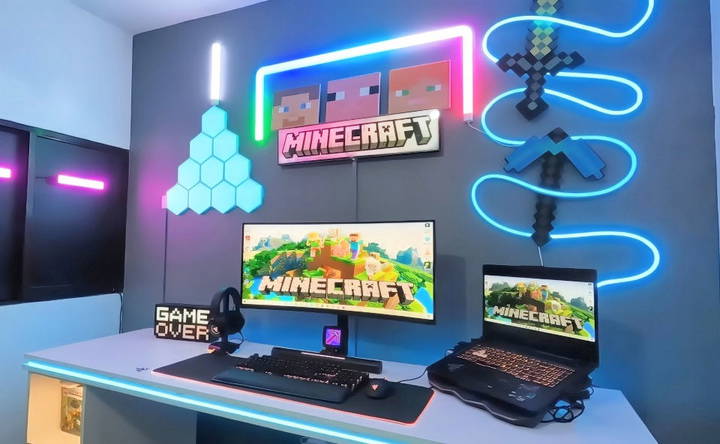
Lighting plays a significant role in making the right ambiance. I chose Govee products, known for their impressive features and compatibility with Razer Chroma, a leading RGB lighting system.
Setting Up RGB Lighting
RGB lighting became the heartbeat of the room's aesthetic:
- Strips & Panels: Installed RGB light strips along the desk edges and corners of the room. This brought a dynamic vibe and could be customized for different games.
- Razer Chroma Integration: This allowed us to sync the lighting effects with the games, making a fully immersive experience.
Step 5: Organization and Safety
Keeping the room tidy and ensuring all electric setups were safe was fundamental:
- Cable Management: Used ties and clips to prevent entanglement and maintain neatness.
- Storage Solutions: Installed shelves for gaming disks, controllers, and accessories, ensuring easy access and avoiding clutter.
Step 6: Adding Personal Touches
To make the room truly theirs, I added some personal touches:
- Customized Wall Art: We framed and hung art related to their favorite games.
- Collectibles Display: Dedicated a section to display action figures and memorabilia.
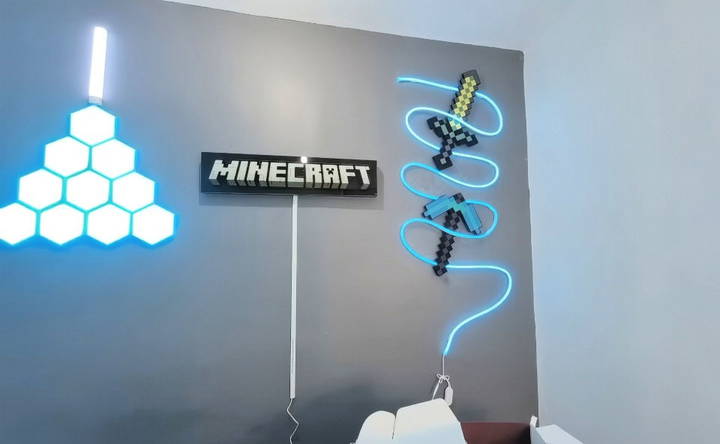
Step 7: Final Reveal and Reaction
After a week of hard work, the moment for the big reveal had arrived. I made sure every detail was perfect and asked my kids to close their eyes as I invited them into the room.
"Ready? One, two, three, open your eyes!" Watching their jaws drop and eyes widen was the moment that made every hour spent worthwhile. It wasn't just a room with flashy gadgets—the space radiated their personality and passions.
Tutorial Video Step-by-Step Guide
Safety and Maintenance
Making a safe and well-maintained gaming bedroom is crucial for your equipment's enjoyment and longevity. Here are some practical tips to ensure your gaming space remains safe and in top condition.
Electrical Safety Tips
- Proper Wiring: Ensure all electrical wiring is done correctly. Avoid overloading sockets with multiple devices. Use surge protectors to safeguard your equipment from power surges.
- Cable Management: Keep cables organized and out of the way to prevent tripping hazards. Use cable ties or clips to bundle cables together neatly.
- Ventilation: Make sure your gaming devices have proper ventilation. Overheating can damage your equipment and pose a fire risk. Keep vents clear and dust-free.
Regular Maintenance
- Cleaning: Regularly clean your gaming equipment to prevent dust buildup. Use a soft, dry cloth for screens and a can of compressed air for keyboards and consoles.
- Software Updates: Keep your gaming software and firmware up to date. Updates often include important security patches and performance improvements.
- Inspect Equipment: Periodically check your gaming gear for any signs of wear and tear. Replace damaged cables and peripherals to avoid potential hazards.
Ergonomics and Comfort
- Ergonomic Setup: Arrange your gaming setup to promote good posture. Use an ergonomic chair and position your monitor at eye level to reduce strain on your neck and back.
- Lighting: Ensure your gaming area is well-lit to reduce eye strain. Use adjustable lighting to make a comfortable environment.
- Breaks: Take regular breaks to stretch and rest your eyes. This helps prevent fatigue and long-term health issues.
Fire Safety
- Smoke Alarms: Install smoke alarms in your gaming room. Test them regularly to ensure they are functioning properly.
- Fire Extinguisher: Keep a fire extinguisher nearby. Make sure you know how to use it in case of an emergency.
- No Overheating: Avoid placing gaming consoles or PCs on soft surfaces like beds or carpets, as this can block ventilation and cause overheating.
Child Safety
- Secure Furniture: If the gaming room is used by children, ensure all furniture is secure and stable. Use wall anchors for heavy items like bookshelves.
- Age-Appropriate Games: Monitor the games being played to ensure they are age-appropriate. Set parental controls if necessary.
- Supervision: Keep an eye on younger children while they are gaming to ensure they are using the equipment safely.
Maintain your gaming bedroom for both safety and enjoyment with these tips. Regular care ensures a better gaming experience.
FAQs About DIY Boy Gaming Bedroom
Discover everything you need to know with our FAQs about DIY boy gaming bedroom for an ultimate gaming haven. Tips, ideas, and expert advice are included.
Maximizing space in a small bedroom can be challenging but achievable with these tips:
Use Multi-functional Furniture: Opt for a loft bed with a desk underneath or a bed with storage drawers.
Wall-Mounted Shelves: Utilize vertical space for storing games, controllers, and decor.
Compact Desk: Choose a desk that fits the room size but still provides enough space for gaming equipment.
Cable Management: Use cable organizers to keep wires tidy and out of the way.
Decorating a gaming bedroom on a budget can be fun and creative:
DIY Decor: Make your own posters or wall art using printouts of favorite game characters or scenes.
LED Strip Lights: Affordable and easy to install, they add a cool ambiance to the room.
Second-Hand Furniture: Look for used desks, chairs, and shelves that can be refurbished.
Themed Bedding: Purchase bedding sets that match the gaming theme.
An ergonomic setup is essential for comfort and health:
Adjustable Chair: Invest in a chair with adjustable height, lumbar support, and armrests.
Monitor Position: The top of the monitor should be at or slightly below eye level to avoid neck strain.
Desk Height: Ensure the desk height allows for a comfortable arm position, with elbows at a 90-degree angle.
Footrest: Use a footrest if the chair height doesn’t allow feet to rest flat on the floor.
Safety is important to prevent accidents and ensure a healthy environment:
Proper Ventilation: Ensure the room is well-ventilated to prevent overheating of gaming equipment.
Surge Protectors: Use surge protectors to safeguard electronic devices from power surges.
Secure Furniture: Anchor heavy furniture to the wall to prevent tipping.
Regular Breaks: Encourage taking breaks to avoid eye strain and maintain overall health.
Incorporating a theme can make the gaming bedroom more exciting and personalized:
Choose a Favorite Game or Genre: Base the theme on a favorite game, series, or genre like sci-fi, fantasy, or sports.
Themed Decor: Use posters, wall decals, and bedding that match the chosen theme.
Color Scheme: Select colors that reflect the theme, such as neon colors for a futuristic look or earthy tones for a fantasy theme.
Accessories: Add themed accessories like figurines, lamps, and rugs to enhance the overall look.
Smart Home Integration
Finally, integrating the latest tech, I set up voice commands using Alexa. Simple prompts like "Activate Minecraft gaming room" could change the lighting and sound settings, adding another layer of excitement.
Making this dream DIY boy gaming bedroom wasn't just about assembling gear; it was about sharing an experience with my kids, investing time, creativity, and effort. For anyone looking to embark on a similar project, the key is understanding your kids' dreams, planning with precision, choosing the right materials, and focusing on keeping the environment engaging but organized.
Remember, it isn't about how much you spend but how much heart you put into making something special for your loved ones. The gaming room became a place of joy, creativity, and countless memories about to be made.
This project not only transformed a room but also fostered a deeper connection between me and my kids, driven by our shared love for gaming.


