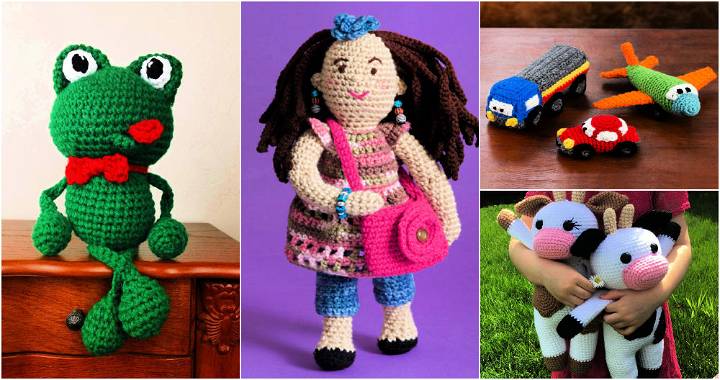
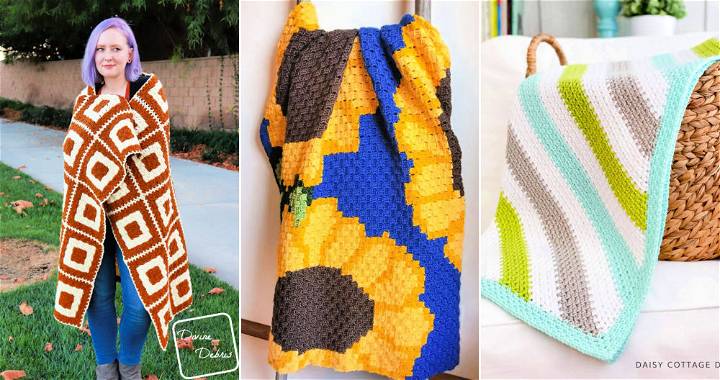
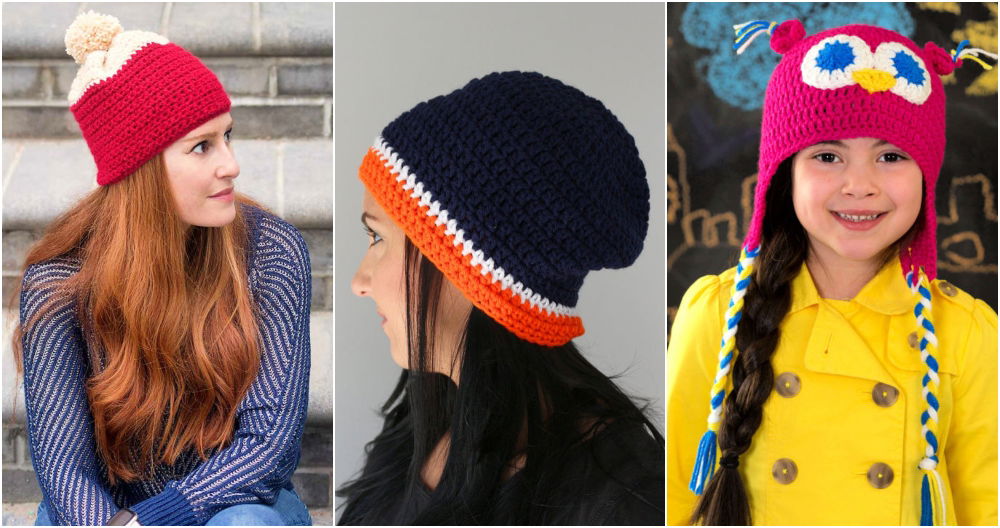
Starting crochet was exciting for me. I remember the first time I learned the bobble stitch. The texture and look of the finished piece were amazing. I had a cozy blanket pattern that needed bobble stitches. It seemed hard at first, but with practice, I became better. I'm writing this to help you master the bobble stitch crochet skill.
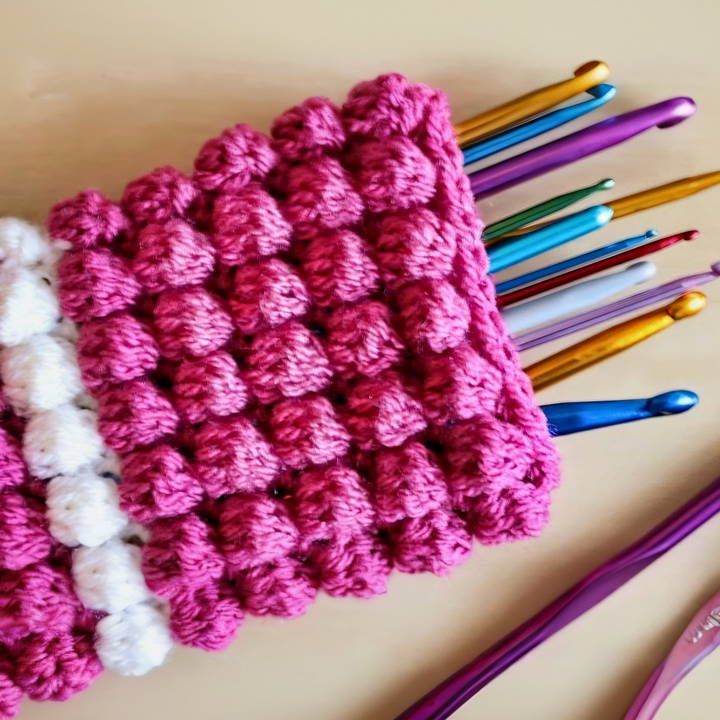
You can make beautiful items once you know the basics of bobble stitch. Take it step by step, and don't rush. Follow the instructions carefully and practice often. This guide will provide the needed skills to create great crochet projects.
These tips will surely help you. Read on and start your crochet journey with bobble stitch!
Materials Needed:
- Yarn (Bella uses Stylecraft Special DK in Raspberry)
- 5mm crochet hook
- Scissors
- Darning needle
Step by Step Instructions
Learn how to crochet bobble stitch with our easy, step-by-step instructions. Perfect for beginners and experts looking to enhance their projects!
Step 1: Start with a Slipknot
Begin by making a slipknot on your hook. Use whichever method is most comfortable for you.
Step 2: Create a Foundation Chain
Chain an odd number of stitches, then add one more chain for turning. For an iPad cover, chain 26 (25 + 1 for turning). Lay out your chain to measure your project's width.
Step 3: Double Crochet (UK) or Single Crochet (US) Back Along the Chain
Skip the first chain and work a double crochet (single crochet if you're in the US) into the second chain. Continue along the chain.
Step 4: Start the Bobble Pattern
After finishing the row of double crochets, chain three and turn your work. This marks the beginning of the bobble pattern.
Step 5: Crochet Your First Bobble
Work right into the stitch at the bottom of the chain three you just made. Yarn over, insert your hook, and pull through. You should have three loops on your hook. Yarn over and pull through two loops. Repeat this until you have five incomplete trebles (double crochets in US terms), leaving you with six loops on your hook. Yarn over and pull through all loops, then double-crochet in the next stitch.
Repeat this process along the row, ensuring each bobble has five trebles combined, leaving six loops on your hook before pulling through.
Step 6: Alternate with Flat Rows
After completing a row of bobbles, chain one and turn your work. Work a row of double crochets by inserting your hook into the top of the bobbles and between them. This flat row will set the foundation for the next row of bobbles.
Step 7: Repeat the Bobble Pattern
Continue repeating the bobble row and then the flat row until you reach the desired size of your project.
Changing Colors
To add more colors, simply tie off your yarn at the end of a row and attach a new color by tying it to the last stitch. Continue with the bobble pattern.
Finishing Off
Once you've reached the final size, cut off your yarn, leaving a long enough piece to weave in with a darning needle. Weave in all ends to finish your project.
Video Tutorial
For a step-by-step video tutorial, watch Bella Coco's video at https://www.youtube.com/watch?v=GpV3SRogDPs.
Variations of the Bobble Stitch
The Bobble Stitch is a versatile and textured stitch that adds a pop of dimension to any crochet project. While the classic bobble stitch is well-loved, there are several variations you can try to add uniqueness to your work. Here's how you can mix it up:
The Basic Bobble Stitch
Before we dive into variations, let's quickly recap the basic bobble stitch. It's created by working multiple double crochets into the same stitch and then joining them at the top. This forms a ‘bobble' or puff that stands out from the fabric.
Single Crochet Bobble
This variation involves a single crochet base. Instead of double crochets, you'll use single crochets to form the bobble. It creates a smaller, subtler texture that's perfect for delicate projects.
Treble Crochet Bobble
For a larger and more pronounced bobble, use treble crochets. This makes the bobbles more prominent and is ideal for making a statement in your design.
Color-Change Bobble
Add a splash of color by changing yarns just before you complete your bobble stitch. This creates a multi-colored bobble that can add a fun twist to any pattern.
Cluster Bobble
The cluster bobble is made by partially completing several stitches and then yarning over and pulling through all the loops on the hook. This creates a tight cluster that resembles a bobble but with a different texture.
Bean Stitch Bobble
This variation combines the bean stitch with the bobble technique. You'll insert the hook into the same stitch several times, pulling up loops before yarning over and pulling through all the loops. It's a denser, bean-like bobble.
Puff Stitch Bobble
Similar to the bean stitch bobble, the puff stitch bobble is softer and has a more rounded shape. It's created by yarning over and pulling up loops to a height before finishing the stitch.
Practice is key to mastering these variations. Start with a swatch to understand each before using them in projects. These techniques will add texture and interest, making your crochet original and eye-catching.
Advanced Techniques in Crochet
When you've mastered the basics of crochet, it's time to elevate your craft with some advanced techniques. These methods will challenge your skills and allow you to create intricate and beautiful designs. Here's a guide to some sophisticated crochet techniques:
Working with Fine Threads
Fine threads can be daunting due to their delicate nature, but they allow for exquisite detail in your work. Use a smaller hook and practice maintaining an even tension for best results.
Intricate Lace Patterns
Lace patterns require precision and patience. They often involve complex stitch combinations and numerous yarnovers. Start with a simple lace pattern and gradually work up to more elaborate designs.
Overlay Crochet
This technique involves crocheting on top of existing stitches to create a multi-dimensional effect. It's perfect for adding decorative details or creating a textured surface.
Tunisian Crochet
Also known as Afghan crochet, this method uses a longer hook and combines elements of knitting and crochet. It creates a dense and sturdy fabric, ideal for blankets and garments.
Filet Crochet
Filet crochet creates patterns using open and filled squares formed by chain stitches and double crochets. It's often used for making delicate and airy pieces like curtains and tablecloths.
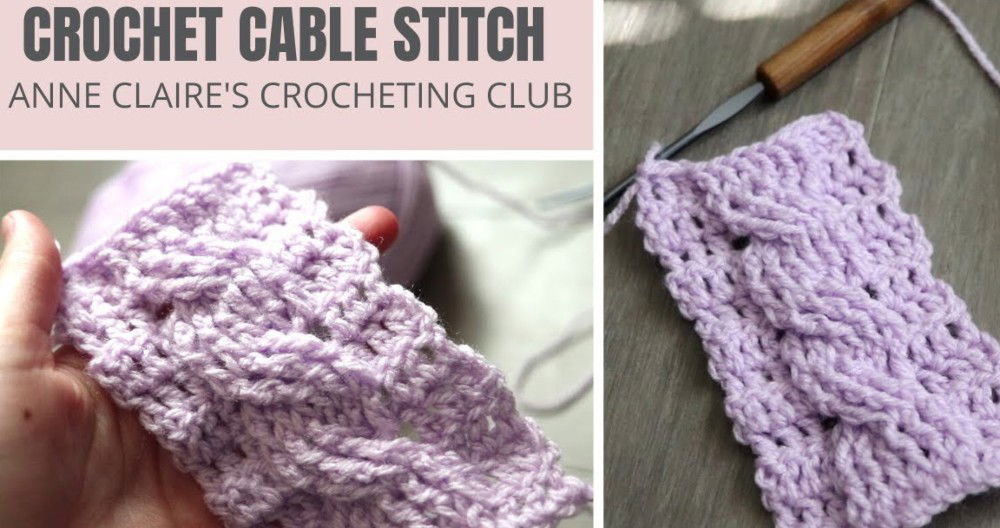
Crochet Cables
Just like in knitting, cables in crochet add texture and visual interest. They are formed by crocheting stitches out of order to create twists and turns.
Broomstick Lace
This vintage technique uses a large knitting needle or dowel to create large, looped stitches. The result is a lace-like fabric with a unique, airy feel.
Irish Crochet
Irish crochet is known for its intricate motifs and fine, thread-like appearance. It often features floral and leaf patterns connected by a mesh background.
Amigurumi
Amigurumi is the Japanese art of crocheting small, stuffed yarn creatures. The key is to work in a spiral and use a stitch marker to keep track of rounds.
Crochet Beading
Incorporate beads into your crochet for added sparkle and texture. Pre-string the beads onto your thread before you begin, and crochet them into your work as you go.
Learning these techniques takes time but will expand your crochet skills. Try new patterns and experiment with yarns and hooks.
Troubleshooting Common Mistakes in Crochet Bobble Stitch
Crocheting the bobble stitch can sometimes be tricky, and it's common to encounter a few hiccups along the way. Here's a helpful guide to troubleshoot common mistakes and ensure your bobbles look their best:
Bobbles Aren't Popping
If your bobbles aren't standing out:
- Check your tension: Make sure you're not pulling your yarn too tight after completing a bobble. A looser tension allows the bobble to pop.
- Use the right yarn: Some yarns don't show stitch definition well. A smooth, plied yarn can make your bobbles more pronounced.
Bobbles Are Too Tight or Too Loose
- Consistent yarn tension is key. Practice maintaining the same grip and pull on your yarn for each stitch.
- Count your yarn overs: Ensure you're making the same number of yarn overs for each bobble.
Bobbles Are Misshapen
- Even stitches: Make sure all the stitches within your bobble are the same height.
- Placement: Double-check that you're placing your bobbles in the correct stitch to maintain the pattern.
Difficulty Working the Stitch After a Bobble
- Space it out: After completing a bobble, the next stitch can be tight. Gently pull the fabric to loosen the space before inserting your hook.
- Use a stitch marker: If you're losing your place, a stitch marker can help you identify where to insert your hook after a bobble.
Bobbles Are Pulling the Fabric
- Balanced fabric: If your fabric is puckering, try going up a hook size for the stitches immediately before and after the bobble.
- Block your work: Wet blocking can help even out the tension and make your bobbles lay flat.
By keeping these tips in mind, you can avoid common pitfalls and create beautiful, even bobbles in your crochet projects.
FAQs About Free Bobble Stitch Crochet Pattern
Find answers to common questions about free bobble stitch crochet patterns. Learn tips and techniques, and get started on your crochet project today!
The crochet bobble stitch is a textured, 3D effect stitch that adds a pop of dimension to your crochet work. It’s created by working a cluster of incomplete stitches into the same stitch, then completing them together to form a ‘bobble’. This technique is great for adding decorative elements or unique textures to projects like blankets, hats, and more.
To make a bobble stitch, you’ll typically work 3-5 incomplete double crochets (or another stitch, depending on the pattern) into the same stitch. Then, yarn over and pull through all the loops on your hook to complete the bobble. It’s important to work from the wrong side so the bobble pops out on the right side.
Bobble stitching is considered an easy skill level. It’s constructed from basic crochet stitches like the chain stitch, single crochet, and double crochet. With practice, even beginners can master this stitch.
Yes, the bobble stitch can be worked in both rounds and rows. When working in rounds, ensure that your bobbles are facing the right side. For rows, bobbles typically work on the wrong side, so they pop out on the right side when the fabric is turned.
Bobble stitch is versatile and can be used for a wide range of projects. It's particularly popular in making textured blankets, cozy beanies, amigurumi toys, and decorative motifs. The stitch adds a playful, tactile element to any crochet item.
Conclusion
In conclusion, learning the bobble stitch crochet offers a fun and rewarding experience. Let's get started, and happy crocheting!


