Are you ready to keep your kids entertained with a fun and creative activity? With this easy moon sand recipe for kids, you can make a playful and enjoyable substance right at home. Moon sand is a great way to encourage sensory play and imagination. It's simple to make and only requires a few ingredients that you probably already have in your kitchen.
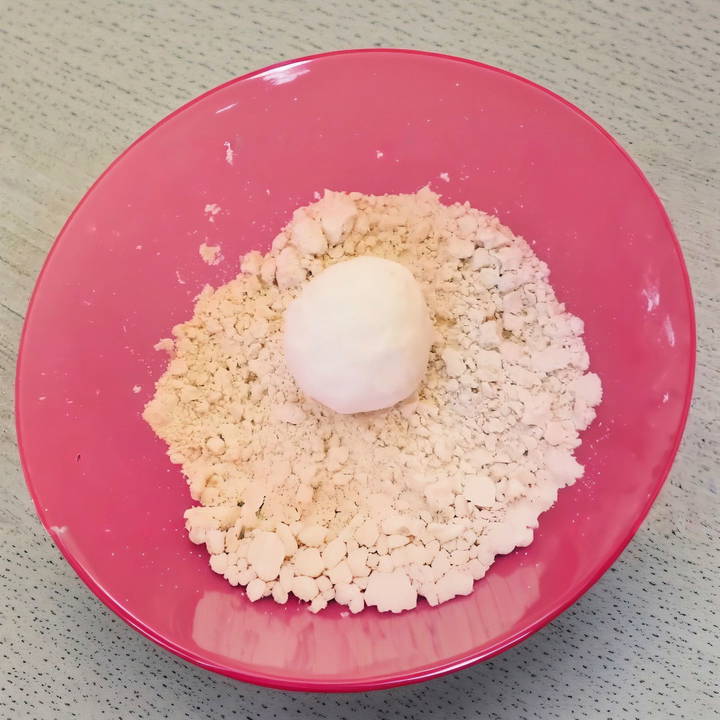
Discover the magical fun of an easy moon sand recipe for kids below with this simple DIY project that brings creativity to life.
What You Need
Here are the materials you need to make your DIY moon sand:
- Flour: 4 cups. This forms the base of your moon sand.
- Baby Oil: 1 cup. This adds the smooth, moldable texture to the sand. Any variation will work, whether it's aloe or regular.
- Bowl: For mixing everything together.
- Measuring Utensils: To ensure you use the right quantities.
- Pastry Mixer or a Spoon: To combine the ingredients thoroughly.
Each material plays a critical role in giving your moon sand its unique texture and playability.
Step by Step Instructions
Make DIY moon sand with our easy step-by-step guide. From measuring ingredients to enjoying its therapeutic benefits, find tips and cleanup steps here!
Step 1: Measure the Flour
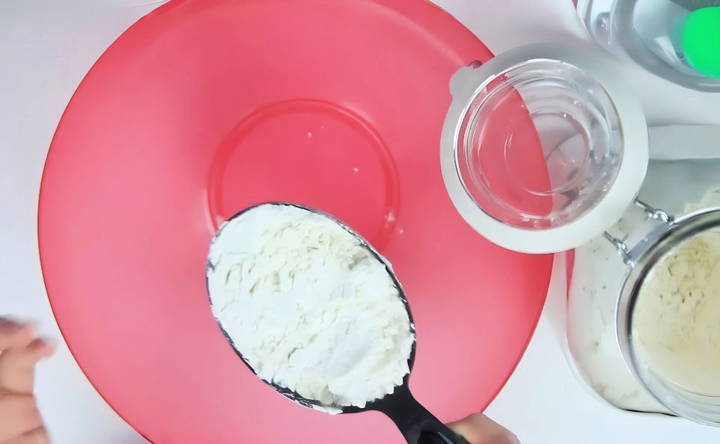
The first step in making your moon sand is to measure out 4 cups of flour. Flour is the main ingredient, giving the sand its bulk and texture.
- Take your bowl and measuring cup.
- Scoop flour till you've got exactly 4 cups.
- Pour the flour into your bowl.
Step 2: Measure the Baby Oil
Next, you need to measure out your baby oil. Baby oil is what makes the flour moldable and gives it that kinetic sand-like quality.
- Measure 1 cup of baby oil. The type doesn't matter; either aloe or regular baby oil will work just fine.
- If your measuring cup is dirty, like mine was, you can use a smaller measuring cup and measure out multiple times until you achieve 1 cup.
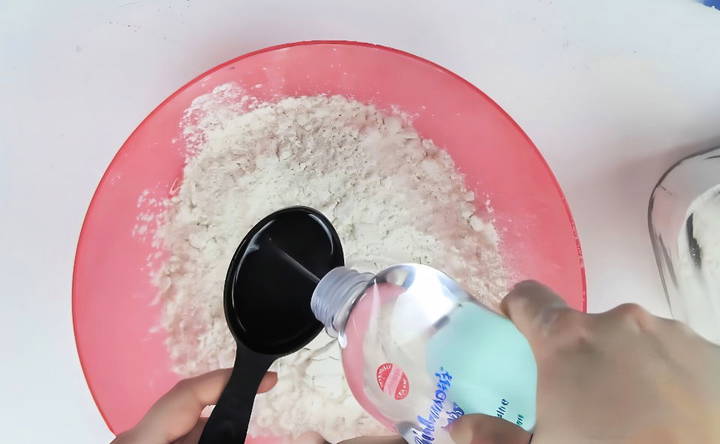
Step 3: Combine Ingredients
Now it's time to mix everything together.
- Pour the baby oil into the flour.
- Use a pastry mixer or a spoon to thoroughly mix the two ingredients until well combined.
At this stage, the mixture should have a crumbly and soft texture. You should be able to squish it in your hands and mold it into different shapes.
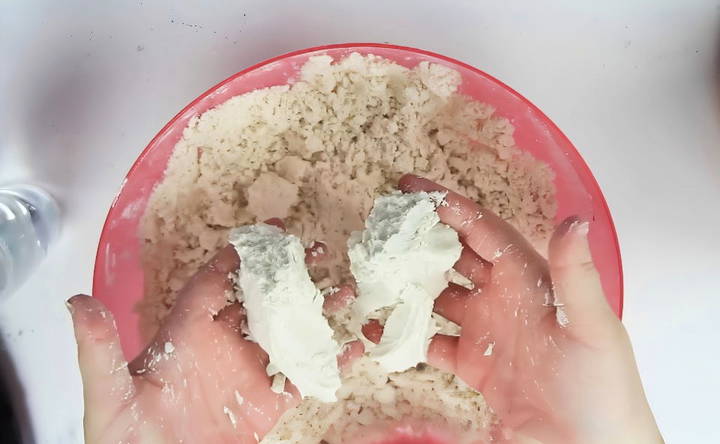
Step 4: Play and Enjoy!
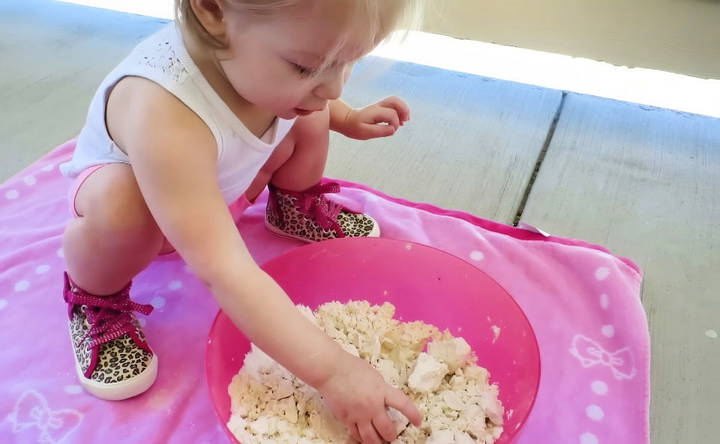
And that's it! Your moon sand is ready to be played with. It's such a fun activity for kids, but trust me—adults will find it equally entertaining and therapeutic.
The Therapeutic Benefits of Moon Sand
Playing with moon sand isn't just about having fun. It also has excellent therapeutic benefits:
- Sensory Engagement: The soft, moldable texture of moon sand can engage kids' senses and help them focus.
- Stress Relief: Adults can find it soothing to squish and mold the sand, providing a great stress-relief activity.
- Creativity Boost: Kids can use their imagination to make various shapes and structures, boosting their creativity.
Cleanup and Storage
One of the best things about homemade moon sand is that it's easy to clean up and store.
- After playing, simply collect the sand and put it in an airtight container.
- It can be stored for several weeks, and you can always revive it by adding a little more baby oil if it dries out.
Tips and Tricks
To make sure you get the best possible experience with your moon sand, here are a few additional tips:
- Mix Well: Ensure you thoroughly mix the flour and baby oil for the best texture.
- Keep It Clean: Store it in airtight containers to keep it clean and soft.
- Variation: Feel free to add a bit of food coloring if you want colored moon sand. Just mix the coloring with the baby oil before combining it with the flour.
Creative Uses and Projects for DIY Moon Sand
Moon sand is not just a fun sensory material for children to play with; it can also be used in a variety of creative projects that are both enjoyable and educational. Here are some innovative ways to use DIY moon sand:
Artistic Creations
Moon sand can be molded into different shapes and structures, making it an excellent medium for sculpting. Encourage children to make their own sculptures, whether they're abstract forms or representations of their favorite animals. This activity not only sparks creativity but also enhances fine motor skills.
Learning Tools
Use moon sand to teach basic concepts such as letters, numbers, and shapes. Pressing cookie cutters into the sand can make learning these new concepts a tactile and visual experience, which can be particularly helpful for kinesthetic learners.
Themed Play
Make themed playsets with moon sand by adding props and figures. For example, a dinosaur-themed set could include small toy dinosaurs, while a fairy garden set might have miniature plants and fairy figures. This encourages imaginative play and storytelling.
Sensory Bins
Combine moon sand with other sensory elements like water beads, pebbles, or dry beans to make a multi-textured sensory bin. This can provide a calming experience for children and is especially beneficial for those with sensory processing challenges.
Educational Games
Incorporate moon sand into educational games. For instance, hide small objects in the sand for a treasure hunt game that can help with object recognition and vocabulary building.
Seasonal Crafts
Use moon sand to celebrate different seasons and holidays. Make seasonal landscapes, such as a snowy winter scene or a beach scene with an ocean and sandcastles, to discuss weather patterns and seasonal changes.
Group Projects
Moon sand can be a great material for group projects. Have children work together to build a large structure or scene, which promotes teamwork and cooperative play.
Homemade Gifts
Encourage children to make moon sand creations as gifts. They can sculpt and paint them, then let them dry to make unique presents for family and friends.
Moon sand is a versatile material for art, education, and gifts. Always supervise children for safety and fun.
FAQs About DIY Moon Sand
Discover everything you need to know about DIY moon sand with our FAQs. Get tips, recipes, and troubleshooting advice for making your own moon sand at home!
Moon sand is a type of play sand that’s soft, moldable, and fun for sensory play. It’s known for its ability to hold shapes when pressed or squeezed, yet crumbles back into sand easily. This makes it perfect for creative play and exploration.
While moon sand is not intended for consumption, using vegetable oil in the recipe can make it taste-safe for children who might be inclined to explore with their mouths. However, if you use baby oil, the moon sand will not be taste-safe.
Yes, you can color moon sand by adding a few drops of gel or powdered food coloring to the oil before mixing it with the flour. This will give you colored sand that can enhance the sensory play experience.
Store moon sand in an airtight container or Ziploc bag to keep it fresh. Properly stored, it can last for 2 weeks to a month. If the sand starts to look dirty or has an off smell, it's time to dispose of it and make a new batch.
If you're looking for a gluten-free alternative to flour for moon sand, you can use cornstarch or rice flour in equal proportions. Mix the cornstarch or rice flour with oil using the same 8:1 ratio. This alternative provides a similar texture and moldability while being safe for those with wheat allergies.
Conclusion
So there you have it, an incredibly simple yet fun project you can whip up in no time! This moon sand recipe offers an engaging sensory activity for children and a relaxing escape for adults. It's perfect for babysitters, parents, or anyone looking for a fun, therapeutic activity.


