Making my own natural shampoo was a journey that began out of necessity. Faced with recurring scalp irritations from store-bought shampoos filled with harsh chemicals, I decided it was time to take matters into my own hands. My objective was clear: to concoct a gentle yet effective shampoo using only natural ingredients. Here’s how I did it, broken down into detailed steps, so you can do it too.
Step by Step Instructions
Discover the step-by-step instructions for making DIY products: gather materials, prepare the mixture, and learn usage/storage tips from personal experience.
Step 1: Gathering the Materials
To kick off this DIY adventure, first, gather all the necessary materials. You will need:
- Coconut milk: This serves as the base of the shampoo. Coconut milk is rich in fats, making it perfect for moisturizing and nurturing your hair.
- Castile soap: This natural, vegetable-based soap acts as the cleansing agent. It’s gentle on the scalp and doesn’t strip the hair of its natural oils.
- Essential oils of your choice: These not only add a pleasant fragrance but also provide various benefits to the hair. For example, tea tree oil is great for tackling dandruff, while lavender oil can help promote hair growth.
- Vitamin E oil (optional): A great antioxidant that can help extend the shelf life of your shampoo and nourish your scalp and hair.
- A storage bottle: A squeeze bottle or an old shampoo bottle is perfect for storing your DIY shampoo.
- Measuring cups and spoons
- A mixing bowl
Step 2: Preparing the Mixture
Making this shampoo is surprisingly simple. Here’s what I did:
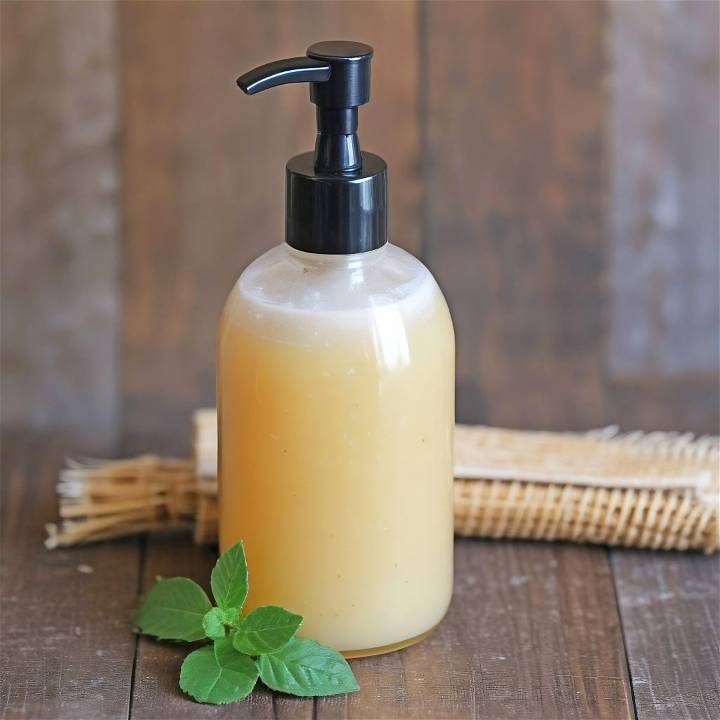
- Measured the ingredients: I used * ½ cup of coconut milk, ⅔ cup of Castile soap, 2 teaspoons of Vitamin E oil (you can skip this if you don’t have it), and 20 drops of essential oils. My personal blend is lavender and rosemary for hair growth and scalp health.
- Mixed everything together: In the mixing bowl, I combined all the measured ingredients. It’s important to mix gently to prevent the Castile soap from foaming up too much.
- Transferred to the storage bottle: Once everything was well mixed, I carefully poured the mixture into my storage bottle. A funnel comes in handy here to avoid any spills.
Step 3: Usage and Storage
Using the shampoo is straightforward – just like any other shampoo, but there are a few things to keep in mind:
- Shake well before each use: The ingredients can separate over time, so it’s essential to give it a good shake before application.
- Use sparingly: Natural shampoos don’t lather as much as commercial ones, but that doesn’t mean they’re not working. A small amount goes a long way.
- Storage: Since this shampoo lacks preservatives, it’s best to store it in the refrigerator if you’re not using it up within a week. It can last up to a month when kept cool.
My Personal Experience and Tips
After using my DIY natural shampoo for several months, I noticed a significant improvement in both my scalp health and hair texture. Here are a few tips based on my experience:
- Experiment with different essential oils: Depending on your hair and scalp needs, feel free to adjust the blend of essential oils. Peppermint can be refreshing and stimulating for the scalp, while chamomile is soothing.
- Adjust the coconut milk: If you find the shampoo too moisturizing or if it weighs down your hair, you can reduce the amount of coconut milk or increase the Castile soap slightly for a lighter formula.
- Be patient: Natural shampoos might take some getting used to. Your hair might go through an adjustment period, but the long-term benefits are worth it.
Ingredient Spotlight: The Power of Natural Elements in DIY Shampoo
When crafting a DIY shampoo, the selection of ingredients is not just about what cleans your hair, but also about nourishing it and maintaining a healthy scalp. Let’s dive into some key ingredients that are both effective and beneficial for your hair care routine.
Aloe Vera
Known for its soothing properties, aloe vera is a fantastic ingredient for DIY shampoos. It helps to moisturize the scalp, reduce dandruff, and promote hair growth. You can extract the gel directly from the plant or purchase pure aloe vera gel.
Coconut Oil
A staple in many natural beauty products, coconut oil is excellent for strengthening hair and adding shine. It’s rich in fatty acids that penetrate the hair more deeply than regular conditioners, leading to less protein loss from the hair.
Honey
This natural humectant attracts moisture, making it a perfect addition to your shampoo for added hydration. Honey also has antibacterial properties, which can help to keep your scalp healthy and free from infection.
Castile Soap
As a gentle and natural soap, Castile soap is a great base for your DIY shampoo. It cleans without stripping away natural oils, ensuring your hair remains soft and manageable.
Essential Oils
Depending on your hair needs, you can add various essential oils for their therapeutic properties. For example, tea tree oil is great for its antifungal benefits, helping to combat dandruff, while lavender oil can promote relaxation and hair growth.
Apple Cider Vinegar
While not an ingredient you’d leave in your hair, rinsing with apple cider vinegar after washing can help to balance the pH of your scalp and hair, making your hair smoother and easier to detangle.
When making DIY shampoo, consider your hair type and needs. Natural ingredients are effective and environmentally friendly. Going DIY is a sustainable choice for personalized hair care. Enjoy making something beneficial for your hair!
Comparison With Commercial Products: DIY Shampoo vs. Store-Bought
When it comes to hair care, the debate between DIY (Do-It-Yourself) shampoos and commercially available products is ongoing. Understanding the differences can help you make an informed decision about what’s best for your hair.
Ingredients
DIY shampoos often use natural ingredients that you may already have in your kitchen or garden. These can include aloe vera, coconut oil, and essential oils. Commercial shampoos, on the other hand, often contain a mix of synthetic and natural ingredients, including preservatives and fragrances that increase shelf life and consumer appeal.
Cost-Effectiveness
Making your own shampoo can be more cost-effective in the long run. Although the initial purchase of some natural ingredients might seem high, they can be used to make multiple batches, reducing the cost per use.
Customization
One of the biggest advantages of DIY shampoo is the ability to customize the formula to suit your specific hair type and needs. Commercial products are generally one-size-fits-all, although they do offer a range of options for different hair concerns.
Environmental Impact
DIY shampoos contribute to less environmental waste, as they can be made in reusable containers and don’t require the plastic packaging that commercial products do. Additionally, homemade shampoos often avoid the use of chemicals that can be harmful to the environment when washed down the drain.
Convenience
Store-bought shampoos win in terms of convenience. They are readily available and require no preparation time. For those with a busy lifestyle, this can be a significant advantage.
Safety and Allergies
With DIY shampoos, you know exactly what’s going into your product, which is crucial for those with sensitive skin or allergies. Commercial shampoos can contain allergens or irritants, but they also undergo rigorous safety testing to meet industry standards.
Efficacy
Commercial shampoos are formulated by scientists and contain ingredients specifically designed to clean hair and scalp effectively. While DIY shampoos can be effective, finding the right combination of ingredients for optimal results can require some experimentation.
Both DIY and commercial shampoos have pros and cons. Choose based on your preferences, hair needs, and lifestyle for clean, healthy, vibrant hair.
FAQs About DIY Shampoo
Discover all the answers to your FAQs About DIY Shampoo in this comprehensive guide. Learn how to make your own natural shampoo at home.
What are the benefits of making my own shampoo?
Making your own shampoo allows you to control the ingredients, avoiding harsh chemicals often found in commercial products. It can be more cost-effective and environmentally friendly, as you can use natural, biodegradable substances and reduce packaging waste.
How do I start making DIY shampoo?
Begin with a simple recipe using distilled water, liquid castile soap, and a light vegetable oil like jojoba or grapeseed. You can customize it further with essential oils or other natural ingredients based on your hair type and preferences.
Can homemade shampoo improve hair health?
While there’s no extensive clinical research, many people report that DIY shampoos can lead to healthier hair. They often contain higher concentrations of nourishing ingredients and lack the synthetic additives that might strip hair of its natural oils.
What’s a basic recipe for a DIY shampoo bar?
A shampoo bar is a solid alternative to liquid shampoo. A basic recipe might include castile melt-and-pour soap, olive oil, essential oils, and other natural ingredients like black molasses. These bars are convenient for travel and reduce plastic use.
Are there any concerns with using DIY shampoo?
The main concern is ensuring the correct balance of ingredients. Homemade shampoos haven’t undergone the rigorous testing that commercial products have, so it’s important to research and follow recipes carefully to avoid any potential harm to your hair or scalp.
How can I make a shampoo for specific hair needs?
You can tailor your DIY shampoo to address issues like dandruff or to promote hair growth. For dandruff, consider adding ingredients with antifungal properties like tea tree oil. For hair growth, ingredients like rosemary essential oil may be beneficial.
Remember, while DIY shampoos can be a fun and healthy alternative to store-bought options, it’s important to do thorough research and patch-test any new recipe to ensure it’s suitable for your hair and scalp.
Conclusion
Making my own natural shampoo has been a rewarding experience. Not only do I have full control over what goes into it, ensuring it’s gentle and free from harsh chemicals, but I also enjoy the process of making something beneficial for my health. I encourage you to try making your own natural shampoo. It’s a small step toward a cleaner, greener, and healthier lifestyle.


