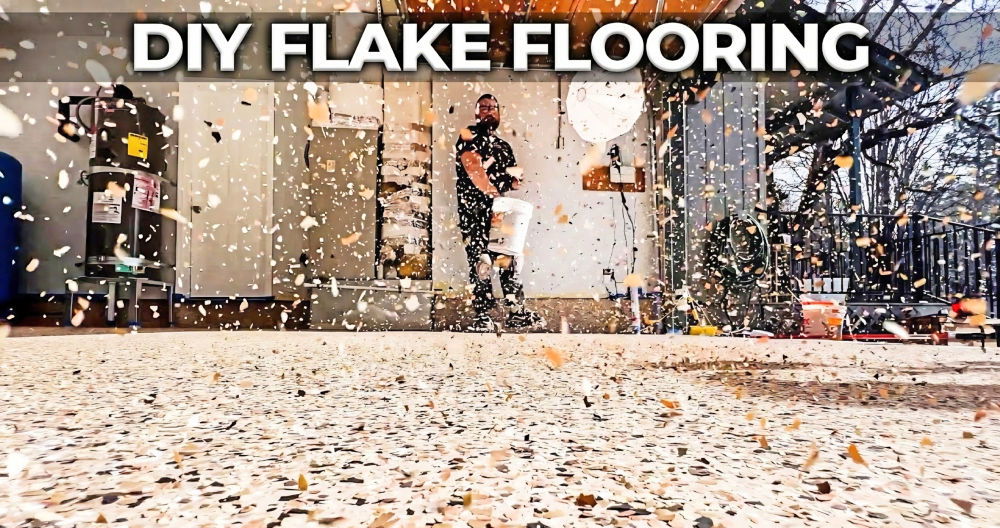
Learn how to polish concrete floors flawlessly with our step-by-step guide. Polishing concrete floors can transform dull surfaces into shiny, beautiful ones. I remember the first time I decided to try this in my garage. The concrete looked old and worn, and I knew it needed a change. I gathered some simple tools like a grinder and polishing pads. Step by step, as I worked, I could see the floor shine beneath the dust and scratches. It felt rewarding to see my efforts pay off.
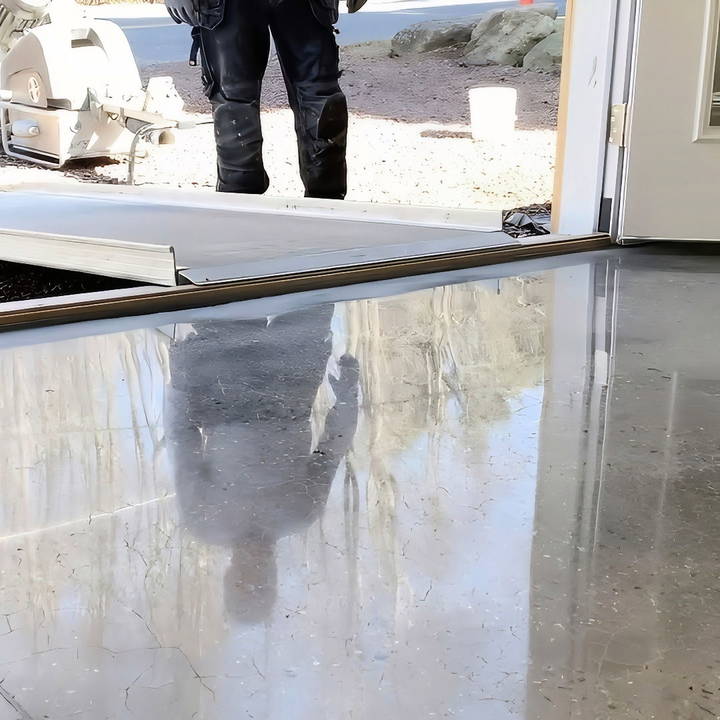
After I finished polishing, the room felt brighter and more inviting. I learned a lot about the process along the way, like the importance of using the right grit pads for different stages. I encourage everyone to give polishing a try; it really does make a difference. If you follow this simple guide, you'll enjoy stunning results. I'm here to help you discover how exciting this project can be!
Getting Started: Prepare for the Project
Preparation is key to any successful project, and concrete polishing is no exception. The first thing you need to do is gather all your necessary materials and tools. Here's what you'll need and why each is crucial:
- Concrete Grinder: This is your primary tool for the job. You'll use it for multiple grinding steps to refine the concrete surface progressively.
- Diamond Blades: Essential for grinding and polishing, these come in various grit levels from coarse to fine. They are crucial for achieving a smooth finish.
- Vacuum System: Invest in a powerful vacuum system to keep your workspace dust-free. Dust can be a significant nuisance and health hazard.
- Generator: If your work area is remote or lacks adequate power sources, a generator will be essential to power your equipment.
- Joint Filler: This helps in repairing any cracks or joints, ensuring a seamless, polished surface.
- Water Source: To cool the diamond blades during grinding and prevent them from overheating.
- Protective Gear: Safety goggles, dust masks, and gloves are non-negotiables for safety during the entire process.
Once you have your materials ready, it's time to start the step-by-step process of concrete polishing.
Step by Step Instructions
Learn how to polish a concrete floor with our step-by-step guide, from setting up your workspace to final polishing. Perfect for a smooth, durable finish!
Step 1: Set Up Your Workspace
Before diving into grinding, it's important to set up your workspace efficiently. Ensure that you have all your tools within reach and that your safety gear is on. If you're working in a tight space like I did, organize your equipment strategically to avoid clutter.
Step 2: Assess the Concrete Surface
Take a close look at the concrete to understand its condition. Is it smooth or does it have visible cracks? This assessment will shape the rest of your process. For our project in Elverson, Pennsylvania, the surface was particularly hard, which required a specific combination of diamond blades.
Step 3: Clean the Joints and Cracks
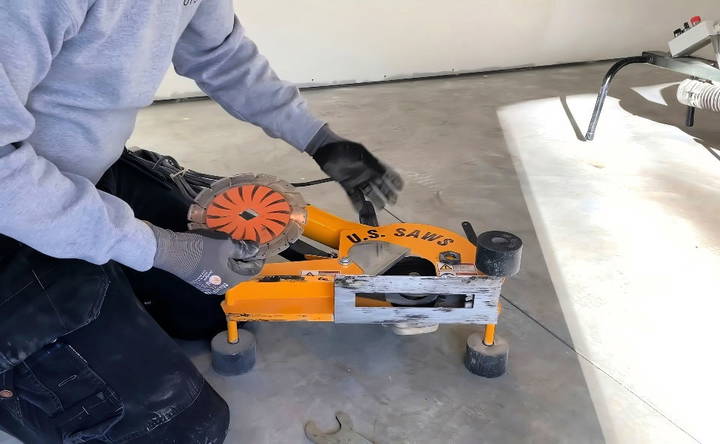
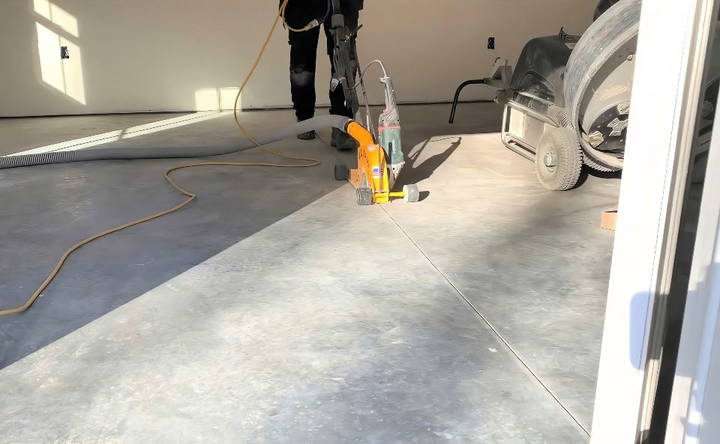
Using a saw with a diamond blade attached to a vacuum, clean the cracks and joints thoroughly. This ensures that when you fill these with joint filler, there's no debris blocking the way. For this, I used a tiger tooth blade, known for its effectiveness in dustless cuts.
Step 4: Fill the Joints
Next, apply a polyurea joint filler with an electric gun. This step is crucial as it prepares the floor for a seamless grinding experience. Overfill slightly and then use a scraper to even out the surface.
Step 5: Begin the Grinding Process
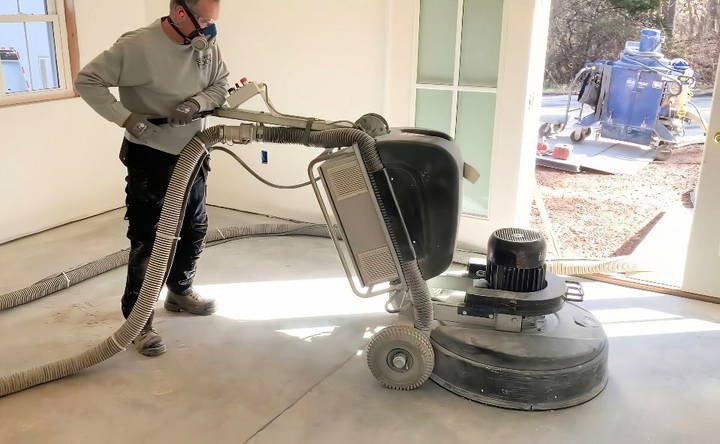
Start with a 40 grit diamond to begin grinding the surface. This is often the most labor-intensive step and requires patience. Monitor the grinder's progress closely to avoid cutting too deep and exposing too much aggregate.
Step 6: Progressively Use Finer Diamonds
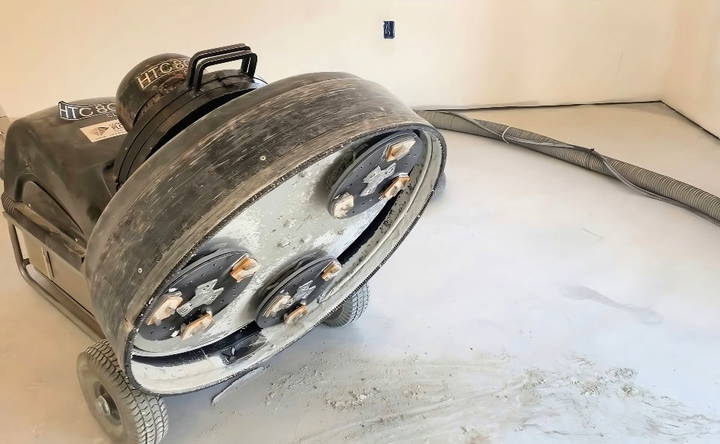
Move up to finer grits, like 80 grit and 150 grit. With each pass, you'll notice the surface becoming smoother. In my experience, this is where the magic begins—each progressive grind brings the floor closer to its polished potential.
Step 7: Cool the Blades
Concrete grinding generates immense heat. During the process, keep your blades cool by pouring water ahead of the grinder. This prevents the blades from glazing over and losing efficiency.
Step 8: Switch to Resin Bonds
After completing the metal grit stages, transition to resin bond diamonds. Start with a 100 grit resin bond before moving to 200 grit and 400 grit. Resin bonds are softer and allow for a finer, polished finish.
Step 9: Apply Concrete Densifier
Once you're done with resin bonds, apply a densifier to harden the concrete surface. This not only adds durability but also enhances the shine of the polished floor.
Step 10: Final Polishing and Burnishing
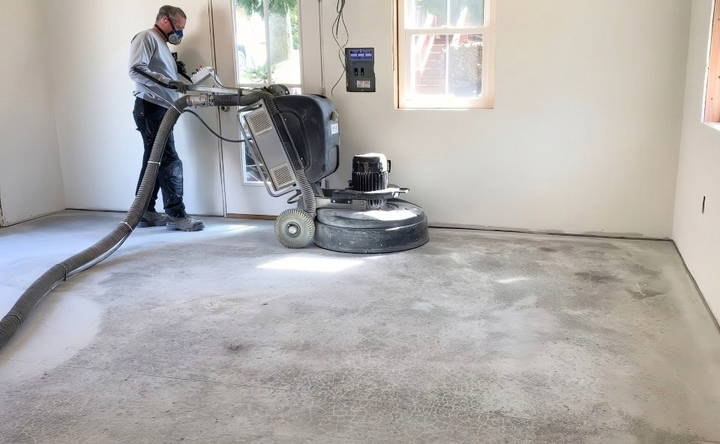
Use an 800 grit diamond impregnated pad for the final polish. This is where the floor's reflectivity shines beautifully. Finish with a high-speed burnisher to seal and enhance the glossy finish.
Challenges and Solutions
During our project, we faced a common issue: stone exposure was more pronounced than expected. Rather than stepping back, adjust your approach. The owner loved the extra character this brought to the surface. Also, edge work can be tricky due to discrepancies in level. Pay extra attention to the edges to ensure consistency.
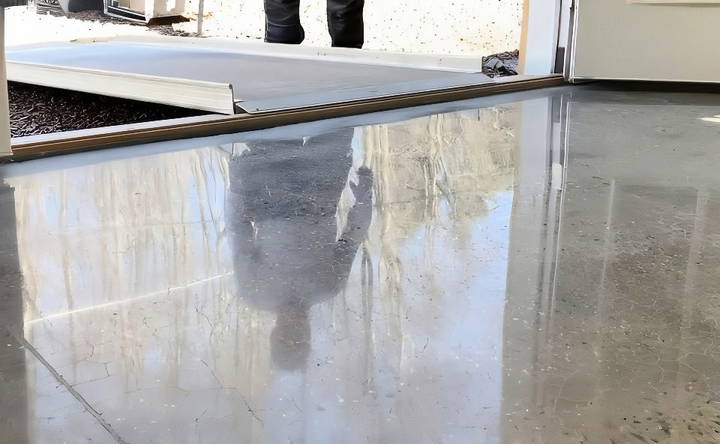
At the end of my project, I observed how the polished concrete reflected light like a mirror, a testimony to the meticulous process we followed. Despite the challenges of controlling what's innately within the concrete, from color variations to cracks, the final result was shiny, durable, and unique.
Common Mistakes to Avoid
Polishing a concrete floor can be a rewarding project, but it's easy to make mistakes that can affect the final result. Here are some common mistakes to avoid:
Skipping the Preparation Step
Preparation is crucial. Failing to clean the floor thoroughly or not repairing cracks and holes can lead to uneven polishing. Always start with a clean, smooth surface.
Using the Wrong Grit Sequence
Using the wrong grit sequence can result in a poor finish. Start with a coarse grit to remove imperfections and gradually move to finer grits. Skipping grits can leave scratches that are hard to remove later.
Not Applying a Densifier
A densifier strengthens the concrete and helps achieve a glossy finish. Skipping this step can result in a dull, less durable floor. Apply the densifier after the initial grinding.
Polishing Too Quickly
Rushing through the polishing process can lead to uneven results. Take your time with each grit level to ensure a consistent finish. Patience is key to a high-quality polish.
Ignoring Safety Precautions
Polishing concrete generates a lot of dust and noise. Not wearing proper safety gear, like masks and ear protection, can be harmful. Always prioritize safety by using the right equipment and protective gear.
Improper Sealing
Sealing the floor is essential to protect it from stains and damage. Using the wrong type of sealer or applying it incorrectly can compromise the floor's durability. Follow the manufacturer's instructions for the best results.
Neglecting Maintenance
Once polished, concrete floors require regular maintenance to keep their shine. Neglecting to clean and reseal the floor periodically can lead to a dull appearance. Establish a maintenance routine to preserve the floor's look.
Overlooking Environmental Conditions
Temperature and humidity can affect the polishing process. Polishing in extreme conditions can lead to poor results. Ensure the environment is suitable for polishing to achieve the best outcome.
By avoiding these common mistakes, you can ensure a smooth, shiny, and durable polished concrete floor. Taking the time to do it right will pay off in the long run.
FAQs About Polishing Concrete Floors
Discover the FAQs about polishing concrete floors, from benefits and methods to cost and maintenance, ensuring a stunning, durable finish.
Polishing a concrete floor offers several advantages:
Durability: Polished concrete is resistant to heavy foot traffic, spills, and scratches.
Aesthetics: It provides a high-gloss, attractive finish that enhances the look of any space.
Low Maintenance: Polished floors are easy to clean and do not harbor dust or allergens.
Cost-Effective: It is cheaper than installing other flooring options like tile or carpet.
Eco-Friendly: Polishing existing concrete is more sustainable than replacing it.
The time required to polish a concrete floor depends on the size of the area and the condition of the concrete. Generally, it can take anywhere from a few hours to a couple of days. Larger areas or floors in poor condition may take longer.
Maintaining a polished concrete floor is straightforward:
Regular Cleaning: Sweep and mop the floor regularly to remove dust and debris.
Avoid Harsh Chemicals: Use pH-neutral cleaners to avoid damaging the surface.
Reapply Sealant: Periodically reapply a sealant to maintain the floor’s shine and protection.
Polishing a concrete floor can be a DIY project if you have the right tools and are comfortable with the process. However, it requires specialized equipment and can be labor-intensive. Hiring a professional ensures a high-quality finish and can save you time and effort. If you’re new to this, starting with a small area might be a good idea to get a feel for the process.
Safety is crucial when polishing concrete floors. Here are some key precautions:
Wear Protective Gear: Use safety glasses, dust masks, ear protection, and knee pads.
Ventilation: Ensure the area is well-ventilated to avoid inhaling dust and fumes.
Handle Chemicals Carefully: Follow the manufacturer's instructions when using chemical hardeners and sealants.
Electrical Safety: Be cautious with electrical equipment, especially in wet conditions.
Conclusion: Embrace the Process
Polished concrete is both a science and an art. Every floor has its own story, formed by its environment and wear. Embrace these nuances as they add personality and distinction to your project.
By following these steps and maintaining patience and precision, you can achieve a polished concrete floor that is not only beautiful but also functional and long-lasting. Remember, every project is an opportunity to learn and refine your technique.
Concrete polishing might seem daunting at first, but with practice and persistence, you'll master this rewarding craft. Whether you're working on a small space or a large commercial floor, the result can be truly transformative.


