Learn how to bind a book at home easily with our step-by-step guide. I remember the first time I tried it. I had a stack of loose pages and a desire to make something meaningful. I gathered some basic materials, like glue and paper. With a few easy steps, I transformed those loose pages into a beautiful book. It felt amazing to hold my work in my hands, knowing I made it all by myself.
Let's get started with binding your own book! These steps can help you make something special that you can hold in your hands. I'm here to share my experience so you can begin your own adventure in bookbinding.
Materials You'll Need
- Paper: This will form the body of your book. Any paper of your choice will do, but make sure it's all the same size.
- Binding clips or large paper clips: To hold your paper together securely while the glue dries.
- White glue (PVA glue is ideal): This acts as the spine of your book, keeping everything in place.
- A clean brush: For evenly spreading the glue across the paper's edge.
Each material plays a crucial role. The paper makes up your book, the clips hold your project steady, the glue binds the pages together, and the brush ensures a smooth, even glue application.
Step by Step Instructions
Learn how to bind a book with our step-by-step guide. Perfect your skills from preparing your paper to applying glue and adding final touches.
Step 1: Preparing Your Paper
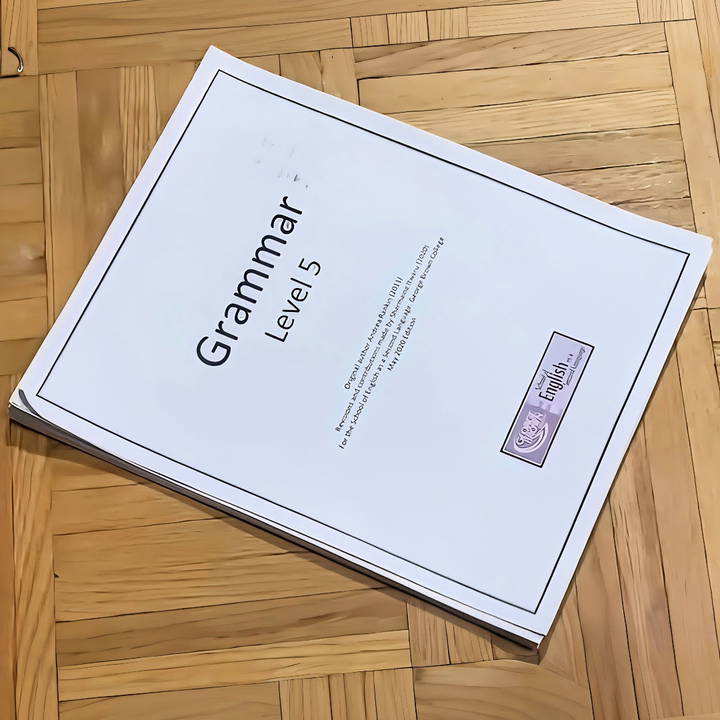
First things first, gather all the paper you intend to use in your book. Make sure it's neatly stacked, with all edges aligned. It's important for the pages to be equally distributed to avoid any irregularities in your book.
Step 2: Clipping the Pages Together
On one side of your paper stack (which will become the spine of your book), attach your binding clips on either end. These clips ensure your paper doesn't shift as you apply the glue, making for a more uniform and sturdy binding.
Step 3: Applying the Glue
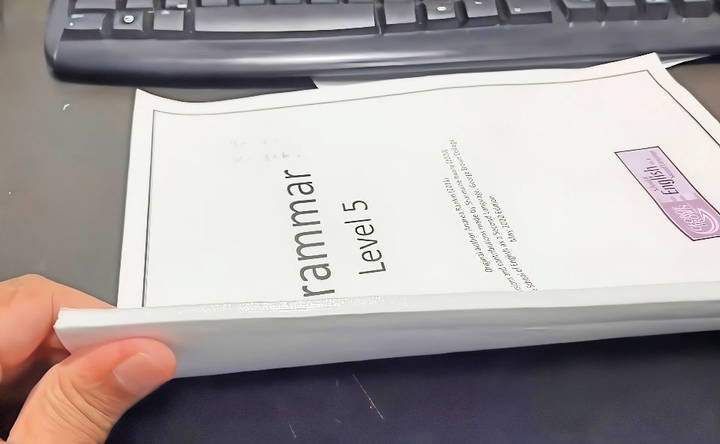
Turn your clipped stack to the side without the clips — this is where the magic happens. By bending this edge slightly, you increase the surface area for the glue. Take your brush, dip it into your white glue, and start applying it evenly across the edge of your paper stack.
The goal here is to cover the edge completely, but not so much that the glue seeps far into the pages. You'll see that I'm very careful to spread the glue evenly, ensuring every page receives a thin layer.
Step 4: Letting It Dry
Once you've applied a sufficient layer of glue, stand your paper stack upright and gently remove the clips, being careful not to disturb the freshly glued edge. At this stage, some additional glue might spill over; I used a clean piece of paper to wipe any excess off. Now, the waiting game begins. It's crucial to let the glue dry completely before moving on. This usually takes about 2-3 hours, but I recommend checking the glue's instructions for the best results.
Step 5: Reapplying Glue (Optional but Recommended)
For a stronger bind, I applied two more coats of glue, allowing it to dry thoroughly after each application. This step is optional but highly recommended as it significantly increases the durability and longevity of your book.
Step 6: The Final Touches
After the glue has dried completely, you'll notice how firm and book-like your project has become. At this point, you can add a cover to give your book a more finished look. Just apply glue to the spine once more, attach your cover, and let it dry.
Advanced Techniques for Professionals
For professionals in the field of bookbinding, mastering advanced techniques is essential for making high-quality, durable, and aesthetically pleasing books. Here, we delve into some sophisticated methods that can elevate your craft.
- Sewing Structures One of the hallmarks of professional bookbinding is the variety of sewing structures. Beyond the basic saddle stitch, there are numerous methods like Coptic, Japanese, or French link stitch. Each technique offers a different aesthetic and functional quality to the binding.
- Leather Working Working with leather requires precision and skill. Learn to pare leather thinly for covering and making raised bands on spines. Understanding the behavior of different types of leather is crucial for selecting the right material for each project.
- Gilding and Tooling Gold gilding and tooling add elegance to a book. This involves applying thin layers of gold leaf or foil to the book's edges or spine. Tooling, on the other hand, is the process of making designs on the cover using heated tools.
- Marbling and Edge Decoration Marbling is an art form in itself. It's the technique of making intricate patterns on paper, which can be used for endpapers or cover material. Edge decoration, such as marbled edges or gold sprinkling, further enhances the book's beauty.
- Conservation and Restoration A deep understanding of book conservation and restoration is vital. This includes repairing damaged books, preserving historical texts, and using archival-quality materials to ensure longevity.
- Custom Clasps and Closures Designing and making custom clasps and closures can make a book unique. This can range from simple ties to elaborate metalwork.
- Box Making and Enclosures Protective boxes and enclosures are not only practical but can be decorative. Learn to craft slipcases, clamshell boxes, and other protective coverings that complement the book's design.
Advanced techniques turn bookbinders' work into art. Practice, patience, and love for learning are key. Try new materials and methods to stay sharp and creative.
Troubleshooting Common Issues
When it comes to bookbinding, encountering challenges is part of the learning process. Here's a guide to help you overcome some of the most common issues you might face.
- Pages Falling Out If pages start falling out, it could be due to insufficient glue or incorrect sewing. To fix this, carefully apply more glue along the spine, ensuring it penetrates the folds of the pages. If sewn, re-sew the pages with a stronger thread and tighter stitches.
- Wrinkled Pages Wrinkles can occur if the paper is not properly aligned or if there's too much moisture. Use a bone folder to smooth out wrinkles before binding, and ensure your workspace is dry.
- Misaligned Covers Covers that don't line up with the pages can detract from the book's appearance. Double-check measurements before cutting, and use a jig or a book press to keep everything aligned during the gluing process.
- Weak Hinges The hinge is where the cover meets the spine, and it needs to be flexible yet strong. Reinforce hinges with cloth or paper strips before attaching the cover to the spine.
- Bubbling on the Cover: This can happen when the adhesive doesn't adhere smoothly. To avoid this, apply glue evenly and use a roller to remove any air pockets before the glue sets.
- Stiff Opening If the book doesn't open flat, it may be due to tight binding. Ensure there's enough margin between the spine and the text block, and consider using a lay-flat binding method for a more flexible opening.
- Ink Bleeding Ink bleeding happens when the ink is not fully dry or the paper is not suitable. Use archival-quality, acid-free paper and give printed pages enough time to dry.
- Spine Cracking A cracked spine can occur if the book is opened too forcefully or if the materials are not flexible enough. Use a scoring tool to make a hinge line on the cover material, allowing the spine to bend without breaking.
Anticipating and addressing issues ensures successful, lasting bookbinding projects.
FAQs About How to Bind a Book
Discover answers to common FAQs about how to bind a book, covering materials, methods, and tips for a perfect DIY bookbinding project.
First, fold your paper in half to create the pages. Use the bone folder to make the fold sharp. Then, group these folded pages into sections called ‘signatures’. Each signature usually consists of 4 to 8 sheets. Once you have your signatures, you can punch holes along the fold line using the book awl, which is where you’ll sew the binding.
After preparing your signatures and punching holes, you’ll start sewing. Begin at the top hole of the first signature, sewing in and out of the holes with your waxed thread and needle. Continue this process, attaching each signature to the previous one until all are securely sewn together.
Once your pages are sewn together, you’ll make the cover. Cut your cover material to size, leaving a bit extra on all sides. Glue the cover to the first and last page of your text block, wrapping the excess material around the edges for a neat finish. Allow it to dry under some weight to ensure a strong bond.
Yes, here are a few tips:
Be Patient: Bookbinding is a meticulous process that can't be rushed.
Measure Twice, Cut Once: Accuracy is key, so take your time measuring.
Practice Makes Perfect: Don't be discouraged if your first attempt isn't perfect. Practice with scrap materials first.
Keep It Clean: Work in a clean area to avoid getting dirt or debris on your book.
To ensure your hand-bound book lasts for years, consider the following tips:
Use Quality Materials: Select acid-free paper, durable thread, and sturdy cover materials.
Protect the Spine: Avoid opening your book too flat as it can damage the spine.
Store Properly: Keep your book in a cool, dry place away from direct sunlight.
Handle with Care: Use clean hands when handling your book to prevent oils and dirt from damaging it.
Regular Maintenance: Dust your book regularly and check for any loose threads or wear.
Conclusion
In conclusion, mastering how to bind a book at home can be a rewarding experience. By following this step-by-step guide, you'll make beautiful, personalized books. So, gather your materials and start binding today! Your crafted books will showcase your unique style.


