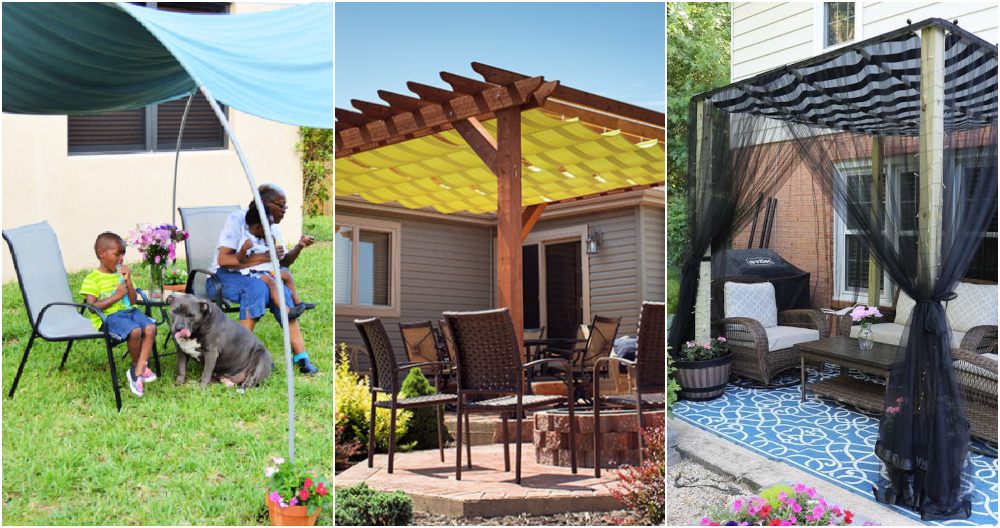
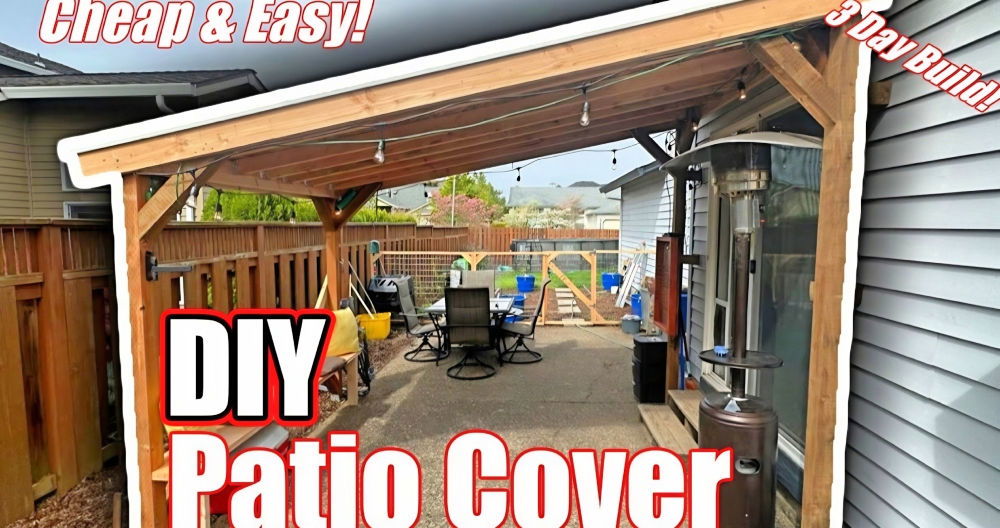
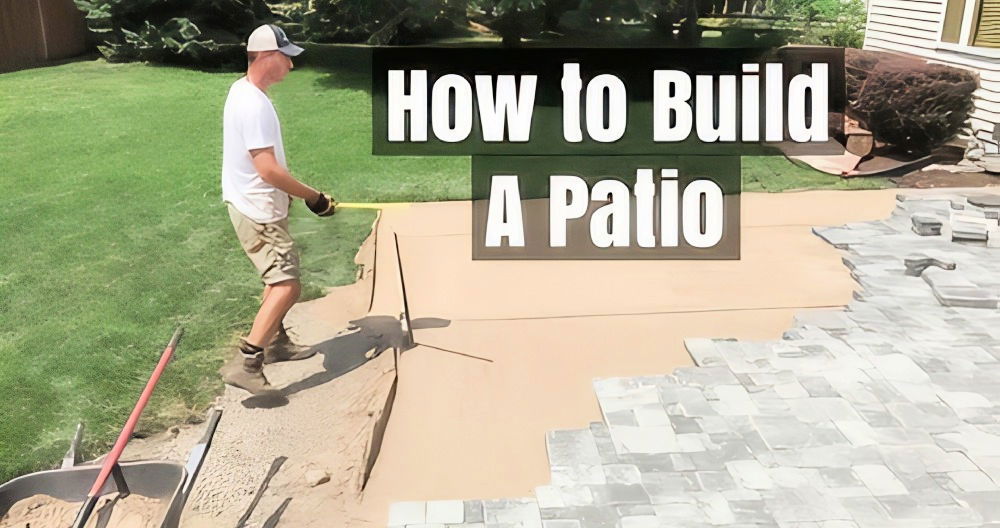
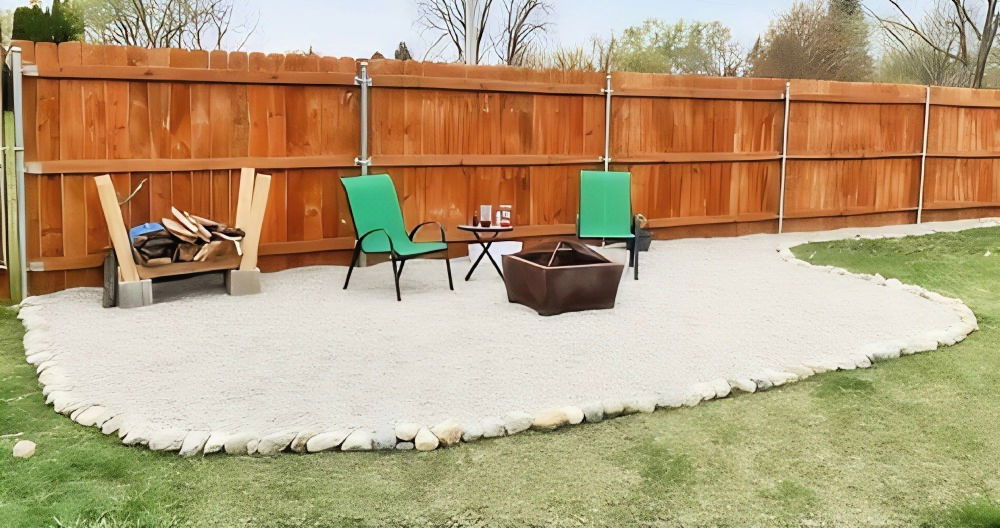
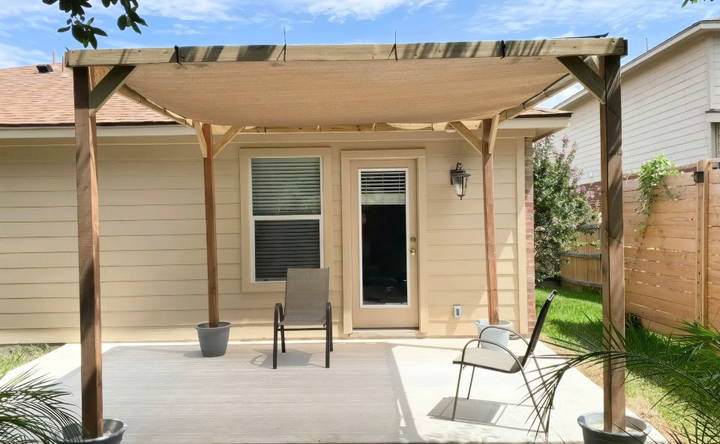
Building a DIY sun shade structure for my patio was one of the best choices I made. I wanted a way to enjoy my outdoor space without getting too hot under the sun. After watching a few videos and reading some articles, I gathered my materials and set out to build a shade structure. The entire process was fun and much easier than I expected!
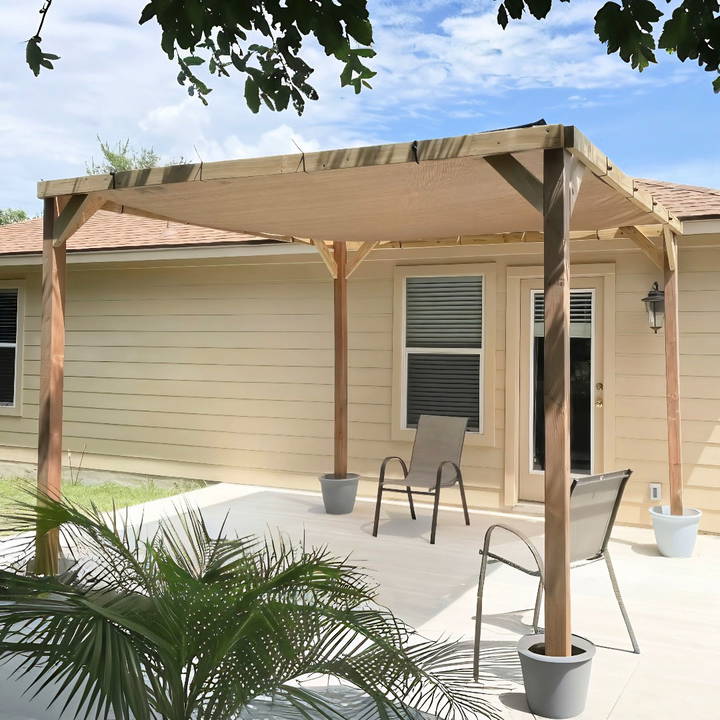
As I started building my DIY shade canopy, I realized how rewarding it was to see my idea come to life. I chose lightweight fabric and sturdy poles to make it simple yet effective. After a few hours of work, my patio looked amazing, and I had a nice place to relax.
This project transformed my outdoor space, and I'm excited to share tips with you. These will help you build your own relaxing oasis!
Materials and Why They Matter
Before diving into the process, gathering the right materials is essential. Each item serves a purpose that contributes to the stability and longevity of your project.
- Four Cedar Posts: These are the backbone of the structure. Cedar is an excellent choice for outdoor use due to its resistance to rot and insects.
- 2x4 Pressure Treated Lumber (10 feet): These will form the frame. Pressure-treated wood is designed to withstand the elements, making it a reliable option for outdoor structures.
- Quick-Setting Concrete: I used 50-pound bags of Quick Crete. The fast-setting formula ensures the posts are stable within a short period, allowing the project to progress quickly.
- Pavers: Placing a paver beneath each post ensures a level base, preventing leaning.
- Sunshade Fabric with Bungees, Zip Ties, and Rope: This forms the actual shade. Bungees offer flexibility, while zip ties provide a more secure attachment.
- Tools: You'll need a shovel, level, drill with drill bits, circular saw, ladder, and a speed square. Each tool plays a critical role in constructing, checking, and ensuring precision throughout the project.
Step by Step Instructions
Learn to make the perfect DIY patio shade. Follow step-by-step instructions, from preparing the base to installing braces and securing the sunshade fabric.
Step 1: Preparing the Base
Effortlessly level the ground for a solid foundation with our expert tips in preparing the base. Achieve smooth, even ground for any project.
Leveling the Ground
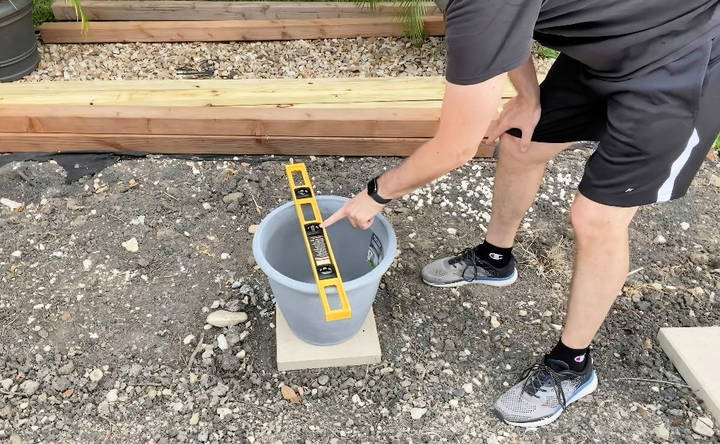
First off, I began by placing each paver on the ground where my posts would stand. It's crucial to ensure they are level, as this prevents any future leaning of the posts. Placing a paver might seem simple, but it establishes a solid foundation for your structure.
- Tip: Using a level at this stage saves a lot of headaches later on. Any wobble at the base can only multiply as you build upwards.
Step 2: Setting the Posts
Discover expert tips on setting the posts, mixing and pouring concrete, and adding water for your next construction project.
Mixing and Pouring Concrete
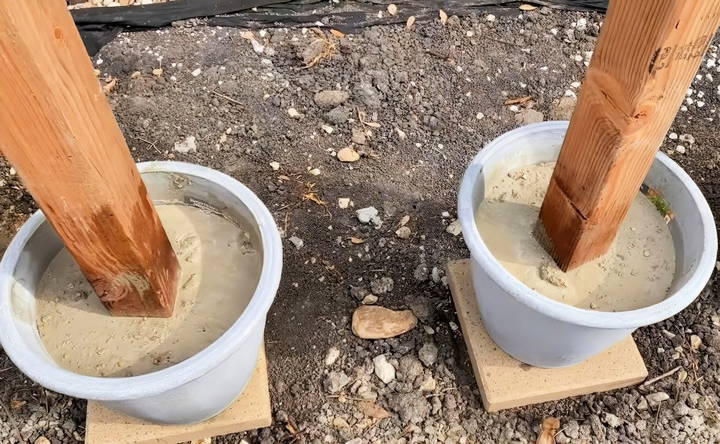
Once the pavers were leveled, I positioned each cedar post over a paver. Since I was doing this project solo, a patio chair acted as a makeshift support while I poured a 50-pound bag of Quick Crete into the decorative pot holding the posts.
Adding Water
Here's where my trusty Zero G hose came into play—add water to the concrete, ensuring it saturates all the way to the bottom. I used a metal pole to stir and mix. If you haven't done it before, consider practicing mixing the concrete and water beforehand to find a rhythm.
- Tip: Accuracy is key—check the level of the post constantly before the concrete starts setting.
Step 3: Preparing and Attaching the Frame
Learn the steps for preparing lumber and securing the frame in our detailed guide on preparing and attaching the frame. Perfect for DIY enthusiasts!
Preparing Lumber
With the posts securely in place, I took my pressure-treated lumber and drilled pilot holes. Doing this avoids cracking the wood when inserting screws later on.
Securing the Frame
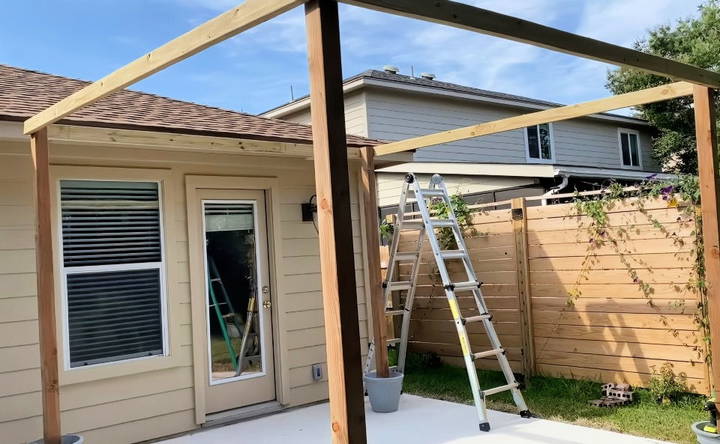
The process involved laying two 2x4s across the top of the cedar posts. Three-inch decking screws were used to attach these securely. I laid the frame out before lifting them upright to double-check they were both square and well-aligned.
- Expert Advice: Lumber may not be perfectly straight, so orient any warp upwards. This helps gravity assist you when the wood naturally settles.
Step 4: Attaching the Sunshade Fabric
Learn how to prepare and attach sunshade fabric with bungees and zip ties, ensuring secure corners for optimal shade coverage. Easy steps for perfect installation.
Preparing the Fabric
Before stretching it onto the frame, lay the sunshade fabric out in the sun. This allows it to relax, making it easier to work with.
Attaching with Bungees and Zip Ties
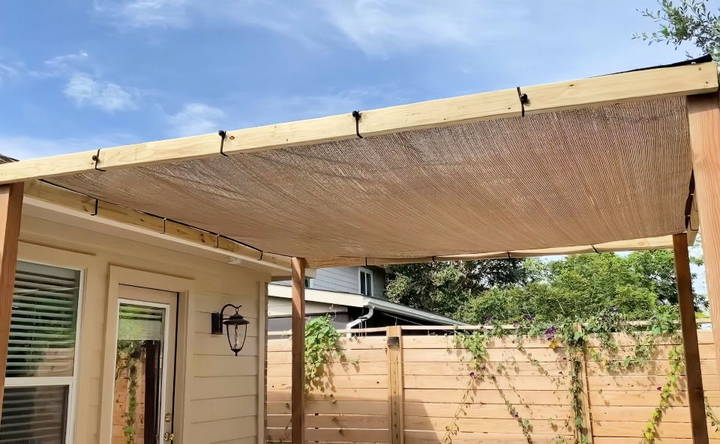
I chose a mix of bungees and zip ties to attach the fabric. This decision was partly practical; I ran out of bungees, so zip ties filled the gap. The bungee cords also allowed for some flexibility, though they may result in a touch more slack than desired.
- Pro Tip: Achieving a taut finish requires some experimentation with where to place your fasteners.
Securing Corners
For maximum tension, secure your fabric at the corners last. I drove a screw into the top of each post, pulling the fabric tight before fastening it down.
Step 5: Final Touches - Adding Bracing
Learn how to finalize your project by adding bracing. This guide covers bracing corners and installing braces effectively. Make your structure sturdy and reliable.
Bracing Corners
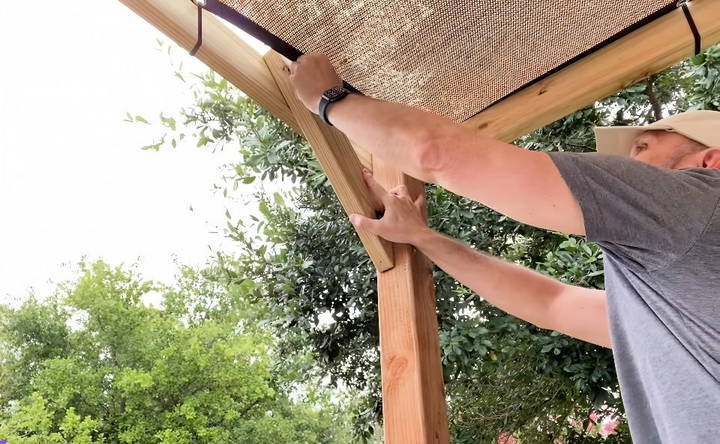
One of the most crucial steps for long-term durability is bracing the corners. For this, I cut 45-degree angle pieces from the leftover lumber. Each piece was 20 inches on the long side.
Installing Braces
Using a speed square to ensure precision, I marked pilot holes on both the 2x4s and 4x4s. A screw from below at an angle holds the lower part of the brace to the post.
Ensuring Stability
Don't skip this step. Bracing transforms the structure from wobbly to rock-solid. It's amazing how much it improved the rigidity of my structure—a must-do for anyone seeking a long-lasting shade installation.
Seasonal Adjustments
Adapting your patio shade solutions for different seasons ensures you can enjoy your outdoor space year-round. Here are some practical tips to help you make the necessary adjustments:
Summer
Maximize shade and ventilation this summer with our tips for a cooler, more comfortable outdoor space. Enjoy a refreshing season outdoors!
Maximize Shade and Ventilation
- Install Additional Shade: Use extra shade sails or umbrellas to increase coverage and protect against the intense summer sun.
- Light-Colored Fabrics: Choose light-colored materials for your shade structures to reflect sunlight and keep the area cooler.
- Ventilation: Ensure there is good airflow under your shade structures. Consider using open designs like pergolas with climbing plants to allow breezes to pass through.
Autumn
Get ready for cooler weather this autumn with our tips and tricks for staying warm and cozy. Embrace the season confidently!
Prepare for Cooler Weather
- Retractable Awnings: Use retractable awnings that can be adjusted based on the changing angle of the sun.
- Windbreaks: Install windbreaks, such as outdoor curtains or screens, to protect against chilly autumn winds.
- Heaters: Consider adding outdoor heaters or fire pits to keep the area warm and cozy.
Winter
Effortlessly protect and store your belongings with winter. Durable, versatile solutions for ultimate organization this winter season.
Protect and Store
- Remove Fabric Covers: Take down and store fabric covers, sails, and umbrellas to prevent damage from snow and ice.
- Waterproof Covers: Use waterproof covers for any permanent structures to protect them from moisture and harsh weather.
- Secure Structures: Ensure all structures are securely anchored to withstand winter storms and heavy winds.
Spring
Upgrade your wardrobe with the spring: refresh and reinstall collection. Discover fresh, stylish looks for the new season.
Refresh and Reinstall
- Clean and Inspect: Clean all shade materials and inspect for any damage that may have occurred over the winter.
- Reinstall Shade Solutions: Reinstall any removable shade solutions, such as sails and umbrellas, to prepare for the warmer weather.
- Plant Growth: Trim and manage any climbing plants or vines that may have overgrown during the winter to ensure they provide effective shade.
Adjusting seasonally keeps your patio comfy and functional year-round, enhancing outdoor enjoyment and prolonging shade structures.
Safety Considerations
Ensuring the safety of your DIY patio shade structures is crucial for a secure and enjoyable outdoor space. Here are some key safety tips to keep in mind:
Secure Installation
- Anchor Points: Strong anchors: use sturdy anchor points for all shade structures. Ensure they are securely fastened to prevent movement during strong winds. Proper tools: use the right tools and hardware for installation. Follow manufacturer guidelines to ensure everything is correctly assembled.
- Weight Distribution: Even weight: distribute the weight evenly across the structure to prevent tipping or collapsing. Support beams: use adequate support beams and posts to maintain stability, especially for larger structures like pergolas.
Material Safety
- Fire-Resistant Materials: Choose wisely: opt for fire-resistant materials for your shade structures, especially if you plan to use outdoor heaters or fire pits nearby. Avoid flammable items: keep flammable items away from your shade structures to reduce the risk of fire.
- Durable Fabrics: Weather-resistant: use weather-resistant fabrics that can withstand sun, rain, and wind without deteriorating quickly. UV protection: select materials that offer UV protection to shield you from harmful sun rays.
Regular Maintenance
- Inspection: Routine checks: regularly inspect your shade structures for signs of wear and tear. Look for loose bolts, frayed fabrics, and any structural damage. Immediate repairs: address any issues immediately to prevent accidents. Replace damaged parts as needed.
- Cleaning: keep it clean: clean your shade structures regularly to prevent mold, mildew, and dirt buildup. Use mild soap and water for most materials. Avoid harsh chemicals: steer clear of harsh chemicals that could weaken the materials or cause discoloration.
Weather Preparedness
- Wind and Storms: Retract or remove: retract or remove shade sails, umbrellas, and other temporary structures during high winds or storms to prevent damage. Secure permanent structures: ensure permanent structures are securely anchored and can withstand severe weather conditions.
- Snow and Ice: Remove snow: clear snow from your shade structures promptly to prevent excessive weight and potential collapse. Winter covers: use winter covers to protect your structures from ice and snow buildup.
Child and Pet Safety
- Supervision: Keep an eye: always supervise children and pets around shade structures to prevent accidents. Safe play areas: designate safe play areas away from heavy or potentially unstable structures.
- No Climbing: Educate: Teach children not to climb on shade structures to avoid falls and injuries.
Follow these safety tips to keep your patio secure and enjoyable. Regular maintenance and careful material use ensure lasting, safe shade structures.
FAQs About DIY Patio Shade
Explore FAQs about DIY patio shade to find tips, tricks, and answers on making your own stylish and affordable outdoor shade solutions.
There are several simple and effective ways to add shade to your patio:
Umbrellas: Patio umbrellas are easy to set up and can be moved around as needed.
Shade Sails: These are large pieces of fabric that can be attached to posts or walls to create shade.
Pergolas: A pergola is a wooden structure that can be covered with fabric or climbing plants.
Pop-up Canopies: These are portable and can be set up quickly for temporary shade.
Maintenance tips for patio shade structures include:
Regular Cleaning: Clean fabric shades with mild soap and water.
Inspect for Damage: Check for wear and tear, especially after storms.
Tighten Connections: Ensure all bolts, screws, and ropes are secure.
Store During Winter: If possible, store removable shades during harsh weather.
Yes, there are many cost-effective options:
DIY Curtains: Use outdoor fabric to create curtains that can be hung from a pergola or other structure.
Recycled Materials: Use old sheets or tarps to create temporary shade.
Plant Trees: Planting fast-growing trees can provide natural shade over time.
Selecting the right spot for your patio shade is crucial:
Sun Path: Observe the sun's path to determine where shade is needed most during peak hours.
Wind Direction: Consider the prevailing wind direction to ensure your shade structure is stable.
Existing Structures: Utilize existing structures like walls or trees for additional support.
Space Availability: Ensure there's enough space for the shade structure without obstructing movement.
Yes, plants can be an excellent way to build natural shade:
Climbing Plants: Grow climbing plants like ivy or wisteria on a pergola or trellis.
Trees: Plant fast-growing trees like maple or oak for long-term shade.
Shrubs: Use tall shrubs to build shaded areas around the patio.
Potted Plants: Arrange large potted plants strategically to block the sun.
Conclusion: Embrace DIY Outdoor Projects
Getting started on your own sun shade can feel a bit daunting, but my experience shows that it's truly possible. Just gather the right materials and take your time. You'll enjoy the process and the results.
I encourage you to take this step. Building your own DIY shade structure will enhance your outdoor experience and protect you from the sun. The effort is worth it!


