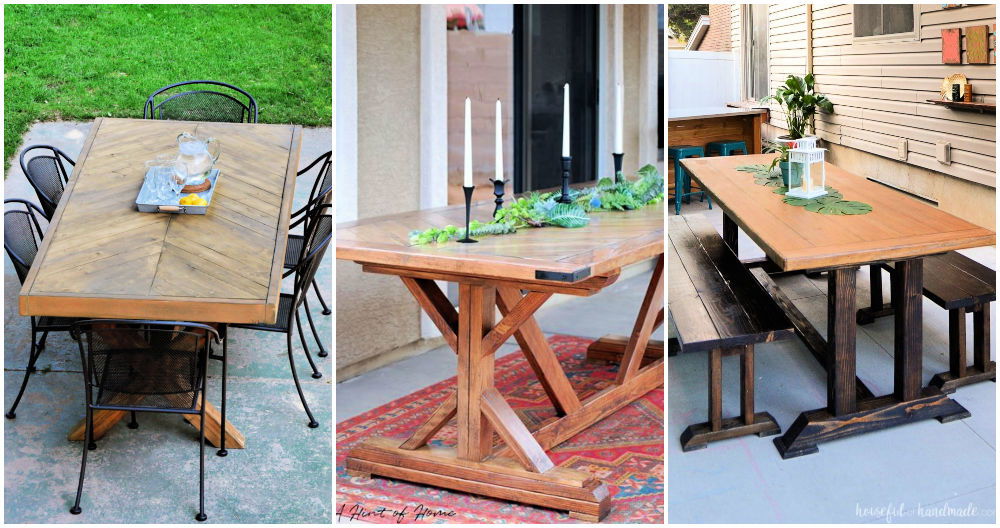
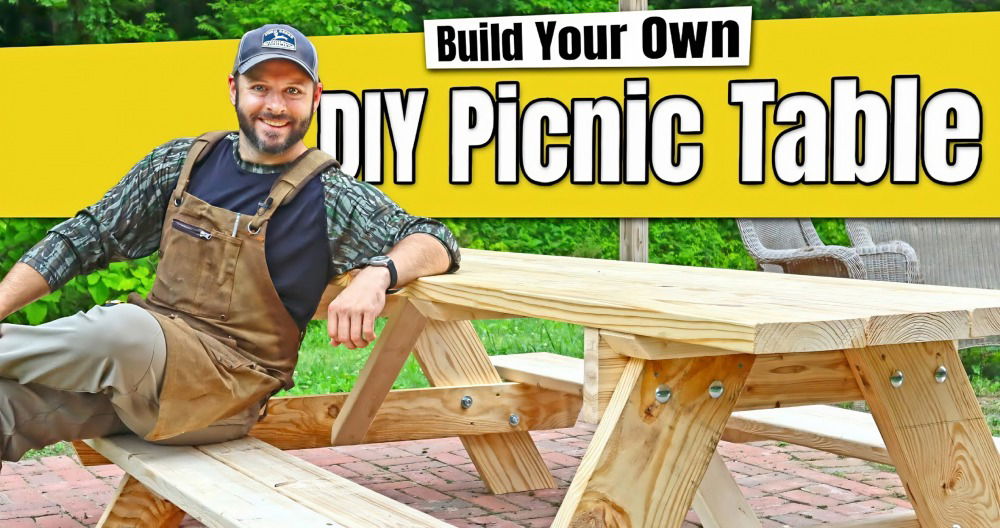
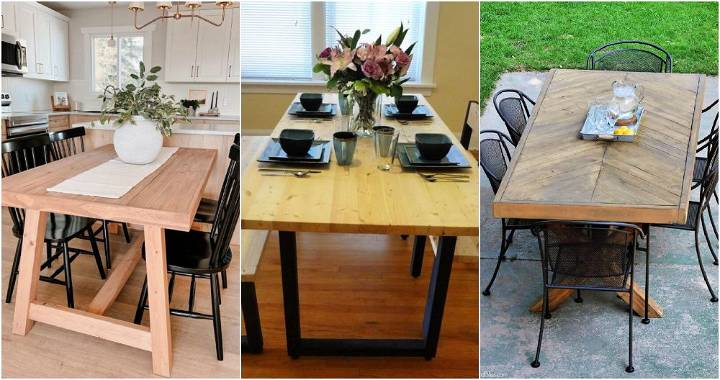
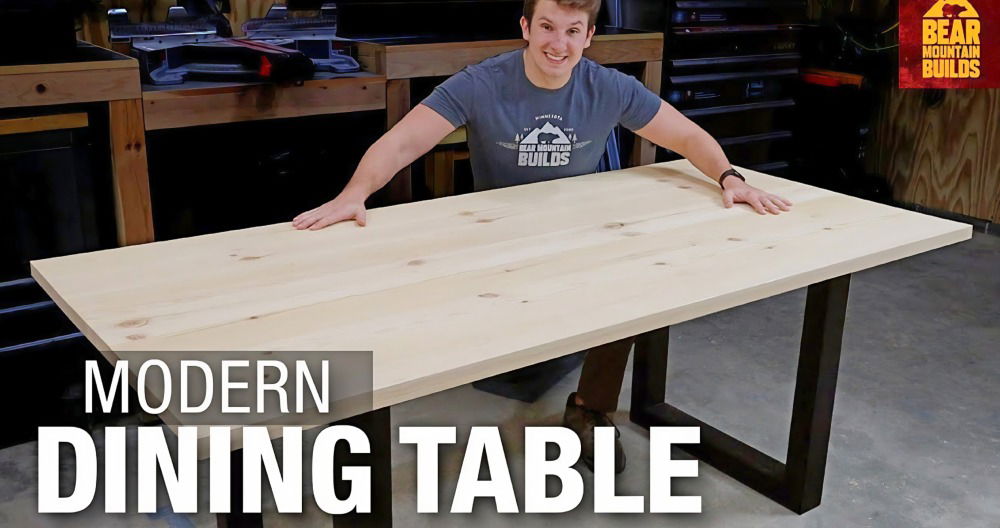
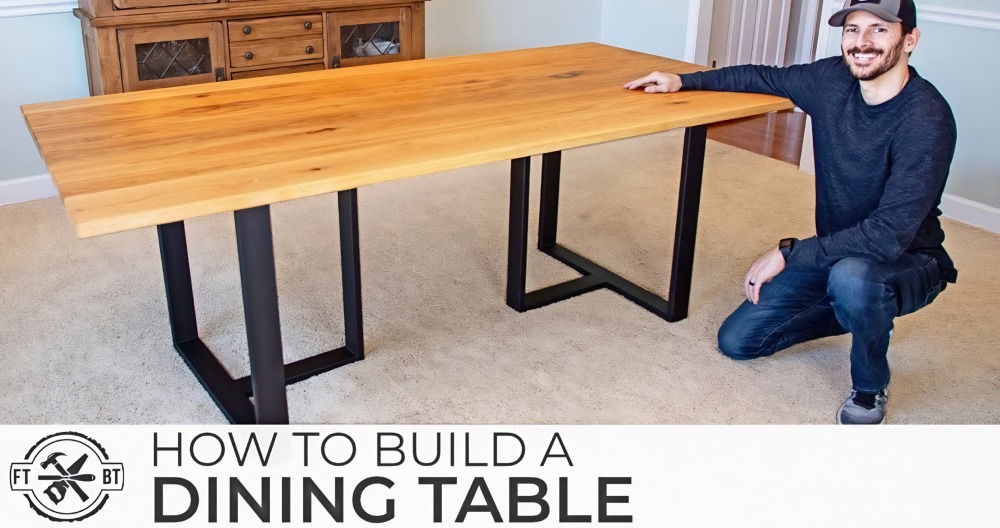
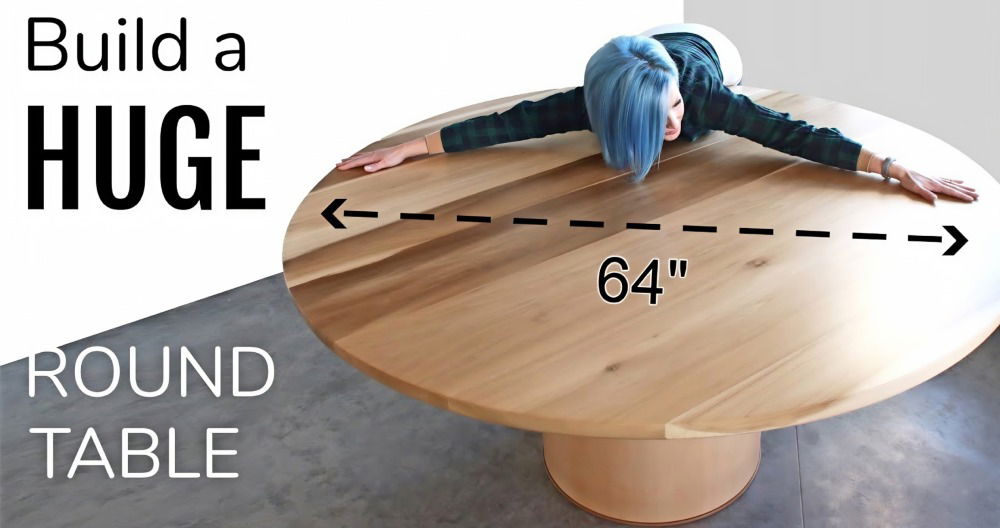
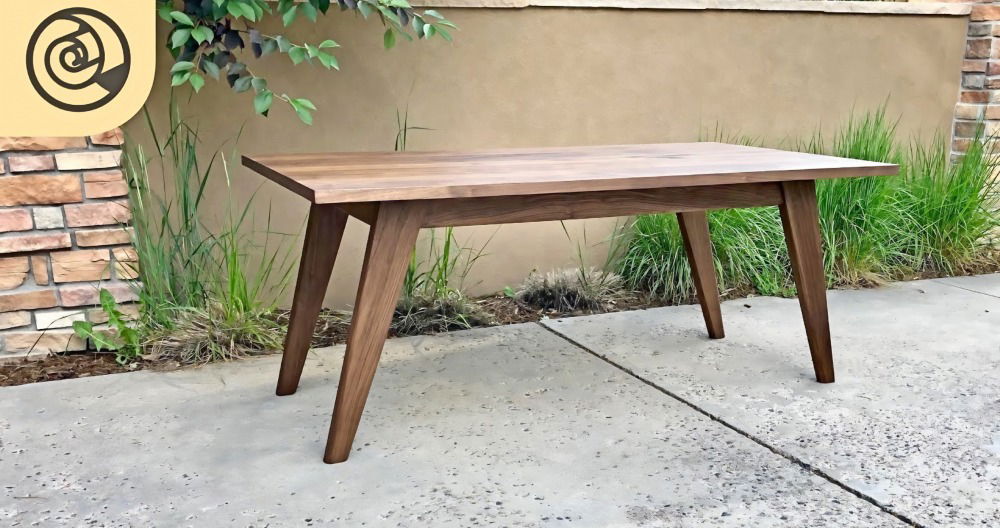
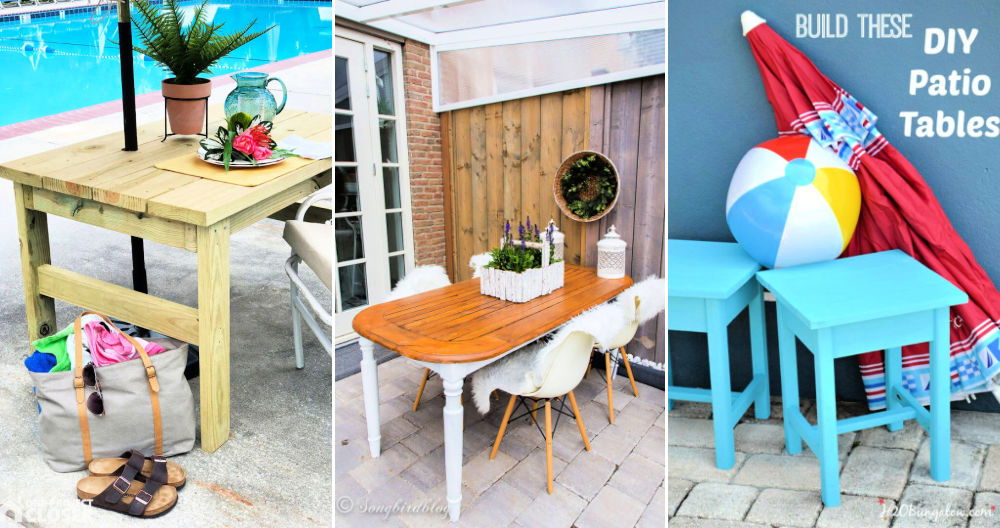
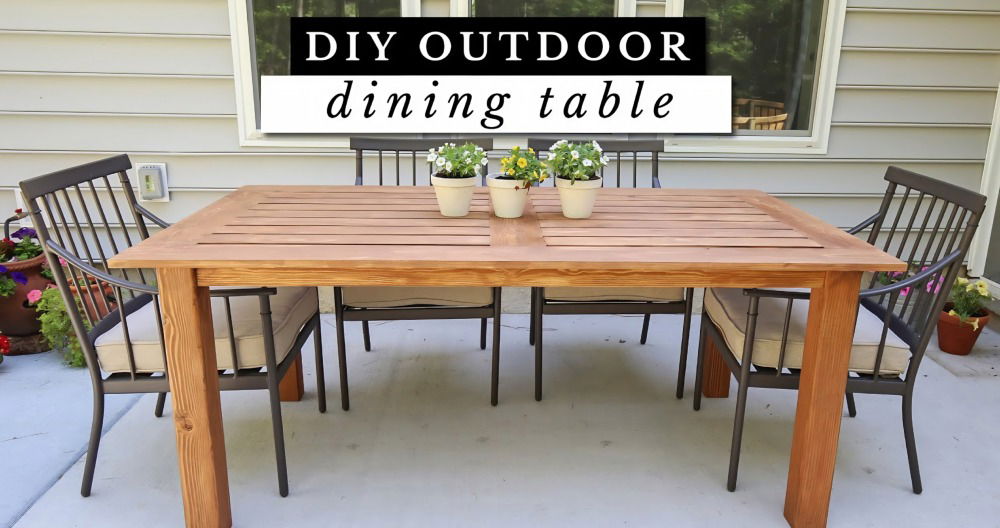
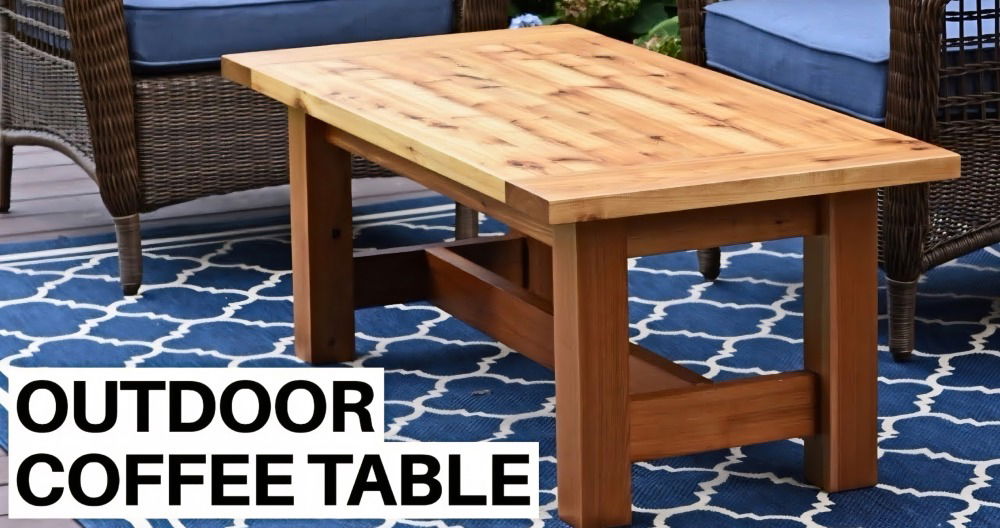
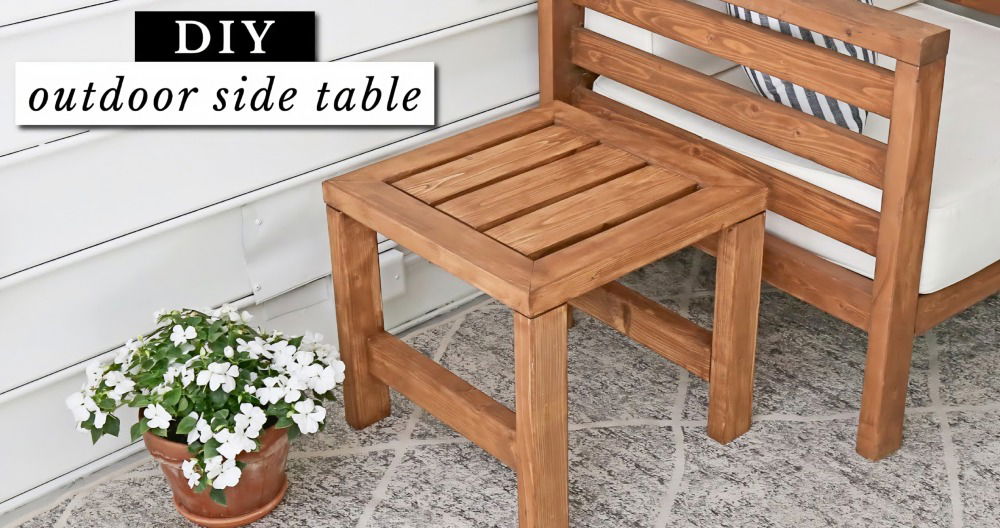
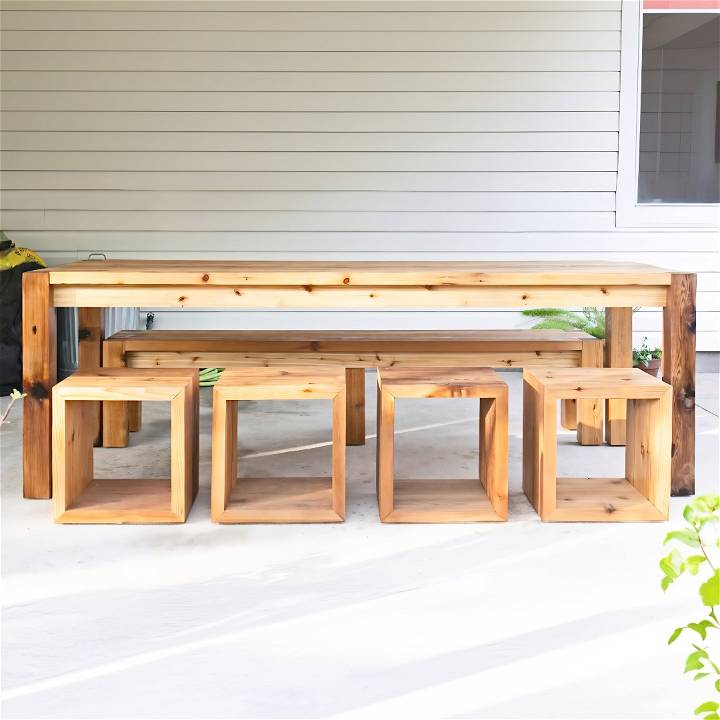
For years, I'd been envisioning the perfect outdoor dining area in my backyard—a welcoming space where friends and family could gather for meals under the open sky. But not just any furniture would do; I wanted something that felt personal, something I made with my own two hands. That's why I decided to build an outdoor dining table complete with benches and individual cube stools. Follow me on this journey of creation, where I'll share step-by-step instructions, insights, and tips to bring this project to life.
Materials Needed and Why
Discover the essential materials needed to build your own DIY outdoor dining table and learn why they are crucial for the project's success.
- Cedar Wood: Known for its durability and resistance to weather, cedar was my go-to choice for this outdoor project.
- Epoxy: Used to fill any knots or holes in the wood, ensuring a smooth finish.
- Wood Glue: Essential for joining pieces together securely.
- Pocket Hole Screws: They build strong joints and are hidden from view, maintaining the aesthetic of the project.
- Rubber Feet: Added to the base of the furniture for protection against moisture and to keep the wood off direct ground contact, prolonging its life.
- Biscuits (for Biscuit Joiner): These help align the boards during the glue-up process, making everything level and even.
- Tabletop Fasteners: These allow the wood to expand and contract with humidity changes without causing damage.
Building The Table
Learn how to build the perfect table with detailed steps from starting with the legs to the finishing touches. Includes building benches and unique cube stools.
Start with the Legs and Base
I began by cutting the cedar 4x4s for the legs and 2x4s for the base. After encountering some knots, I filled them with epoxy, sanded down once cured, and moved on to refining the edges of the 2x4s on a table saw for a cleaner look.
Assemble The Base
Using pocket holes, I joined the legs to the table's apron, ensuring everything was level with the help of a tabletop board as a guide. This base's construction set the solid foundation for the rest to come.
The Tabletop
After cutting and smoothing the edges of the 2x6 cedar boards, I laid them out, ensuring I had the best sides up and the grain alternating. A biscuit joiner was handy in aligning the boards perfectly during glue-up. Once glued, clamped, and dried, I cut the tabletop to length and prepared it to be attached to the base with tabletop fasteners for seasonal wood movement accommodation.
Crafting The Bench
The bench was essentially a mini version of the table. I mirrored the steps for the base and used similar techniques for the seat, ensuring consistency in design and function.
The Unique Cube Stools
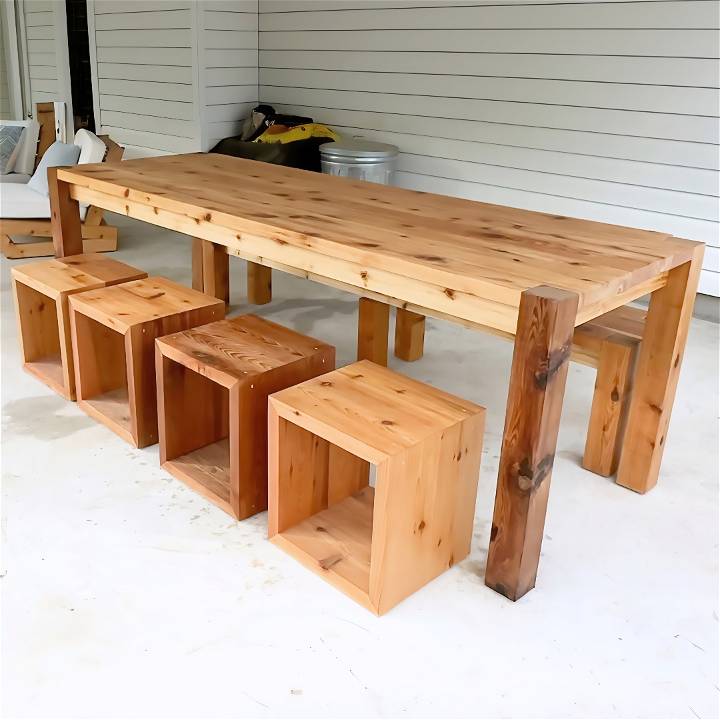
For a touch of variety, I decided cube stools would be a fun addition. I cut 2x8 boards to size, beveled the edges to 45 degrees for a cleaner join, and glued them up to make wider boards. The assembly was focused on accuracy and strength, with dowels added at the corners for extra stability and aesthetic appeal. After sanding and adding rubber feet, they were ready for finishing.
Finishing Touches
I opted for a durable exterior grade finish to protect the cedar. A sealer primer went first, followed by a protective coat that would preserve the wood's natural beauty while shielding it from the elements. This step was crucial in ensuring my outdoor dining set would last for years to come.
The Final Ensemble
The dining table, with its bench and cube stools, turned out to be everything I'd hoped for and more. It's not just a set of furniture—it's a gathering place for joy, stories, and meals shared in the great outdoors. The dual seating options offer flexibility and bring a unique charm to my backyard.
Reflections and Recommendations
This project not only taught me the value of patience and precision in woodworking but also reminded me of the beauty of making something tangible with my own hands. For those looking to embark on a similar journey, here are a few tips:
- Take your time with the planning stage, ensuring your designs meet your needs and space.
- Consider the materials carefully, factoring in durability and aesthetics.
- Don't skimp on the finishing, as it's crucial for the longevity of outdoor furniture.
Building this outdoor dining set was a rewarding experience that has enhanced my outdoor living space immensely. I encourage anyone thinking about a similar project to take the leap—it's worth every moment spent in the shop and every dollar invested. Happy building!
Customization Ideas for Your DIY Outdoor Dining Table
Building a DIY outdoor dining table is not just about functionality; it's also an opportunity to inject your personality and style into your outdoor space. Here are some customization ideas that can make your table truly unique:
Add Built-In Planters
Built-in planters can bring life and color to your dining table. Consider incorporating small planter boxes at each corner or a larger one in the center. Use weather-resistant materials like cedar or redwood, and ensure there's adequate drainage. Plant herbs, flowers, or small shrubs for a natural touch that's both beautiful and practical.
Personalize with Paint
A coat of paint can transform your table. Choose colors that complement your outdoor decor or go bold with bright hues for a statement piece. Use outdoor-grade paint for durability and consider patterns like stripes, chevrons, or stenciled designs for added flair.
Engrave or Burn Designs
For a more rustic look, try wood engraving or burning designs into the table's surface. This could be anything from simple geometric patterns to intricate landscapes or family initials. Wood-burning kits are readily available and easy to use with a bit of practice.
Incorporate Tile Mosaics
Tile mosaics can add a Mediterranean vibe to your table. Select tiles in various colors and shapes, and build a design on the tabletop. This not only adds visual interest but also makes for a durable, easy-to-clean surface.
Install Lighting
Integrated lighting can extend the usability of your table into the evening. Embed solar-powered LED lights around the edges or beneath the tabletop for a subtle glow. Choose warm, soft lighting to build a cozy atmosphere for nighttime dining.
Functional Add-Ons
Think about what would make your dining experience better. Perhaps a built-in ice bucket for chilled drinks, hooks on the side for hanging utensils, or a lower shelf for extra storage. These practical additions can enhance the functionality and convenience of your table.
By following these concepts, you can make a dining table that reflects your creativity and style. Choose customizations that suit your taste and outdoor space.
Maintenance and Care for Your DIY Outdoor Dining Table
Taking care of your DIY outdoor dining table is crucial to ensure it lasts through many seasons. Here's a detailed guide on maintaining your table to keep it looking great year after year.
Regular Cleaning
Regular cleaning is essential. Wipe down the table with a soft cloth or sponge and a mixture of mild soap and water. For tougher stains, use a mixture of vinegar and water. Avoid harsh chemicals that can damage the wood's finish.
Seasonal Sealing
Seal your table at least once a year. Choose a sealant appropriate for the material of your table. This will protect it from UV rays and moisture. Apply the sealant on a dry day and allow it to cure fully before using the table.
Winter Care
If you live in an area with harsh winters, store your table indoors if possible. If not, cover it with a waterproof cover that allows for air circulation to prevent mold and mildew.
Repair Damage Promptly
Inspect your table regularly for any signs of damage, such as cracks or loose parts. Repair these issues promptly to prevent them from worsening. Use wood filler for cracks and tighten any loose screws or bolts.
Avoid Direct Heat
Place hot items on a trivet or hot pad, not directly on the wood. Direct heat can cause discoloration and damage to the finish.
By maintaining your outdoor table regularly, you can keep it looking great and functional for years.
FAQs About DIY Outdoor Dining Table
Discover everything you need to know about building your own DIY outdoor dining table. Get expert tips and answers to common questions here!
How do I choose the right wood for my outdoor dining table?
When selecting wood for your outdoor dining table, opt for weather-resistant varieties such as cedar, redwood, or teak. These woods naturally resist decay and insects. Avoid softwoods like pine, which may not withstand outdoor conditions as well.
What tools do I need to build an outdoor dining table?
To build an outdoor dining table, gather essential tools like a circular saw, drill, screwdriver, measuring tape, and sandpaper. Additionally, invest in a level and clamps to ensure precise assembly.
Can I customize the table size to fit my space?
Absolutely! Customize the dimensions of your table to suit your outdoor area. Consider factors like available space, the number of people you want to accommodate, and whether you'll use benches or chairs.
How do I protect my table from the elements?
To maintain your table's longevity, apply a weather-resistant sealant annually. This shields the wood from UV rays, moisture, and temperature fluctuations. Also, store the table indoors during harsh winters or cover it with a waterproof tarp.
What finishing options can I use for my table?
You have several choices:
- Staining: Enhances the wood's natural color and provides protection.
- Painting: Adds a pop of color and shields against weather.
- Wood Burning: Build intricate designs using a wood-burning kit.
- Tile Mosaics: Decorate the tabletop with colorful tiles.
How do I maintain the table's appearance?
Regular cleaning with mild soap and water keeps your table looking fresh. Repair any cracks or loose parts promptly. Remember to place hot items on trivets to avoid damaging the finish.
Conclusion:
In conclusion, constructing your DIY outdoor dining table is a rewarding and cost-effective way to enhance your outdoor space. Follow our step-by-step guide to build a customized table that fits your style and needs perfectly.


