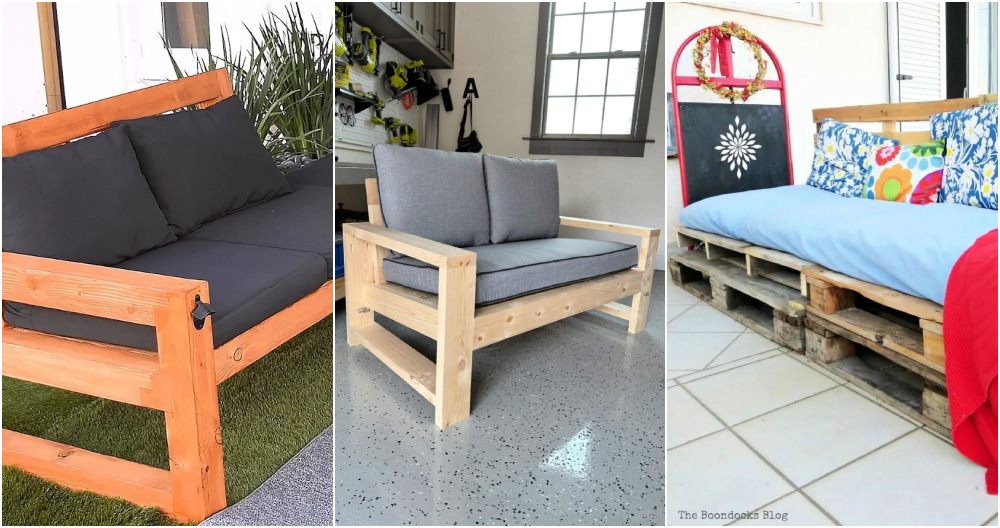
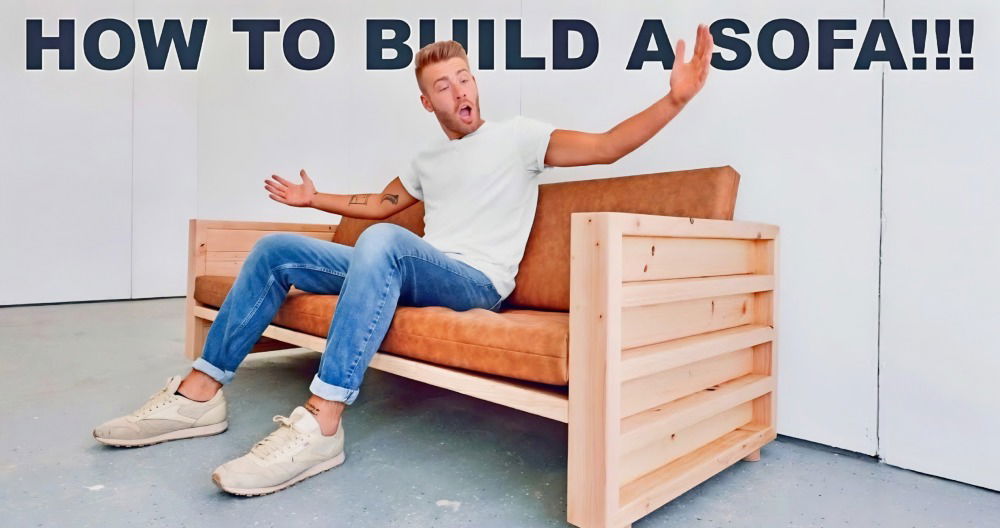
Starting simple can lead to big rewards. I once decided to build a DIY outdoor couch. I wasn't sure where to start, but I gathered some basic tools and materials. With some effort and patience, I slowly saw my project come to life. The best part? I learned a lot and felt a great sense of accomplishment.
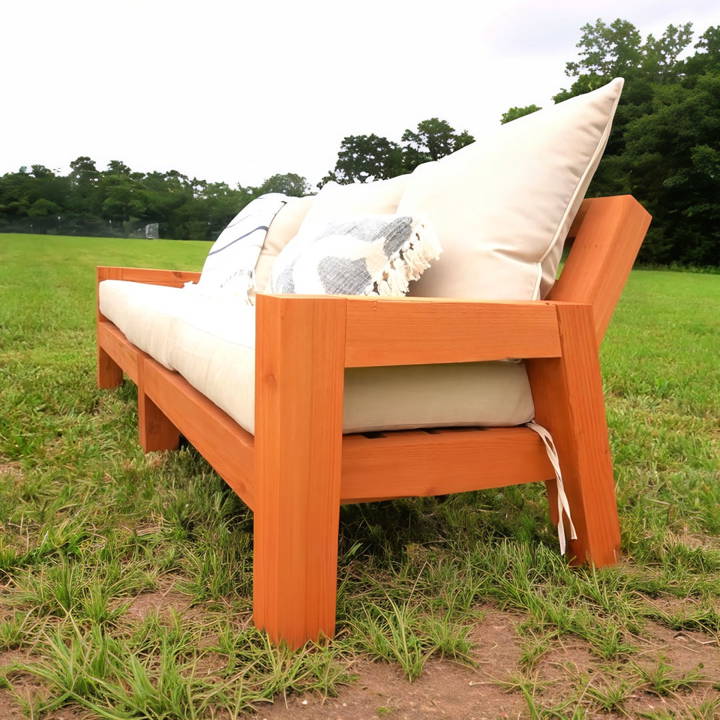
Building a DIY outdoor sofa not only saved me money but also gave me a unique piece of furniture. Each step was a bit challenging, but in the end, I had a comfortable place to relax in my yard. This experience showed me that DIY projects can be both practical and rewarding. Follow these steps—you'll find them helpful and rewarding.
Make your own stylish and comfortable DIY outdoor couch with our easy-to-follow guide. Perfect for any backyard oasis!
Materials You'll Need and Why
- Cedar Wood: I chose Cedar 4x4s for the frame and Cedar 2x4s for the support because of its durability and resistance to rot, which is essential for outdoor furniture.
- Cushions: Getting the cushions first is crucial because it's easier to build a sofa that fits the cushions than to find cushions that fit your sofa. My mom picked out cushions that were roughly 23.5" square and a back cushion that, when paired, was about 23 inches tall.
- Pocket Hole Jig: Essential for joining the pieces securely. I used two sizes: the standard for most of the work and an extra-large one for the 4x4s.
- Sandpaper: To ensure all pieces were smooth and free of splinters for a comfortable seating experience.
- Outdoor Stain and Sealant: To protect the Cedar from weathering and turning gray when exposed to the elements.
Step by Step Instructions
Learn how to build a DIY outdoor couch with our easy-to-follow, step-by-step instructions. Perfect for adding comfort and style to your patio.
Step 1: Cutting and Sanding
First, I cut the Cedar 4x4s and 2x4s to size according to the dimensions required to match the cushions. Remember, the back leg of the side frames should be angled (20 degrees) to offer a more comfortable seating position. Sand all pieces thoroughly to avoid any rough edges or splinters.
Step 2: Assembling the Side Frames
The side frames include a front leg, an angled back leg, and a top piece that joins them. I drilled pocket holes in the appropriate parts to secure them together. The seat support, a 2x4 cut with one end mitered at 4 degrees and the other at 24 degrees, was added between the legs to offer a slight slope towards the back for added comfort.
Putting It All Together
Once both side frames were ready, I joined them with a 2x4 cut to span the width of the sofa, ensuring it could support the middle of the seat slats effectively. This step is crucial for maintaining the sofa's structural integrity, especially when accommodating multiple people.
Adding Support and Slats
Learn how to add support and slats to a bed frame, including building back support and middle support and finishing with staining and sealing.
Building the Back Support
A 4x4 cut with one end at 20 degrees and the other square was secured inside the side frames for the back support. I attached it using timber screws, which provide excellent durability for outdoor furniture.
Middle Support and Slats
For additional support across the sofa's span, I made a middle support leg and attached two equal length 2x4 boards on each side. This setup ensured the sofa could comfortably fit three cushions side by side without sagging.
Finishing the slats
I evenly spaced and secured the remaining back and seat slats using pocket holes and screws. This might seem tedious, but it's an important step for both aesthetics and function, ensuring a comfortable and durable seating area.
Staining and Sealing
Given that Cedar can weather quickly, I chose an outdoor stain and sealant to protect the wood, applying it carefully to each piece. Pro tip: Consider staining the pieces before assembly to make the process smoother and ensure even coverage.
Building this DIY outdoor sofa was more than making furniture; it was about making something lasting for my parents. Despite some uncertainty with dimensions, the accomplishment of a perfect fit was unmatched.
Customization Ideas for Your DIY Outdoor Couch
Building a DIY outdoor couch is not just about building a piece of furniture; it's about crafting a personal retreat that reflects your style and meets your outdoor living needs. Here are some customization ideas to make your outdoor couch truly yours:
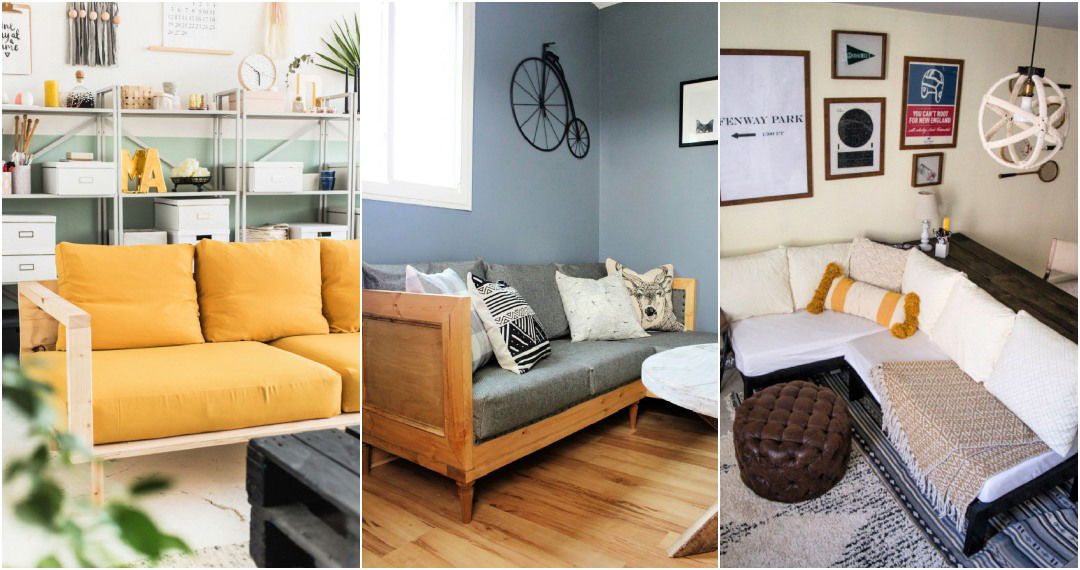
- Choose Your Theme: Start by deciding on a theme that resonates with you. Whether it's a beach vibe, a rustic country feel, or a sleek modern look, your theme will guide your choices in materials, colors, and accessories.
- Selecting Fabrics: Opt for outdoor-friendly fabrics that are fade-resistant and waterproof. Bright colors can add a pop of fun, while neutral tones blend seamlessly with nature. Consider removable covers for easy washing.
- Add Some Throw Pillows: Pillows can change the whole look of your couch. Mix and match patterns and textures for a cozy and inviting space. Use weather-resistant inserts to keep them plush and comfortable.
- Incorporate Storage: Maximize space by adding storage under the seat. It's perfect for stowing away cushions and outdoor games. Hinged seats or drawers can make access simple and stylish.
- Personalize with Paint: Give your couch a personal touch with paint. Use stencils to add designs or paint the entire couch in a color that complements your outdoor decor.
- Build-In Side Tables: Consider extending the armrests to serve as side tables. They're great for holding drinks, books, or decorative items, and they enhance the functionality of your couch.
- Adjustable Backrests: For added comfort, build adjustable backrests. This feature allows you and your guests to sit back and relax at the perfect angle.
- Light It Up: Integrate solar-powered LED lights for ambiance. They can outline your couch or be built into the frame for a subtle glow that extends your outdoor time well into the evening.
- Build a Canopy: For those sunny days, a canopy can provide much-needed shade. Attach a retractable one for flexibility, or go for a permanent structure for a more defined space.
- Accessorize: Finally, accessorize with outdoor rugs, lanterns, or a fire pit. These elements tie the space together and make your outdoor couch the heart of your backyard oasis.
Key to a successful DIY project: plan ahead, take your time, and express yourself. Your outdoor couch should reflect your personality. Enjoy the process and cherish the result.
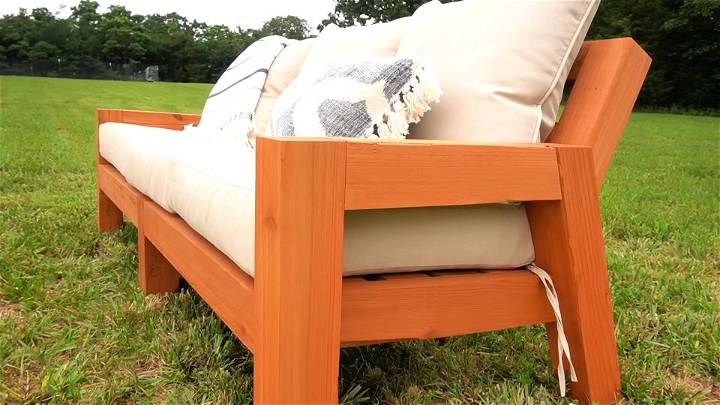
Maintenance and Care Tips for Your DIY Outdoor Couch
Keeping your DIY outdoor couch in top condition ensures that it remains comfortable, attractive, and durable for years to come. Here are some straightforward maintenance and care tips:
- Regular Cleaning: Dust off your couch regularly with a soft brush or cloth. For deeper cleans, use a mild soap solution and rinse with water. Avoid harsh chemicals that can damage the materials.
- Cushion Care: If your cushions have removable covers, wash them according to the fabric instructions. For fixed upholstery, spot clean spills immediately to prevent stains.
- Wood Treatment: If your couch is made of wood, treat it annually with a wood preservative to protect against rot and insects. Make sure the product is suitable for the type of wood you've used.
- Metal Protection: Check metal parts periodically for rust. If you spot any, sand it down and apply a rust-inhibitor spray. Keep metal surfaces dry to prevent corrosion.
- Winter Storage: If you live in an area with harsh winters, store your couch indoors or cover it with a waterproof cover to protect it from snow and freezing temperatures.
- Sun Protection: Prolonged exposure to the sun can fade and weaken materials. Use a UV-protectant spray on fabrics and move your couch to a shaded area during peak sunlight hours.
- Tighten Fittings: Inspect screws and bolts regularly, and tighten them if they become loose. This will keep your couch stable and safe to use.
- Refresh Paint: If your couch is painted, touch up any chips or scratches to maintain its appearance and prevent wood from rotting or metal from rusting.
- Avoid Overloading: Respect the weight limits of your couch. Overloading can strain joints and lead to damage.
- Inspect Regularly: Look over your couch periodically for any signs of wear or damage. Early detection can save you from costly repairs down the line.
Follow these tips to keep your outdoor couch cozy and looking great season after season. Regular maintenance ensures lasting enjoyment.
FAQs About DIY Outdoor Couch
Discover answers to common questions about building your own outdoor couch with our comprehensive DIY outdoor couch faqs guide.
The overall dimensions of your outdoor couch should align with the size of your cushions and the available outdoor space. A typical outdoor sofa might measure approximately 77 inches in width, 35 inches in depth, and 30 inches in height. Adjust these dimensions based on your specific design and comfort preferences.
Comfort is key for an outdoor couch. Choose thick, high-density foam for your seat cushions, and consider adding back pillows for additional support. The standard size for seat cushions is 24 x 24 inches, but make sure to measure your chosen cushions for accuracy.
To weatherproof your outdoor couch, use exterior-grade finishes and stainless steel or galvanized hardware to prevent rust and corrosion. Regular maintenance, like applying a fresh coat of sealant or paint, can also extend the life of your couch.
To make your outdoor couch eco-friendly, consider using sustainable materials such as reclaimed wood or bamboo. You can also look for recycled or organic fabrics for your cushions. Additionally, using non-toxic finishes and adhesives will minimize environmental impact.
Common issues include wood splitting, loose joints, and uneven surfaces. To prevent wood splitting, pre-drill holes before inserting screws. For loose joints, ensure all connections are tight and use wood glue for added strength. If you encounter uneven surfaces, use a planer or sandpaper to smooth out the areas. Regular maintenance and prompt repairs will keep your couch in good condition for years to come.
Conclusion:
Conclusion: building a diy outdoor couch
In conclusion, building a DIY outdoor couch can be an exciting and rewarding project. This guide has covered all the steps to build a sturdy and stylish DIY outdoor couch for your home. By following these instructions, you can enjoy a comfortable and personalized outdoor seating area. So gather your materials and get started on your DIY outdoor sofa today for a unique touch to your outdoor space.


