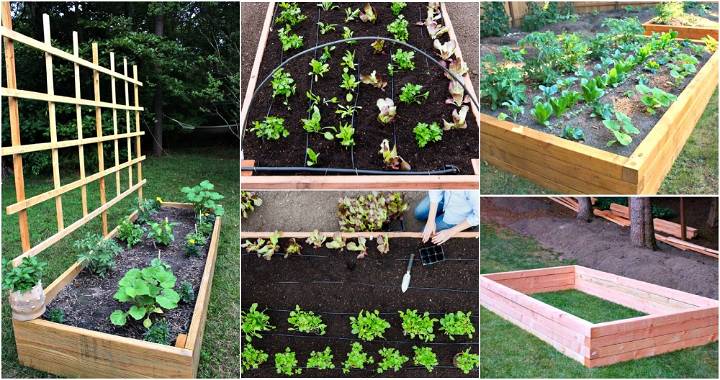
It all started with a desire to grow my own veggies and herbs despite the limited space in my backyard. I stumbled upon a very engaging and straightforward tutorial on how to build an elevated garden bed, and I was inspired to try it out myself. Here's how I embarked on this exciting DIY project, which not only satisfied my green thumb but also added a charming feature to my outdoor space.
Gathering Materials
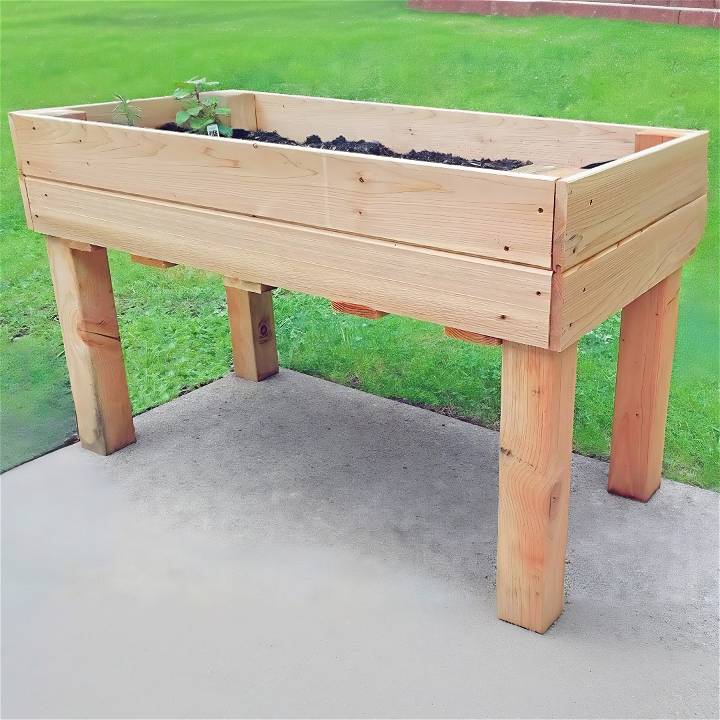
First things first, I needed materials. The choice of wood is crucial for your garden bed. I went with 1 by 6 cedar boards because cedar is known for its resistance to water and its durability against rotting. For the legs, I chose Douglas fir, understanding that although it may not last as long as cedar, it's sturdy enough for a few good years. The difference in wood choice also helped manage my budget.
Why These Materials?
- Cedar Boards: Chosen for their durability and resistance to rot. Perfect for the sides of the garden bed.
- Douglas Fir Posts: While not as resistant to rot, they are sturdy and cost-effective for the legs.
Step by Step Instructions
Learn step-by-step instructions for a DIY elevated garden bed – from cutting boards to assembling, leveling, preparing the bottom, and lining & filling.
Cutting the Boards
After bringing all the materials home, I measured and cut the cedar boards and Douglas fir posts to the desired lengths. I found this part a bit challenging but rewarding. The trickiest was cutting the 4x4 posts, but by marking each cut and running the saw over each side meticulously, I managed quite well. A little sanding smoothed out any rough edges.
Assembling the Garden Bed
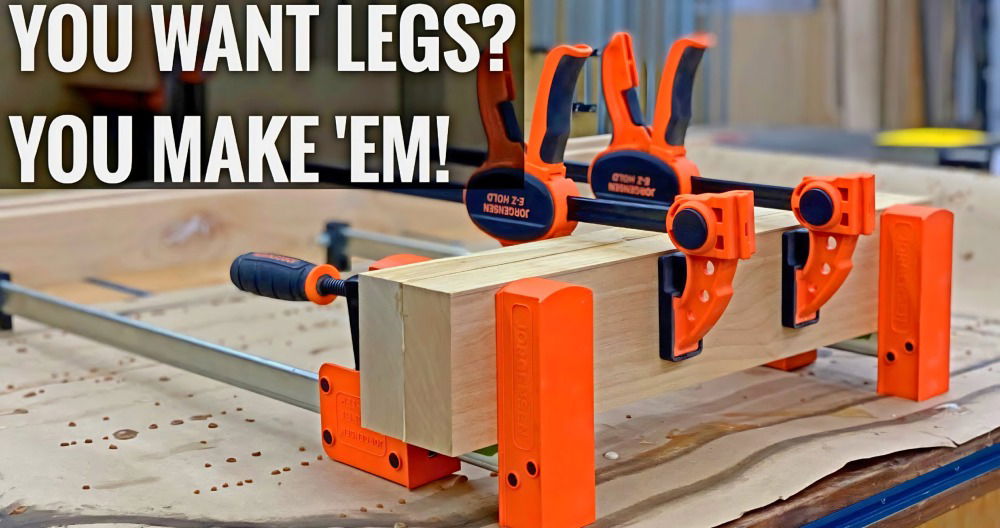
Following the tutorial, I began assembling the garden bed by attaching the boards to the posts to form two L-shaped sides. Then, I connected these sides, making sure everything was level. Using a clamp to hold the boards in place and a speed square for accuracy ensured that the structure was perfectly aligned.
Why Leveling Matters?
Ensuring that everything is level and squared up is vital for the structural integrity of the garden bed. It also ensures that once filled with soil, the pressure is evenly distributed.
Preparing the Bottom
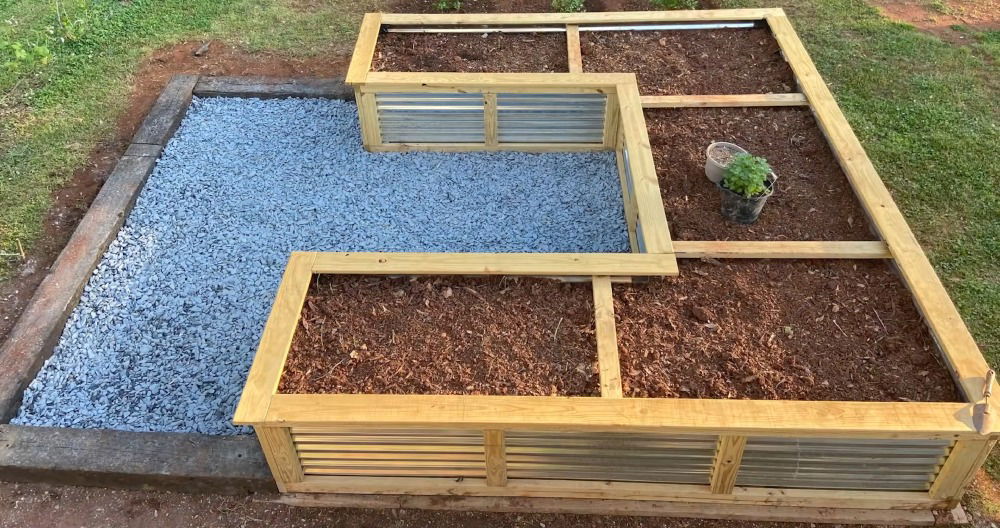
To support the soil, I attached a piece of 1 by 4 cedar board at the base, adding extra strength. The tutorial suggested using steel fencing with small holes as a bottom layer to hold the soil while allowing for drainage. This made perfect sense, and after a bit of maneuvering, I secured this layer with staples.
Lining and Filling
Lining the bed with landscape fabric was the next step, ensuring the soil stayed within the bed and did not leak out through the steel fencing. I carefully spread the dirt, being mindful to distribute it evenly across the fabric-lined base.
Why Landscape Fabric?
The landscape fabric plays a dual role. It aids in preventing soil loss through the steel mesh and helps in weed management, making it an essential layer for a healthy garden bed.
The Final Touch
Once filled with soil, my elevated garden bed was ready for planting. I chose a mix of lettuce, kale, and herbs - ideal contenders for my first gardening venture.
What I Learned
This project taught me the value of patience and precision. From choosing the right materials to cutting and assembling, every step was a learning curve. It also reinforced the joy of making something functional and beautiful with my own hands. The ability to customize the garden bed to fit my space and needs was incredibly fulfilling.
Protecting Your Raised Garden Bed from Pests
Building a thriving garden in your raised bed involves more than just planting seeds and nurturing the soil. It also means safeguarding your hard work from unwelcome visitors. Here's how to protect your elevated garden bed from pests:
1. Choose the Right Location to Deter Pests
Selecting the right spot for your raised garden bed is the first line of defense against pests. Consider the following tips:
- Sunlight Exposure: Opt for a sunny location. Sunlight helps keep the soil warm, discouraging pests.
- Distance from Trees and Shrubs: Place your bed away from overhanging branches and shrubs. This minimizes the chances of pests dropping onto your plants.
- Avoid Low-Lying Areas: Steer clear of low-lying spots where water tends to accumulate. Standing water attracts insects and promotes fungal growth.
2. Install a Barrier at the Base
Prevent burrowing pests like voles, moles, and gophers from infiltrating your raised bed by adding a protective barrier at the base. Here's how:
- Hardware Cloth: Staple a layer of hardware cloth (a sturdy wire mesh) to the underside of the bed. This prevents pests from tunneling up into the soil.
- Mesh Size: Choose a mesh size that allows water and roots to pass through but keeps pests out.
3. Elevate Your Bed
Lifting your garden bed off the ground has multiple benefits, including pest prevention:
- Height Matters: Elevate the bed to a comfortable working height (around 24 inches). This not only reduces strain on your back but also deters ground-dwelling pests.
- Air Circulation: The gap between the bed and the ground improves air circulation, preventing dampness and discouraging pests.
4. Companion Planting for Pest Control
Strategically planting certain herbs and flowers alongside your vegetables can naturally repel pests. Consider these companions:
- Marigolds: Their strong scent deters aphids, whiteflies, and nematodes.
- Basil: Plant basil near tomatoes to keep away flies and mosquitoes.
- Nasturtiums: These colorful flowers repel aphids, squash bugs, and caterpillars.
5. Regular Inspection and Maintenance
Stay vigilant! Regularly inspect your raised bed for signs of pests:
- Leaf Damage: Look for chewed leaves, holes, or discoloration.
- Insect Trails: Check the undersides of leaves for tiny trails left by pests.
- Remove Affected Leaves: If you spot any issues, promptly remove affected leaves to prevent further infestation.
6. Natural Pest Repellents
Consider using natural repellents to keep pests at bay:
- Neem Oil: Mix neem oil with water and spray it on your plants. Neem acts as an insect repellent.
- Garlic and Pepper Spray: Build a solution by blending garlic and hot peppers with water. Spray it on your plants to deter pests.
Remember, a little prevention goes a long way. By implementing these strategies, you'll build a pest-resistant oasis in your raised garden bed, allowing your plants to thrive without interference.
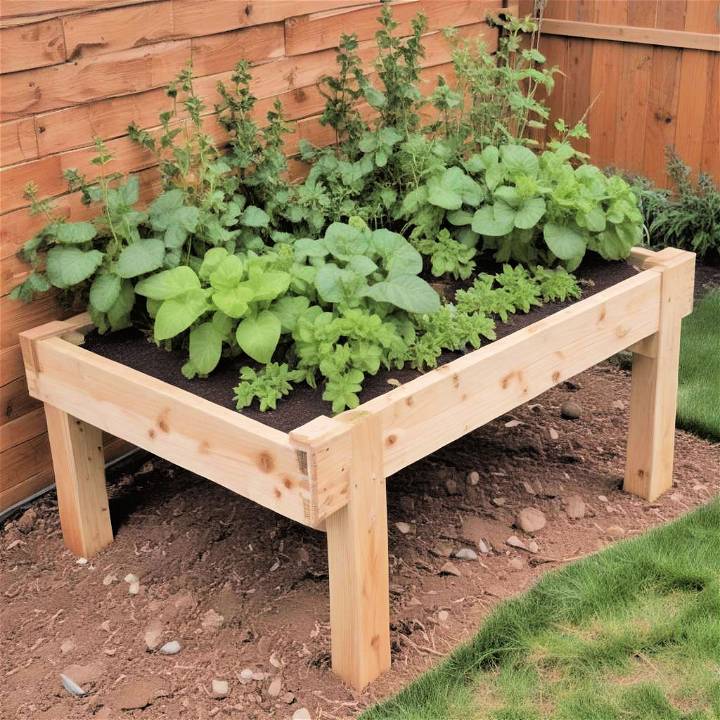
Weed Prevention and Soil Preparation for Your Raised Garden Bed
Weeds, those persistent little invaders, can quickly turn your garden bed into a battleground. But fear not! With the right strategies, you can keep those pesky weeds at bay and build a nurturing environment for your plants. Let's dive into weed prevention and soil preparation:
1. Clear the Ground
Before constructing your raised garden bed, clear the ground where it will sit. Remove any existing grass, weeds, or debris. You want a clean slate to start with.
2. Lay Down Weed Barrier
Weed-blocking fabric is your secret weapon. Lay it down inside the bed before adding soil. Here's why it's essential:
- Weed Suppression: The fabric prevents weed seeds from germinating and poking through the soil.
- Moisture Retention: It also helps retain moisture, keeping your plants happy.
3. Choose the Right Soil Mix
Your raised bed deserves the best soil. Aim for a mix that's well-draining, nutrient-rich, and weed-free:
- Topsoil: Use high-quality topsoil as your base.
- Compost: Mix in compost for added nutrients.
- Vermiculite or Perlite: These improve drainage and aeration.
- Avoid Garden Soil: Regular garden soil can be too dense and may contain weed seeds.
4. Mulch Wisely
Mulching serves two purposes: it keeps weeds down and conserves moisture. Here's how to do it right:
- Organic Mulch: Use organic materials like straw, wood chips, or shredded leaves.
- Apply 2-3 Inches: Spread a layer of mulch about 2-3 inches thick over the soil surface.
- Keep Mulch Away from Plant Stems: Leave a gap around plant stems to prevent rot.
5. Plant Spacing Matters
Crowded plants build cozy hiding spots for weeds. Give your plants room to breathe:
- Follow Spacing Guidelines: Refer to seed packets or plant labels for recommended spacing.
- Thin Seedlings: If you start from seeds, thin out seedlings to the proper distance.
6. Regular Maintenance
Weed prevention is an ongoing task. Here's how to stay on top of it:
- Hand-Pulling: Regularly inspect your bed and pull out any emerging weeds by hand.
- Stay Ahead: Weeds multiply quickly, so nip them in the bud (literally) before they take over.
- Avoid Chemical Herbicides: In a natural garden, opt for manual weeding rather than chemical sprays.
7. Be Mindful When Watering
Water your plants directly at the base, avoiding the soil surface. Wet soil can encourage weed growth. Use a soaker hose or drip irrigation system for precise watering.
A little upfront effort in weed prevention pays off with healthier plants and less frustration. Happy gardening, and may your raised bed flourish!
FAQs About DIY Elevated Garden Bed
Get all your questions about DIY elevated garden beds answered in one place! Learn how to build, fill, and maintain your elevated garden with our expert FAQs.
1. What Is an Elevated Garden Bed?
An elevated garden bed, also known as a raised garden bed, is a gardening structure that sits above ground level. It consists of a contained area filled with soil, providing an ideal environment for growing plants, flowers, and vegetables. These beds are popular for their convenience, accessibility, and ability to improve soil quality.
2. Why Should I Build an Elevated Garden Bed?
- Better Soil Control: Raised beds allow you to build custom soil mixes, ensuring optimal drainage, aeration, and nutrient levels.
- Reduced Weeding: Elevated beds minimize weed intrusion, making maintenance easier.
- Accessibility: They're perfect for gardeners with mobility issues, as you can tend to your plants without bending over.
- Improved Drainage: Raised beds prevent waterlogging, especially in heavy clay soils.
- Extended Growing Season: The soil warms up faster in spring, allowing for earlier planting.
3. How Do I Choose the Right Location for My Raised Bed?
Consider the following:
- Sunlight: Aim for at least 6 hours of direct sunlight per day.
- Proximity to Water: Place it near a water source for easy irrigation.
- Level Ground: Ensure the area is flat and stable.
- Avoid Overhanging Trees: Falling leaves and branches can be a nuisance.
4. How Deep Should My Raised Bed Be?
- Minimum Depth: Aim for at least 6 inches, suitable for shallow-rooted plants like lettuce.
- Ideal Depth: Most vegetables thrive in 12 to 18 inches of soil.
- Deeper Beds: For root crops (carrots, potatoes), go for 18 to 24 inches.
5. What Soil Mix Should I Use?
Build a balanced mix:
- Topsoil: High-quality topsoil forms the base.
- Compost: Add compost for nutrients.
- Vermiculite or Perlite: Enhance drainage and aeration.
- Avoid Regular Garden Soil: It may contain weed seeds and lacks proper structure.
Remember, your elevated garden bed is a canvas for your green thumb. Customize it to suit your needs, and watch your plants thrive!
Conclusion
Building an elevated garden bed was not just about gardening; it was an enriching DIY project that brought a sense of accomplishment. For anyone looking to add a green space to their home, regardless of the size, this is a project I highly recommend. The process is straightforward, and the results are immensely rewarding. Now, as I watch my plants grow, I'm already planning my next DIY project. This garden bed not only serves its purpose but stands as a testament to what one can achieve with a bit of guidance, the right tools, and a dash of creativity.


