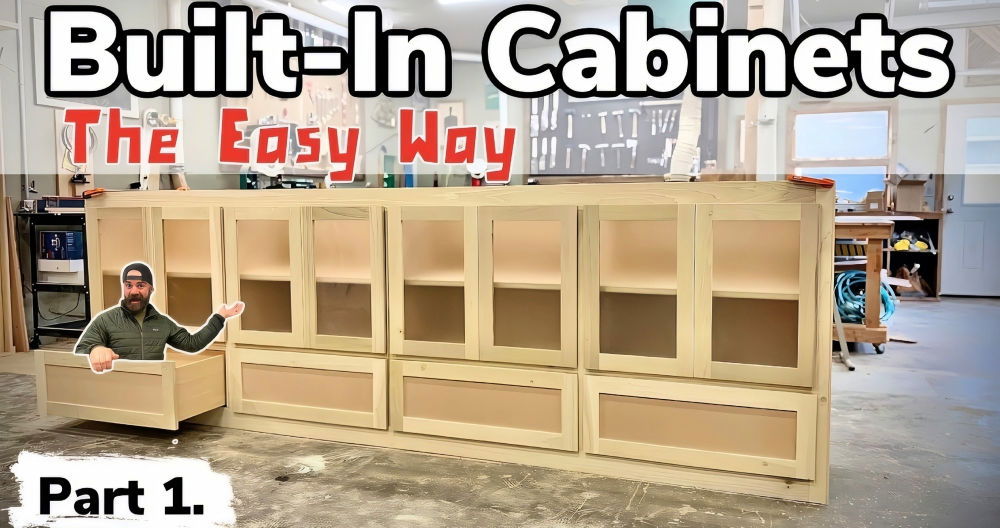
Building your own floor-to-ceiling built-in bookshelves can transform any space, adding both style and functionality. These shelves let you showcase books and decor while maximizing vertical space. With some simple materials and a bit of planning, you can build elegant storage solutions that enhance your home. This guide will help you understand the steps involved in making your own DIY floor-to-ceiling bookshelves.
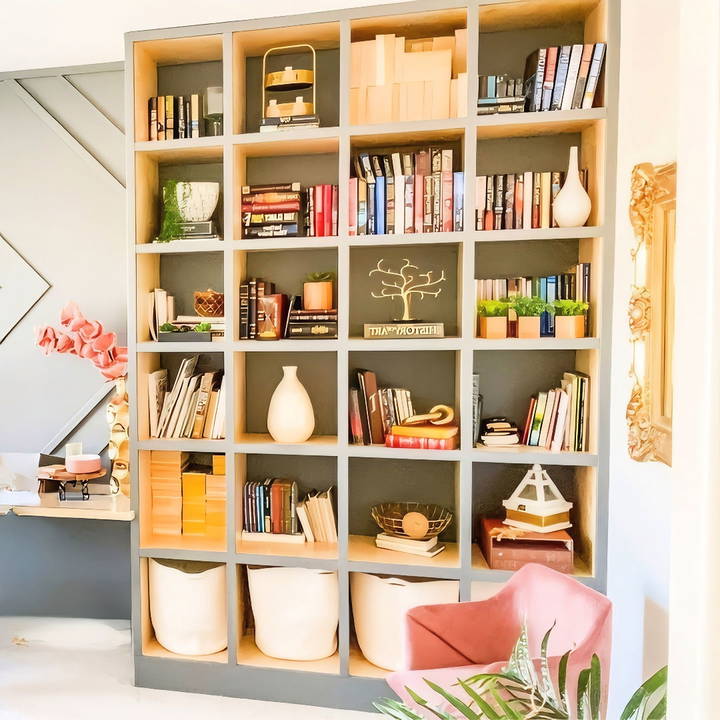
In this guide, you will find clear instructions and helpful tips to ensure a successful project. No matter your skill level, you can achieve a polished look that enhances your home aesthetics. We will walk you through measurements, materials, and assembly. Get ready to turn your vision into reality and enjoy the satisfaction of building your very own bookshelves. Let's explore the next section together!
Gathering Materials
Discover the importance of each item in the gathering materials list and learn why every component is crucial for your project.
Why each item is crucial:
- Lumber: The backbone of our shelves. I opted for * ¾ inch pre-finished plywood for its smooth finish and didn't require painting, saving time and effort.
- Kreg Jig: Essential for making pocket holes that will join the pieces of wood together. It's user-friendly and ensures a strong hold.
- Saws: A table saw and a miter saw were used for accurate cuts, making each piece fit perfectly together.
- Drill: To screw in the Kreg Jig screws, joining the pieces securely.
- Heat gun: This is used to remove any stickers from the lumber without leaving residue.
- Two-by-fours: These were used to build a sturdy base on which the bookcase could rest.
- MDF trim: For a finished look around the edges of the bookcase, it gives the project a polished finish.
Step by Step Instructions
Learn to build DIY floor-to-ceiling bookshelves with our step-by-step guide. From planning to installation, get expert tips for a stunning result.
1. Planning and Cutting
First, I measured the space and sketched a rough blueprint of what I wanted. This included dimensions for each shelf and the overall structure. I had my plywood cut into 16-inch strips at the store to save time. At home, I then cut these strips to their final lengths, ensuring that each piece matched my design perfectly.
2. Building a Strong Base
I constructed a frame from the two-by-fours to lift the bookcase off the ground. This ensured stability and provided a solid foundation. Surprisingly, opting for two-by-fours instead of larger, more expensive lumber helped cut costs without compromising on the bookcase's strength.
3. Assembling the Carcass
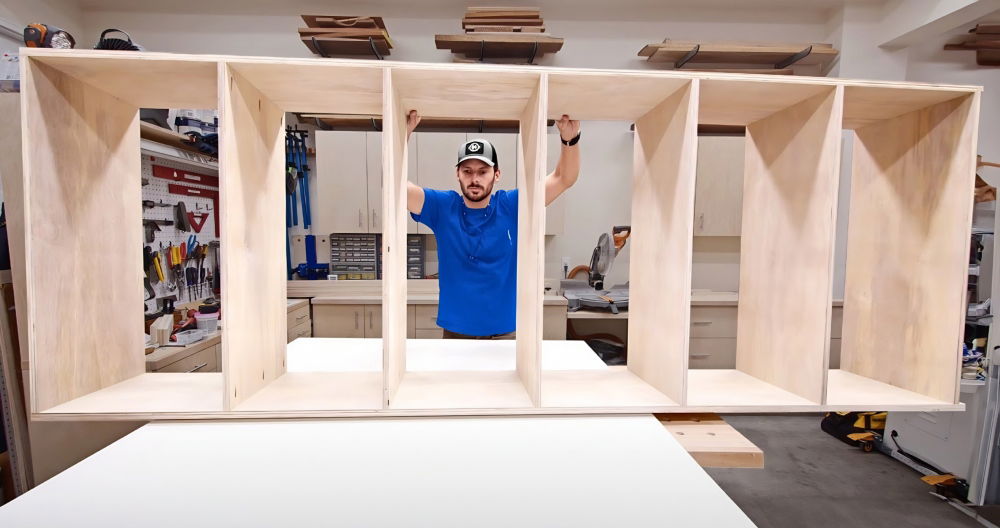
Using my Kreg Jig, I drilled pocket holes in the vertical plywood pieces. These formed the sides of my bookcase boxes (the top and bottom units of the shelf). I made a point to place pocket holes where they would be least visible, like towards the wall side or underneath shelves.
I laid out my first box on the ground, applying wood glue to the edges for an extra-strong bond, and then joined everything with screws. The excitement truly began to build as I saw the bookcase take shape.
4. Adding the Shelves
Measuring was key to even spacing. I buildd a plywood "spacer" or jig to ensure consistent placement of each shelf. This simple tool was invaluable for maintaining uniformity throughout the structure.
5. Trimming for Aesthetic
Once the basic structure was solid, I moved on to trimming the edges with MDF. This step was both decorative and functional, as it covered any exposed plywood edges, giving the bookcase a seamless look. Pre-painting the trim ensured I wouldn't have to touch up the interior shelves later.
6. Installing the Bookcase
The final steps involved moving the shelf into place, securing it to the wall and base for stability, and admiring the sturdy, aligned construction. Anchoring it firmly ensures safety and durability.
Final Touches
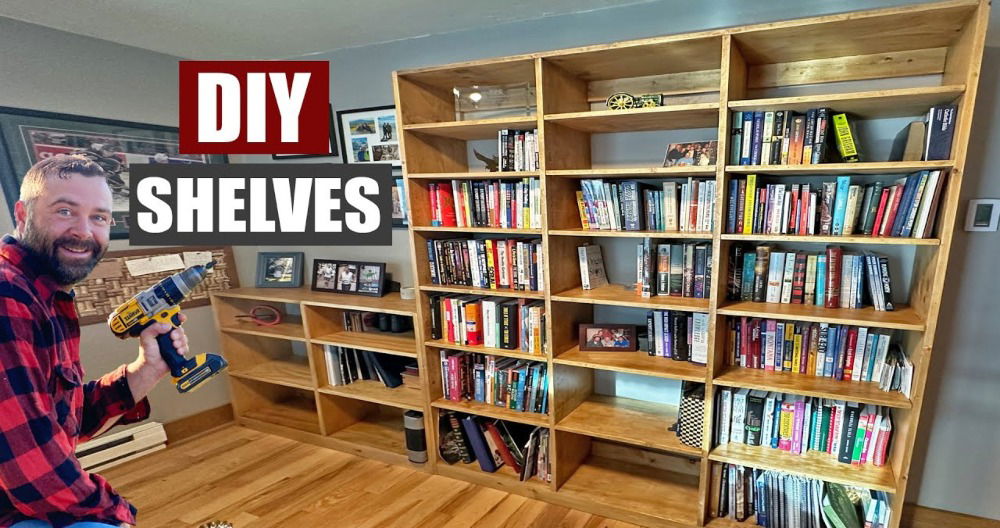
Filling the shelves with books and decor pieces was the most satisfying part. It brought the whole project to life, turning a previously unused space into my favorite part of the house.
Customization Ideas for DIY Floor-to-Ceiling Bookshelves
When making your own floor-to-ceiling bookshelves, the beauty lies in the ability to tailor them to your personal style and needs. Here are some customization ideas that can help you make your bookshelves uniquely yours:
Choose Your Style
Think about the overall look you want to achieve. Do you prefer a modern, sleek design or a more rustic, traditional feel? Selecting the style first will guide all your subsequent choices, from materials to decorative elements.
Adjustable Shelves
Incorporate adjustable shelving into your design. This allows you to change the height of the shelves based on what you're displaying, whether it's books, art, or collectibles. It's practical and adds a dynamic element to your bookshelves.
Paint and Finish
Pick a color or finish that complements your room. You can go bold with a bright color, choose a stain that highlights the natural wood grain, or even use a distressed finish for a vintage look.
Lighting
Add integrated lighting to showcase your items and add warmth to the room. LED strip lights or puck lights are great options that are also energy-efficient.
Decorative Elements
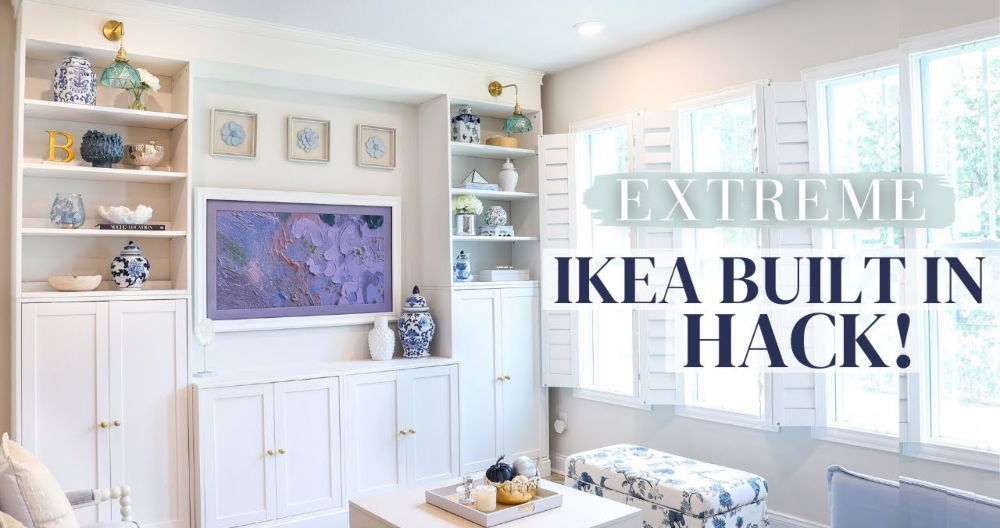
Consider adding molding or trim to the edges of your bookshelves for a more finished look. Decorative brackets can also add a touch of elegance.
Functionality Features
Think about including features like a built-in ladder for high shelves, hidden compartments for valuables, or even a fold-down desk to maximize space and functionality.
Personal Touches
Finally, personalize your bookshelves with your own touches. This could be anything from wallpapering the back of the shelves to using unique knobs or handles for any cabinets or drawers.
The goal is to build a space that reflects your personality and meets your needs. With these customization ideas, your DIY floor-to-ceiling bookshelves will not only be functional but also a true representation of your style.
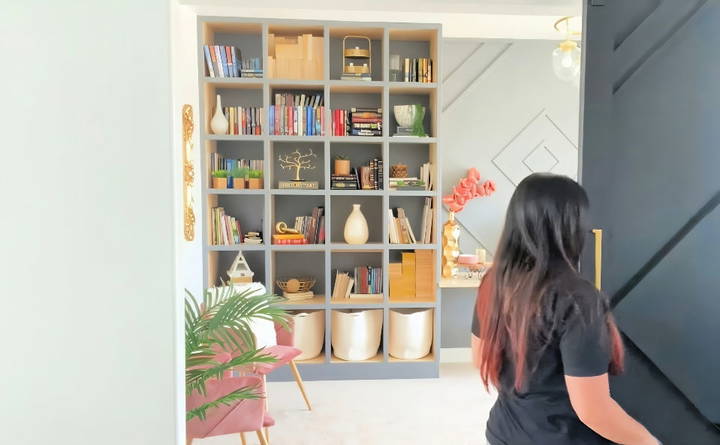
Advanced Techniques for Experienced Builders
For those who have mastered the basics of DIY and are looking to elevate their floor-to-ceiling bookshelves, advanced techniques can add both functionality and aesthetic appeal. Here are some sophisticated methods to consider:
Incorporating Joinery Techniques
- Why: Traditional joinery techniques can enhance the strength and durability of your bookshelves.
- How: Learn methods like dovetail or mortise-and-tenon joints to build a more robust structure without relying solely on hardware.
Integrating Smart Technology
- Why: Smart technology can make your bookshelves multifunctional and modern.
- How: Install USB ports or wireless charging pads on the shelves. Consider adding voice-activated lighting or tracking systems for finding books.
Crafting Curved Elements
- Why: Curves can add elegance and a custom look to your bookshelves.
- How: Use a technique called steam bending to build curved wood elements, or learn to laminate thin layers of wood to achieve the desired shape.
Applying Decorative Inlays
- Why: Inlays can add a unique touch and artistic flair.
- How: Master the art of inlaying contrasting woods, metals, or even stones into the bookshelf surfaces for decorative patterns or accents.
Building Secret Compartments
- Why: Secret compartments offer a hidden space for valuables or simply a fun element.
- How: Design a false bottom in a drawer or a hidden latch behind a book to build a concealed area.
Using Exotic Materials
- Why: Exotic materials can give your bookshelves a distinctive look.
- How: Research and source materials like rare woods, bamboo, or reclaimed materials for your project. Ensure they are ethically sourced and suitable for your design.
Building Adjustable Lighting
- Why: Adjustable lighting can change the ambiance and highlight your displayed items.
- How: Install dimmable LED lights with remote control or smart home integration for versatile lighting options.
Challenge your DIY skills with these methods. Ensure safety and get expert help if needed. Your bookshelves will highlight your craftsmanship and be a home focal point.
Design Inspiration and Conceptualization
When embarking on the journey of making DIY floor-to-ceiling bookshelves, the first step is to draw inspiration and conceptualize your design. This process is crucial as it sets the foundation for your project. Here's how you can approach it:
Finding Your Inspiration
Look around you—nature, architecture, and even everyday objects can spark creativity. For instance, a tree-inspired bookshelf design can transform a plain wall into a stunning focal point, with branches serving as shelves. Whether it's the organic complexity of a tree or the sleek lines of modern art, let your surroundings inform your design.
Visualizing Your Design
Once inspired, visualize how your bookshelves will look in your space. Consider the room's existing decor and how your bookshelves will complement or contrast it. Use tools like sketching or digital design software to bring your ideas to life. This step helps you foresee and tweak your design before any construction begins.
Personalizing Your Concept
Your bookshelves should reflect your personality and meet your needs. Are you aiming for a cozy reading nook or a grand display for your collectibles? Maybe you want a multi-functional piece that includes a workspace. Think about the features that will make the bookshelves truly yours.
Planning for Functionality
While aesthetics are important, functionality is key. Plan for the number of shelves, their dimensions, and the weight they'll need to support. Consider the practical aspects, such as ease of access and the type of items you'll store.
Materializing Your Ideas
With a clear concept in mind, it's time to think about materials. Will you use rich, dark woods for a classic look or painted MDF for a modern touch? The materials you choose will affect both the appearance and the durability of your bookshelves.
Follow these steps to lay a strong foundation for your DIY project's design. This phase combines creativity and practicality, shaping your vision.
Troubleshooting Common Issues
Building your own floor-to-ceiling bookshelves can be a rewarding DIY project, but it's not without its challenges. Here are some common issues you might encounter and how to solve them:
Uneven Floors and Walls
- Problem: Your floors or walls may not be perfectly level, which can lead to shelves that look skewed.
- Solution: Use a spirit level to check for unevenness. Shim the base of the bookshelf or adjust the wall mounts to level out the shelves.
Insufficient Wall Support
- Problem: The walls may not provide enough support for the weight of the bookshelves.
- Solution: Locate the wall studs and secure the bookshelves to them. If studs are not available, use heavy-duty wall anchors designed for the weight of your shelves.
Sagging Shelves
- Problem: Over time, shelves might sag under the weight of books.
- Solution: Use thicker or stronger materials for shelves. Reinforce long spans with additional supports or brackets.
Difficulty in Assembly
- Problem: Assembling large bookshelves can be cumbersome and challenging.
- Solution: Build the bookshelves in sections that can be easily assembled in place. Enlist a friend to help with the lifting and holding of parts during assembly.
Mismatched Wood Stains
- Problem: The stain on your wood may not be uniform, leading to a patchy appearance.
- Solution: Apply a pre-stain wood conditioner before staining. Test the stain on a scrap piece of wood to ensure consistency.
Damaged Surfaces
- Problem: The surface of your bookshelves can get scratched or dented during construction.
- Solution: Use wood filler to repair minor damage. Sand the area smooth before applying the finish.
Tight Fitting Shelves
- Problem: Shelves might fit too tightly, making it difficult to adjust or remove them.
- Solution: Sand the edges of the shelves for a better fit. Leave a small clearance space when measuring and cutting your shelves.
Anticipate issues and plan well to tackle your DIY project for a professional result.
FAQs About DIY Floor-to-Ceiling Bookshelves
Discover answers to common FAQs about DIY floor-to-ceiling bookshelves. Get tips, materials, and step-by-step guidance for your home project.
To ensure stability and security:
Locate the wall studs and attach the bookshelf frame to them
Use heavy-duty wall anchors if studs are not available
Ensure the shelves are evenly distributed and level
Consider attaching a backing board to prevent books from falling behind the shelves.
Yes, you can adjust the shelf heights by:
Planning the layout before assembly
Using adjustable shelf pins for flexibility
Leaving extra space on one or more shelves for larger items
Ensuring there is at least 12-16 inches between each shelf for standard-sized books.
For a professional finish:
Sand the wood smoothly before painting or staining
Apply a primer if you are painting the wood
Use paint or stain that complements your room’s decor
Consider adding molding or trim to the edges for a built-in look.
To style your bookshelves:
Arrange books vertically and horizontally for visual interest
Include decorative items like vases, frames, or plants
Use bookends to keep books in place
Leave some empty space on each shelf to avoid a cluttered look
Vary the height and size of items to build balance.
Proper measurement and planning are crucial for a successful DIY bookshelf project. Here's what you need to do:
Measure the height of your ceiling at multiple points to account for any unevenness. Use the smallest measurement to ensure a good fit.
Decide on the width and depth of your bookshelves based on the space available and your storage needs.
Plan the number of shelves and the spacing between them, keeping in mind the size of items you'll be storing.
Check for obstructions like electrical outlets or vents that might affect the placement of your bookshelves.
Sketch a rough layout to visualize the end result and make any necessary adjustments before you start building.
Conclusion
In conclusion, building DIY floor-to-ceiling built-in bookshelves can transform your space while showcasing your style. With the right tools and creativity, you can build functional and attractive storage in your home.


