One day, I decided to make my own air freshener at home. It seemed like a fun project, and I wanted to use natural ingredients. I researched and found that it wasn't as hard as I thought. I gathered essential oils, baking soda, and water. The process felt exciting and simple.
I mixed the ingredients, adjusting the scents to fit my taste. It was a process of trial and error, but it was worth it. My home smelled amazing, and the air freshener was free from harsh chemicals. I was proud of my creation, and it inspired me to make more DIY projects. I believe this guide will help you craft your own natural air freshener easily.
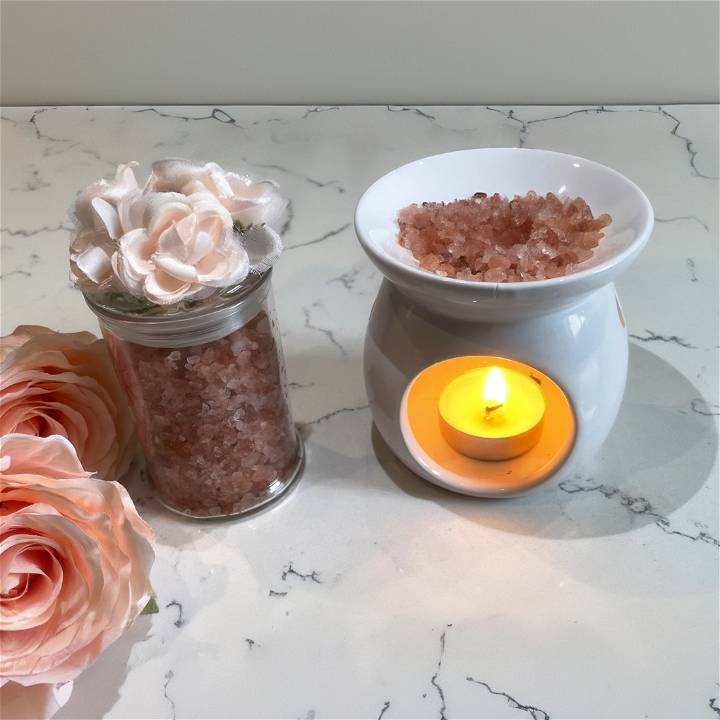
Let DIY air freshener be your first step into making a healthier, more pleasant home. I found it rewarding to make something from scratch that was both beneficial and personalized. Give it a try, and see how simple and satisfying it is to make your own.
Why DIY Air Fresheners?
In today's world, where we are constantly seeking ways to make our homes more comfortable and inviting, air fresheners have become a common household item. However, store-bought air fresheners often contain chemicals that can be harmful to our health and the environment. This is where DIY air fresheners come into play.
Health and Environment Friendly
One of the main reasons to opt for DIY air fresheners is that they are health and environment-friendly. Store-bought air fresheners often contain chemicals like phthalates and formaldehyde, which can cause health issues. On the other hand, DIY air fresheners allow you to use natural ingredients like essential oils, which are safer for your health and the environment.
Cost-Effective
Another advantage of DIY air fresheners is that they are cost-effective. The ingredients needed for making your own air fresheners, such as essential oils and baking soda, are relatively inexpensive. Plus, you can make them in bulk, saving you money in the long run.
Understanding Air Fresheners
Air fresheners have become an integral part of our lives, helping us make a pleasant and inviting atmosphere in our homes, cars, and workplaces. But what exactly are air fresheners, and how do they work? Let's delve into this topic.
What are Air Fresheners?
Air fresheners are products used to mask or remove unpleasant room odors. These products introduce fragrance into the air of interior spaces either through heat, evaporation, or mechanical methods. Besides providing a pleasant scent, air fresheners are also used for their aesthetic qualities and can contribute to a comfortable and inviting atmosphere.
Types of Air Fresheners
Air fresheners come in various forms, each with its own advantages and disadvantages. Here are a few common types:
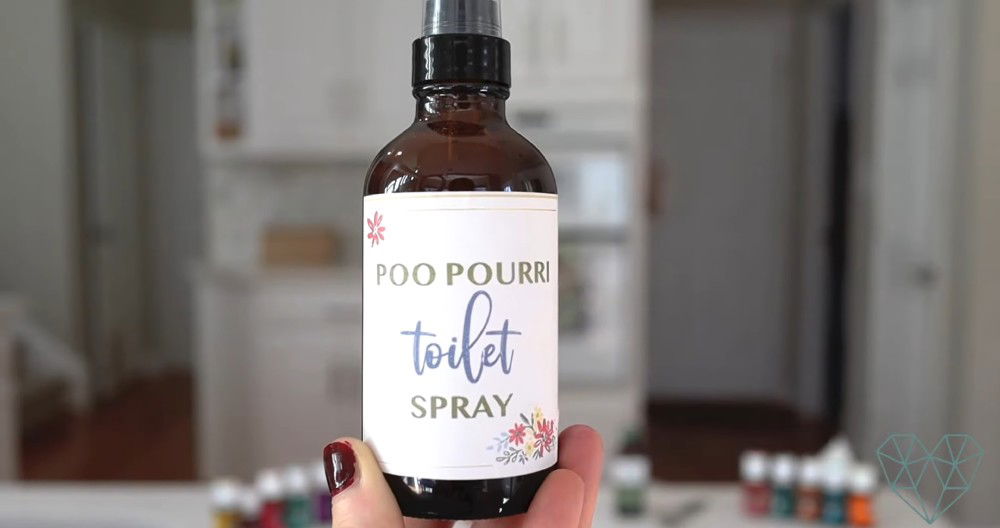
- Sprays: These are the most common type of air fresheners. They are portable and allow you to instantly add fragrance to your space. However, the scent of sprays tends to fade quickly.
- Plug-ins: These air fresheners are plugged into a wall outlet and typically use heat to release their fragrance. Plug-ins generally last longer than sprays but can be a fire hazard if not used properly.
- Gels and Beads: These types of air fresheners work through evaporation. They are easy to use and relatively long-lasting, but the intensity of the fragrance diminishes over time.
- Candles: Scented candles can provide a cozy atmosphere while freshening the air. However, like plug-ins, they can be a fire hazard.
How Do Air Fresheners Work?
Most air fresheners work by masking the bad odor with fragrance. Others use chemicals to neutralize the bad odors. Some air fresheners use a combination of both methods. It's important to note that while air fresheners can mask or neutralize odors, they do not eliminate the source of the odor.
Understanding air fresheners helps choose the right product. Try spray, plug-in, or candle. DIY option with natural ingredients possible.
How to Make an Air Freshener - Step by Step Guide
Learn how to make a homemade air freshener with this easy step-by-step guide. Make your own custom scents for a fresher, cleaner home today!
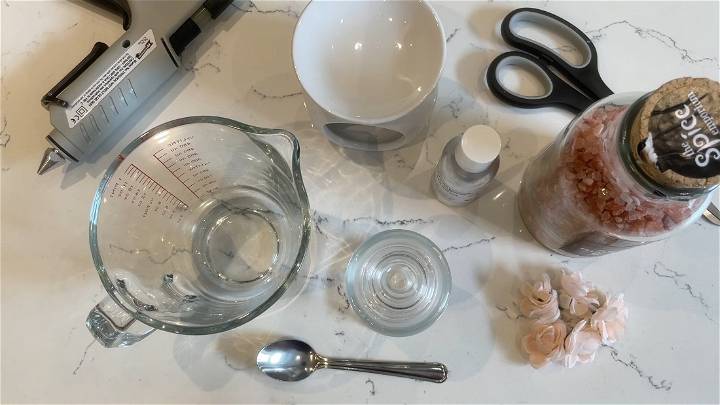
What You Need
- Coarse Himalayan salt, or you can also use coarse sea salt or Epsom salts.
- Fragrance oil of your choice (essential oils work great too).
- A decorative jar with a lid.
- Silk flowers for decoration (optional).
- Hot glue gun for attaching decorations (optional).
- A small oil burner and tea light candle (optional for heat diffusion).
Step-By-Step Instructions
Make a fragrant atmosphere in your home with this DIY Room Freshener that smells better than wax melts.
- Choosing Your Salt: Start by selecting a coarse Himalayan salt, coarse sea salt, or Epsom salts. Avoid using fine table salt as it's too lightweight and fine for this purpose.
- Selecting Your Fragrance: Pick a fragrance oil that you love. Essential oils are also a perfect choice for this project, providing natural, therapeutic benefits alongside delightful scents.
- Preparing Your Jar: No need to measure precisely; just fill your chosen decorative jar with the salt of your choice. Aim to fill the jar to just below the rim, leaving enough space to mix in the fragrance oil without spilling.
- Adding Fragrance: For the amount of salt that fits in a standard jar, use about two teaspoons of fragrance oil. Mix well until every grain of salt is coated with the fragrance oil. This ensures a consistent scent when the freshener is used.
- Decorating Your Jar (Optional): If you'd like, decorate the lid of your jar with silk flowers or any other decorations you have at hand. Hot glue can be used to securely attach decorations. Remember, this step is optional; the scent will be just as wonderful without decorations.
- Using Your Room Freshener:
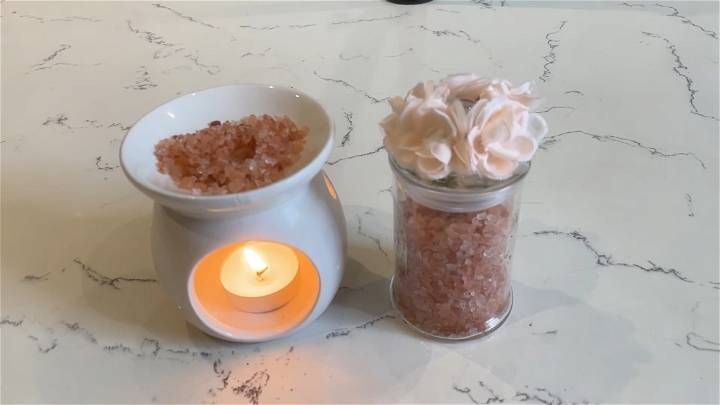
- With Heat: For a stronger scent, use your room freshener with a small oil burner and a tea light candle. Place a teaspoon or two of the scented salts into the burner's basin, then light the candle underneath. As the salts heat up, they'll release the fragrance into your room.
- Without Heat: Simply opening the jar and leaving it in your desired room can passively diffuse the scent. The aroma will be milder and spread more slowly compared to using heat.
Tips for Best Results
- Experiment with different salt and fragrance oil combinations to find what works best for you.
- Ensure your jar is not fully sealed if using heat diffusion; you want the scent to escape and fill the room.
- Always place the oil burner on a heat-resistant surface and never leave a burning candle unattended.
Video Tutorial
For a step-by-step video tutorial on how to make your own room air freshener, watch this helpful guide on YouTube.
It pairs well with this written guide, illuminating the process with visual cues to foster an even clearer understanding of each step.
By following these steps, you can easily make a delightful room freshener that's both effective and aesthetically pleasing. Whether you're looking to enhance the ambiance of your home or gift a thoughtful handmade item, this DIY project is sure to please.
Customization Ideas for DIY Air Fresheners
One of the most exciting aspects of making your own DIY air fresheners is the ability to customize them to your liking. This not only includes the scent but also the presentation. Here are some ideas to inspire you.
Scent Combinations
The scent of your air freshener can be tailored to your preference. Here are a few combinations that you might find appealing:
- Citrus Burst: Combine lemon, lime, and orange essential oils for a fresh and invigorating scent.
- Relaxing Lavender: Use lavender essential oil for a calming and relaxing aroma.
- Minty Fresh: Peppermint essential oil can make a refreshing and clean scent.
Remember, the strength of the scent can be adjusted by adding more or fewer drops of essential oil.
Decorative Ideas
Your air freshener can also be customized for presentation. Consider these ideas:
- Seasonal Themes: Decorate the container of your air freshener according to the season. For example, you could use bright colors for spring, warm tones for autumn, or festive decorations for the holiday season.
- Personal Touch: Add personal touches such as stickers, ribbons, or even a hand-painted design.
- Upcycled Containers: Consider using upcycled items as your container. This could be an old mason jar, a used candle jar, or even a vintage teacup.
Experiment and Have Fun
The most important thing is to have fun with it. Experiment with different scent combinations and decorations until you find what works best for you. Remember, the goal is to make an air freshener that you love and enjoy using.
Make your own air freshener to showcase creativity and improve your home's scent. Give it a shot and uncover a new hobby.
Safety Precautions for DIY Air Fresheners
Making your own DIY air fresheners can be a fun and rewarding experience. However, it's important to keep safety in mind. Here are some safety precautions to consider when making your own air fresheners.
Handling Essential Oils
Essential oils are a common ingredient in DIY air fresheners. While they are natural, they are also highly concentrated and can cause irritation if not handled properly.
- Skin Contact: Essential oils should not be applied directly to the skin as they can cause irritation. Always dilute them with a carrier oil or water.
- Ingestion: Essential oils are not meant to be ingested. Keep them out of reach of children and pets.
- Eye Contact: Avoid getting essential oils in your eyes. If this happens, rinse your eyes with water immediately and seek medical attention if necessary.
Using Heat
Some DIY air freshener recipes may require the use of heat, such as melting wax or heating oil. Be careful when handling hot materials to avoid burns.
Proper Ventilation
When making and using your DIY air fresheners, ensure the area is well ventilated. This is especially important if you're using strong scents or if you're sensitive to certain smells.
Allergies and Sensitivities
Before using a new scent or ingredient, test a small amount to make sure you don't have an allergic reaction or sensitivity to it. If you experience any discomfort or adverse reactions, discontinue use immediately.
When making DIY air fresheners, prioritize safety. Always handle materials carefully, test for allergies, and maintain good ventilation.
Maintenance and Shelf Life of DIY Air Fresheners
When it comes to DIY air fresheners, understanding their maintenance and shelf life is crucial. This ensures that your homemade air fresheners remain effective and safe to use.
Maintenance of DIY Air Fresheners
Maintaining your DIY air fresheners is relatively straightforward. Here are a few tips:
- Regular Stirring: If you're using a gel or bead-based air freshener, give it a gentle stir every few days to help distribute the scent evenly.
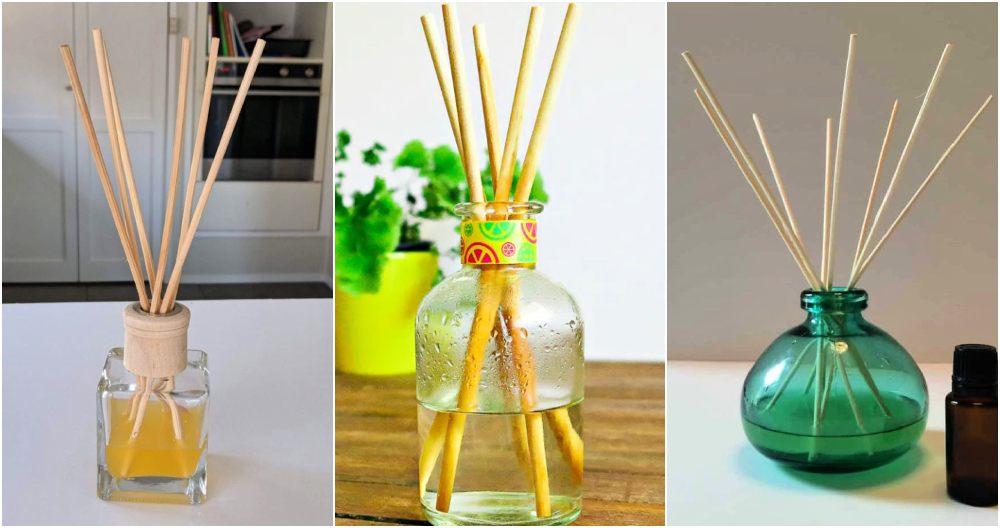
- Refills: For spray or diffuser types, refill the container with your fragrance mixture whenever it runs low.
Shelf Life of DIY Air Fresheners
The shelf life of DIY air fresheners can vary depending on the ingredients used. However, here are some general guidelines:
- Essential Oil-Based Fresheners: These can last for a couple of months. Remember, essential oils can lose their potency over time, so it's best to use your air freshener within this timeframe.
- Citrus-Based Fresheners: These have a shorter shelf life, typically lasting a few weeks. Citrus fruits are perishable, so use these air fresheners quickly.
Signs to Make a New Batch
Knowing when to make a new batch of air freshener is important. Here are some signs:
- Weakened Scent: If the fragrance has noticeably weakened, it's probably time to make a new batch.
- Change in Appearance: Any changes in color or consistency could indicate that the air freshener is past its prime.
Proper upkeep and knowing DIY air fresheners' shelf life keeps them effective and safe.
FAQs About DIY Air Freshener
Discover all the answers to your FAQs About DIY Air Freshener. Find out how to make your own natural, cost-effective air fresheners at home.
What are the best essential oils to use in a DIY air freshener?
There are many essential oils that work well in a DIY air freshener. Some popular choices include lavender for a calming effect, lemon or other citrus oils for a fresh, clean scent, and peppermint for a refreshing aroma.
Can I use any type of container for my DIY air freshener?
Yes, you can use any type of container as long as it's safe to use with the ingredients of your air freshener. Glass containers are often a good choice because they don't react with essential oils.
How often should I replace the ingredients in my DIY air freshener?
This can vary depending on the ingredients used, but a good rule of thumb is to replace the ingredients when the scent starts to fade. This is typically every few weeks.
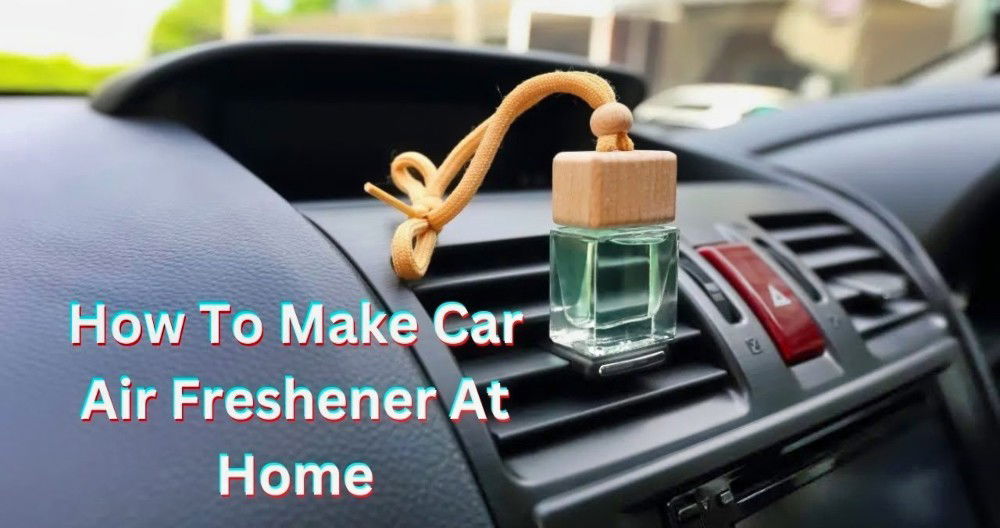
Can I use my DIY air freshener in my car?
Yes, you can use your DIY air freshener in your car. However, be sure to secure it properly to prevent spills.
Is it safe to use DIY air fresheners around pets?
While DIY air fresheners are generally safer than store-bought ones, some essential oils can be harmful to pets. Always research the safety of the ingredients for your specific type of pet.
Can I make a DIY air freshener without essential oils?
Yes, there are many other ingredients you can use to scent your DIY air freshener, such as herbs, spices, and citrus peels.
Why isn't the scent of my DIY air freshener very strong?
If the scent of your DIY air freshener isn't very strong, you may need to add more of your fragrance ingredient, such as essential oils. However, be careful not to add too much as this can be overpowering.
Can I use a DIY air freshener to cover up smoke smells?
While a DIY air freshener can help mask smoke smells, it won't eliminate them completely. For best results, air out the room and clean any surfaces affected by the smoke.
How can I make my DIY air freshener last longer?
To make your DIY air freshener last longer, make sure to keep it in a cool, dark place when not in use. Exposure to light and heat can cause the fragrance to evaporate faster.
Can I use a DIY air freshener in my bathroom?
Yes, a DIY air freshener can be an excellent addition to your bathroom. Just be sure to choose a scent that is fresh and clean.
Conclusion:
Wrapping up this article, making your DIY air freshener is not only fun but also cost-effective. With simple ingredients and easy steps, you can enjoy a fresh and pleasant atmosphere in your home.


