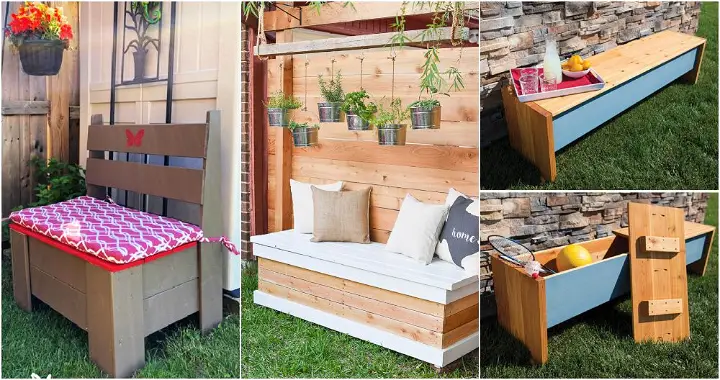
Feeling inspired by minimalist design, I stumbled upon a free plan for a modern DIY bench. I wanted to challenge myself and add a personal touch to my outdoor space. The plan was straightforward, and with some basic tools, I started gathering materials.
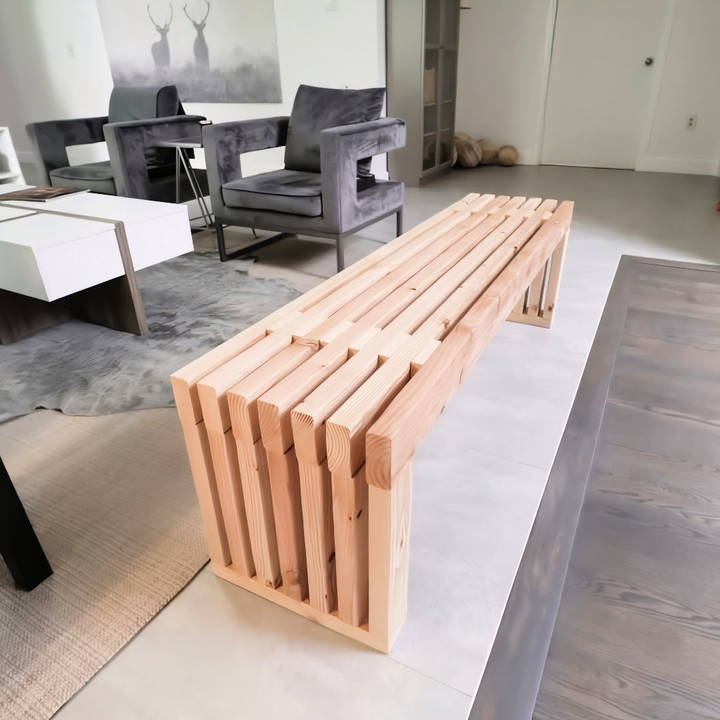
As I worked through the steps, I learned new woodworking techniques and gained confidence. Seeing the bench come together was incredibly satisfying, and it became the centerpiece of my patio. Friends and family complimented my work, and I felt proud of what I had accomplished.
Building this bench was a rewarding experience, and I believe anyone can do it with the right guidance. I'm sharing this to help you build your own modern DIY bench using the free plan.
Gathering the Materials
The first step was to gather all the necessary materials. The bench design we opted for required the following:
- Lumber (2x4s and 1x4s): Lumber serves as the skeleton of the bench, providing stability and structure.
- Miter Saw: Essential for making precise cuts for the bench legs and top.
- Screws (1 * ½ inch and 3 ½ inch): To assemble the bench parts securely.
- Drill with Drill Bits: For pre-drilling holes to prevent the wood from splitting.
- Sanding Papers (Coarse and 220 grit): To smooth out the rough edges and surfaces.
- Clear Lacquer: To finish the bench and enhance the wood's natural beauty.
- Pocket Hole Jig: For drilling angled holes that hide the screws and provide a clean finish.
Step by Step Instructions
Learn how to build a modern DIY bench with step-by-step instructions, from cutting wood to assembly and finishing. Ideal for woodworking enthusiasts!
Cutting the Wood
We started by marking and cutting the 2x4s to five feet lengths on the miter saw. This would form the top of the bench. We needed seven pieces of this length. For the spacers between the bench slats, we cut twelve 1x4s to length using the first cut piece as a reference for the others.
Assembling the Bench Top
We measured and marked eight inches from the ends of the 2x4s for the placement of the 1x4 spacers. After a dry assembly to check the fit, we tacked the spacers in place and drilled pilot holes for the screws. This preliminary step ensured the wood wouldn't split when we secured the pieces together.
The diagonal positioning of the screws was a little trick we used to ensure no interference with subsequent layers. This was crucial for building a strong bench top.
Crafting and Attaching the Legs
The next step involved cutting fourteen 2x4s to 13 inches for the legs. We made use of a pocket hole jig to build seamless connections between the legs and the bench top, making sure to sand down the legs before installation for a smooth finish. Sanding the legs prior to attaching them to the bench made it much simpler and less cumbersome.
Finishing Touches
Once the legs were attached and the bench structure was complete, we moved on to sanding. Starting with a coarse sandpaper, we leveled the surface and spacers until they were smooth to the touch. Graduating to a 220-grit orbital sander, we finished the sanding process to achieve a soft, even surface.
To seal and protect the wood, we opted for a clear lacquer. Lacquer was our finishing choice since it doesn't alter the wood's natural color but enhances the grain, providing a subtle shine and smooth feel.
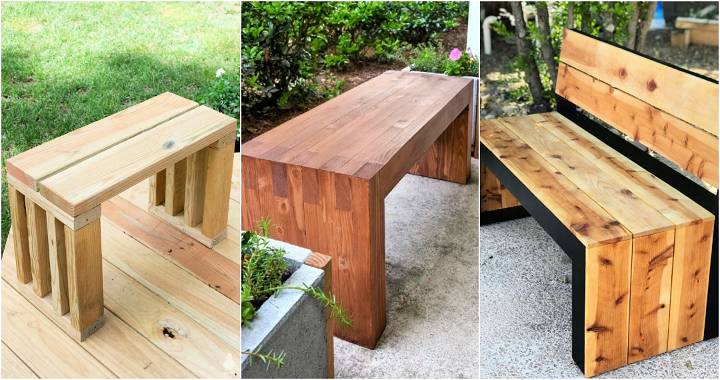
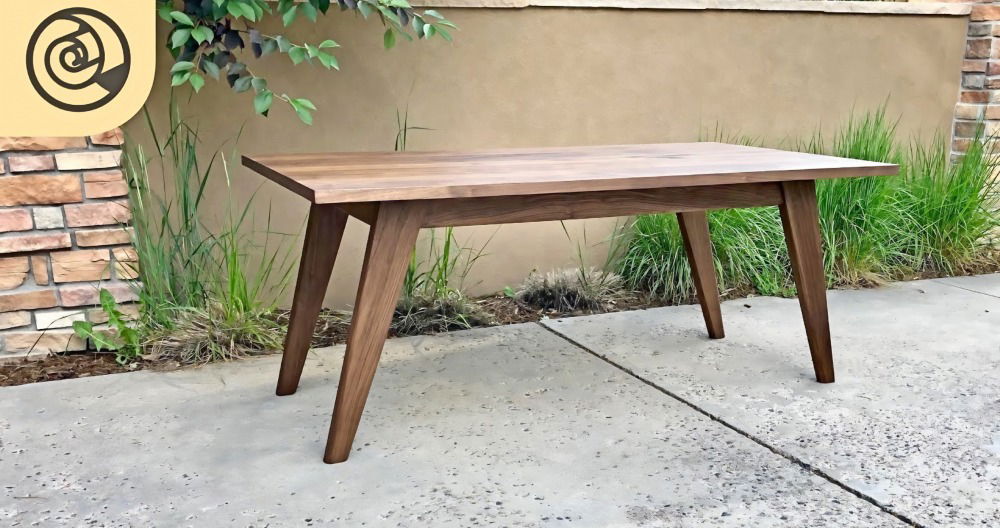
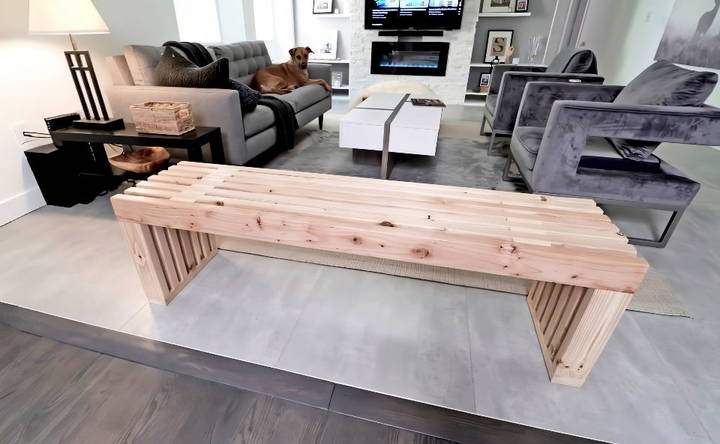
The final bench measures five feet long, 15 inches deep, and 18 inches tall. It fits perfectly in our living room, offering additional seating while bringing a touch of modernity to our home decor.
This project, while simple enough, taught us the importance of precision and patience, especially in the planning and preparation stages. From selecting the right materials to the final lacquer application, each step was a learning opportunity.
Design Customization Ideas
When it comes to making a modern DIY bench, the beauty lies in its versatility. Here are some design customization ideas that can help you tailor your bench to your personal style and the functionality you need:
- Choose Your Style: Start by deciding on the overall look you want to achieve. Do you prefer a sleek, minimalist design, or are you drawn to a more rustic, farmhouse aesthetic? Your style choice will guide the materials and finishes you select.
- Material Matters: For a modern look, consider materials like metal for the legs and a smooth, finished wood for the seat. For a warmer, rustic bench, reclaimed wood can add character and charm.
- Color Your World: Paint can transform your bench. A bold color can make it a focal point, while a subdued hue can help it blend with your decor. If you're using wood, consider a stain to enhance its natural beauty.
- Functional Flair: Think about how you can add functionality to your bench. Storage options like shelves or drawers underneath the seat can provide practical solutions for small spaces.
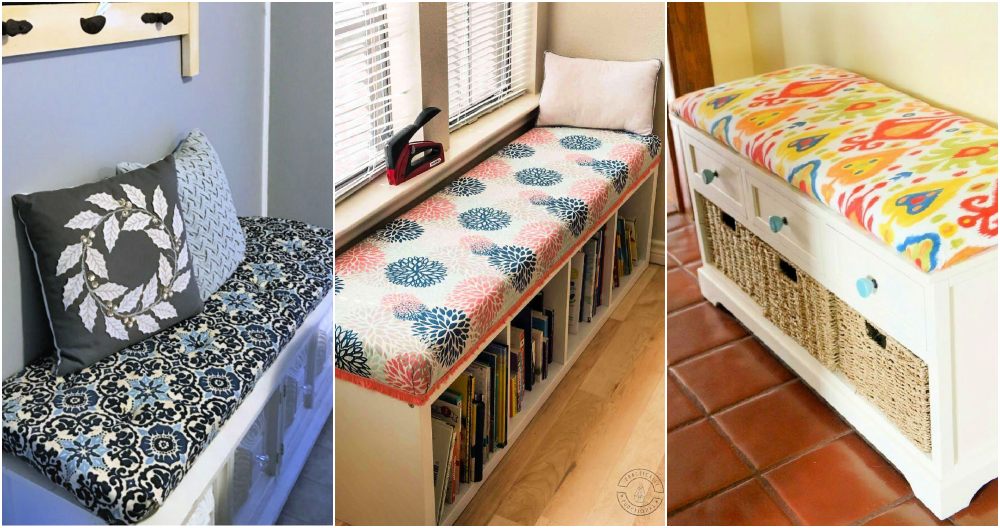
- Comfort is Key: If your bench will be used for seating, comfort is important. Add a cushioned seat or backrest upholstered in a durable fabric that complements your color scheme.
- Personal Touches: Finally, make your bench truly yours by adding personal touches. This could be as simple as decorative knobs on drawers or as intricate as a hand-carved design on the wood.
The goal is to build a bench that not only looks great but also serves the needs of your home and reflects your personal style.
Advanced Techniques
Experienced bench-makers can enhance their DIY projects with advanced woodworking techniques for added beauty and functionality. Here's a guide to elevate your modern DIY bench skills:
- Incorporating a Tail Vise: A tail vise is a versatile tool that allows you to secure workpieces for various tasks, including face- and edge-planing. It can be daunting to install, but with careful planning and precision, it can greatly enhance the functionality of your bench.
- Dovetail Joints: Known for their strength and aesthetic appeal, dovetail joints are a hallmark of fine woodworking. They require precision cutting but offer a visually striking way to join corners that will stand the test of time.
- Mortise and Tenon Joints: This classic joint has been used for thousands of years for a reason. It's strong and, once mastered, relatively straightforward to make. It's ideal for attaching legs to the benchtop or for any other structural connections.
- Bench Dogs and Holdfasts: These are simple yet effective tools for holding your workpiece steady. Bench dogs work in tandem with a vise, while holdfasts can be quickly moved and set anywhere you have a hole in your benchtop.
- Planing Stop: A planning stop is a simple device that prevents your workpiece from moving while planning. It's especially useful when working with thin or narrow boards.
- Wagon Vise: Similar to a tail vise, a wagon vise is integrated into the benchtop and is excellent for securing workpieces flat on the bench for planning or other tasks.
Incorporating these advanced techniques will enhance your project's quality and durability, making the process enjoyable and the outcome unique.
Maintenance and Care Tips
Keeping your DIY bench in top condition doesn't have to be complicated. Here are some straightforward tips to help you maintain and care for your bench, ensuring it remains a beautiful and functional part of your home for years to come:
- Regular Cleaning: Dust and wipe down your bench regularly. If it's made of wood, use a soft cloth slightly dampened with water or a wood cleaner. For metal parts, a mild soap solution can prevent grime build-up.
- Check for Wear and Tear: Periodically inspect your bench for any signs of damage. Look for loose screws, wobbly legs, or any wear that might need fixing. Tighten and repair as needed to maintain stability and safety.
- Protective Finishes: Apply a protective finish such as polyurethane, especially if the bench is used outdoors. This will guard against weather damage and wear and tear, keeping the wood looking fresh and new.
- Cushion Care: If your bench has cushions, vacuum them to remove dust and crumbs. Spot-clean any stains with a mild detergent and warm water. For seasonal storage, keep cushions in a cool, dry place, preferably in breathable bags, to prevent mold and mildew.
- Weatherproofing: For outdoor benches, consider applying a waterproof sealant to protect the wood from rain, snow, and sun. Reapply the sealant as recommended by the manufacturer to ensure ongoing protection.
- Sunlight Protection: If your bench is exposed to direct sunlight, rotate the cushions occasionally to ensure even color fading and prevent one side from becoming more worn than the other.
By following these simple maintenance and care tips, you can enjoy your DIY bench for many gatherings, quiet moments, and everything in between.
FAQs About Building a Modern DIY Bench
Discover answers to frequently asked questions about building a modern DIY bench, including materials, tools, and step-by-step instructions for a stylish, sturdy bench.
Yes, many DIY bench plans are designed for beginners and include step-by-step instructions. Start with a simple design, such as a basic outdoor bench or a mudroom bench from scrap wood, which requires minimal tools and materials.
To ensure stability:
Use a level to check that your bench is even during assembly.
Make sure all joints are tight and well-secured with screws or nails.
Choose a design that includes bracing or stretchers between the legs for added support.
Yes, you can build a bench suitable for outdoor use by selecting the right type of wood, such as cedar or teak, and applying a protective finish to withstand the elements.
Absolutely! You can customize your bench by choosing different types of wood, finishes, and even adding upholstery or woven elements to match your home’s style. There are plans available for benches with a variety of design elements, like woven leather or tufted cushions.
Selecting the right finish for your bench depends on its use and location:
For indoor benches, you might opt for a stain to enhance the wood's natural beauty or paint for a more vibrant look.
For outdoor benches, choose a sealant that protects against moisture and UV rays. Always consider the durability and maintenance required for the finish you choose.
Tips for Fellow DIY Enthusiasts
I hope my story inspires you to pick up some tools and start building a modern DIY bench. Trust me, the satisfaction of making something with your own hands is worth it.


