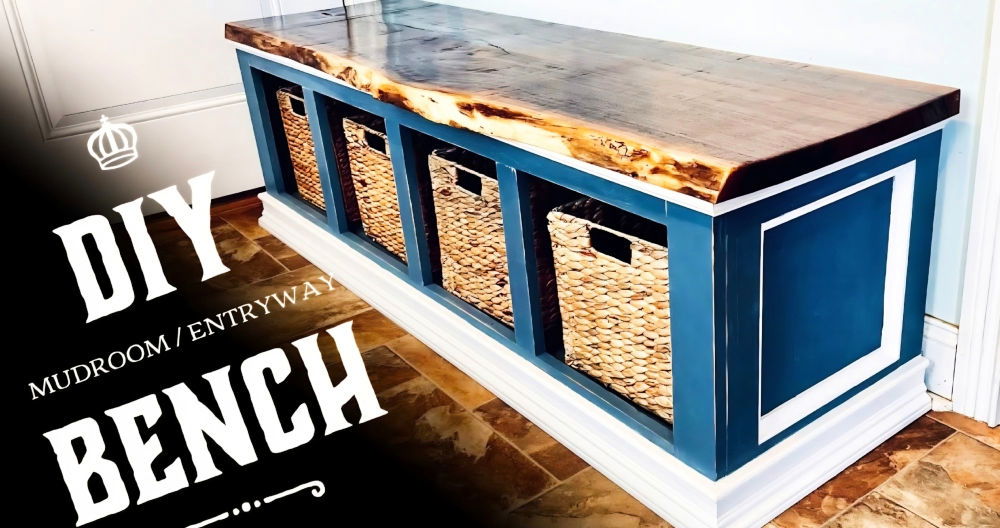
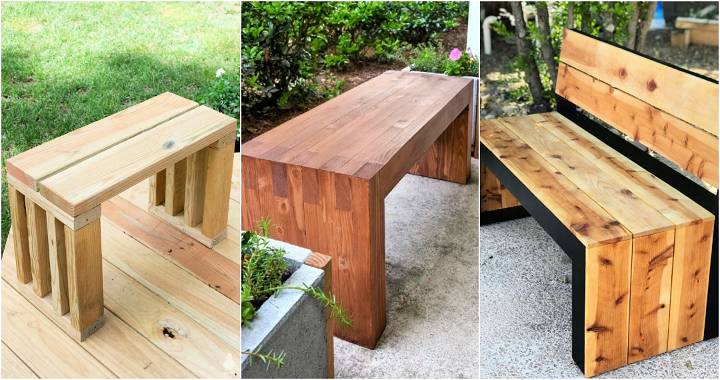
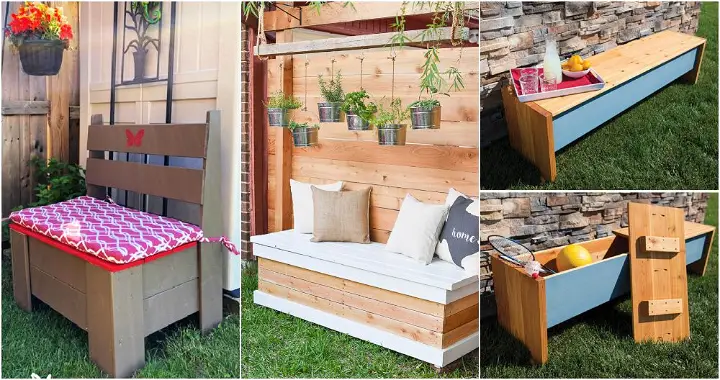
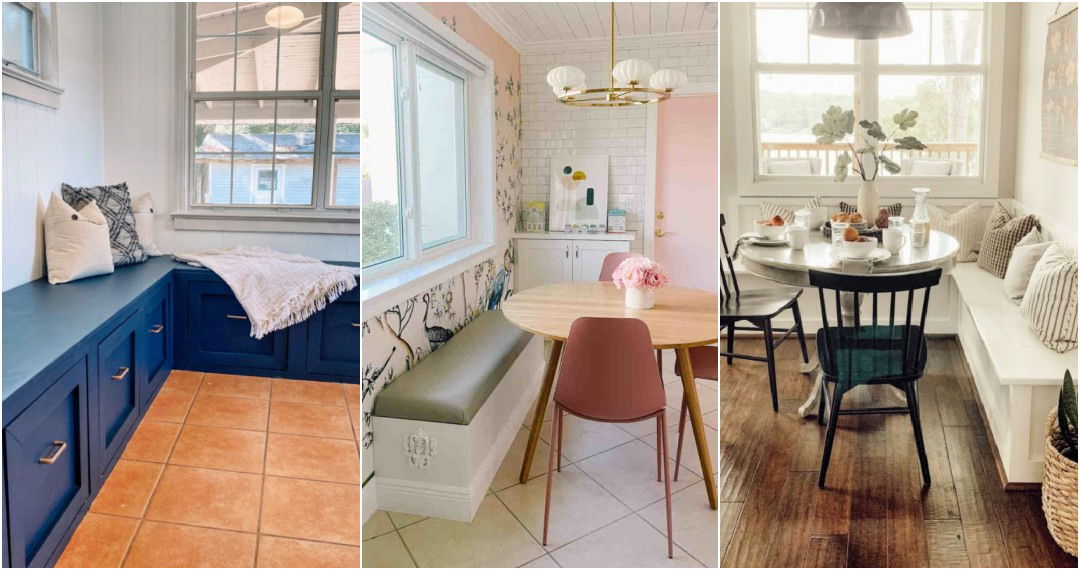
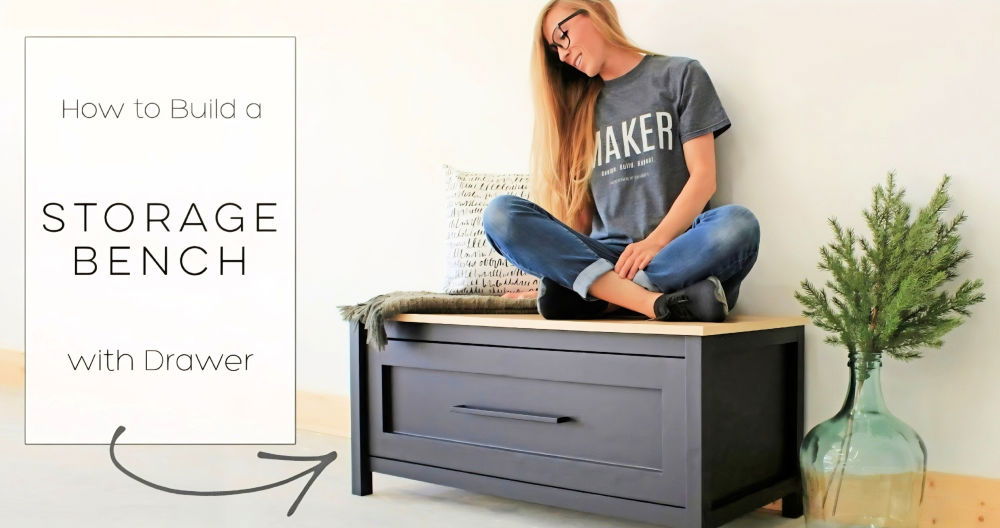
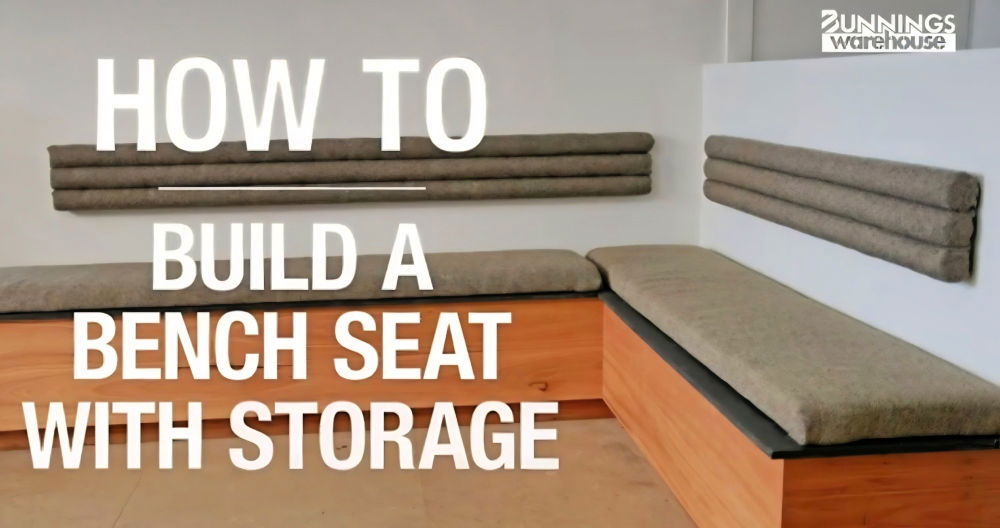
Building functional furniture can be a rewarding experience, especially when it seamlessly integrates into your living space. One such project I undertook was building a DIY entryway storage bench tailored to fit perfectly in a small entryway.
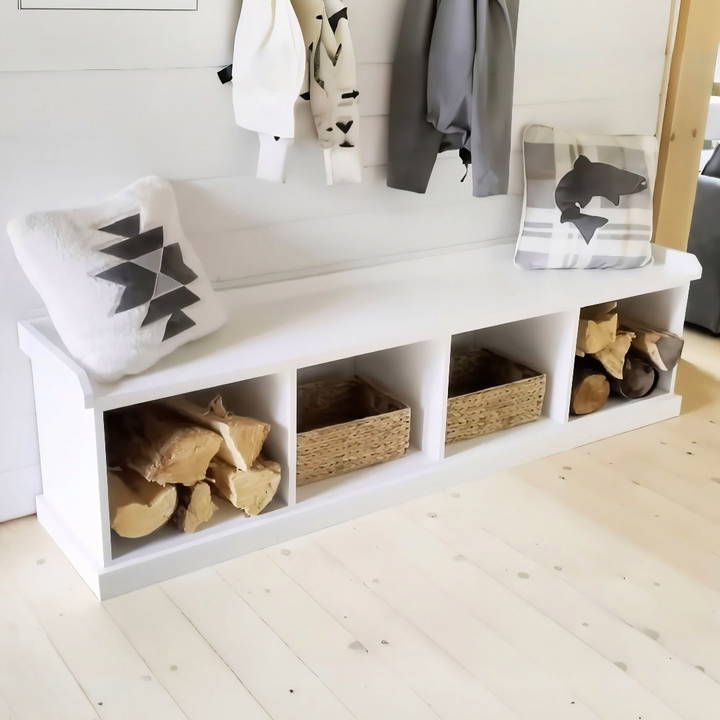
This simple guide will walk you through the process, from gathering materials to the final touches, ensuring you have all the insights and practical tips needed for a successful build.
Why Build an Entryway Bench?
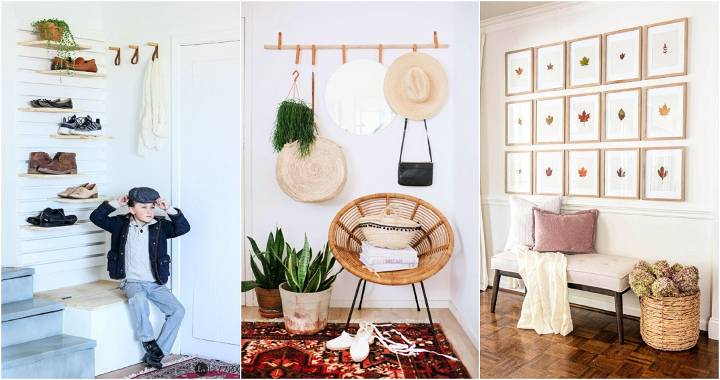
Before diving into the build, let's discuss why constructing an entryway bench is beneficial. I've crafted this piece multiple times in various sizes and configurations because of its versatility and practicality. Not only does it provide ample storage, but it also acts as a welcoming statement piece for any entryway. Its open design makes small spaces feel larger, and when paired with a matching shelf above, it can transform an entryway into a functional mudroom without major renovations. Plus, it's a budget-friendly project that doesn't compromise on aesthetics.
Materials and Tools You'll Need
Discover the essential materials and tools you'll need for your project. Get a comprehensive list of supplies and equipment for success.
List of Materials
- Plywood: Serves as the primary structure. It's sturdy and relatively inexpensive.
- 1x3 Boards: Used for base supports and trim. These add reinforcement and a polished look.
- Brad Nails and Wood Glue: Essential for nailing and gluing parts together for strong joints.
- Wood Filler: Helps fill nail holes and any imperfections for a smooth finish.
- Sandpaper (120 grit) and Sanding Sponge: For smoothing out surfaces before painting.
- Primer and Paint: To finish the project with color and protection against wear.
Essential Tools
- Drill and Drill Bits: For attaching pieces with screws. Pocket hole jig is also useful.
- Saw: To cut materials to the required sizes.
- Tape Measure and Pencil: For measuring and marking cuts accurately.
- Nail Gun: Useful for quickly securing pieces together.
- Screwdriver: For tightening screws, especially when attaching the top.
Each item listed above plays a crucial role. The right materials and tools ensure the bench is not only functional but withstands daily use.
Step by Step Instructions
Learn how to build a DIY entryway bench with our step-by-step guide, from design to final inspection. Perfect for any home project!
Step 1: Design and Planning
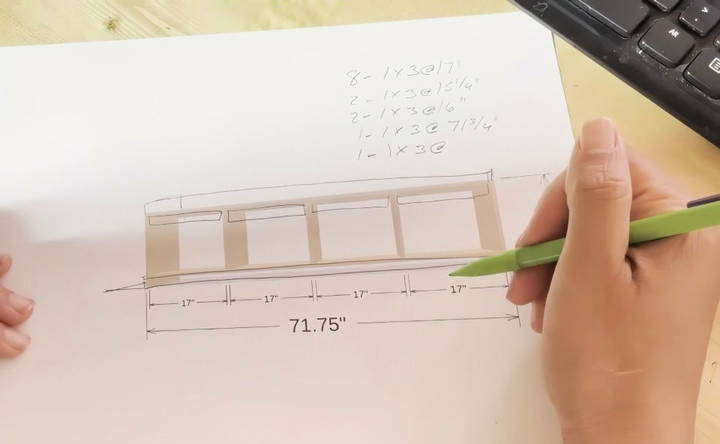
Before cutting or assembling, I measured my entryway to determine the ideal size for the bench. A 6-foot long bench fit perfectly, using a four-bay design to incorporate adequate storage without overwhelming the space. Planning these dimensions is crucial for making a piece that suits your specific needs.
Step 2: Cutting the Plywood
Using the plan, cut the plywood into the top, bottom, and side panels, as well as the dividers for the bays. Proper measurements ensure the pieces fit together seamlessly.
Step 3: Building the Frame
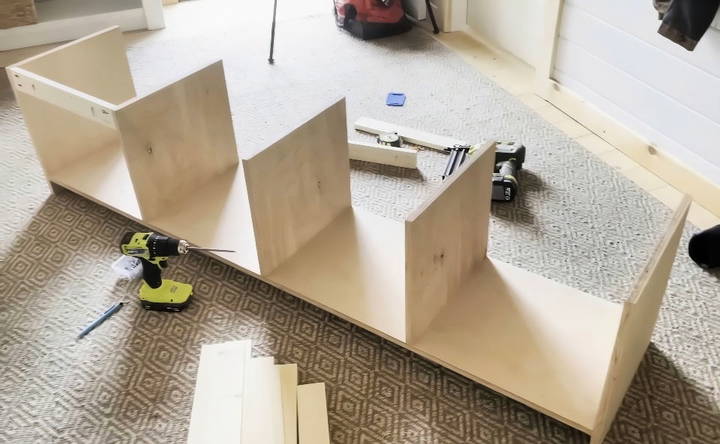
Start by assembling the bottom shelf by attaching it to the side panels. Use pre-cut base supports as guides for positioning the dividers. Secure these dividers with brad nails and glue, ensuring they're aligned correctly for structural integrity.
Step 4: Adding Base and Top Supports
Attach the base supports across the bottom, and the top supports across the top, using pocket holes. This step reinforces the overall structure and stabilizes the dividers.
Step 5: Center Leg Installation
Given the bench's length, I added a center leg to prevent sagging. Calculate the required height, assemble the leg, and place it in the middle. Once the trim is added, this support remains hidden, offering extra stability.
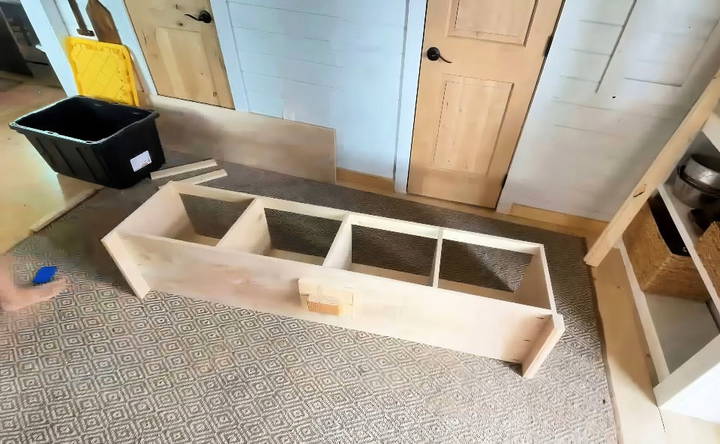
Step 6: Installing the Trim
With the main frame completed, proceed with the trim. Measure and cut pieces that will cover the base and top, and attach them carefully. Nailing them slightly at an angle helps to secure them more effectively.
Step 7: Surface Preparation
Fill all nail holes using wood filler and allow it to dry. Sand the entire bench with a sanding sponge and 120 grit paper to smooth the surfaces, preparing them for a flawless paint job.
Step 8: Priming and Painting
Before painting, I separated the top and bottom parts to allow for better accessibility. Apply primer and your chosen paint, ensuring even coverage on all surfaces. This step not only enhances the bench's look but also protects the wood.
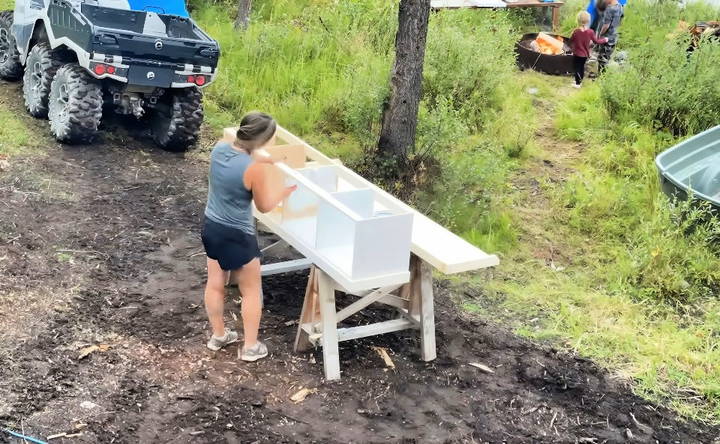
Step 9: Attaching the Bench Top
Once the paint dries, reattach the top section using pre-drilled pocket holes and screws. This method conceals the hardware for a neat finish.
Final Inspection and Touch-Ups
Your bench is now complete! Perform a final check to ensure all pieces are secure, and make any necessary touch-ups to the paint or trim. Adding a cushion on top will provide extra comfort, making it both practical and inviting.
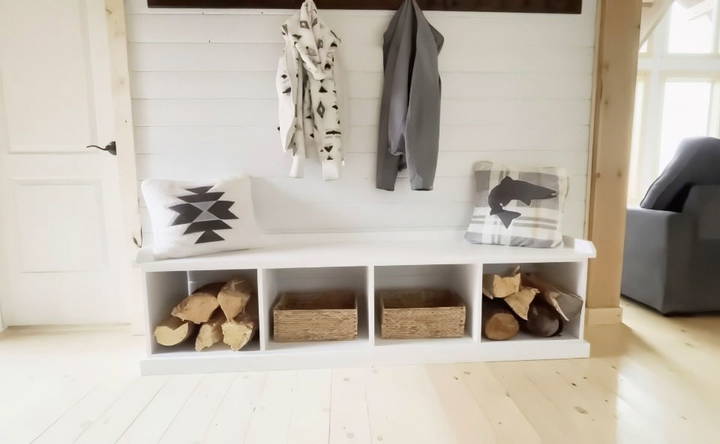
Tips for a Successful Build
- Use Gravity to Your Advantage: When working, position parts to allow gravity to help with holding them in place, reducing the need for clamps.
- Measure Twice, Cut Once: Always double-check measurements to avoid mistakes and waste.
- Patience with Sanding and Painting: Take extra care during these steps for a professional finish; they can drastically improve the project's final look.
Customization Ideas
Customizing your DIY entryway bench can make it unique and perfectly suited to your home. Here are some easy and creative ideas to get you started:
Paint and Stain
- Paint: Choose a color that complements your entryway. Bright colors can make a bold statement, while neutral tones offer a classic look.
- Stain: Staining the wood can highlight its natural beauty. Choose a light stain for a modern look or a dark stain for a more traditional feel.
Upholstery
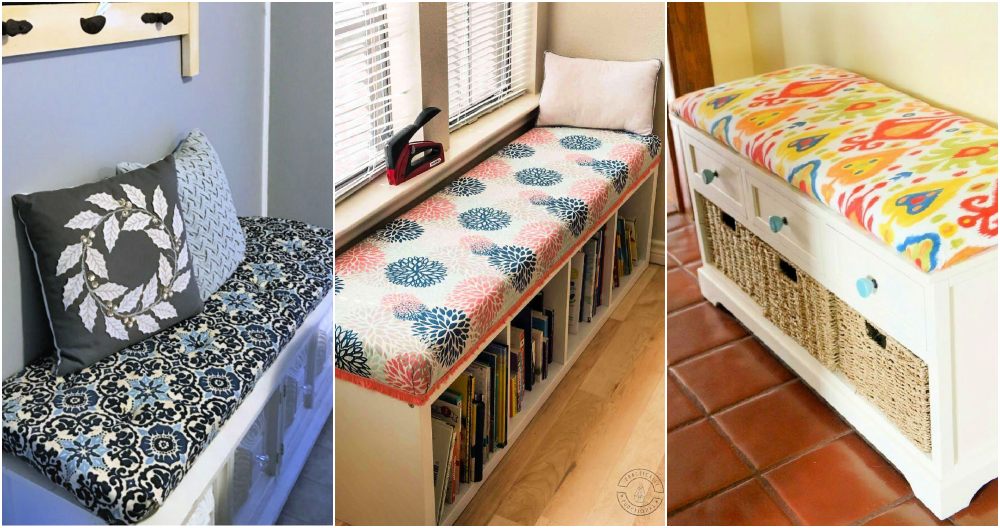
- Cushions: Add a cushion to the bench seat for extra comfort. You can use fabric that matches your home decor.
- Fabric Choices: Consider using durable fabrics like canvas or leather. Patterns and textures can add visual interest.
Storage Solutions
- Baskets: Place baskets under the bench for easy storage. They are great for shoes, bags, or other items.
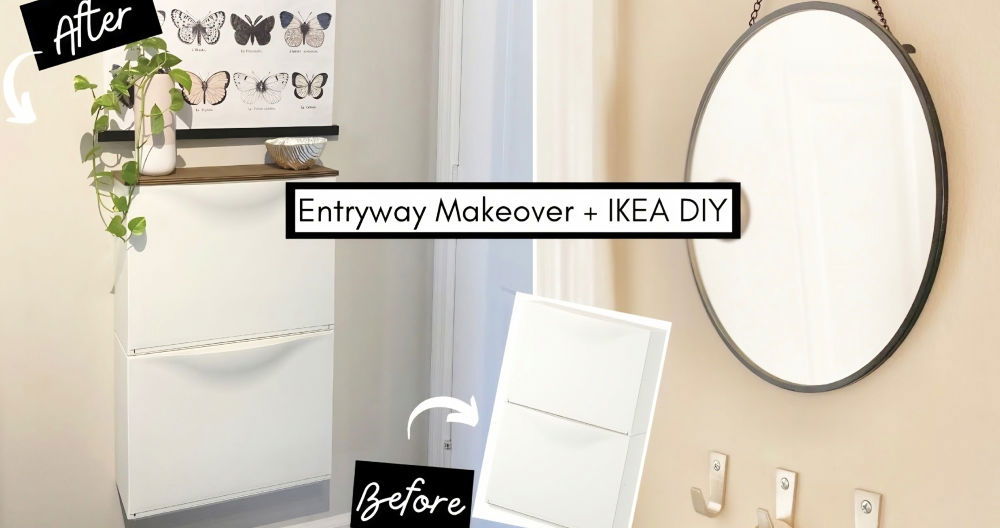
- Drawers: If you're handy with tools, add drawers to the bench. This can help keep your entryway tidy and organized.
Hooks and Hangers
- Coat Hooks: Install hooks on the sides or back of the bench for hanging coats, hats, or bags.
- Key Hangers: Add small hooks for keys to keep them easily accessible.
Personal Touches
- Monograms: Personalize the bench with your family's initials or a meaningful quote.
- Decorative Elements: Add decorative elements like stencils, decals, or carvings to give the bench a unique look.
Lighting
- Under-Bench Lighting: Install LED strip lights under the bench for a modern touch and added visibility.
- Accent Lighting: Use small lamps or fairy lights around the bench to build a cozy atmosphere.
Functional Additions
- Shoe Rack: Incorporate a shoe rack into the design to keep footwear organized.
- Umbrella Stand: Add a built-in umbrella stand to keep wet umbrellas off the floor.
Eco-Friendly Options
- Reclaimed Wood: Use reclaimed wood for a rustic and environmentally friendly option.
- Non-Toxic Finishes: Choose non-toxic paints and finishes to make your bench safer for your family and the environment.
Seasonal Decor
- Seasonal Cushions: Change the cushions or decorations according to the season. This keeps the bench looking fresh and festive.
- Holiday Themes: Decorate the bench with holiday-themed items like wreaths or garlands.
Multi-Functional Use
- Pet Station: Design a section of the bench for pet supplies, like leashes and toys.
- Garden Bench: If you have a garden, consider making the bench portable so it can be used outdoors as well.
By incorporating these customization ideas, you can make a DIY entryway bench that is not only functional but also a beautiful addition to your home.
Common Mistakes to Avoid
Building a DIY entryway bench can be a rewarding project, but there are some common mistakes that can make the process more difficult or result in a less-than-perfect final product. Here are some pitfalls to watch out for and tips on how to avoid them:
Skipping the Planning Stage
- Mistake: Jumping straight into the project without a clear plan.
- Solution: Take the time to sketch out your design, measure your space, and list all the materials and tools you'll need. This will save you time and frustration later.
Inaccurate Measurements
- Mistake: Not measuring accurately can lead to pieces that don't fit together properly.
- Solution: Measure twice, cut once. Use a tape measure and a square to ensure all your cuts are precise.
Choosing the Wrong Materials
- Mistake: Using materials that are not suitable for the project can affect the bench's durability and appearance.
- Solution: Select high-quality wood and hardware that can withstand daily use. Consider the environment where the bench will be placed and choose materials accordingly.
Ignoring Safety Precautions
- Mistake: Not wearing protective gear or using tools improperly can lead to injuries.
- Solution: Always wear safety glasses, gloves, and a dust mask. Follow the manufacturer's instructions for all tools and equipment.
Poor Joinery
- Mistake: Using weak joints can make the bench unstable.
- Solution: Use strong joinery techniques like dowels, screws, or wood glue. Ensure all joints are tight and secure.
Rushing the Finishing Process
- Mistake: Skipping sanding or applying finishes too quickly can result in a rough or uneven surface.
- Solution: Sand all surfaces thoroughly before applying paint or stain. Apply finishes in thin, even coats and allow adequate drying time between coats.
Neglecting Functionality
- Mistake: Focusing too much on aesthetics and not enough on functionality can make the bench less useful.
- Solution: Consider how the bench will be used. Ensure it is the right height and depth for sitting and that any storage features are easily accessible.
Overlooking Structural Support
- Mistake: Not providing enough support can make the bench weak and prone to breaking.
- Solution: Reinforce the bench with additional supports, especially if it will be used frequently or by multiple people.
Improper Assembly
- Mistake: Assembling the bench incorrectly can lead to a wobbly or uneven structure.
- Solution: Follow the assembly instructions carefully. Use clamps to hold pieces in place while you secure them.
Forgetting Maintenance
- Mistake: Not considering how to maintain the bench can shorten its lifespan.
- Solution: Plan for regular maintenance. This includes cleaning, tightening screws, and reapplying finishes as needed.
By being aware of these common mistakes and taking steps to avoid them, you can ensure your DIY entryway bench project is successful and results in a beautiful, functional piece of furniture.
FAQs About DIY Entryway Bench
Discover comprehensive answers in our FAQs about DIY entryway benches, covering materials, tools, and step-by-step instructions for your project.
Consider these factors when choosing a design:
Size: Measure your entryway to ensure the bench fits well.
Storage needs: Decide if you need shelves, drawers, or hooks.
Style: Match the bench to your home's decor, whether it's modern, rustic, or minimalist.
Functionality: Think about how you will use the bench. Will it be for sitting, storage, or both?
You can customize your bench in many ways:
Paint or stain: Choose colors that match your home decor.
Hardware: Use decorative knobs or handles for drawers.
Cushions: Add cushions or upholstered seats for comfort.
Storage solutions: Incorporate baskets, bins, or hooks for added functionality.
Personal touches: Add stencils, decals, or carvings to make it unique.
Absolutely! Many DIY entryway bench projects are beginner-friendly. Here are some tips for beginners:
Start simple: Choose a straightforward design with minimal cuts and joints.
Use pre-cut wood: Many hardware stores offer pre-cut wood to your specifications.
Follow tutorials: Look for step-by-step guides or video tutorials to help you through the process.
Practice safety: Always wear safety gear and follow tool instructions carefully.
To keep your entryway bench looking great, follow these maintenance tips:
Regular cleaning: Wipe down the bench with a damp cloth to remove dust and dirt.
Protect the finish: Use coasters or placemats to prevent scratches and stains.
Reapply finish: If the paint or stain starts to wear, lightly sand the surface and apply a fresh coat.
Check for damage: Periodically inspect the bench for loose screws or joints and tighten them as needed.
Here are some common mistakes and how to avoid them:
Inaccurate measurements: Always double-check your measurements before cutting. Measure twice, cut once.
Using the wrong type of wood: Choose wood that is sturdy and suitable for furniture, like pine or oak. Avoid using wood that is too soft or prone to warping.
Skipping the sanding step: Sanding is crucial for a smooth finish. Make sure to sand all surfaces thoroughly before painting or staining.
Ignoring safety precautions: Always wear safety gear, such as goggles and gloves, and follow tool instructions carefully to prevent accidents.
Poor assembly: Ensure all joints are secure and use wood glue in addition to screws or nails for added strength.
Conclusion
Building your DIY entryway storage bench can be an enriching experience, offering not only a functional piece of furniture but also a testament to your own craftsmanship. This bench, with its open design and storage capabilities, can transform a cramped entryway into a welcoming passage. By following this guide, utilizing effective techniques, and valuing attention to detail, you can effortlessly bring a touch of personal warmth and practicality to your home, just as I did with mine.


