Transforming my truck bed with a DIY bed liner felt empowering. I decided to protect my truck, keeping it looking great while avoiding costly professional services. First, I gathered the right tools: sandpaper, a paint roller, and bed liner material. Meticulous prep work was essential, so I cleaned the surface thoroughly. This step made sure the liner would stick well and last long.
Why Choose a Custom Bed Liner?
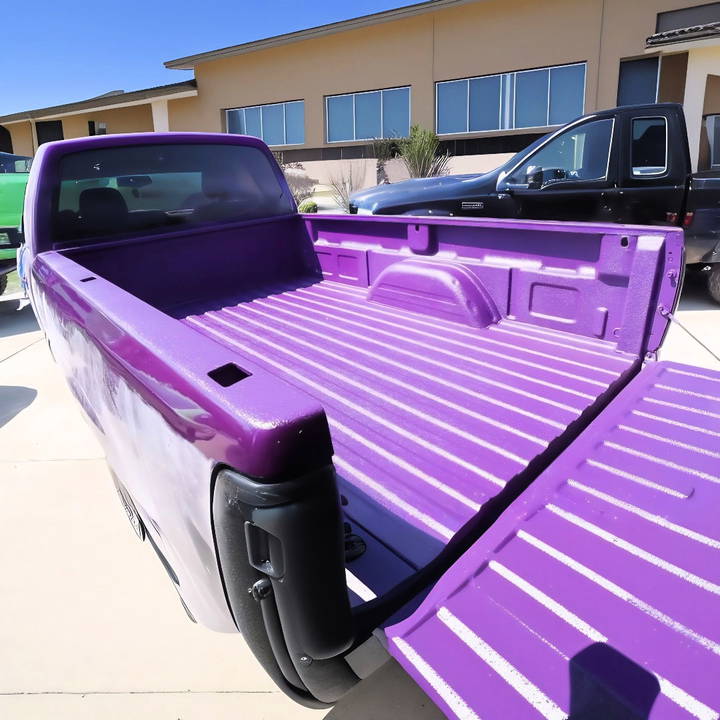
I love the idea of a bed liner for several reasons. Primarily, it offers protection for my truck bed against harsh weather, scratches, and general wear. But why settle for standard black when you can have something unique? A custom bed liner not only protects but also adds personality to your vehicle. This guide will walk you through applying your custom liner, similar to my daring purple endeavor.
Materials Needed
Before diving in, gathering these essential materials ensures a smooth process:
- Raptor Liner Kit: This includes the liner, hardener, and mixing cups. You can tint it to any color you prefer. Raptor linings provide a durable finish, mimicking a professional job without the hefty price tag.
- Raptor Application Gun: Although it doesn't come with the kit, this tool is crucial for even application. Order your kit from Amazon, and it will include this handy tool.
- Eastwood Contour SCT: This tool is a game-changer for sanding your truck bed. It makes the process faster and less labor-intensive.
- Sandpaper (60 and 180 grit): Perfect for smoothing out surfaces before application.
- Industrial Purple Degreaser: Essential for cleaning and prepping the surface. A cleaner surface means better adhesion for the liner.
- Mask and Safety Gear: Protect yourself from dust and fumes during the sanding and spraying process.
Preparing Your Workspace
Before starting, ensure your workspace is clean and well-ventilated. Working outdoors or in a spacious garage is ideal. I opted for my garage—a central hub for all my vehicle projects.
- Clear the Area: Remove any items from the truck bed and wipe away dust and debris.
- Tape Off Sections: Use painter's tape to cover areas you don't want to coat, like the edges of the bed.
Step by Step Instructions
Learn to apply DIY bed liners with step-by-step instructions. From sanding to the final coat, get tips to achieve a perfect truck bed lining.
Step 1: Sand the Truck Bed
Sanding is crucial for ensuring the liner adheres properly:
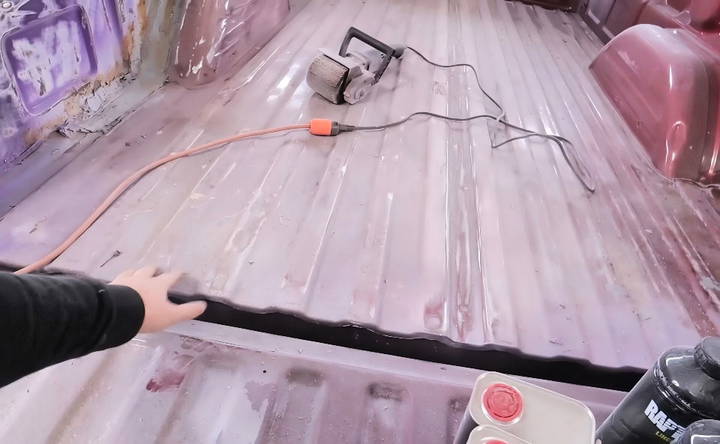
- Using the Eastwood Contour SCT: I found this tool incredibly helpful. With the appropriate drum attached (I used the 60 grit for rough work and then the 180 grit for finishing), the SCT made quick work of prepping the entire truck bed.
- Sand thoroughly to roughen the surface. This step may feel labor-intensive, but it's well worth it for durability.
Step 2: Clean the Surface
A clean surface is essential for good adhesion:
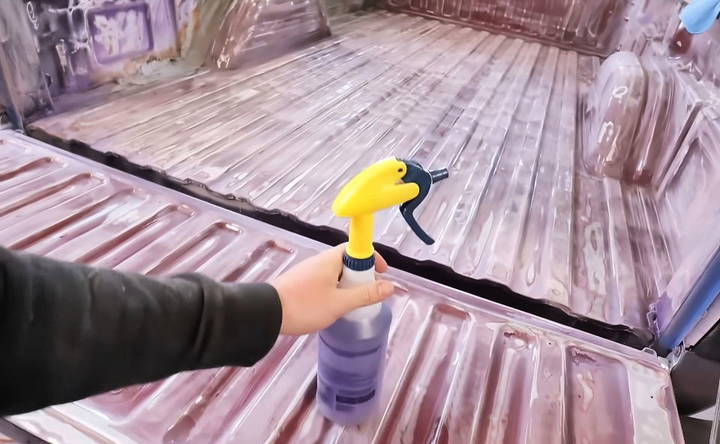
- Degrease the Bed: Spray an ample amount of industrial purple degreaser and wipe with a clean cloth. This step removes any lingering oils or sanding residue.
- Allow the bed to dry completely before moving on. Any moisture could interfere with the liner bonding to the bed.
Step 3: Mix and Prepare the Raptor Liner
Once your bed is prepped, it's time for the main event:
- Mix the Liner: Follow the kit's instructions carefully. I aimed for a vibrant purple, so I made sure to measure the dye accurately. Fill the provided mixing cups with the hardener and dye, then mix them with the liner base.
- Make sure to mix in small batches, as the pot life is around 60 minutes.
Step 4: Apply the Liner
It's finally time to apply the coating:
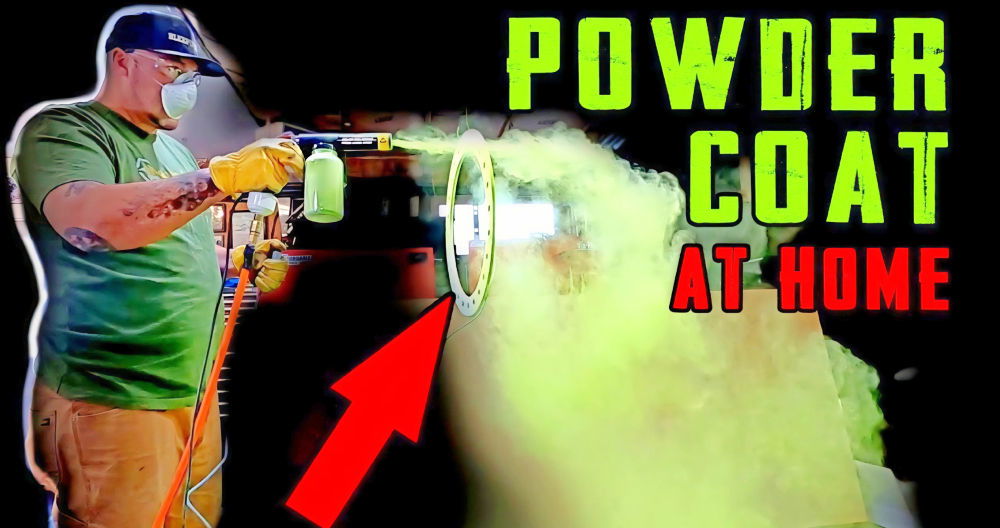
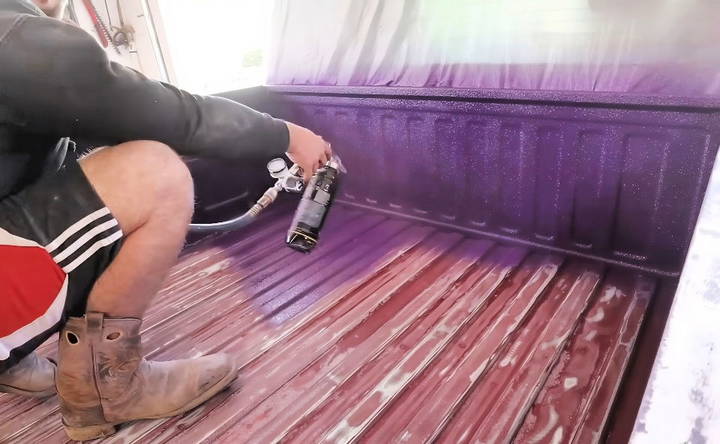
- Use the Raptor Application Gun: This tool is essential. Screw the bottle into the gun, and you're ready to spray.
- First Coat: Apply an even, thick layer to cover the bed—don't worry about texture yet.
- Allow to Dry Slightly: Let it tack up a bit before applying additional coats. This ensures each layer sticks properly.
Step 5: Make Texture with a Drop Coat
The texture not only looks good but helps with durability:
- Drop Coat Technique: Spray from a distance to allow particles to settle, building a textured, factory-like finish.
- Use remaining material for this coat, making sure it's not too heavy to avoid a ‘blob' texture.
Admiring the Finished Product
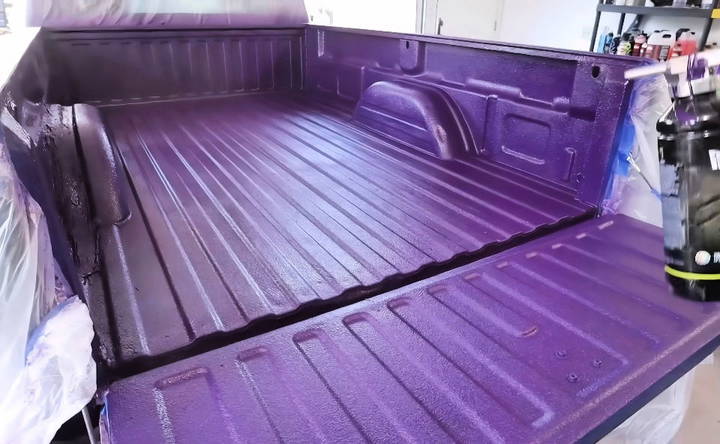
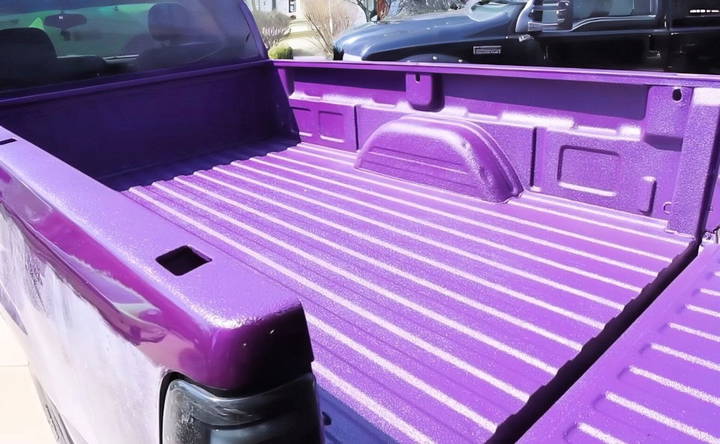
Pulling my purple-coated truck bed into the sunlight was a revelation. The glossy, unique finish was just what I had hoped for. It was electrifying to see how my vision had come to life—proof that a little DIY spirit can lead to extraordinary results. The total cost? Just under $200 for materials and about four hours of work (including breaks). It was an incredible experience, knowing I saved potentially hundreds of dollars and achieved a professional-looking result.
Tips and Tricks
Applying a DIY bed liner can be a rewarding project, but it comes with its challenges. Here are some tips and tricks to help you achieve the best results:
Common Mistakes to Avoid
- Skipping the Prep Work: Proper preparation is crucial. Make sure to clean and sand the truck bed thoroughly. Any dirt, rust, or old paint can prevent the liner from adhering properly.
- Ignoring Safety Precautions: Always wear protective gear like gloves, goggles, and a respirator. The chemicals in bed liner materials can be harmful if inhaled or if they come into contact with your skin.
- Applying Too Thickly: It might be tempting to apply a thick coat, but this can lead to uneven drying and peeling. Apply multiple thin coats instead.
- Not Allowing Enough Drying Time: Rushing the drying process can ruin your hard work. Follow the manufacturer's instructions for drying times between coats and before using the truck bed.
Maintenance Tips
- Regular Cleaning: Keep your bed liner clean by washing it regularly with mild soap and water. Avoid harsh chemicals that can damage the liner.
- Inspect for Damage: Periodically check for any chips or peeling. Addressing small issues early can prevent them from becoming bigger problems.
- Avoid Heavy Impact: While bed liners are durable, try to avoid dropping heavy objects directly onto the liner. Use padding if necessary to protect the surface.
Additional Tips
- Temperature Matters: Apply the bed liner in a well-ventilated area with a temperature between 60°F and 90°F (15°C to 32°C). Extreme temperatures can affect the application and drying process.
- Use Quality Materials: Invest in a high-quality bed liner kit. Cheaper options might save you money upfront but can lead to poor results and more work in the long run.
- Practice First: If you're using a spray gun, practice on a piece of cardboard first. This will help you get a feel for the spray pattern and pressure.
By following these tips and tricks, you can ensure a smooth and successful DIY bed liner application.
FAQs About DIY Bed Liners
Discover answers to common questions about DIY bed liners. Learn about application tips, benefits, and maintenance for long-lasting protection.
A DIY bed liner is a protective coating you can apply to your truck bed yourself. It helps prevent damage from scratches, dents, and rust. Using a bed liner can extend the life of your truck bed and keep it looking new. It’s a cost-effective way to protect your investment without needing professional help.
There are two main types of DIY bed liners: spray-on and roll-on.
Spray-on bed liners are applied using a spray gun and provide a smooth, even finish. They are great for covering hard-to-reach areas.
Roll-on bed liners are applied with a roller or brush. They are easier to apply and don’t require special equipment.
Preparation is key for a successful application. Follow these steps:
Clean the truck bed: Remove all dirt, debris, and grease using soap and water.
Sand the surface: Lightly sand the truck bed to make a rough surface for better adhesion.
Mask off areas: Use painter's tape and plastic sheeting to protect areas you don't want to coat.
Mix the liner material: Follow the manufacturer's instructions to mix the liner material properly.
Here are some helpful tips:
Work in a well-ventilated area to avoid inhaling fumes.
Apply in thin, even coats to prevent drips and ensure a smooth finish.
Allow proper drying time between coats as recommended by the manufacturer.
Follow safety precautions: Wear gloves, a mask, and goggles to protect yourself.
The longevity of a DIY bed liner depends on several factors, including the quality of the product, the preparation and application process, and how the truck is used. Generally, a well-applied DIY bed liner can last anywhere from 3 to 5 years. Regular maintenance, such as cleaning and touching up any worn areas, can help extend its lifespan.
Final Thoughts
Transforming my truck bed into a striking purple masterpiece was both challenging and exhilarating. This DIY bed liner project showed me that with the right tools and a bit of determination, you can achieve stunning results at home. Whether you choose a purple, black, or even lime green setup, your truck can truly become an expression of you. Remember, with patience, the right materials, and this guide, you'll own your custom bed lining in no time.


