In this guide, you'll learn how to install an invisible fence with simple steps. An invisible fence is a great way to keep your pets safe within your yard without building a physical barrier. This guide covers everything you need to know, from gathering the necessary tools to setting up the system and testing it. By following these steps, you'll have your invisible fence installation complete in no time.
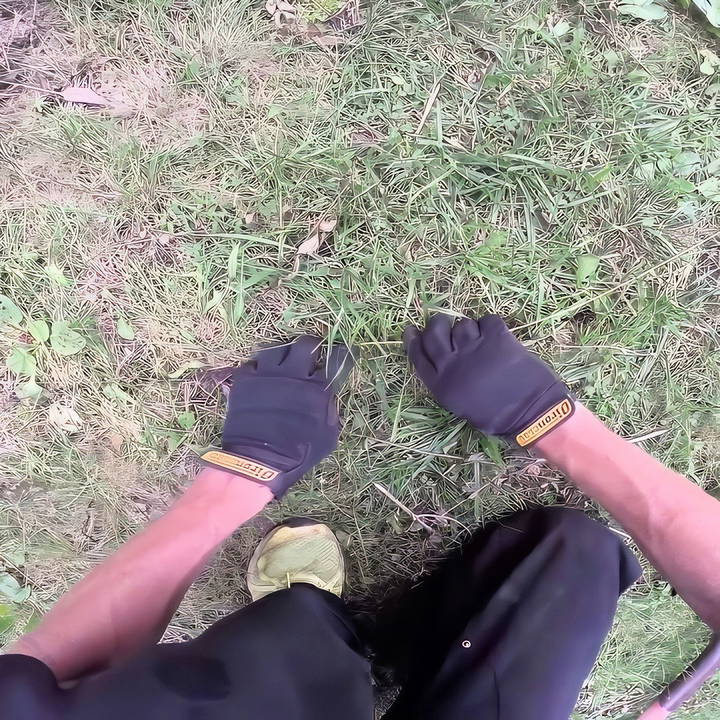
Start by preparing the area where you want to install the invisible fence. Clear any debris and ensure the perimeter is manageable for installation. Next, gather all required tools and materials, such as boundary wire, transmitter, and flags.
Following the outlined instructions in our guide will make the installation process smooth and easy. Ready to begin? Let's move to the detailed steps in the next section.
Why Install an Invisible Fence?
An invisible fence is a fantastic solution for pet owners. It keeps your pets secure without obstructing the view of your beautiful yard with traditional fencing. Let's dive into the step-by-step process.
Materials Needed
Before starting, gather these essential materials:
- Invisible Fence Kit: This will include the transmitter, collar, and enough wire to cover your yard.
- Surge Protector: To protect the transmitter from lightning strikes.
- Shovel: For making a trench to bury the wire.
- Wire Staples: To secure the wire in place temporarily before burying it.
- Splicing Connectors: In case you need to extend the wire.
- Test Light: Used for testing the fence boundaries.
- Flags: To mark the boundary visually for training your pet.
By having all these materials on hand, you'll be prepared to tackle each step systematically without interruptions.
Step by Step Instructions
Learn how to install an invisible fence with our step-by-step guide. From planning to testing, ensure a safe yard for your pets.
Step 1: Plan Your Layout
First, decide the layout of your fence. My layout covered the entire perimeter of my yard. It's crucial to plan the path of the wire carefully to ensure full coverage and to avoid obstacles.
Step 2: Set Up the Transmitter
The next step involves setting up the transmitter:
- Install the Surge Protector: Plug the surge protector into an indoor outlet.
- Connect the Transmitter: Plug the transmitter into the surge protector. This will protect your system from electrical surges.
Step 3: Laying Out the Wire
Before burying the wire, you need to lay it out and test the system.
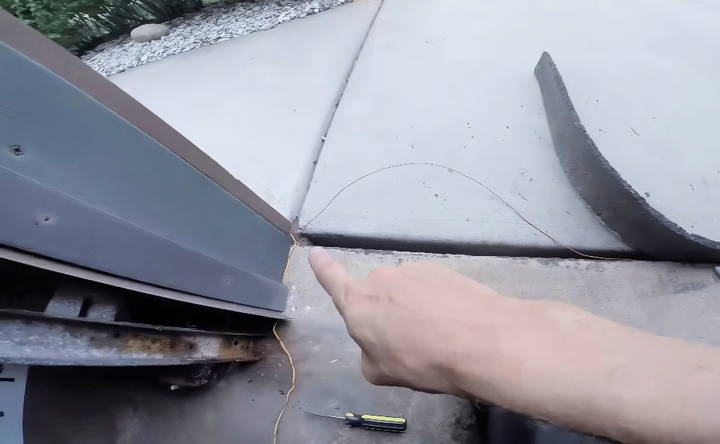
- Lay the Wire: Start from the transmitter and lay the wire around your yard following your planned layout. Ensure you connect the wire back to the transmitter to complete the loop.
- Connect and Test: Connect the wire ends to the transmitter and turn it on. If everything is set up correctly, the transmitter will indicate that the loop is good.
Step 4: Bury the Wire
Once the system is working, it's time to bury the wire.
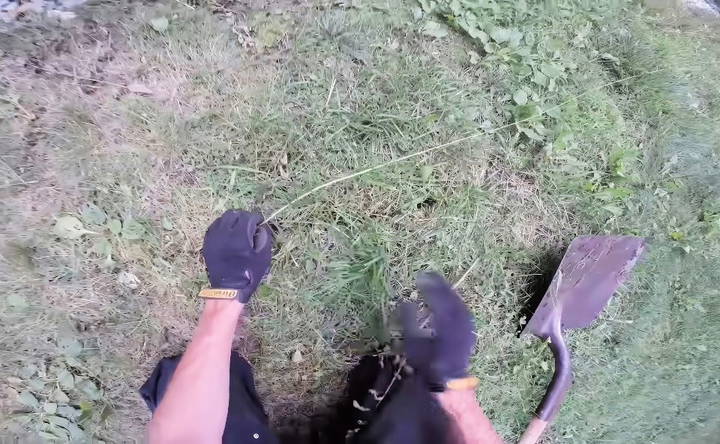
- Make a Trench: Use a shovel to build a narrow trench around your yard. It only needs to be a few inches deep.
- Bury the Wire: Lay the wire in the trench and push the soil back over it. Use wire staples to hold it in place if needed.
Step 5: Splicing the Wire (if necessary)
If you run out of wire, you'll need to splice it:
- Strip the Wire Ends: Strip about an inch of insulation off the ends of the existing wire and the new wire.
- Use Splicing Connectors: Insert the wire ends into the splicing connectors and secure them. Bury the spliced section to protect it from the elements.
Step 6: Setting the Boundary Width
Adjust the boundary width to determine how far your pet can wander before receiving a warning.
- Turn on the Transmitter: Set the boundary width control to your desired distance. Start at a lower setting and gradually increase it until you find the right distance.
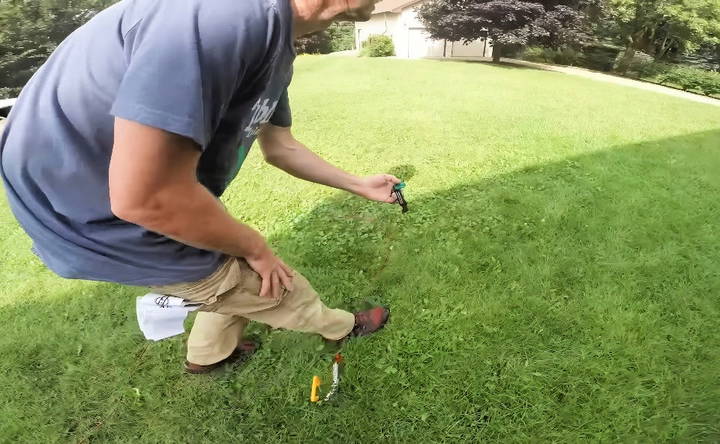
- Test the Boundary: Use the test light to walk around the yard and determine where the warning beep starts. Mark these spots with flags.
Step 7: Testing and Training
Finally, you need to train your pet to understand the new boundaries.
- Use the Test Light: Attach it to the collar and walk towards the boundary. When you hear the warning beep, note the distance.
- Place Flags: Place flags along the boundary to build a visual indicator for your pet.
Training your pet to respect the boundaries:
- Supervise Initial Training: Lead your pet around the yard on a leash. When approaching the flags, let them hear the warning beep.
- Reinforce Training: Practice this daily until your pet understands to avoid the flagged boundary.
Final Checks and Maintenance
After installation, periodically check the system to ensure it's functioning correctly:
- Check the Transmitter: Ensure the lights indicate a complete loop and sufficient power.
- Inspect the Wire: Regularly check for breaks or damage in the wire and repair as needed.
- Replace Batteries: Change the collar batteries as indicated by the collar's status light.
Advanced Tips for Invisible Fence Installation
When installing an invisible fence, there are several advanced tips that can enhance its effectiveness and ensure it operates optimally for your pet's safety. Here's a comprehensive guide with practical advice:
- Understand the Signal Field The signal field of an invisible fence is the area where the collar receives a signal from the wire. For best results, the signal field should be adjusted so it's neither too wide nor too narrow. A field that's too wide may not give your pet enough warning before correction, while a field that's too narrow might not activate in time to prevent escape.
- Check for Interference Electronic interference from other devices can affect the performance of your invisible fence. Regularly check for sources of interference, such as home security systems or neighboring invisible fences, and adjust the frequency settings on your fence to minimize disruption.
- Regular Testing: Test the fence system monthly. Walk around the boundary with the collar in hand, at the height of your pet's neck, to ensure it beeps or activates at the correct locations. This helps you catch any potential issues with the signal or wiring before they become a problem.
- Battery Check Always keep an eye on the battery life of the collar. A dead battery means no correction or warning for your pet, which could lead to them wandering off. Some systems have a low-battery indicator, but it's good practice to set a regular schedule for battery replacement.
- Training is Key. Remember, an invisible fence is only as good as the training that accompanies it. Reinforce the boundaries with your pet through consistent training sessions, using positive reinforcement to help them understand where they can and cannot go.
- Landscaping and Maintenance: Be mindful of landscaping and maintenance work around the fence line. Activities like digging, planting, or even lawn mowing can damage the buried wires. Mark the wire's location to avoid accidental cuts or breaks.
- Upgrade Options If you've had your system for a while, consider upgrading to newer models with advanced features like adjustable correction levels, vibration-only modes, and even GPS-based systems for larger properties.
Ensure your invisible fence works well by installing it properly, maintaining it regularly, and training your pet thoroughly.
FAQs About Invisible Fence Installation
Explore the most asked questions about invisible fence installation for a safer, boundary-free pet containment solution.
An invisible fence is a system designed to keep pets within a set boundary without the need for a physical barrier. It works by sending a radio signal from a transmitter to a receiver collar worn by your pet. If your pet approaches the boundary, the collar emits a warning sound followed by a mild static correction if they get too close.
Yes, you can install an invisible fence yourself. The process involves planning the layout, installing the transmitter, laying out the boundary wire, and setting up the receiver collar. It’s important to follow the manufacturer’s instructions carefully to ensure the system works correctly.
Invisible fences are commonly used for dogs but can work for cats as well. It’s crucial to ensure that the receiver collar is the right size and fit for your pet and that they are properly trained to understand the boundaries.
When installing an invisible fence, consider the layout of your property, including driveways and water features. The wire can be installed across a driveway with proper protection and even through water if necessary. Always check for underground utilities before digging to bury the wire.
After installing your invisible fence, you might encounter a few common issues. If your pet's collar is blinking red, it usually indicates that the battery needs replacement. For wire breaks, which can disrupt the fence's operation, you can request a service appointment to have it professionally repaired. If your control panel is beeping, it could signal a wire break or a need to replace the backup battery unit. Always ensure the collar fits properly and check the battery regularly to maintain the system's effectiveness.
Conclusion
Wrapping up, installing an invisible fence is a manageable DIY project that ensures the safety and freedom of your pets. By following each step in this guide on how to install an invisible fence, you'll achieve a successful invisible fence installation. Remember to test the system thoroughly to ensure everything works correctly.


