One day, my Xbox One controller started drifting to the left. This can be very frustrating, especially when you are in the middle of an intense game. Controller drift often happens when the stick sensors become worn out or dirty. In this guide, I'm helping with some steps you can take to try and fix your Xbox One stick drift.
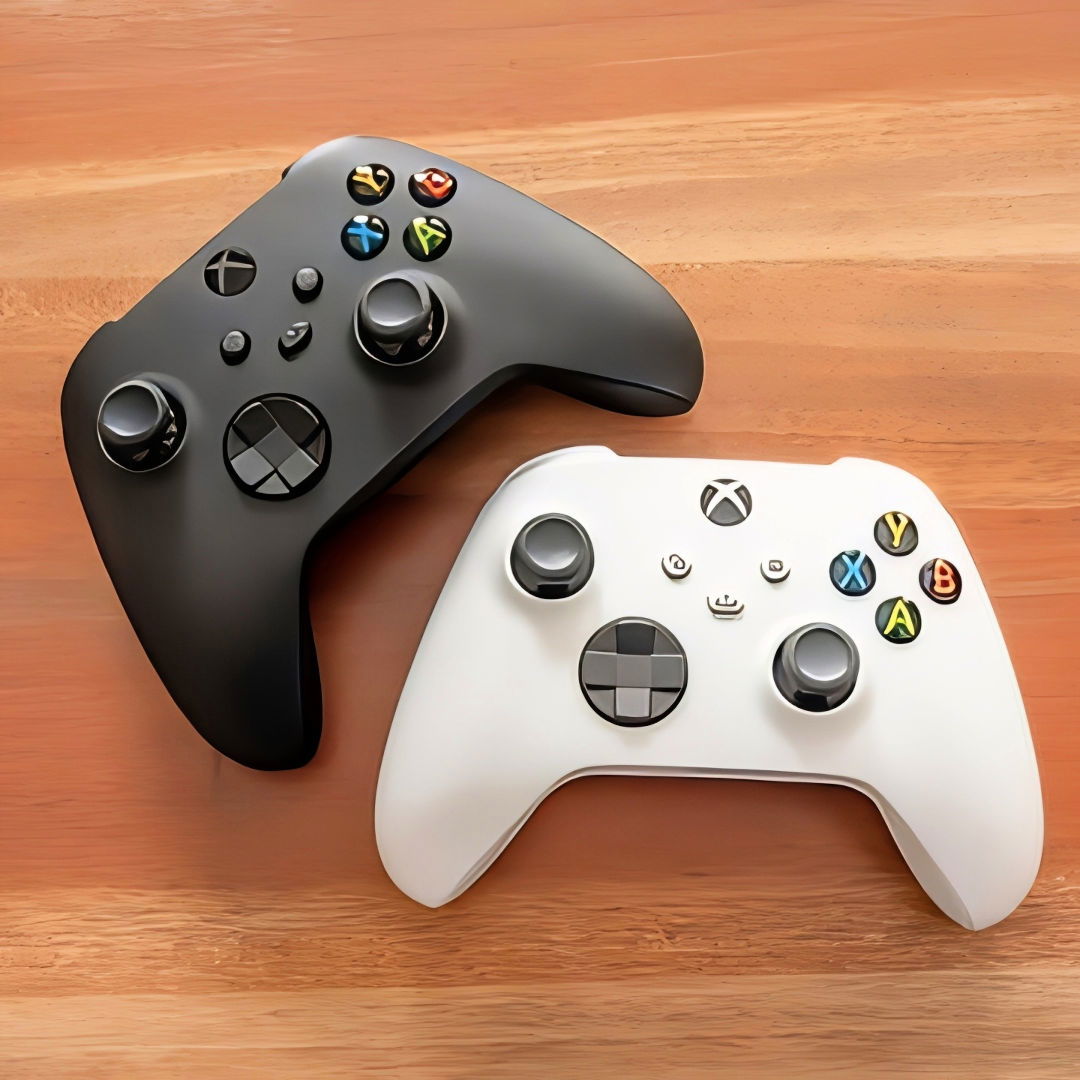
First, you might need some simple tools like a can of compressed air and a small screwdriver. Begin by turning off your console and removing the batteries from your controller. Cleaning the sticks with compressed air can often solve the issue. If the drift persists, opening the controller to check the internal sensors might be necessary.
By following these steps below, you can solve your controller drift issue. Feel free to try them out and regain your smooth gaming experience. Give it a shot; it might be easier than you think!
Materials Needed and Their Purposes
To address this issue without opening your controller, you'll need minimal materials, most of which you likely already have at home:
- Compressed Air Canister: Ideal for blowing away dust and dirt from hard-to-reach areas without introducing moisture.
- Isopropyl Alcohol: Helps in cleaning without damaging the internal components. It evaporates quickly, reducing the risk of moisture damage.
- Cotton Swabs: Useful for gentle cleaning around the analog sticks with precision.
- Microfiber Cloth: For wiping down the exterior of the controller without leaving scratches or lint.
Step by Step Instructions
Learn how to fix stick drift on Xbox One with our step-by-step guide. Follow the instructions for cleaning and re-calibrating your controller.
Step 1: Initial Cleaning
First, turn off your Xbox controller to avoid accidental commands. With the microfiber cloth, gently wipe the surface of the controller, focusing on the area around the analog sticks. This initial step removes surface dust and grime, preventing further buildup inside the mechanism.
Step 2: Dislodging Internal Debris
Next, use the compressed air canister. While holding the analog stick to one side, carefully insert the canister's nozzle at the exposed area and give it a short burst of air. Do this gently to avoid damaging the sensitive internals. This step aims to dislodge any hidden particles causing the drift. It's important to perform this action on different sides of each stick—up, down, left, and right—to ensure thorough cleaning.
Step 3: Deep Cleaning Around the Sticks
For this step, dampen a cotton swab with a bit of isopropyl alcohol. Be sure it's not dripping; you want it moist, not wet. Gently clean around the base of the analog sticks, rotating the swabs in tiny circles to lift and remove any stubborn grime. Afterward, blow gently or use compressed air again to dry the area quickly.
Step 4: Re-calibrating the Analog Sticks
Now, we focus on potentially re-calibrating the sticks without opening the controller. Press down gently on each stick and rotate them in complete circles—first counterclockwise then clockwise. Perform this action about three times in each direction. The goal here is to help any dislodged particles move away from critical areas and also ensure the sticks move smoothly in their full range of motion.
Aftercare and Prevention
To minimize future issues with drift:
- Regularly clean the exterior of your controller.
- Store your controller in a clean, dry place to prevent dust accumulation.
- Consider using controller grips or covers that can reduce the amount of dust and debris entering the device.
What If The Drift Persists?
If, after these steps, your controller still suffers from drift, you might be dealing with a more severe issue that could require professional repair or replacement parts. However, these basic maintenance steps can alleviate minor drift issues and extend the life of your controller without needing specialized tools or skills.
Troubleshooting Guide for Xbox One Stick Drift
Experiencing stick drift on your Xbox One controller can be frustrating, but before you consider a repair, there are several troubleshooting steps you can take to potentially resolve the issue. Here's a simple guide to help you through the process:
Restart Your Controller and Console
- Power Cycle the Controller: Hold down the Xbox button on the controller to turn it off, wait a few seconds, then turn it back on.
- Reboot the Console: Press and hold the power button on the console for 10 seconds to perform a hard reset.
Update Controller Firmware
- Check for Updates: Connect the controller to the Xbox One via a USB cable, go to ‘Settings,' select ‘Devices & connections,' and then ‘Accessories.' If an update is available, follow the prompts to install.
Recalibrate the Controller
- Access Calibration Settings: Go to ‘Settings,' choose ‘Devices & connections,' select ‘Accessories,' and then configure your controller.
- Follow Calibration Instructions: Carefully follow the on-screen instructions to recalibrate the analog sticks.
Test in Different Games or Apps
- Check Consistency: Try using the controller in various games or apps to see if the stick drift occurs consistently across all software.
Reset Your Controller's Settings
- Restore to Default: In the ‘Accessories' menu, you can reset your controller to its default settings, which may resolve calibration issues.
Clean the Controller
- Remove Dust and Debris: Use a can of compressed air to gently blow around the base of the thumbsticks to remove any accumulated dust or debris that might be causing the drift.
Contact Xbox Support
- Seek Professional Advice: If none of the above steps work, contact Xbox support for further assistance or to arrange for a repair if necessary.
These steps are simple and often fix minor stick drift. If it continues, it might need professional repair. Check your warranty first, as opening the controller may void it.
Advanced Repair Techniques for Xbox One Controllers
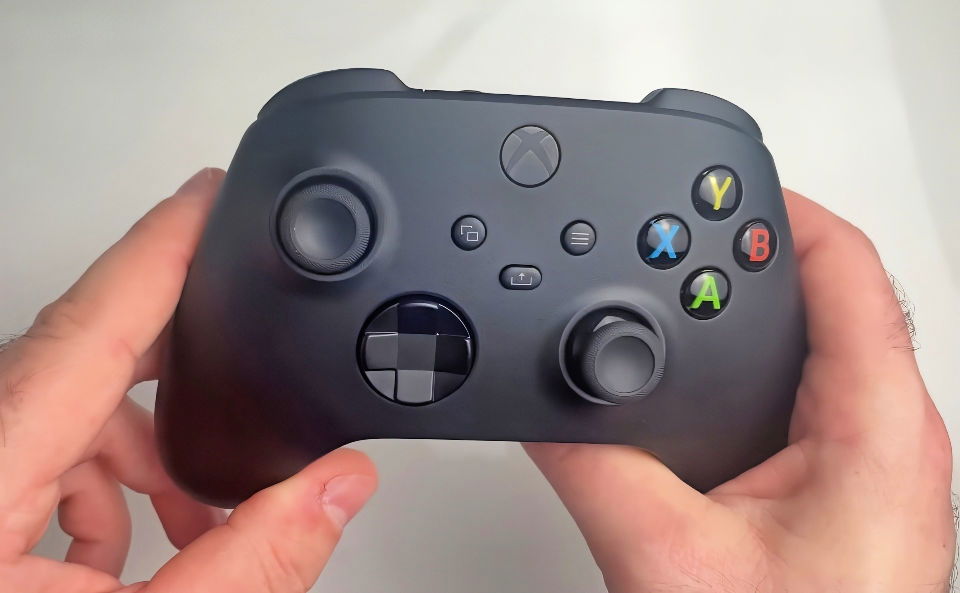
If you're facing persistent stick drift issues with your Xbox One controller and basic troubleshooting hasn't helped, you might consider some advanced repair techniques. These methods require a bit more technical skill and confidence, but they can effectively address the root causes of stick drift. Here's a step-by-step guide to help you through the process:
Gather Necessary Tools and Parts
Before you begin, ensure you have the following:
- Precision screwdrivers
- Replacement analog stick modules
- Isopropyl alcohol and cotton swabs
- Soldering iron and solder
- Desoldering pump or wick
Disassemble the Controller
- Remove the Back Panel: Use a precision screwdriver to remove the screws from the back of the controller.
- Detach the Front Plate: Carefully separate the front plate from the back to expose the internal components.
Remove the Old Analog Stick Module
- Desolder the Module: Use the soldering iron and desoldering pump to remove the solder from the pins connecting the analog stick module to the motherboard.
- Lift the Module: Once the solder is removed, gently lift the module from the board.
Replace with New Analog Stick Module
- Position the New Module: Place the new analog stick module onto the motherboard, aligning the pins correctly.
- Solder the Module: Secure the new module by soldering the pins to the motherboard.
Clean the Contact Points
- Use Isopropyl Alcohol: Dip a cotton swab in isopropyl alcohol and clean the contact points around the analog sticks to ensure there's no residue that could cause drift.
Reassemble the Controller
- Reattach the Front Plate: Carefully place the front plate back onto the controller.
- Screw the Back Panel: Replace the screws to secure the back panel.
Calibrate the New Sticks
- Calibrate in Settings: Go to the controller settings on your Xbox One and calibrate the new analog sticks to ensure they respond accurately.
Test the Controller
- Perform a Function Test: Use the controller in a game to test the full range of motion and responsiveness of the new sticks.
These steps are for those comfortable with electronics repair. If unsure, seek a professional. Prioritize safety and work in a well-ventilated area when soldering.
FAQs About How to Fix Stick Drift on Xbox One
Discover quick solutions in our FAQs about fixing stick drift on Xbox One. Get back to smooth gaming with our easy-to-follow tips!
Stick drift occurs when your controller’s analog sticks move without any input from you, causing unintended game character or camera movements. To identify stick drift, observe if the game reacts as though the stick is being moved even when it’s in a neutral position.
Before considering a repair or replacement, try these simple steps:
Restart your controller: Hold the Xbox button to turn it off, then turn it back on.
Resync the controller: Press the Connect button on the console and controller to reestablish connection.
Update the controller’s firmware: Connect the controller to the Xbox and navigate to Settings > Kinect & devices > Devices & accessories > More options > Firmware version > Update now.
Dirt and debris can cause stick drift. To clean the sticks:
Remove the batteries.
Use compressed air to blow around the stick’s base.
Gently clean around the sticks with a cotton swab dipped in isopropyl alcohol.
Yes, adjusting the deadzone settings can help:
Turn on the Xbox and go to Settings.
Select Devices & Accessories, then choose your controller.
Find Controller Options and adjust the deadzone slider until the drift stops.
If the above steps don't resolve the issue, it might be time for a professional look. Consider repair if:
The controller is still under warranty.
The drift is severe and affects gameplay significantly.
You're comfortable with DIY repairs, using online guides for assistance.
Final Thoughts
Wrapping up, mastering how to fix stick drift Xbox One not only enhances your gaming experience but also saves you money. Follow the steps, use the right tools, and maintain your controller regularly. Happy gaming with a drift-free Xbox One!


