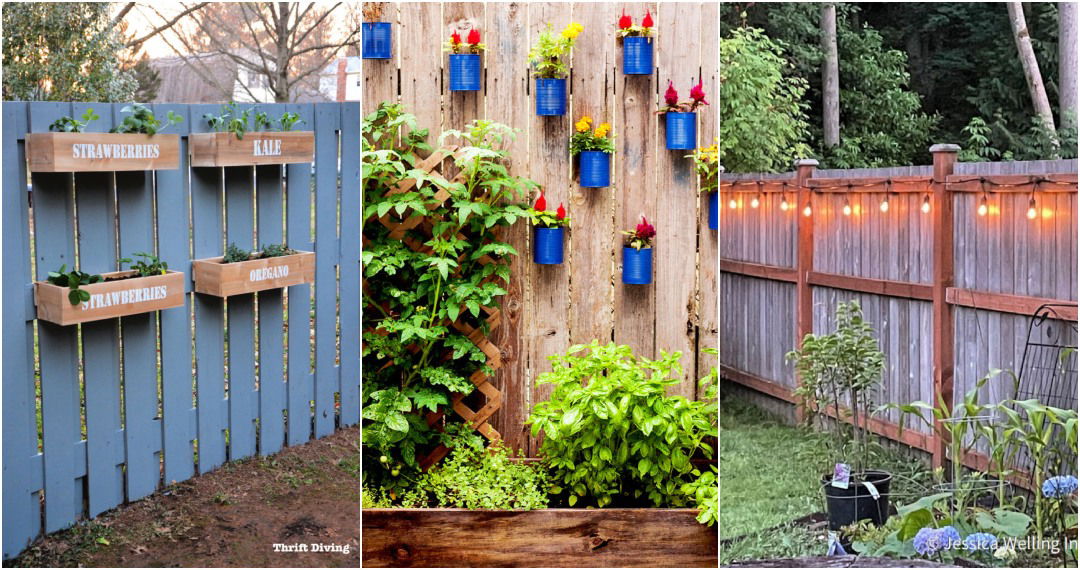
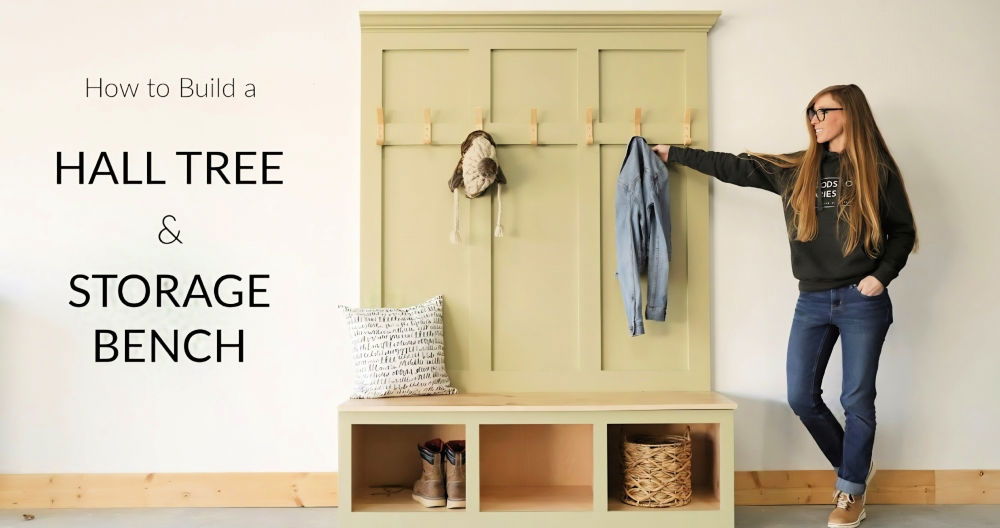
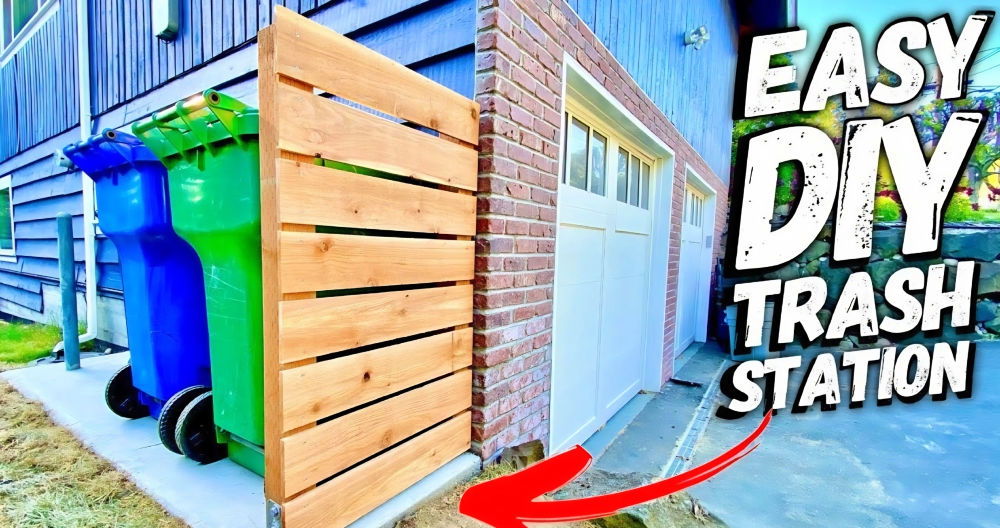
Learn how to build a picket fence step-by-step with our easy guide. With a bit of research and planning, I managed to save a considerable amount of money while also making something sturdy and visually pleasing for my property. Today, I'll walk you through the process of how I did it, from start to finish, with all the tips and tricks I learned along the way. So, if you're thinking of installing your own fence, follow along, and you might save yourself a tidy sum, too.
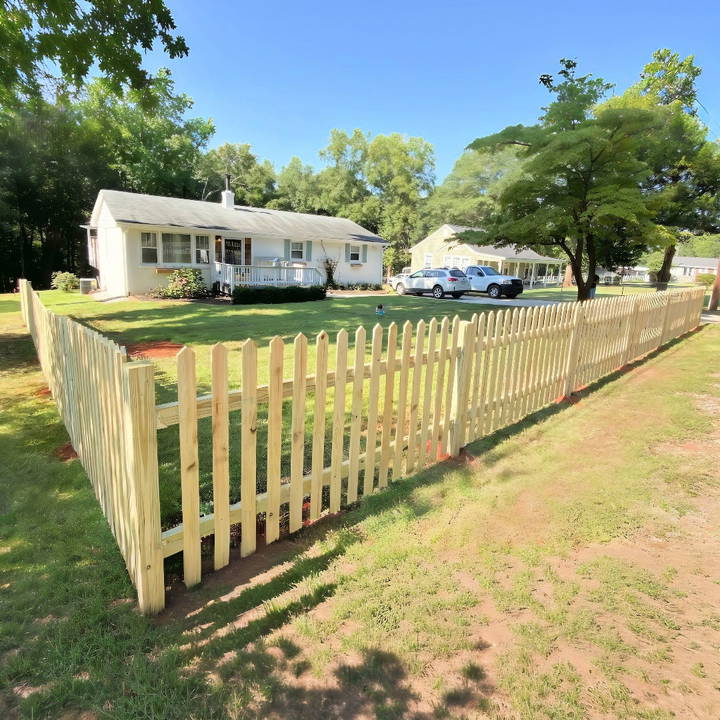
Step by Step Instructions
Learn how to build a DIY picket fence with step-by-step instructions, from planning and setting posts to cutting rails and installing pickets. Perfect DIY guide!
Planning and Preparation
Before getting my hands dirty, I took some important preliminary steps which formed the foundation of my project. Firstly, understanding the layout of my property was crucial, so engaging a land surveyor to mark the property lines made sure there wouldn't be any disputes later on. It's well worth the small investment to ensure accuracy and legality.
- Materials List: To build my 120-foot fence, I used:
- 13 4x4 wooden posts: These acted as the main supports for the fence.
- 24 2x4s: They served as the horizontal rails.
- 52 one by six by eights (fence boards): Used to build the classic picket fence appearance.
- 13 fifty-pound bags of concrete: These stabilized the posts.
- Screws and tools: A large box of outdoor screws to secure everything, tools including a circular saw, post hole digger, level, and a speed square.
With materials costing approximately $590, this whole setup was significantly cheaper than hiring professionals, where prices could range from $1,560 to much more.
Setting the Posts: A Foundation for Success
The first significant step involved setting up the posts. It's easy to underestimate this task, but the stability and appearance of the fence heavily rely on well-placed posts.
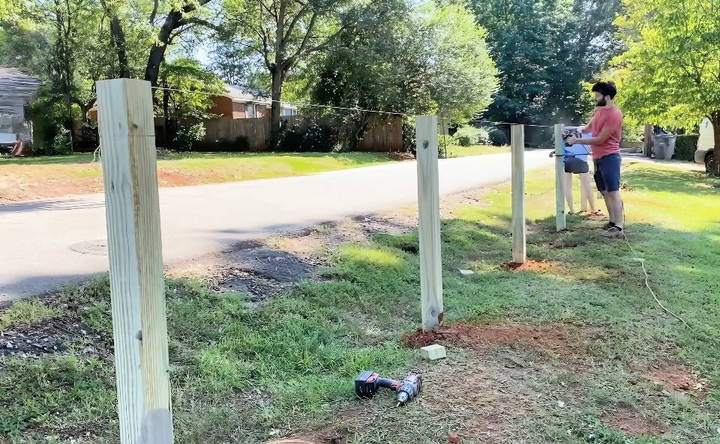
- Mark the Post Locations: Using a stringline along the marked property line, I pinpointed exact spots for each post to ensure perfect alignment.
- Digging Holes: For our six-foot posts, I needed about two feet to be buried underground to secure them properly. Using a post hole digger, I made sure each hole was neat and on the mark.
- Installing the Posts: Once a hole was ready, I inserted a post and poured a 50-pound bag of concrete around it. It's crucial to ensure each post was level and in line with the others using a string and a level. The concrete didn't fill the hole entirely, but it provided a strong anchor point.
- Backfilling and Adjusting: I filled the gaps around the post with dirt, packing it tightly while making any necessary adjustments to ensure all posts stayed level.
Cutting and Attaching the Rails
Once the posts were securely in place, I moved on to attaching the horizontal 2x4 rails which would later hold the picket boards.
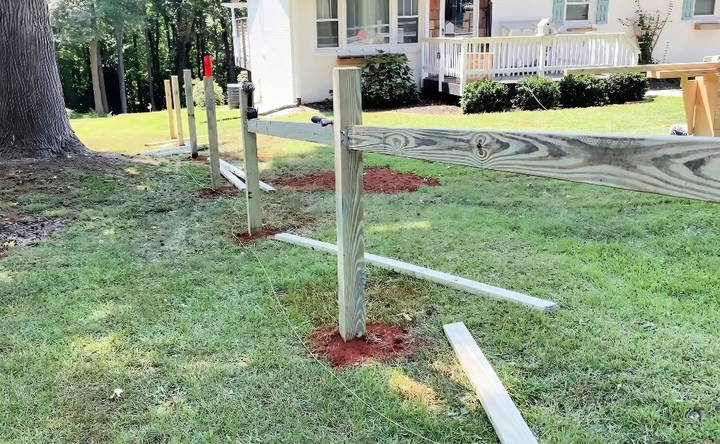
- Cutting the 4x4s: Using a speed square clamped onto each post, I made precise cuts at the top of each post. This ensured a neat and uniform top edge across the entire fence line.
- Attaching 2x4s Rails: I used robust floor joist brackets to attach the 2x4s vertically onto the 4x4s rather than relying on weaker brackets meant specifically for fencing. This provided a more stable and reliable attachment.
- Aligning with Precision: Ensuring that these rails were level was critical. A tight stringline helped guide the proper positioning, keeping everything uniform across the fence.
Crafting and Installing the Pickets
Instead of settling for the expensive prefabricated pickets available locally, my wife and I decided to craft our own from the one by six by eights.
- Cutting Pickets: Each 1x6 fence board was ripped down to make four pickets. We then used a miter saw to shorten them to half-length, achieving a classic 45-degree angle at the top for that iconic picket fence silhouette.
- Prepping for Assembly: We worked as a team, sawing through the collection and manually trimming them outdoors under some shade, which kept our spirits and energy high.
- Mounting the Pickets: Starting from the center of each segment between posts, I began mounting the pickets in place, maintaining a common height well above ground level to prevent rotting from moisture.
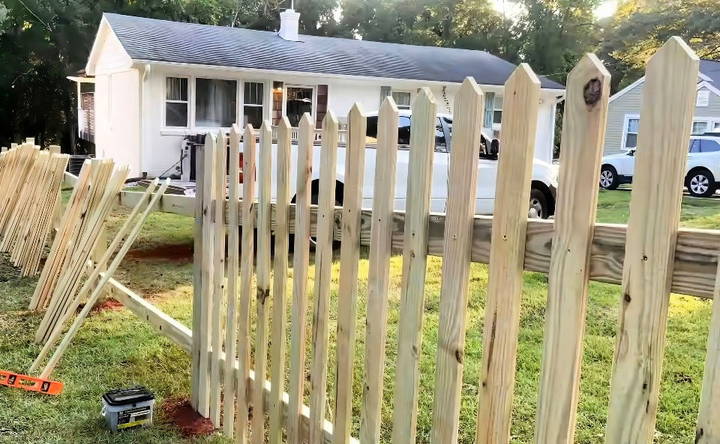
- Spacers for Consistency: To keep the spacing between pickets even, we buildd a guide using spare wood pieces which was placed between installed pickets and the ones about to be secured.
Customization and Personalization
Customizing and personalizing your picket fence can add a unique touch to your property. Here are some easy and creative ways to make your fence stand out:
Decorative Elements
- Post Caps: Choose from different styles like flat, pointed, or ball-shaped caps. Post caps come in wood, metal, or even solar-powered options that light up at night.
- Paint and Stain: Pick a color that complements your house. White is classic, but bold colors can make a statement. Consider painting patterns or designs on the pickets for a unique look.
- Climbing Plants: Use climbing plants like ivy, roses, or jasmine to add greenery and fragrance. Install trellises or wire supports to guide the plants as they grow.
Functional Additions
- Gates: Match the gate design with your fence for a cohesive look. Choose sturdy and decorative hinges and latches.
- Lighting: Install solar lights on the posts for an eco-friendly lighting solution. Hang string lights along the fence for a cozy, inviting atmosphere.
- Shelves and Hooks: Add shelves or hooks to hold garden tools, pots, or decorations. Ensure they are securely attached and placed at convenient heights.
Personal Touches
- Family Handprints: Have each family member leave a handprint on a picket with paint. Use a clear sealant to protect the handprints from weather.
- Name Plates: Add name plates or signs with your family name or a favorite quote. Use wood, metal, or ceramic for durability.
- Art and Crafts: Build and attach small art pieces or crafts to the fence. Choose a theme that reflects your interests, like nautical, rustic, or modern.
Seasonal Decorations
- Holiday Themes: Decorate your fence for holidays with wreaths, lights, or themed ornaments. Use removable hooks or ties to avoid damaging the fence.
- Seasonal Plants: Plant seasonal flowers or shrubs along the fence line. Choose plants that are easy to maintain and suited to your climate.
Use these customization tips to build a picket fence that showcases your style, making it both functional and charming.

Common Mistakes and How to Avoid Them
Building a picket fence can be a rewarding project, but it's easy to make mistakes if you're not careful. Here are some common mistakes and how to avoid them:
Incorrect Post Placement
- Mistake: Not placing posts correctly can lead to an unstable fence.
- Solution: Measure twice, dig once, and ensure you measure the distance between posts accurately. Use a string line to keep them aligned. Depth matters, so dig post holes at least 2 feet deep to ensure stability. Use concrete to set the posts firmly.
Uneven Picket Spacing
- Mistake: Uneven spacing between pickets can make your fence look unprofessional.
- Solution: Consistent spacing; use a spacer block to maintain equal gaps between pickets. This ensures a uniform look. Check alignment; regularly check the alignment of pickets with a level.
Using Low-Quality Materials
- Mistake: Using cheap or inappropriate materials can result in a weak and short-lived fence.
- Solution: Invest in quality; choose high-quality, pressure-treated wood or durable vinyl. These materials last longer and withstand the weather better. Proper treatment: if using wood, ensure it is treated to resist rot and pests.
Ignoring Ground Contours
- Mistake: Not accounting for the natural slope of the ground can lead to gaps at the bottom of the fence.
- Solution: Follow the contour: adjust the height of each picket to follow the ground's natural slope. This prevents gaps and maintains a neat appearance. Stepped fence: for steep slopes, consider a stepped fence design where each section is level but steps down with the slope.
Inadequate Gate Support
- Mistake: Gates that sag or don't close properly due to inadequate support.
- Solution: Strong posts: use heavier, sturdier posts for gates. Ensure they are set deeper and more securely than regular fence posts. Proper hardware: use high-quality hinges and latches designed for outdoor use.
Skipping Permits and Utility Checks
- Mistake: Failing to check for underground utilities or skipping necessary permits can lead to legal and safety issues.
- Solution: Call before you dig: contact local utility companies to mark underground lines before you start digging. Get permits: check with your local government for any required permits or regulations regarding fence height and placement.
Poor Weatherproofing
- Mistake: Not protecting the fence from weather can lead to premature wear and damage.
- Solution: Seal and paint: apply a weatherproof sealant or paint to protect the wood from moisture and UV damage. Regular maintenance: inspect the fence regularly and reapply sealant or paint as needed.
Overlooking Maintenance
- Mistake: Neglecting regular maintenance can shorten the lifespan of your fence.
- Solution: Routine checks: inspect your fence periodically for any signs of damage or wear. Timely repairs: fix any issues, such as loose pickets or damaged posts, promptly to prevent further damage.
Avoiding these mistakes ensures your picket fence is sturdy, attractive, and durable. Careful planning and execution save you time and effort later.
FAQs About Building a Picket Fence
Discover answers to common questions about building a picket fence. Essential tips and expert advice for a seamless DIY fence project.
The standard spacing is about 2 inches. You can adjust this based on your preference and local building codes. Wider spacing builds a more open feel, while narrower spacing offers more privacy.
The depth depends on your local frost line and the height of your fence. Generally, dig holes about 1/3 the height of the post plus 6 inches below the frost line. This ensures stability.
You can use nails or screws. Pre-drilling pilot holes helps prevent splitting the wood. For a more secure hold, use screws.
Apply a coat of paint or stain to protect the wood from moisture and sun damage. You can also use a wood preservative before painting or staining. Regular maintenance, like cleaning and reapplying the finish, will extend the life of your fence.
Regulations vary depending on your location. Check with your local building department to see if you need a permit and what specific requirements you need to follow. They might have rules about fence height, setbacks from property lines, and materials.
Finishing Touches and Final Thoughts
The bulk of the project was successfully wrapped up, with a few additional process improvements towards the end. After completing the framework, the sight of a perfectly aligned fence was hugely satisfying.
- Cost Savings: Doing it personally, we saved nearly $1,000. We learned a new skill and got to spend quality time together, adding a personal touch to our home.
- Painstaking Precision: Ensuring level and evenly spaced pickets, and a good fit between sections is crucial for aesthetic and structural integrity.
- Waiting Before Painting: As our fence was made from pressure-treated wood, we chose to wait several months before painting to ensure the materials cured properly, providing a better long-term result.
In conclusion, building your DIY picket fence, while demanding, is an achievable task for any determined DIYer. Not only did it keep costs down, but the end product was a source of immense pride and satisfaction. Plus, every visitor's admiration of our handiwork was the icing on the cake. If you're considering embarking on this journey, I hope my story provides the clarity and confidence to proceed.


