If you practice yoga regularly like I do, you'll understand how important it is to keep your yoga mat clean. After a few sessions, you might notice some dirt or a not-so-pleasant smell coming from your mat. That's when you know it's time to clean it. Instead of buying expensive cleaning solutions, I've found that making my own DIY yoga mat spray is simple, effective, and budget-friendly.
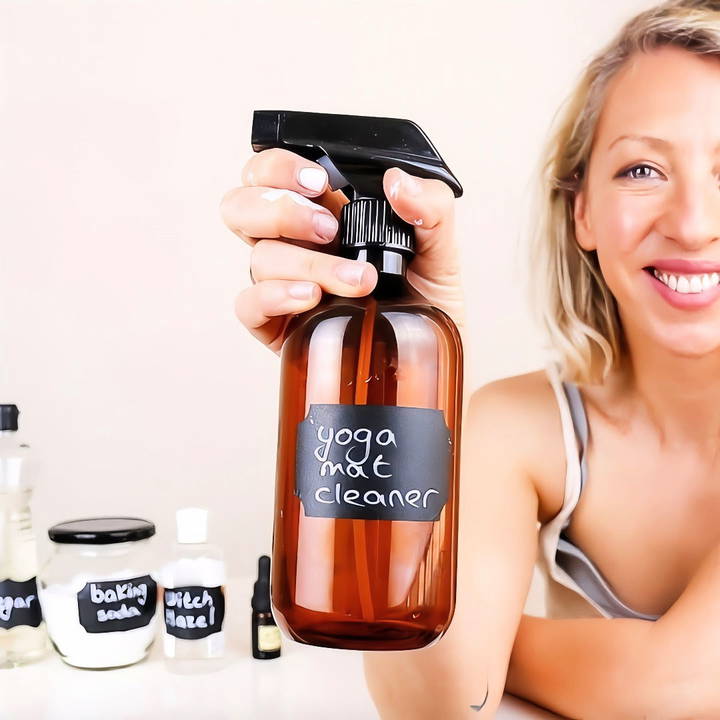
In this guide, I'm sharing my personal go-to recipes for cleaning your yoga mat using common household products—soap, vinegar, witch hazel, and baking soda. Each of these methods is designed to cater to different types of yoga mats and needs. I'll also share some tips on what works best based on my own experience and the guidelines provided by yoga mat manufacturers. Let's dive in!
Why Clean Your Yoga Mat?
Keeping your yoga mat clean is not just about aesthetics or avoiding embarrassing smells in the yoga studio. A clean mat ensures a healthier and more pleasant practice. Yoga mats can harbor bacteria, fungi, and other germs, especially when used frequently. Cleaning helps to:
- Remove dirt, grime, and sweat buildup.
- Prevent the growth of bacteria and fungi.
- Prolong the life of your mat.
Materials and Insights: What You'll Need
Before we get started, here are the materials you'll need for each cleaning method:
- Soap and Water
- Vinegar
- Witch Hazel
- Baking Soda
- Essential Oils (optional)
- Spray Bottles
Let's break down each method step-by-step so you can choose the one that works best for you.
Step by Step Instructions
Discover easy DIY yoga mat cleaner methods with step-by-step instructions. Learn to clean your mat with soap, vinegar, witch hazel, and baking soda.
Method 1: Soap and Water
This is one of the most straightforward and effective methods for cleaning yoga mats. I often use this method when I want a quick clean. Soap is a great cleaner because it cuts through dirt and grime while also removing some germs.
What You'll Need:
- A spray bottle
- Water
- Mild dish soap (about one teaspoon)
My Experience with Soap and Water
I fill up a spray bottle with water and add a small amount of mild dish soap—about a teaspoon. It's essential to shake the bottle well to mix it properly. I then spray this solution evenly over my yoga mat and wipe it down with a damp cloth. If the mat is particularly dirty, I let it sit for a few minutes before wiping it.
Some yoga mats, like those from Lifeform, B Mat, and Sugarmat, specifically recommend using soap and water for cleaning. However, brands like Manduka and Jade suggest avoiding soap as it may degrade the mat's material over time. I've found that this method works best on my B Mat, but I avoid using it on my Manduka mat.
Tips:
- Make sure to use mild soap to avoid any residue.
- Wipe the mat thoroughly to avoid slipping during practice.
Method 2: Vinegar Solution
For a more natural cleaning option, vinegar is a fantastic choice. It cleans effectively and has disinfectant properties that help break down dirt and kill household pathogens.
What You'll Need:
- A spray bottle
- Water (4 parts)
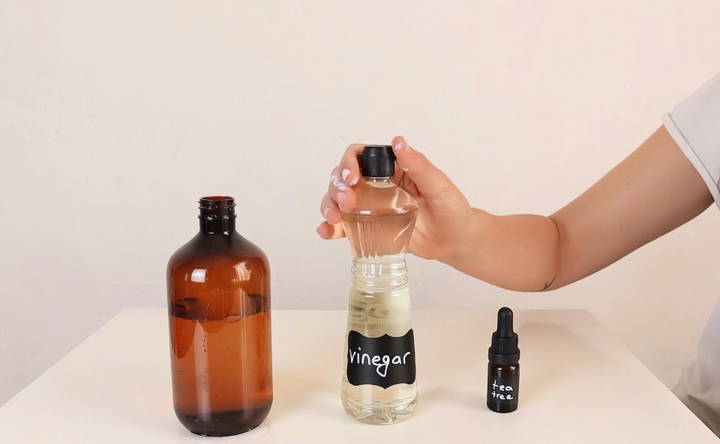
- White vinegar (1 part)
- Essential oils (optional, I use tea tree oil)
My Experience with Vinegar Solution
I mix four parts water with one part white vinegar in a spray bottle. I often add a few drops of tea tree oil, which has antiviral, antifungal, and antiseptic properties. This mixture does an excellent job of disinfecting the mat. However, I've noticed a slight vinegar scent, which is why I like to add essential oils.
The B Mat manufacturer recommends using a water and vinegar solution, but again, both Manduka and Jade advise against it. I personally stick to this method for my B Mat and avoid it on my Manduka mat to prevent any potential damage.
Tips:
- Essential oils can mask the vinegar smell and add additional disinfectant properties.
- Avoid over-soaking your mat to prevent any breakdown of material.
Method 3: Witch Hazel Solution
Witch hazel is another fantastic cleaner that is often used in skincare as a cleanser and toner due to its anti-inflammatory properties. It's gentle yet effective and works well on all types of yoga mats.
What You'll Need:
- A spray bottle
- Water (4 parts)
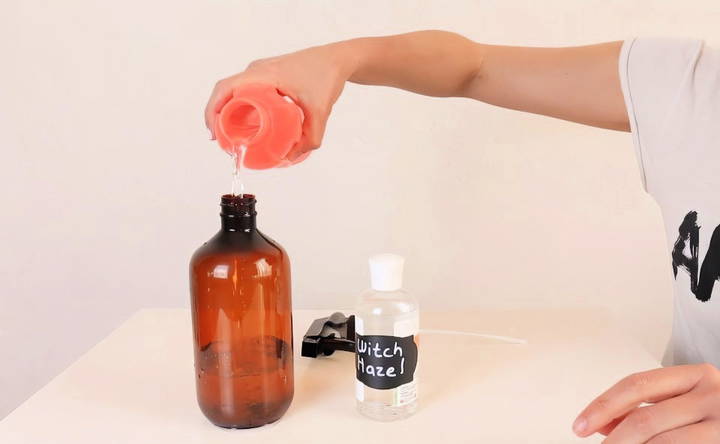
- Witch hazel (1 part)
My Experience with Witch Hazel
Mix four parts water with one part witch hazel in a spray bottle. You will love this solution because it's gentle and doesn't leave a strong scent. I haven't found any yoga mat manufacturers recommending against the use of witch hazel, which gives me the confidence to use it on all of my mats.
I find this method particularly useful after a hot yoga session, where my mat tends to get quite sweaty. Witch hazel does a great job of freshening it up without being too harsh.
Tips:
- This is a gentle option that's great for regular maintenance.
- Always allow your mat to air dry completely after cleaning.
Method 4: Baking Soda Paste
Baking soda is a well-known deodorizer and is excellent for neutralizing odors. This method is perfect if your mat has a lingering smell that won't go away.
What You'll Need:
- Baking soda
- Water
- A small bowl
My Experience with Baking Soda
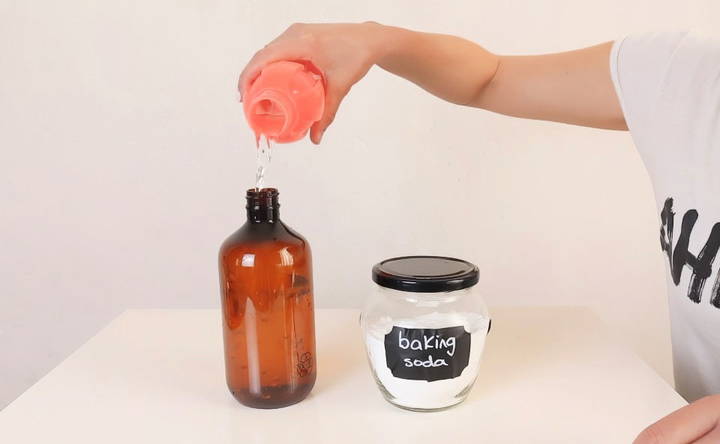
To use this method, I make a paste by mixing baking soda with a bit of water. I spread the paste over the mat and let it sit for about 10 minutes. This time allows the baking soda to neutralize any odors. After that, I wipe it clean with a damp cloth.
When I contacted Lifeform about deep cleaning my yoga mat, they specifically recommended using baking soda. It's an excellent choice for those deeper cleans or when your mat needs a little extra TLC.
Tips:
- Make sure to rinse off all the baking soda to avoid residue.
- This method is especially effective for older mats that might need more intensive cleaning.
Additional Tips for DIY Yoga Mat Cleaning
If you're feeling creative, you can even design custom labels for your DIY cleaners. It's a small touch that makes the bottles look organized and stylish in your home gym or yoga space.
And if DIY isn't your style or you want something specifically formulated for your mat, many yoga mat brands like Manduka and Jade offer their own cleaning sprays tailored for different types of mats. These can be a good alternative if you prefer a store-bought option.
Common Mistakes to Avoid
Cleaning your yoga mat is essential for maintaining hygiene and extending its lifespan. However, there are common mistakes that people often make. Avoiding these can help you keep your mat in top condition.
1. Using Harsh Chemicals
Many people think that strong chemicals like bleach or alcohol are necessary to clean their mats. However, these can damage the material and cause it to wear out faster. Instead, use mild, natural cleaners like vinegar or gentle soap.
2. Overusing Essential Oils
While essential oils can add a pleasant scent and have antibacterial properties, using too much can make your mat slippery and hard to clean. Stick to a few drops mixed with water for the best results.
3. Not Rinsing Properly
After applying your cleaner, it's crucial to rinse your mat thoroughly. Any leftover cleaner can make the mat sticky and attract more dirt. Use a damp cloth to wipe off any residue.
4. Skipping the Drying Process
One of the biggest mistakes is not allowing the mat to dry completely. Rolling up a damp mat can lead to mold and mildew growth. Always let your mat air dry fully before storing it.
5. Using Abrasive Scrubbers
Avoid using rough scrubbers or brushes, as they can damage the surface of your mat. A soft cloth or sponge is usually sufficient for cleaning.
6. Cleaning Too Infrequently
Some people wait too long between cleanings, which allows dirt and bacteria to build up. Aim to clean your mat at least once a week, or more often if you practice daily.
7. Ignoring Manufacturer's Instructions
Every yoga mat is different, and some materials require special care. Always check the manufacturer's cleaning instructions to avoid damaging your mat.
By avoiding these common mistakes, you can keep your yoga mat clean, safe, and in good condition for a long time.
FAQs About DIY Yoga Mat Cleaner
Discover essential FAQs about DIY yoga mat cleaners. Learn how to make and use homemade solutions to keep your mat fresh and clean.
Cleaning your yoga mat regularly is essential for hygiene and longevity. Mats can accumulate sweat, oils, dirt, and bacteria, which can lead to unpleasant odors and potential skin infections. Regular cleaning helps maintain a clean, safe, and inviting surface for your practice.
To clean your yoga mat:
Spray the cleaner evenly across the mat.
Wipe down with a damp cloth.
Allow the mat to air dry completely before rolling it up.
It's recommended to clean your yoga mat after every practice if you use it frequently. For less frequent use, cleaning it once a week should suffice. Regular cleaning helps prevent the buildup of bacteria and keeps your mat in good condition.
Yes, you can customize your DIY yoga mat cleaner with various essential oils based on your preferences. Some popular options include:
Peppermint oil: Refreshing and invigorating scent.
Lemon oil: Uplifting and has natural antibacterial properties.
Eucalyptus oil: Known for its antimicrobial and deodorizing effects. Experiment with different oils to find the combination that you enjoy the most.
If you prefer not to use vinegar, you can substitute it with other natural cleaning agents such as:
Witch hazel: A gentle astringent that can help disinfect your mat.
Baking soda: Effective for deodorizing and removing stains. Mix it with water to form a paste and apply it to the mat, then wipe clean. These alternatives can be just as effective and may suit your needs better.
Conclusion
Keeping your yoga mat spray doesn't have to be a chore. With these simple DIY cleaning methods, you can keep your mat fresh and in good condition without spending much. From soap and water to vinegar, witch hazel, and baking soda, there's a method for everyone and every mat. Remember to check your mat manufacturer's recommendations and choose the method that works best for you. Happy cleaning and happy yoga!
Would you like to try any of these DIY cleaning methods? Share your experiences or any additional tips you have!


