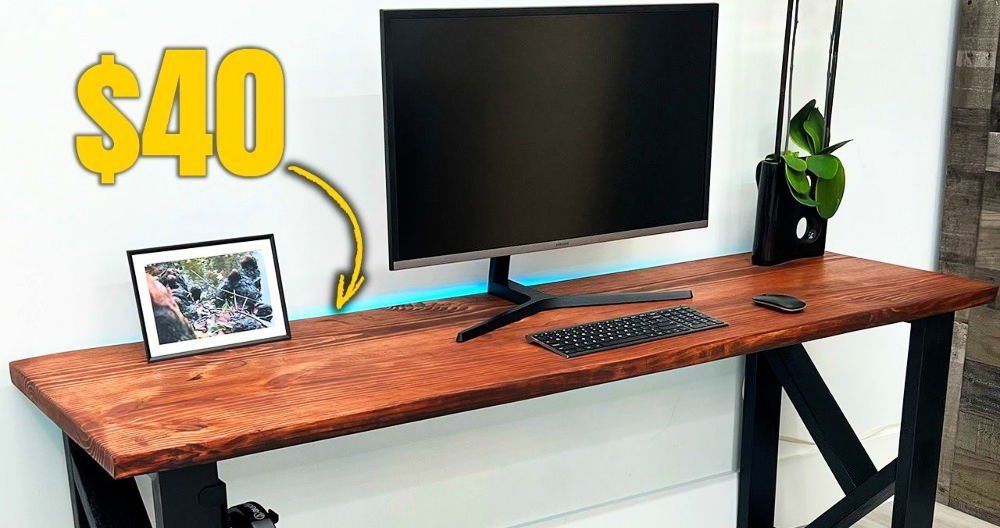
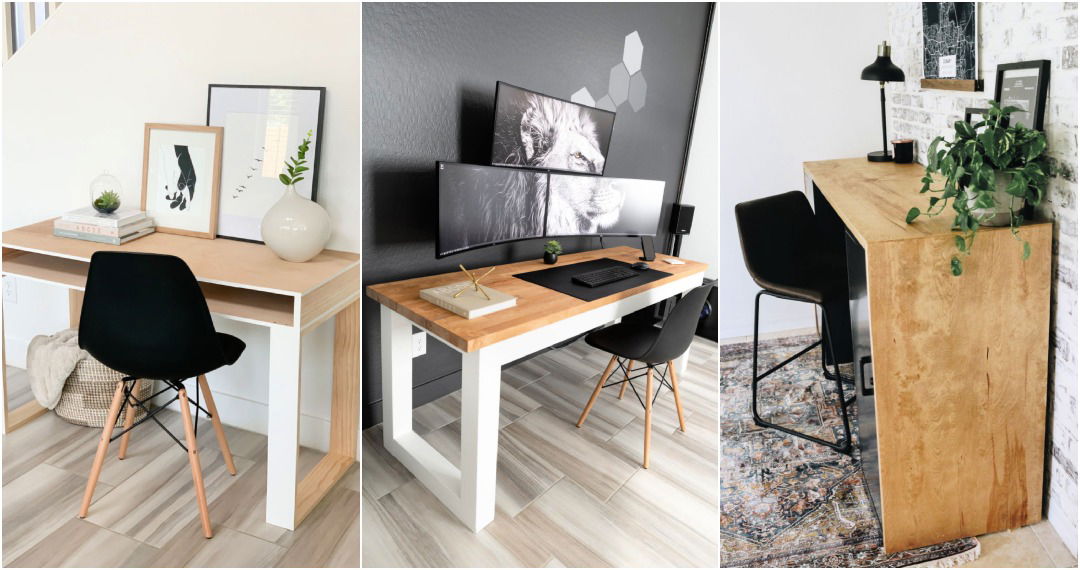
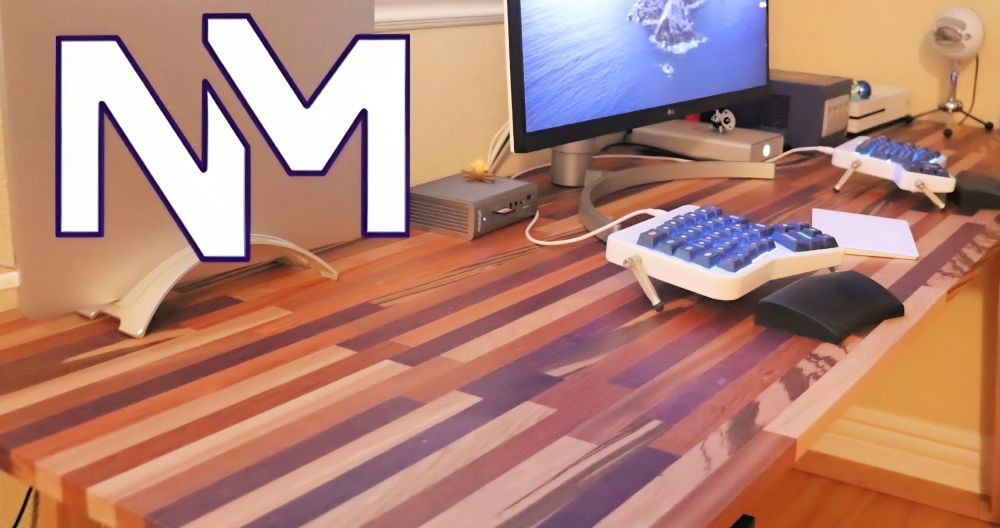
Building a DIY reception desk on a budget is an achievable project for many. Start by gathering materials like wood, screws, and paint, which are often affordable and easy to find. You can design a stylish and functional reception desk with basic tools and a bit of creativity. This not only helps you save money but also lets you customize the desk to fit the available space and décor.
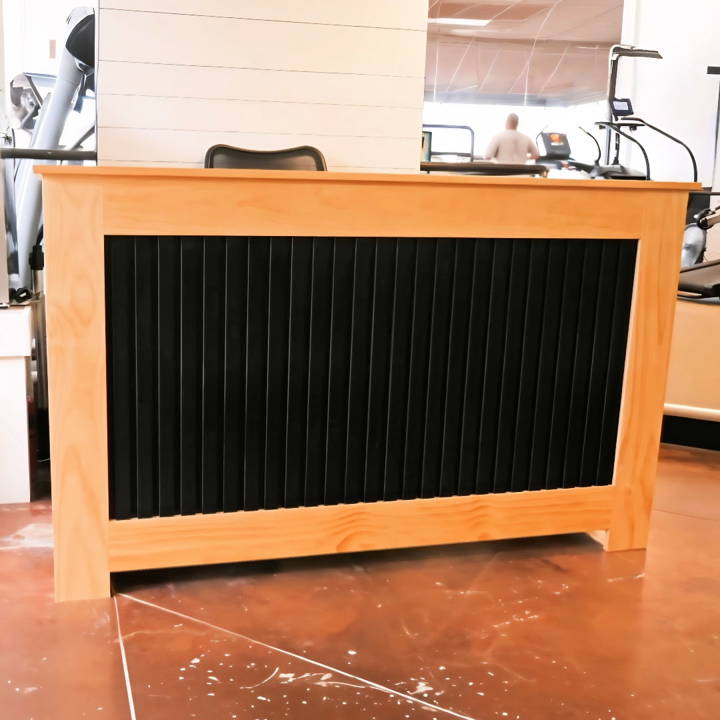
Making a DIY reception desk yourself also allows you to add unique personal touches. Whether you prefer a modern or rustic look, you can choose the finishes and details that match your taste. Following clear, step-by-step instructions can make the process simple and enjoyable.
Ready to roll up your sleeves? Explore the next section to dive into detailed instructions and materials needed for this DIY reception desk project.
Materials Needed and Their Purpose
- Plywood and MDF: These form the core structure of the desk, providing durability and a smooth finish.
- Selected Pine Boards: Used for trim and aesthetic enhancements, adding a professional look.
- Marine Spar Varnish: To protect the desk from the heavy use and sunlight exposure it'll face in the gym.
- Painters Tape and Sandpaper: Essential for finishing touches, ensuring a sleek and smooth appearance.
- Screws, Glue, and Pin Nails: For assembling the pieces securely.
Each material was chosen for its specific attributes, such as durability, aesthetics, and ease of use, ensuring the desk would withstand frequent use and look great in the gym.
Step by Step Instructions
Build your own DIY reception desk with our step-by-step instructions on DIY reception desk. Easy-to-follow guide for a professional-looking workspace.
Step 1: Cutting the Wood
The first step was to meticulously cut the MDF and plywood according to the dimensions needed for the desk's panels and the desktop. Precision here is crucial for ensuring all pieces fit perfectly during assembly. I reserved an afternoon for this process, carefully following a cut list to minimize waste.
Step 2: Preparing the Panels
After cutting, I moved on to drilling holes in the desktop for the computer and miscellaneous cords. A smart trick here was placing painter's tape over the drilling area to prevent the wood from tearing out. This small step made a significant difference in the finish quality.
Step 3: Assembling the Panels
With all the pieces cut and prepped, it was time to assemble. I started with the side panels, attaching the pine boards to the MDF with glue and pin nails. This part of the process was somewhat meditative, as it allowed me to see the desk beginning to take shape.
Step 4: Painting and Finishing Touches
To simplify the process, I decided to pre-paint the panels before full assembly. Three coats of paint ensured a robust finish that could handle the wear and tear of gym life. Once dry, I attached the trim pieces, bringing an elegant touch to the desk's overall look.
Step 5: Final Assembly
The final assembly was the most challenging aspect, especially securing the front panel in place. It required dexterity and patience, but the satisfaction of seeing the desk come together was unmatched. I reinforced the structure with corner brackets for extra stability.
Step 6: Applying the Finish
For the finish, I opted for the gleam 2.0 marine spar varnish due to its durability and UV protection. I brushed on several coats, ensuring each was even and allowed ample time to dry. This step was vital for the desk's longevity in the busy gym environment.
Lessons Learned and Tips for Success
- Take Your Time: Rushing through the steps can lead to mistakes. Allocate plenty of time for each phase of the project.
- Precision is Key: Accurate measurements and cuts are essential for a professional-looking finish.
- Protection Matters: Investing in a high-quality finish will protect your project from wear and ensure it lasts for years.
- Enjoy the Process: Embrace the challenges and celebrate the small victories throughout the project.
Customization Ideas for Your DIY Reception Desk
Building a reception desk that reflects your personal style or brand identity can be a rewarding DIY project. Here are some customization ideas to help you design a desk that's both functional and unique:
- Choose Your Style: Start by deciding on the overall style of your desk. Do you prefer a modern look with clean lines and a minimalist design, or are you more inclined towards a rustic aesthetic with natural wood and a warm feel? Your style choice will guide the selection of materials and design elements.
- Select Materials Wisely: The materials you choose can greatly affect the appearance and durability of your desk. Consider using reclaimed wood for a sustainable option that adds character. For a sleeker look, laminates or metal finishes might be more appropriate. Think about the longevity and maintenance of the materials as well.
- Incorporate Branding: If the desk is for a business, incorporating your logo or brand colors can make the desk stand out and reinforce your brand identity. This can be done through painted designs, vinyl decals, or even inlays.
- Add Functional Features: Think about what features will make the desk more functional for your needs. Do you need extra storage, cable management solutions, or built-in lighting? Plan these features early in the design process.
- Personalize with Decor: Small decorative touches can make a big difference. Consider adding a unique drawer pull, a custom nameplate, or decorative trim to personalize your desk.
- Adjust for Ergonomics: Comfort is key in a reception area. Ensure the desk height is appropriate for the user and that there is enough legroom. If the desk will be used for long periods, consider adding a footrest or ergonomic chair.
- Plan for Technology: In today's world, a reception desk needs to accommodate technology. Plan spaces for computers, phones, and other devices, ensuring that they can be used comfortably and that wires are neatly managed.
- Consider Accessibility: Make sure your desk is accessible to everyone, including those with disabilities. This means considering the height and reach of various elements, as well as ensuring there is ample space for wheelchair access if necessary.
Follow these tips to design a reception desk that is functional and reflects your style or brand. Keep the design organized, clear, and user-focused.
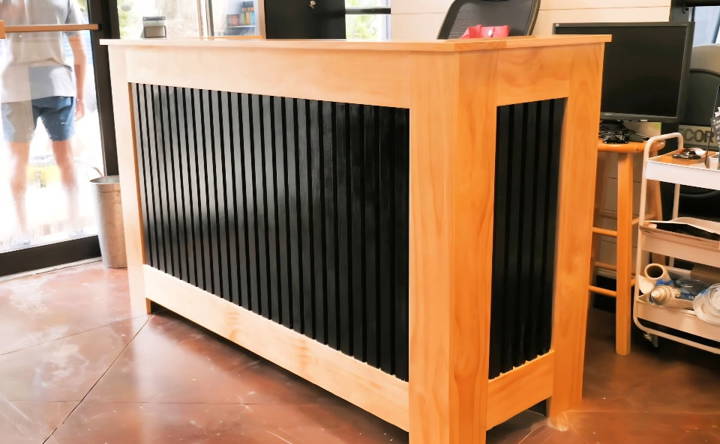
Maintenance and Care for Your DIY Reception Desk
Taking care of your DIY reception desk is crucial to ensure it remains a welcoming and functional centerpiece in your space. Here's a straightforward guide to maintaining your desk:
- Regular Cleaning: Keep your desk clean by wiping it down regularly with a soft, damp cloth. For wooden desks, use a cleaner specifically designed for wood. For metal or laminate surfaces, a mild soap solution will do the trick. Avoid harsh chemicals that can damage the finish.
- Protect the Surface: Use coasters for drinks and placemats for any equipment that might scratch the surface. Consider a glass top for extra protection if your desk sees heavy use.
- Manage Wear and Tear: Check for any loose screws or wobbly parts periodically and tighten them as needed. If you notice any scratches or dents, you can often repair them with a touch-up kit or filler designed for the material of your desk.
- Organize Cables: Keep cables from computers and phones organized and out of sight. Use cable management solutions like clips, ties, or conduits to prevent tangling and reduce wear on the cords.
- Avoid Sunlight and Heat: Position your desk away from direct sunlight and heat sources to prevent fading and warping. Use blinds or curtains to minimize sun exposure during peak hours.
- Humidity Control: If your desk is made of wood, maintain a stable humidity level in the room to prevent the wood from expanding or contracting, which can cause cracks.
- Refresh the Finish: Over time, the finish on your desk may start to look dull. You can refresh it by applying a new coat of sealant or polish, depending on the material. Always test a small, inconspicuous area first.
- Be Mindful of Weight: Don't overload drawers or shelves. Know the weight limits of your desk and adhere to them to avoid structural damage.
Follow these tips to keep your DIY reception desk looking great and functional. Regular upkeep ensures longevity and a great first impression.
FAQs About DIY Reception Desk
Discover answers to questions about DIY reception desks. Learn tips, materials, and steps to build your own reception desk at home.
Absolutely! Many DIY reception desk plans are designed with beginners in mind, offering simplified instructions and a list of tools and materials you'll need. Some plans even provide step-by-step guides to help you through the process.
Customization can be done by choosing different materials, adding unique design elements, or incorporating additional storage. For example, you can add a personal touch by using satin fabric and screws to build a patterned front for your desk or by building a two-level desk for more workspace.
Building your own reception desk can save you money compared to buying a pre-made one. It also allows for customization to fit your specific needs and space. Plus, it can be a rewarding project that adds a professional touch to your office or workspace.
You can find detailed plans and instructions for various DIY reception desk designs online. These resources provide a list of materials, tools needed, and step-by-step construction guides. Some websites may offer free plans, while others might charge a small fee for more comprehensive instructions.
To ensure your DIY reception desk is sturdy and durable, focus on the quality of materials and the construction method. Use solid wood or high-grade plywood for the main structure, and reinforce joints with wood glue and screws rather than nails for added strength. Additionally, consider adding a metal frame or brackets for extra support, especially if the desk will bear heavy loads or be used frequently. Remember to also treat the wood with a sealant or varnish to protect it from wear and tear.
Conclusion
In conclusion, building a DIY reception desk on a budget is a practical and rewarding project. It allows you to save money and customize your space. By following clear guidelines, you can successfully build a reception desk that fits your needs and style.


