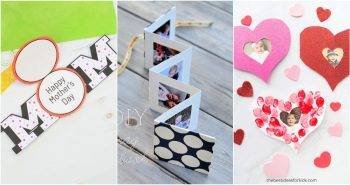
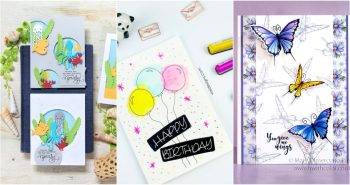
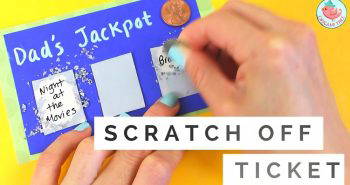
Making handmade DIY greeting cards is not only a thoughtful gesture but also a fun and creative hobby. Whether you're a seasoned crafter or just starting, making your own greeting cards allows for endless customization and personal touch. In this comprehensive guide, you will discover simple steps to make quick and easy greeting cards, using supplies you likely already have. We'll focus on techniques that are both simple and effective, ensuring your cards look polished and professional without requiring an excessive amount of time or materials.
Why Choose Handmade Greeting Cards?
Handmade greeting cards stand out for their personal touch. Unlike store-bought cards, they can be customized to suit the recipient's preferences, from color schemes to specific themes. Here are a few reasons to try your hand at making your own cards:
- Cost-Effective: Once you have basic supplies, making cards is cheaper than buying them.
- Customization: You can personalize the card to match the occasion or the recipient's tastes.
- Creativity: It's an opportunity to flex your creative muscles, using different designs, colors, and materials.
- Sustainability: By using scraps, recycled paper, and old craft supplies, you can reduce waste.
Now, let's dive into the step-by-step process of making a greeting card.
Materials You'll Need for DIY Greeting Cards
Before we get started, gather the necessary materials. While card-making can be done with minimal supplies, having a few specific tools will make the process easier and your final product more polished.
- Cardstock or blank cards: This will serve as the base for your card.
- Patterned paper or scrapbook paper: Use to add texture and design elements.
- Scissors or a craft knife: For cutting out paper shapes.
- Glue or double-sided tape: To stick everything together.
- Distress tool (optional): Adds texture to the edges of the card for a vintage or rustic look.
- Embellishments: This could include rhinestones, buttons, ribbons, twine, or anything else you'd like to add.
- Foam tape or dots: To give dimension and raise certain elements of the card.
- Punches or dies: Useful for cutting out shapes like hexagons or circles.
- Pens or stamps: For writing or stamping sentiments.
Step by Step Instructions
Make heartfelt, customized cards with our step-by-step DIY greeting card guide. Learn design tips for making unique masculine-themed cards!
Step 1: Choose and Cut Your Paper
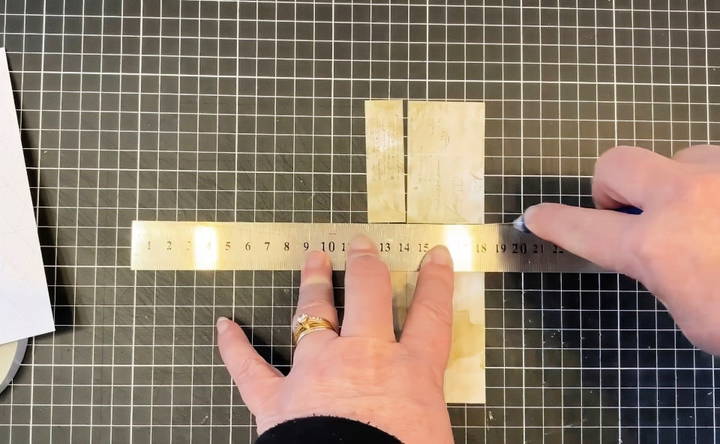
For this card, we're using a 12x12 patterned paper, but feel free to substitute it with any scrapbook or decorative paper you have. Begin by cutting the paper into strips—about two centimeters each. Don't worry about being exact; handmade cards thrive on their unique imperfections.
- Tip: If you're unsure about the exact measurements or don't have a paper cutter, freehand cuts add character to the card.
Step 2: Make a Rustic Edge
Once your paper strips are cut, use a distress tool (or a pair of scissors) to roughen the edges of the paper. This gives the card a rustic and handmade feel, perfect for more masculine or minimalist card designs.
Step 3: Assemble the Card Base
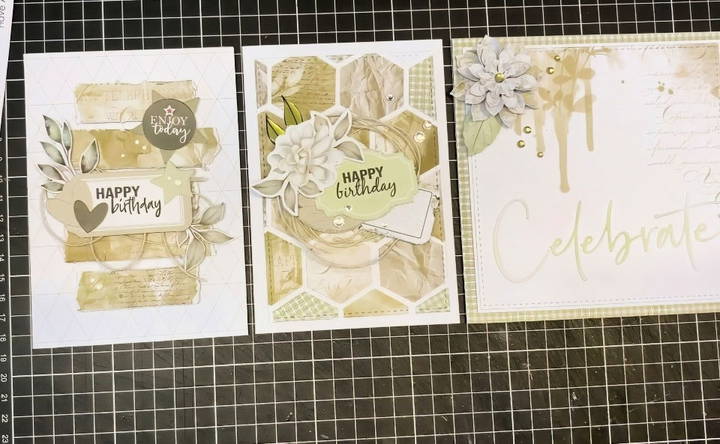
Arrange your paper strips on the card base, leaving a small gap between each strip. You can place them horizontally or vertically, depending on your preference. Once satisfied with the arrangement, use thin foam tape to raise the strips slightly off the card, making depth and dimension. This technique is simple yet effective, adding a professional touch to the card.
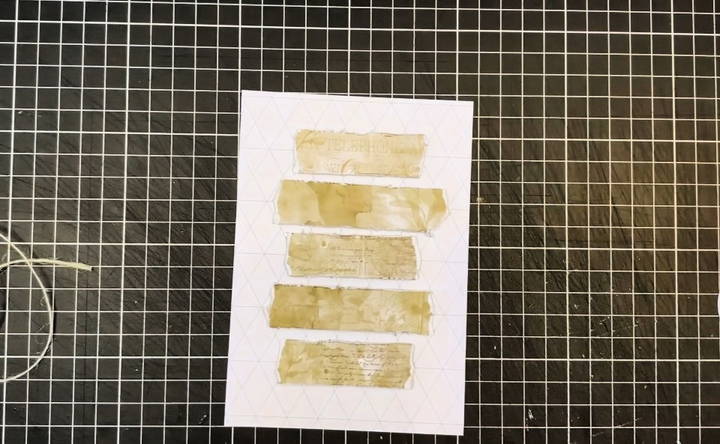
- Tip: Try playing with the positioning of your strips before adhering them. If you don't like the arrangement, move things around until you're happy with the layout.
Step 4: Embellish with Twine and Fussy-Cut Elements
To enhance the rustic look, add a small twine circle to your card. Place the twine underneath a fussy-cut leaf or other embellishment to make texture. Fussy cutting is a technique where you cut out specific shapes from patterned paper, such as leaves, flowers, or geometric designs.
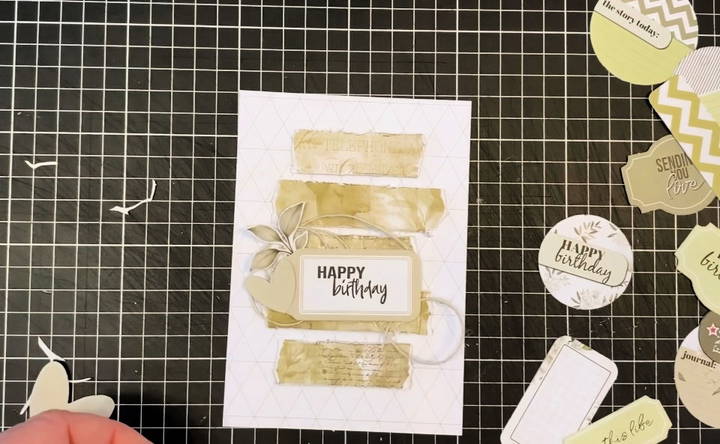
- Tip: If you don't own a fancy die-cutting machine, scissors work perfectly fine. Just cut with a small border around the shape for a cleaner look.
Step 5: Add Dimension with Foam Dots
Next, use foam dots to raise some of your embellishments off the card. This helps certain elements pop, adding another layer of interest. Just remember to cut your foam dots small if necessary, as large pieces can sometimes show when viewed from the side.
Step 6: Final Touches: Nuvo Drops and Rhinestones
For the final touches, add small decorative elements like Nuvo Drops or adhesive rhinestones. These can act as subtle accents, bringing a little sparkle and polish to your design. Nuvo Drops, in particular, are great for adding a raised, glossy element that mimics enamel.
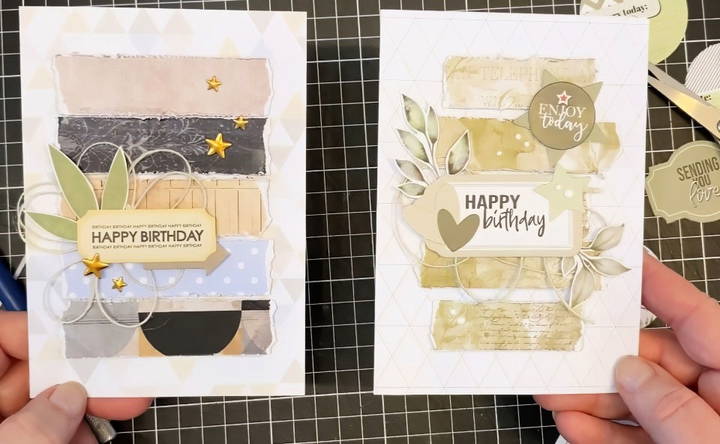
After assembling the main components, your card is nearly complete. Step back and assess if there's anything else you'd like to add. Often, less is more when it comes to card design. If the card feels balanced and complete, set it aside to dry.
Design Tips for Making Masculine-Themed Cards
When designing cards with a masculine theme, the approach often focuses on minimalism, geometric patterns, and neutral or muted colors. Here are some tips for making your cards stand out:
- Use geometric shapes: Squares, hexagons, and triangles add structure to the design.
- Incorporate texture: Rough edges, distressed papers, and textured cardstock work well.
- Stick to neutral tones: Blacks, greys, navy blues, and earth tones often lend themselves well to a masculine feel.
- Focus on simplicity: Avoid overly complex designs and embellishments that could overwhelm the card.
Making a Quick and Easy Geometric Card
Let's explore another design approach: the geometric card. This type of card is simple yet impactful and doesn't require a lot of embellishments or materials.
Step 1: Choose Your Paper and Punch
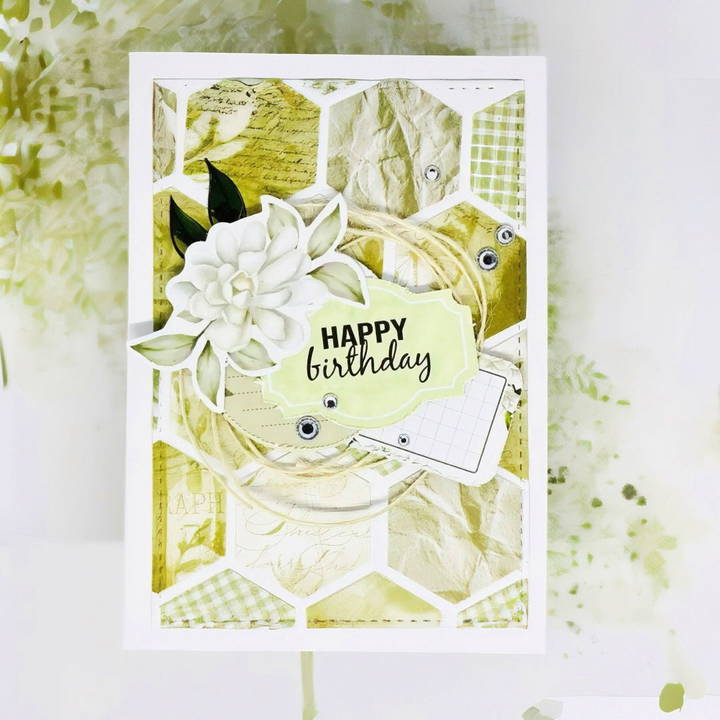
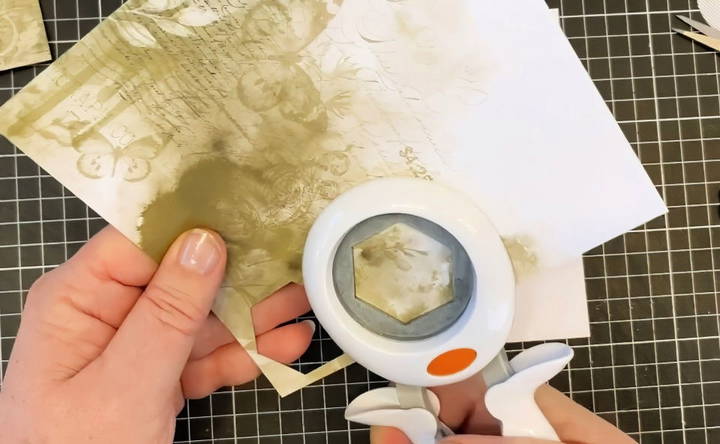
For this design, use scrap pieces of paper to punch out hexagon shapes. If you don't have a hexagon punch, you can always cut them by hand or use any geometric shape you prefer, like circles or squares. Alternate between different patterns and colors for variety. In our example, we'll use one patterned side and one solid color side to make contrast.
Step 2: Assemble the Hexagons on the Card
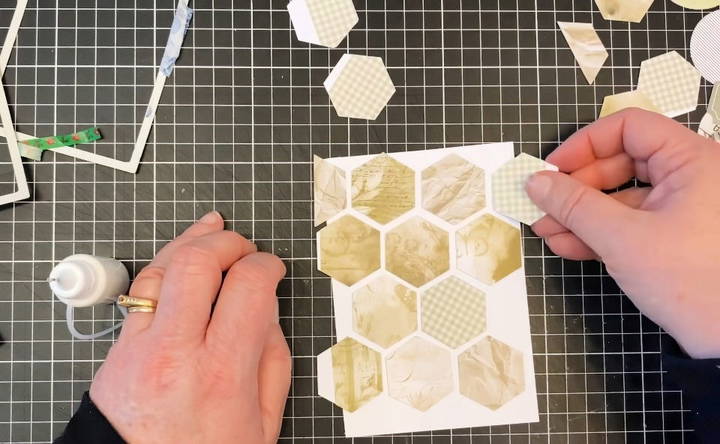
Next, arrange your hexagons in a beehive pattern on the card base. You can place them tightly together or leave a small gap between each one for a more open, airy feel. This design is perfect for using up scrap paper, as the different patterns and textures bring life to the card without needing extra embellishments.
- Tip: For a cleaner look, avoid placing the same pattern or color next to each other.
Step 3: Add Dimension and Frame the Design
To give the card some dimension, layer a few of the hexagons using foam dots. Then, take a rectangle die (or cut one by hand) to frame your hexagon design. This ensures the focal point stays centered while adding a subtle border to the card.
- Tip: If you don't have a rectangle die, cutting a rectangle frame by hand works just as well. Use a craft knife for clean, sharp edges.
Step 4: Finishing Touches
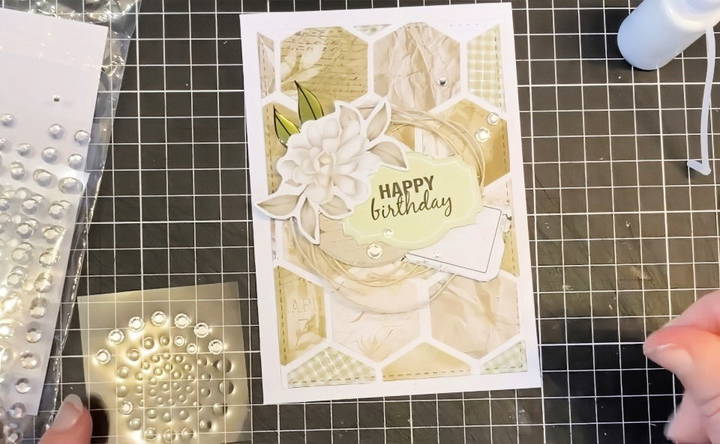
Finally, add a simple sentiment to the card, such as “Happy Birthday” or “Best Wishes.” Keep it minimalist by using a small stamp or hand-written sentiment. You can also add a few rhinestones or other small embellishments for a touch of sparkle.
This completes the first half of our card-making guide. We've covered two key card designs: one that is rustic and masculine, and another that is more geometric and minimalistic. Each of these designs is quick to make and versatile enough to be adapted for various occasions.
Creative Ways to Use Leftover Craft Supplies for Card Making
One of the best things about card making is that you can use leftover scraps and bits of other projects. Instead of letting these materials go to waste, they can be repurposed to make unique and beautiful cards. Let's explore some creative ways to make the most of your scraps.
Step 1: Use Small Paper Scraps for Backgrounds
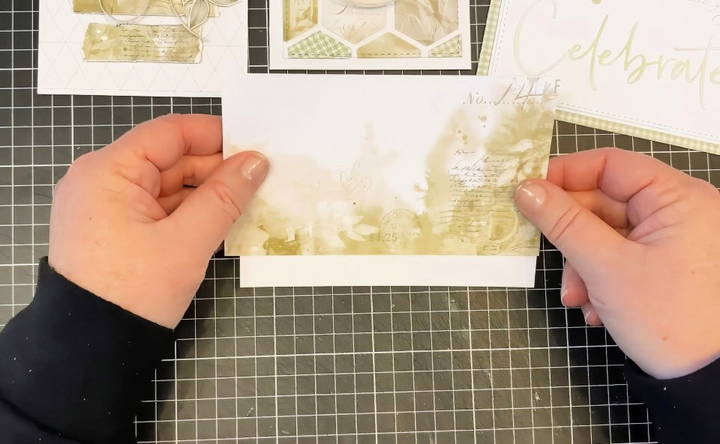
Even the smallest pieces of patterned paper can be transformed into a stunning card background. Try cutting your scraps into different shapes—such as triangles, circles, or strips—and arrange them into a mosaic or patchwork design. This method not only uses up leftover supplies but also makes a textured, eye-catching base for your card.
- Tip: Mix and match patterns and colors, but keep a consistent theme, like sticking to warm or cool tones, to ensure the card doesn't look too chaotic.
Step 2: Incorporate Leftover Die-Cuts or Punch-Outs
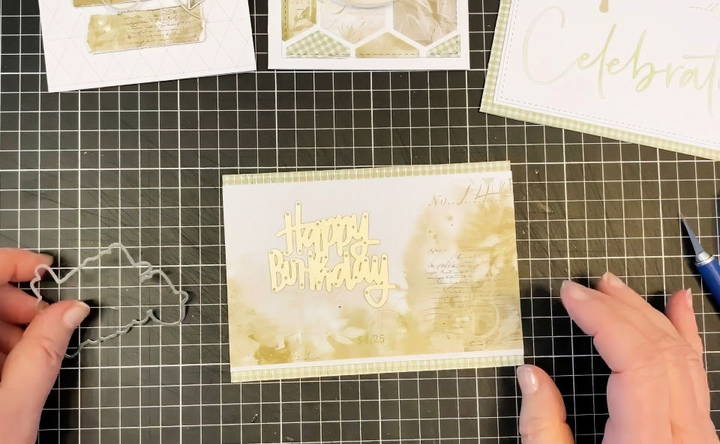
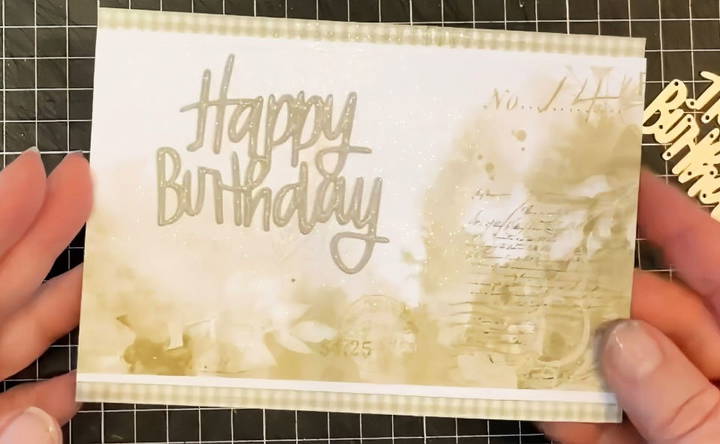
If you have leftover die-cut shapes or punch-outs from previous projects, these can become focal points on new cards. For example, if you previously punched out butterflies, hearts, or stars, you can use these to make a dimensional effect by layering them on top of each other.
One easy technique is to layer three or more of the same shape to give it a thicker, almost chipboard-like feel. Place foam dots between the layers to make depth, and add them as a central feature on your card.
Step 3: Combine Different Textures
You may have leftover ribbons, fabric scraps, or even small pieces of lace from previous crafting projects. These different textures can bring a tactile element to your card designs. Layering ribbon under paper or using small fabric squares as a background for sentiment can really enhance the look of your card.
Incorporating these soft elements makes the card feel more personal and luxurious without much extra effort.
Step 4: Embellishments to Elevate the Design
Small embellishments like rhinestones, brads, buttons, or twine can make a huge difference when it comes to card making. If you have leftover embellishments from other projects, don't let them gather dust! Use them to add subtle accents to your cards.
- Rhinestones and pearls can add a bit of sparkle and sophistication.
- Twine or string can be used to make a bow or a rustic wrap around the card.
- Buttons can be used as the center of a flower or just as a quirky decorative element.
Beginner's Guide to Card Making: Getting Started
If you're new to card making, don't worry! It's a straightforward craft that doesn't require fancy tools or expensive materials. All you need is a little creativity, a few supplies, and the willingness to experiment. Here's how to get started.
Start with Simple Supplies
When you're just beginning, it can be tempting to buy all the tools and embellishments you see in the craft store. However, starting small and with basic supplies is the best way to go. Here's what you'll need:
- Cardstock: This will be your card base. Choose heavyweight cardstock for a sturdy feel.
- Patterned paper or scrap paper: Great for adding a design element without much effort.
- Glue, tape, or double-sided adhesive: For sticking everything down.
- Scissors or a craft knife: Essential for cutting paper and other materials.
- Pens or stamps for sentiments: These will be useful for adding personalized messages.
- Tip: Many craft stores sell pre-cut blank cards with envelopes, making it easy for beginners to dive right in without having to worry about cutting out the base card.
Step 2: Follow Simple Card Layouts
As a beginner, it can be overwhelming to decide on a design. A great way to ease into card making is by following basic layouts or sketches. Here are three simple layouts you can try:
- Centered Focal Point: Place a single embellishment, such as a stamped image, in the center of the card with a sentiment underneath.
- Strips of Paper: Cut strips of different patterned papers and arrange them horizontally or vertically across the card for a layered look.
- Corner Accent: Place your embellishment or focal image in one corner of the card, leaving the rest of the space open for a minimalist feel.
Once you're comfortable with these layouts, you can begin to experiment and make more complex designs.
Step 3: Experiment with Embellishments
Embellishments are where the fun begins. Start simple with items like rhinestones, buttons, or small paper flowers. These can be adhered with glue or foam dots to add dimension to your cards. If you enjoy stamping, adding small stamped images to your card can be a great way to personalize it.
- Tip: Don't overdo it with embellishments. Often, one or two well-placed items are all you need to elevate your card design.
Step 4: Keep Practicing
As with any craft, practice makes perfect. Don't be discouraged if your first few cards don't turn out exactly how you envisioned. The more you practice, the more your skills will improve, and soon you'll be crafting cards that look store-bought—only better!
Fun Card-Making Ideas for Various Occasions
Handmade greeting cards can be tailored to any occasion, from birthdays and holidays to weddings and thank-you notes. Here are some ideas to inspire your next project.
Birthday Cards
- Theme: Use the recipient's favorite colors, hobbies, or interests as a starting point. For example, if they love gardening, include floral elements.
- Design Tip: Make a shaker card by using foam tape to make a small window filled with sequins or glitter. This adds an interactive element to the card that kids and adults alike will enjoy.
Wedding Cards
- Theme: Opt for elegant and sophisticated designs using neutral tones like white, silver, or gold. Lace, ribbon, and metallic embellishments can enhance the look.
- Design Tip: Make a gatefold card, where the two sides of the card open like doors, revealing the message inside. You can use a ribbon to tie it shut, adding a lovely touch.
Holiday Cards
- Theme: For Christmas, consider using red, green, or gold with traditional symbols like holly, snowflakes, or Christmas trees. For Halloween, incorporate orange and black with spooky elements like bats and ghosts.
- Design Tip: Add texture by using embossing folders to make raised patterns on the card. This works particularly well with holiday cards to give them a festive feel.
Thank You Cards
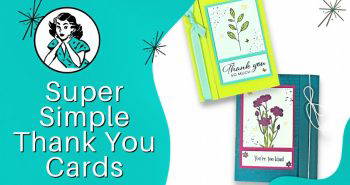
- Theme: Keep these simple and elegant. A basic "Thank You" stamped on the front of the card with a subtle embellishment is often enough.
- Design Tip: Use watercolor paints to make a soft background, then stamp or write the sentiment on top. This is a quick yet visually striking way to make a memorable thank-you card.
Advanced Techniques for Experienced Crafters
Once you've mastered the basics of card making, it's time to explore more advanced techniques. These techniques will take your cards to the next level, giving them a professional and intricate look.
Heat Embossing
Heat embossing is a fantastic way to add texture and shine to your cards. All you need is an embossing pen, embossing powder, and a heat gun. First, stamp or write your sentiment with the embossing pen, sprinkle the embossing powder over it, and then use the heat gun to set the powder. The result is a glossy, raised design that looks incredibly professional.
Interactive Elements
Adding interactive elements such as pop-ups or spinners can turn your card into a playful experience. Pop-up cards are easy to make and add a fun surprise when the recipient opens the card. You can also make spinner cards, where a small image or embellishment spins as the card opens or closes.
Watercolor Backgrounds
Watercolor backgrounds add a soft, artistic touch to your cards. You don't need to be an expert painter—simple washes of color work perfectly. Once the background is dry, you can stamp a sentiment or image on top, making a beautifully layered look.
Stencil Techniques
Using stencils is an easy way to add intricate patterns to your cards. You can use ink or paint with the stencil, or even embossing paste for a textured finish. Stencils come in all shapes and sizes, so you can find one that fits any theme or occasion.
FAQs About DIY Greeting Cards
Discover the essentials with our FAQs about DIY greeting cards - your ultimate guide to making personalized, handmade greetings!
This is a common mistake! Simply cut the design from the original card and attach it to a new blank card base. This adds some extra thickness but won’t affect the quality of the card. You can also trim any excess around the edges for a cleaner look.
Yes! If you don’t have a distressing tool, you can use scissors. Run the edge of the blade along the sides of the paper to create a similar roughened effect. This is a great alternative that provides a rustic look without extra supplies.
Instead of throwing away die-cut scraps, use them as stencils for inking or mixed media projects. You can also punch smaller shapes from the leftover paper. This method works especially well with specialty papers like glitter or metallic.
To ensure embellishments stay in place, especially foam dots and rhinestones, add a small dab of glue even if they come with adhesive backing. This provides extra security, particularly for elements that might get touched frequently.
If you're out of foam tape, you can use recycled materials like pieces of cardboard or old packaging. Cut these into small squares and use them to raise elements off the card, making dimension while saving on supplies.
For masculine cards, stick to geometric patterns, neutral tones (such as gray, brown, or navy), and textured cardstock. Avoid floral designs and focus on minimalism and structure to maintain a classic, masculine feel.
Small paper scraps can be turned into patchwork backgrounds or layered designs. Cut them into strips, squares, or hexagons and arrange them in a pattern on your card base for a unique, textured look. This technique is perfect for using up every last bit of paper.
Less is often more. Stick to one or two main focal points, such as a sentiment or central image, and use embellishments sparingly. A clean design with ample white space can often look more polished than an over-decorated card.
Yes! For instance, instead of buying a distress tool, use scissors to roughen paper edges. Old packaging can substitute foam tape for adding dimension. Everyday items like twine or buttons can also serve as embellishments.
Adding interactive elements like a spinner or pop-up is easier than you think. For a spinner card, cut out a small shape and attach it with string or brad to make it spin when the card is opened. For pop-ups, fold a section of paper in the middle and glue only one-half to the card base.
Conclusion: The Joy of Handmade Greeting Cards
Handmade DIY greeting cards are a wonderful way to express your creativity and show someone you care. Whether you're making a quick and simple card or a detailed, advanced design, the process of crafting is enjoyable and rewarding. By following these steps, tips, and techniques, you'll be able to make beautiful cards for any occasion.
Remember, card making is all about personal expression, so don't be afraid to experiment with new ideas and materials. Your handmade card is a reflection of your creativity, and the recipient will surely appreciate the time and effort you put into making something unique just for them.


