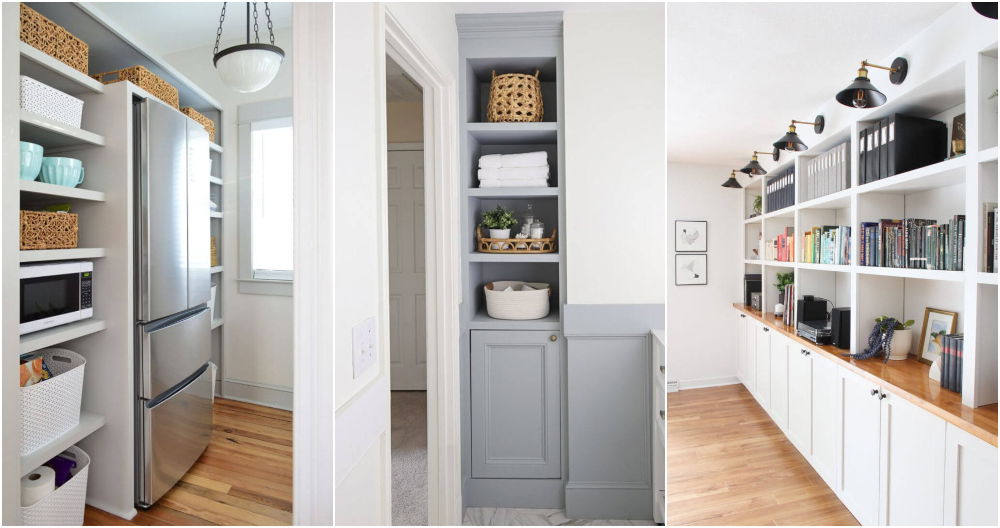
I recently embarked on a DIY home project that brought a mix of excitement and challenge: building a DIY built-in linen closet. This wasn't just any closet; it was a clever use of leftover space after merging two closets into a larger one in my bedroom.
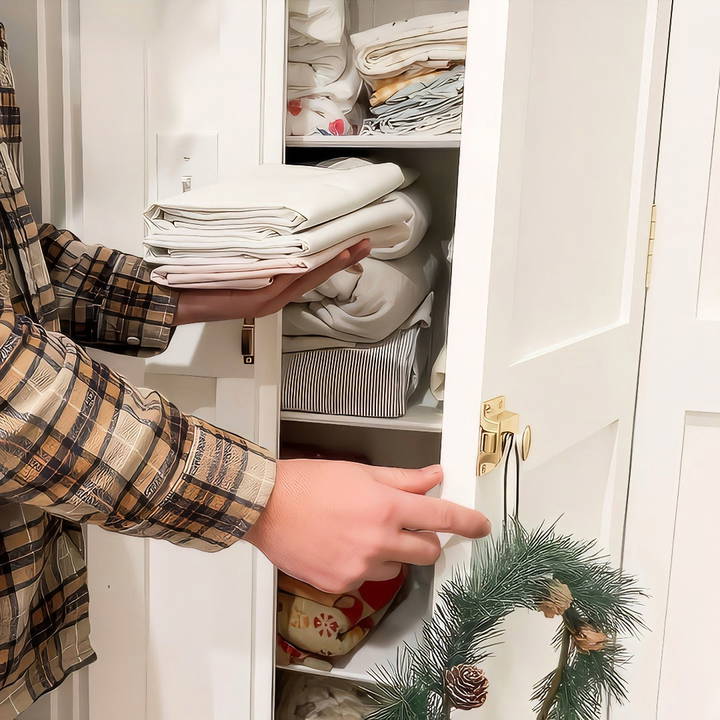
Building this linen closet was a rewarding journey, and I'm thrilled to guide you through the process step by step. With clear instructions and plenty of useful tips, I'll help simplify what might seem like a daunting task. Let's dive in!
Planning the Linen Closet
Discover how to efficiently plan your linen closet by understanding your space, gathering the right materials, and constructing the frame.
Understanding Your Space
Before embarking on any project, it's crucial to understand the space you're working with. In my case, I had a little pocket of unused space, perfect for a linen closet. Measuring your space is essential to ensure everything fits perfectly. Grab a tape measure and jot down your dimensions – width, height, and depth.
Gathering the Materials
While I knew the overall size of my future linen closet, the planning phase required considering the materials. Here's what I used:
- 2x4 Lumber: Essential for framing the closet. These wooden beams provide the necessary structure, even if the closet isn't load-bearing.
- Beadboard: Used for walls. In a small closet, beadboard gives a fresh, clean look without needing additional sheetrock.
- Moldings: These finish the edges and give the closet a polished look.
- Shelving Wood: Thin strips of wood for support and thicker wood for the shelves themselves.
- 3/4 Inch Plywood: Used for making a custom door.
- Wood Filler and Caulk: Perfect for a smooth finish.
- Paint and Brushes: To give your closet a vibrant and unified look.
- Brass Turn Knob: A space-efficient door latch.
Having all the materials ready before starting ensures a smooth workflow.
Step by Step Instructions
Learn how to build a DIY built-in linen closet, from framing to final touches. Install, trim, paint, and enjoy your functional and stylish space!
Constructing the Frame
Learn essential tips and techniques for building a sturdy frame. Master the basics of constructing the frame for your next project.
Building a Sturdy Frame
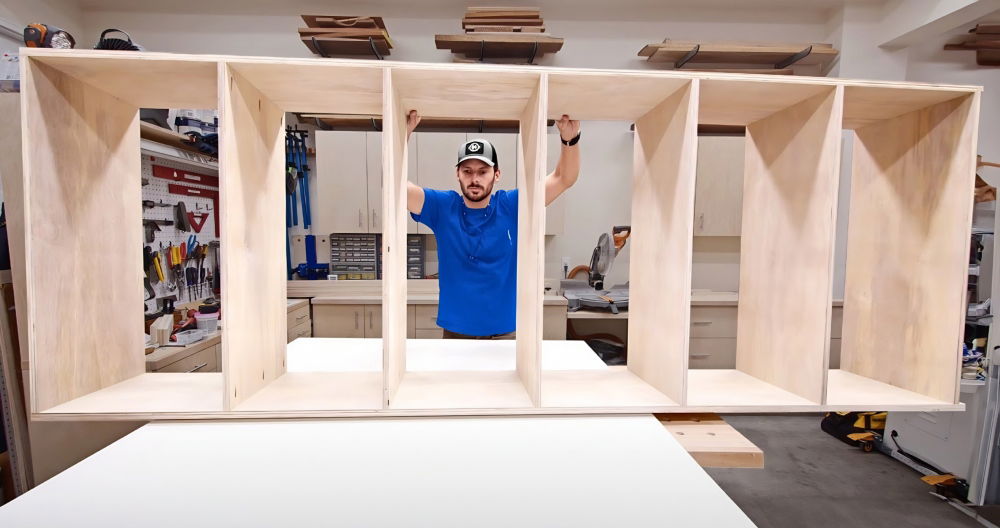
With measurements in hand, I started by building a 2x4 frame around the intended closet area. This step is critical because the frame forms the skeleton of your closet. Even if it's not load-bearing, a well-built frame will keep everything in place securely.
- Measure Precisely: Cut your 2x4 lumber to fit around the space perfectly.
- Secure It Well: Screw the lumber into the studs of the surrounding walls to provide stability.

Installing the Wall Surface
Learn the simplicity of installing beadboard wall surfaces with our easy-to-follow guide. Transform your space effortlessly!
The Simplicity of Beadboard
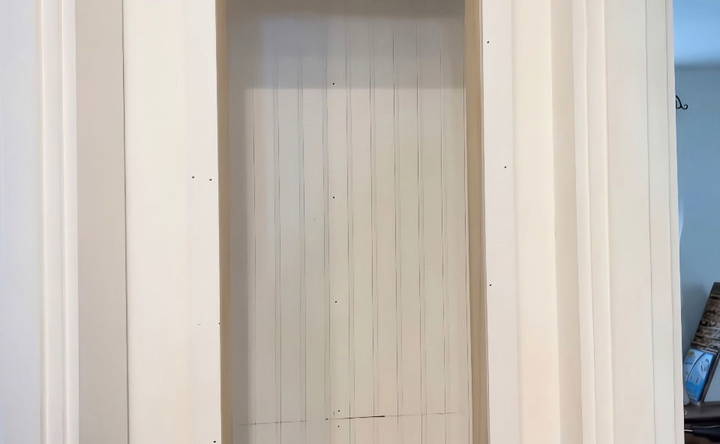
Beadboard was my wall material of choice. Usually, it's a good idea to install it over sheetrock, but small closets allow for some flexibility.
- Apply Directly: I opted to apply beadboard directly on the existing sheetrock wall to save space.
- Cut to Fit: Trim the beadboard to size. This might involve cutting around corners or outlets.
Skipping the sheetrock step in tiny spaces can maximize your storage area, but ensure that the beadboard is securely attached.
Trimming and Sealing
Achieve flawless edges with expert trimming and sealing. Discover tips on perfecting edges with moldings and the best techniques for filling and painting.
Perfecting the Edges with Moldings
To make the closet visually pleasing, I used moldings similar to those throughout our house. However, due to the narrow door frame, I trimmed the vertical sections to better fit the size.
- Cut to Size: Match the molding to your closet dimensions.
- Hide Imperfections: Moldings cover the edges of the beadboard for a neat finish.
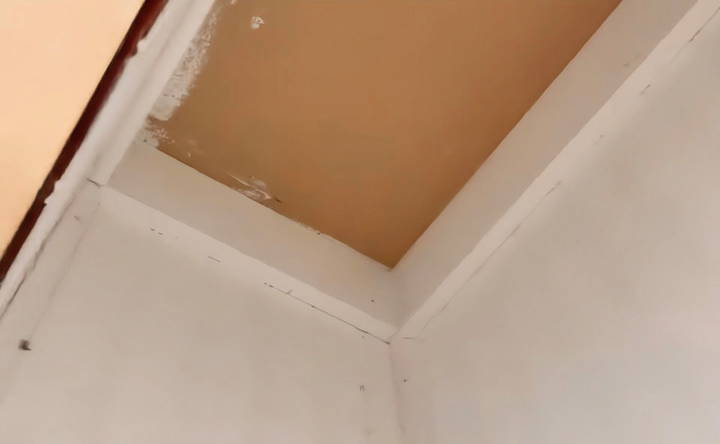
Filling and Painting
Next, I applied caulk to cover any gaps between the beadboard segments and around the moldings. Coupled with a good paint job, these steps transform your structure into a complete piece.
- Fill Gaps: With caulk, fill any spaces where materials join for a seamless look.
- Paint Thoroughly: Apply a base coat and a second coat after the shelves are installed.
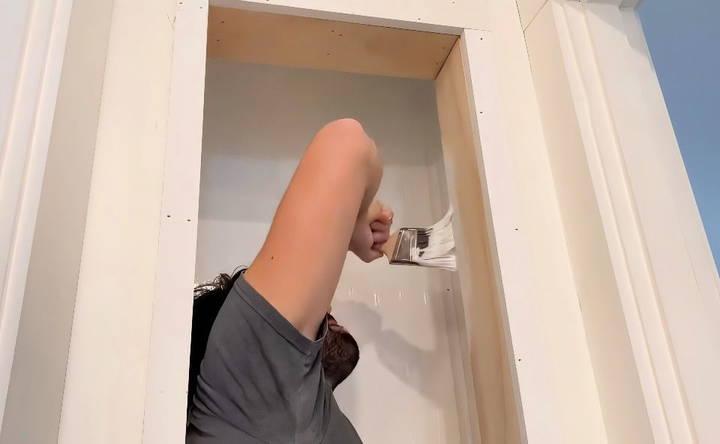
Installing Shelves
Learn how to install shelves with our step-by-step guide. Perfect your functional shelf design with easy tips and tricks for any space.
Functional Shelf Design
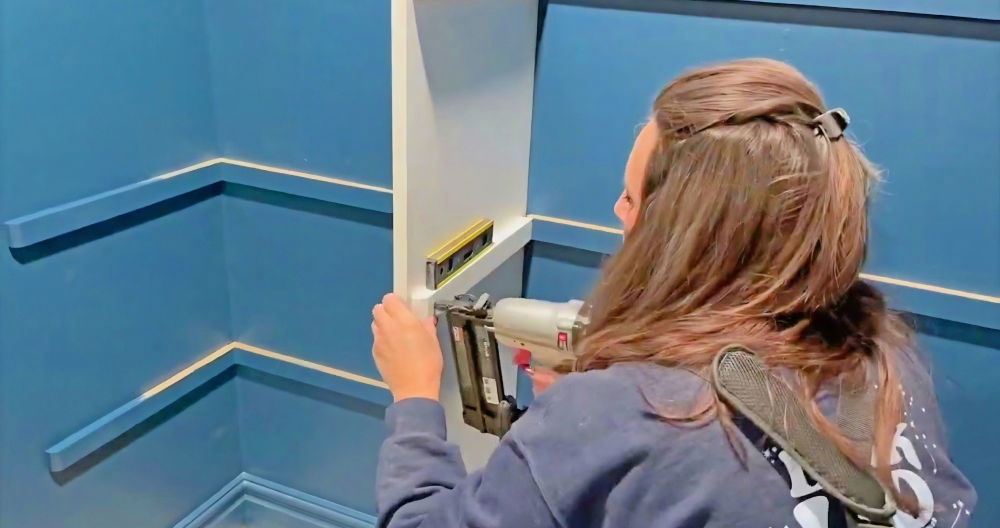
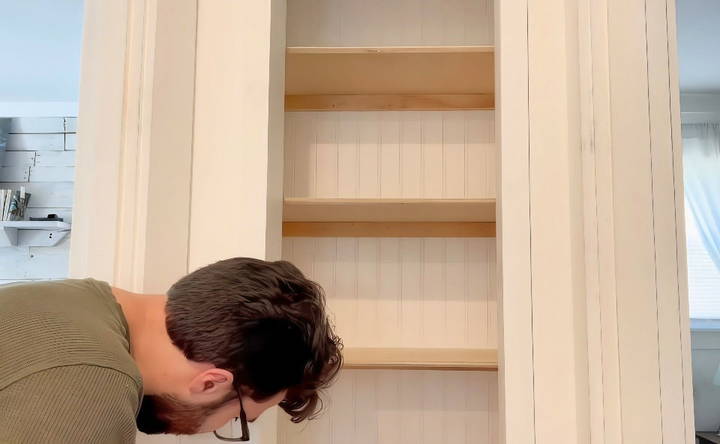
For storage within this space, simplicity was key. I chose a basic shelving design with supports on three sides and removable wooden shelves.
- Measure and Cut: Shelves should fit tightly across the supports. I placed mine 13 inches apart—perfect for towels and sheets.
- Secure the Shelves: After laying them on the supports, use a finish nailer to minimize movement.
A custom shelving height ensures you have ample room for various linens.
Making and Fitting a Custom Door
Learn the essentials of making and fitting a custom door, from crafting with plywood to adding final touches, in this comprehensive guide.
Crafting from Plywood
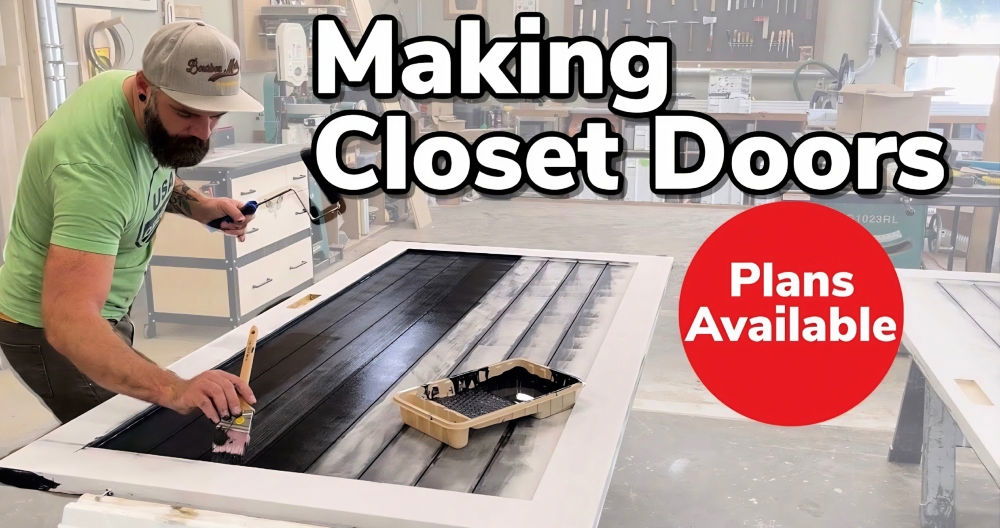
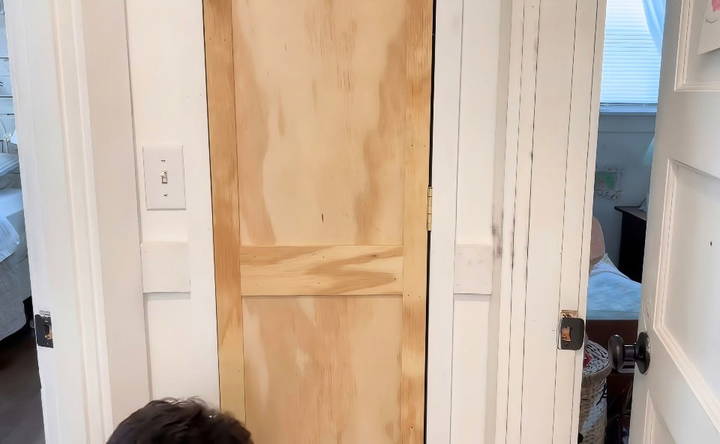
Instead of searching for a prefab door, making a custom door was cost-effective and perfect for the unique size of my space.
- Cut Precisely: Trim a piece of 3/4-inch plywood to the door's measurements.
- Add Detailing: Attach strips of plywood to mimic door panels.
- Finish Nicely: Fill imperfections with wood filler and sand for a smooth surface.
Final Touches
To complete the door, I added a brass turn knob. It's not only fitting for the tight space but also provides ease of use.
Bringing It All Together
Learn about installing and final adjustments in bringing it all together. Get step-by-step instructions for perfect results.
Installing and Final Adjustments
After painting, allow the closet to sit with the door slightly open for a few days. This prevents freshly painted sections from sticking together. Once cured, hang the door, reattach hardware, and you're ready to start filling your closet.
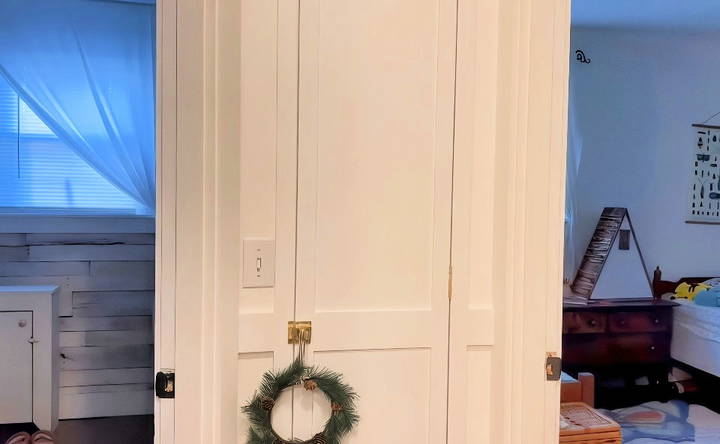
Loading Up the Linen Closet
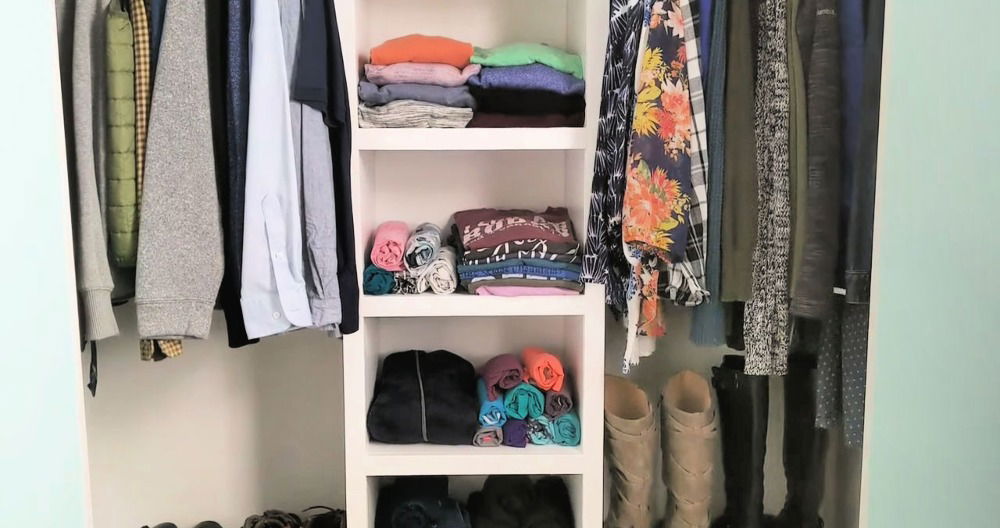
With the paint dry and everything assembled, it was time to stock the closet. I arranged sheets, towels, and blankets neatly. Even in a small house, this new space made a significant difference in keeping things organized.
Enjoying the Benefits
Building this closet by myself not only saved money but also gave me a sense of accomplishment. It's a testament to how doing things at home can transform living spaces efficiently.
Customization Tips
Customizing your DIY linen closet can make it more functional and tailored to your needs. Here are some easy and practical tips to help you personalize your linen closet:
Adjustable Shelving
Install adjustable shelves to accommodate different items. This flexibility allows you to change the shelf height based on what you need to store, from bulky blankets to small towels.
Add Baskets and Bins
Use baskets and bins to organize smaller items like washcloths, toiletries, and cleaning supplies. Label each basket to make it easy to find what you need quickly.
Incorporate Hooks and Rods
Add hooks or rods to the inside of the closet door or on the walls. These are perfect for hanging items like robes, bags, or even an ironing board.
Use Clear Containers
Store items in clear containers so you can see what's inside without opening them. This is especially useful for keeping track of smaller items like sewing kits or first aid supplies.
Install a Light
If your linen closet is dark, consider adding a small LED light. Battery-operated stick-on lights are easy to install and can make a big difference in visibility.
Personalize with Paint or Wallpaper
Give your linen closet a personal touch by painting the interior or adding wallpaper. Choose a color or pattern that makes you happy every time you open the door.
Add a Door Organizer
A door organizer can provide additional storage space for items like cleaning supplies, extra toiletries, or even shoes. This is a great way to maximize space in a small closet.
Build a Folding Station
If you have enough space, add a small folding station inside your linen closet. A pull-out shelf or a fold-down table can provide a convenient spot to fold laundry.
Use Shelf Dividers
Shelf dividers can help keep stacks of towels or sheets neat and prevent them from toppling over. They are easy to install and can be adjusted as needed.
Label Everything
Labeling shelves, bins, and baskets can help everyone in the household know where things belong. This makes it easier to maintain an organized space.
By incorporating these customization tips, you can build a linen closet that is not only functional but also a joy to use.
Common Mistakes to Avoid
When building and organizing a DIY linen closet, it's easy to make mistakes that can affect the functionality and appearance of your space. Here are some common mistakes to avoid:
Incorrect Measurements
One of the most common mistakes is not measuring your space accurately. Always double-check your measurements before cutting any materials. This ensures that everything fits perfectly and prevents wasted materials.
Overloading Shelves
Avoid overloading your shelves with too many items. This can cause shelves to sag or even break. Distribute the weight evenly and use sturdy materials that can support the load.
Ignoring Ventilation
Linen closets need proper ventilation to prevent mold and mildew. Make sure there is enough airflow by leaving some space between items and considering a vent or a small fan if necessary.
Lack of Organization
Simply stacking items without a plan can lead to a cluttered and disorganized closet. Use bins, baskets, and dividers to keep everything in its place. Labeling can also help maintain order.
Using the Wrong Materials
Choosing the wrong materials can affect the durability and appearance of your linen closet. Use moisture-resistant materials, especially if your closet is in a humid area. This helps prevent damage and extends the life of your closet.
Neglecting Maintenance
Once your linen closet is set up, it's important to maintain it. Regularly clean and reorganize to keep it functional and looking good. Neglecting maintenance can lead to clutter and damage over time.
Poor Lighting
A dark closet can make it difficult to find what you need. Ensure your linen closet has adequate lighting. Battery-operated LED lights are a simple and effective solution.
Not Utilizing Vertical Space
Make the most of your closet's height by using vertical space. Install additional shelves or use tall bins to store items. This maximizes storage and keeps the floor area clear.
Forgetting About Accessibility
Ensure that frequently used items are easily accessible. Place them at eye level or within easy reach. Store less frequently used items on higher or lower shelves.
Skipping the Planning Stage
Jumping straight into building without a clear plan can lead to mistakes and inefficiencies. Take the time to plan your layout, materials, and organization strategy before starting the project.
Avoiding common mistakes ensures a functional, organized, and durable linen closet. Careful planning and attention to detail are crucial for a successful DIY project.
FAQs About DIY Linen Closets
Explore the essential FAQs about DIY linen closets. Get tips, tricks, and expert advice to build the perfect storage solution for your home.
Start by measuring the height, width, and depth of your closet. Consider what you plan to store, like towels, sheets, or cleaning supplies. Standard shelf dimensions can help guide your planning. For example, shelves spaced 12-15 inches apart work well for most linens.
To make the most of your linen closet space:
Use vertical space: Install shelves high up for items you use less frequently.
Door storage: Add hooks or pockets on the inside of the door.
Adjustable shelves: Allow flexibility for different items.
Bins and baskets: Keep smaller items organized.
Keeping your linen closet organized can be easy with these tips:
Group similar items together (e.g., towels on one shelf, sheets on another).
Label shelves or bins to quickly find what you need.
Fold items neatly and consistently.
Use clear containers for easy visibility.
To make your linen closet visually appealing:
Use matching bins and baskets: This builds a cohesive look.
Label everything: Use stylish labels for a neat appearance.
Color-coordinate: Arrange items by color for a pleasing aesthetic.
Add a fresh scent: Use sachets or scented liners to keep your closet smelling nice.
Avoid these common pitfalls:
Not measuring accurately: Double-check all measurements to ensure a proper fit.
Overloading shelves: Distribute weight evenly to prevent sagging.
Ignoring ventilation: Ensure proper airflow to avoid musty odors.
Skipping the finish: Paint or seal wood to protect it from moisture.
Conclusion
Building a DIY built-in linen closet from scratch might seem challenging, but with precision and the right materials, it turns into an achievable and rewarding DIY project. Whether you're looking to maximize space in a small home or simply enjoy making a functional addition, this guide shows you how to craft your own storage haven. Don't hesitate to personalize your process along the way, because, in the end, every step of DIY is a chance to learn and improve.


