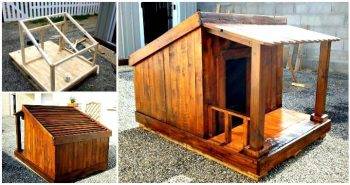
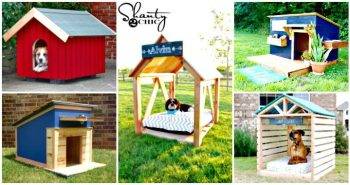
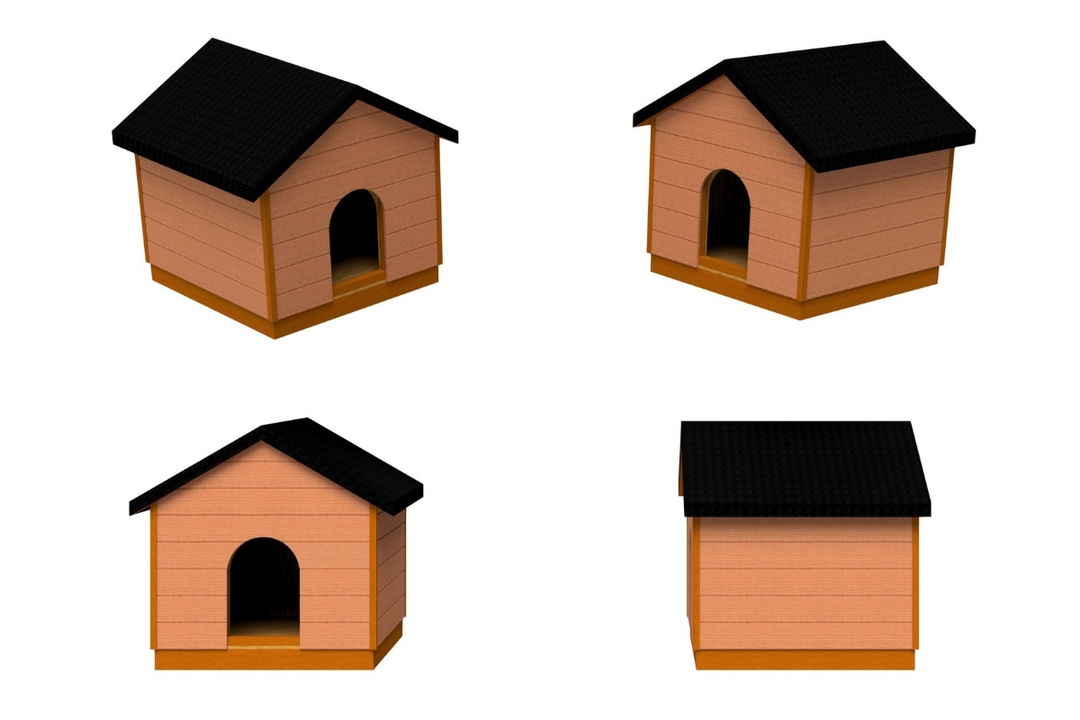
Building a robust, and weatherproof house for your four-legged friend is simpler than you think. There are plenty of ready-made options out there to choose from, but why not build something unique?
This article will show you just what you have to do.
There’s the option to include insulation in the step-by-step guide, but it’s all down to you and where you live whether you need to use such a warming feature. The following dog house plan works for pet owners regardless of climate and is suitable for both winter and summer.
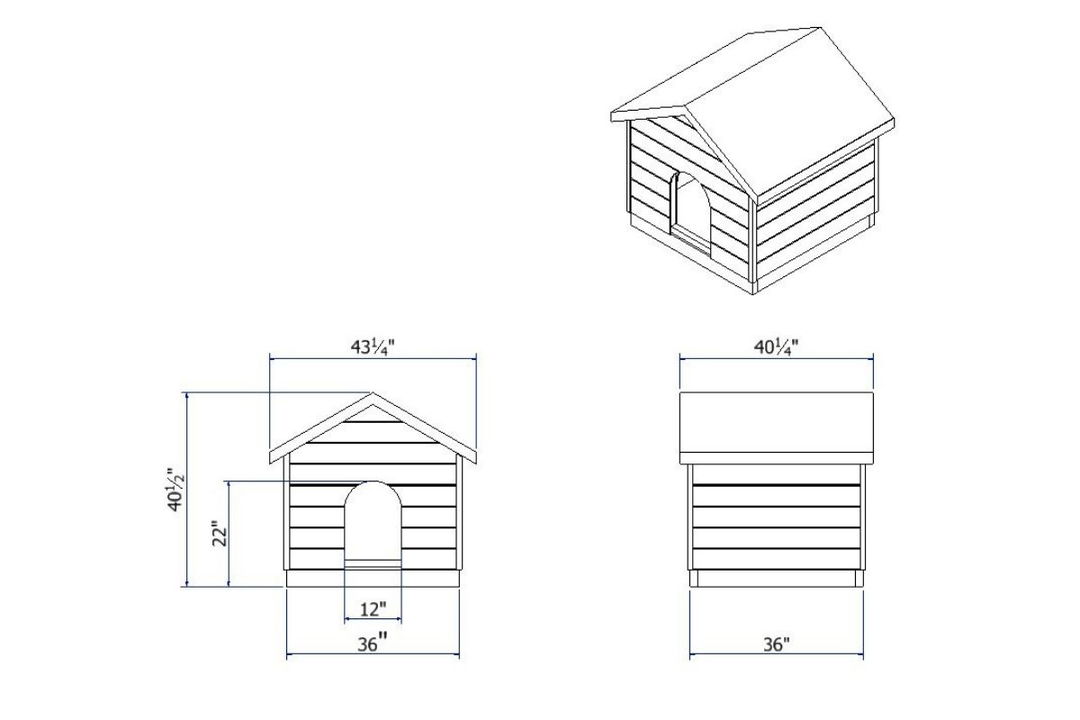
What you’ll need
Materials
The type of wood you use is your choice and will probably be based on your budget. My choice would be between cedar, pine, or fir. If you want to build something that will really last you might want to consider hardwood.
In all the measurements below I’ve added about 10% as wastage. Something to consider, when using dimensional lumber the dimensions are ½” less than the nominal sizing would lead you to believe i.e. for 2×4” dimensional lumber it actually measures 1 ½ x 3 ½”.
Framing Lumber
- 2×4 pressure treated lumber – Total: 25’ 1 ½” or 4 off 8’ lengths.
- 2×2 pressure treated lumber – Total: 59’ 2 ½” or 8 off 8’ lengths.
Plywood Sheeting
½” pressure treated plywood – Total area: 3261 in2 or 1 off 3’x3’ board and 1 off 5’x3’ board.
If you’re planning on insulating your dog house you’ll also need:
5/16” pressure treated plywood – Total area: 4778 in2 or 3 off 5’x3’ boards.
Cladding & Insulation
4 ½” Tongue and groove – Total area: 92’ 4” or 12 off 8’ lengths.
If you’re planning on insulating your dog house you’ll also need:
1 ½” thick foam insulation board – Total area: 4085 in2 or 3 off 2’x8’ boards.
Fasteners
- A box of 3” deck screws
- A box of 2” deck screws
- A box of ¾” deck screws
- A pack of 1” long brads that are compatible with your brad nailer
Roofing
2640 in2 felt paper and asphalt shingles.
Tools
- A Power Saw – Circular Saw, Table Saw or Miter Saw
- Jigsaw
- Drill & Drill Bits
- Impact Driver and Driver Bits
- Brad Nailer
- Corner Clamps
Step 1: Making the Base
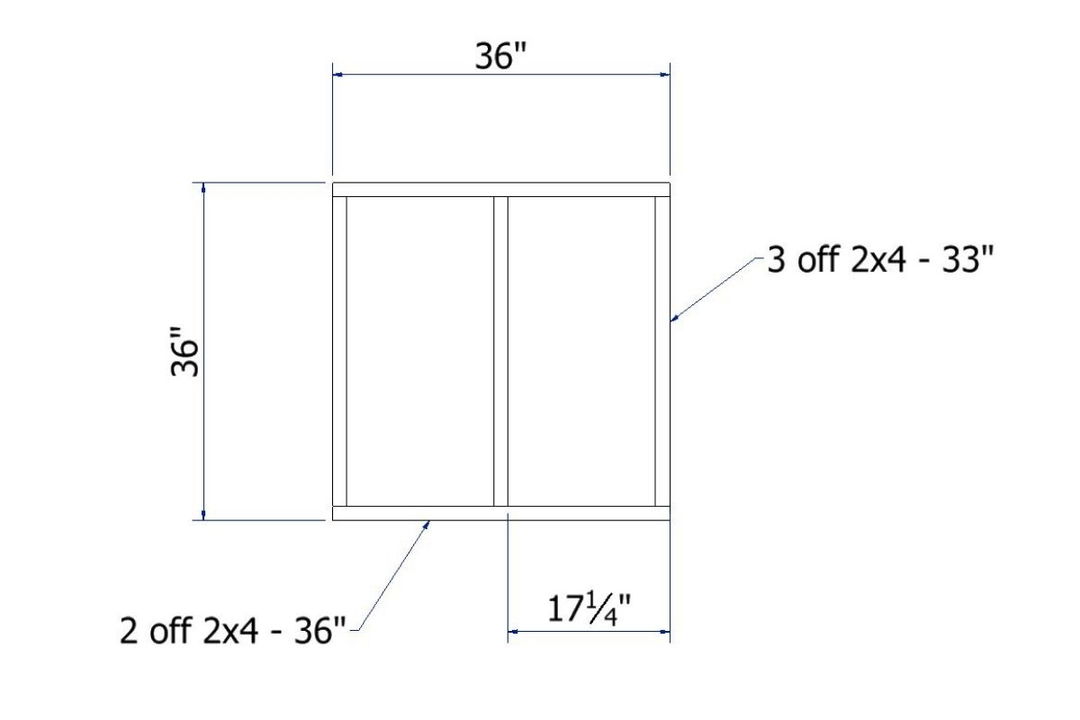
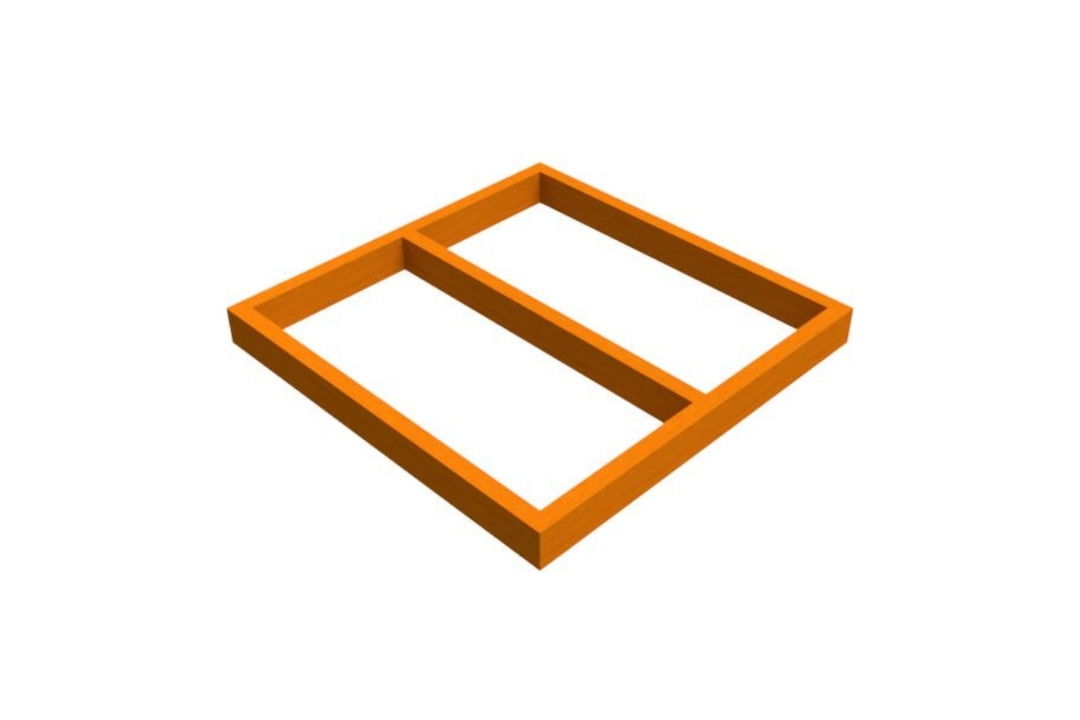
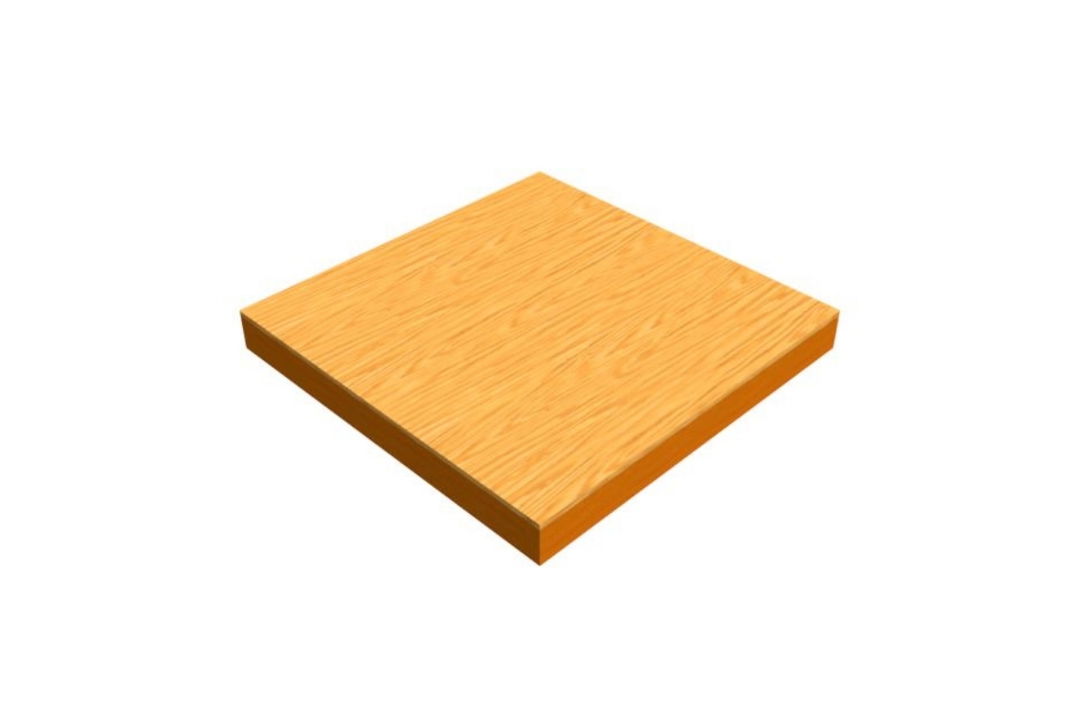
You should start your construction project by assembling your dog house base. You’re going to cut some lengths of timber, measuring 33 inches and 36 inches long. You’ll need five lengths in total, 2 x 36 inches and 3 x 33 inches. For these lengths, use the 2×4 timber.
Screw the lengths together to make the frame of the base. Three-inch screws work the best.
If you’re worried that the base won’t be square, there’s always the option of using corner clamps. Having a square base is critical, as it is what you’re going to build the rest of the dog house on.
To avoid the problem of splitting the wood when you drive in the screws, you can drill pilot holes of 1/8 inches.
With a stable and square base suitably constructed, you can move on to attaching the 36 inches x 36 inches plywood sheet. The quickest way to attach all your plywood will be using a brad nailer if you have one.
Use pressure-treated sheets because they will be long-lasting and less prone to rot, dampness, and warping.
Step 2: Constructing the Side Frames
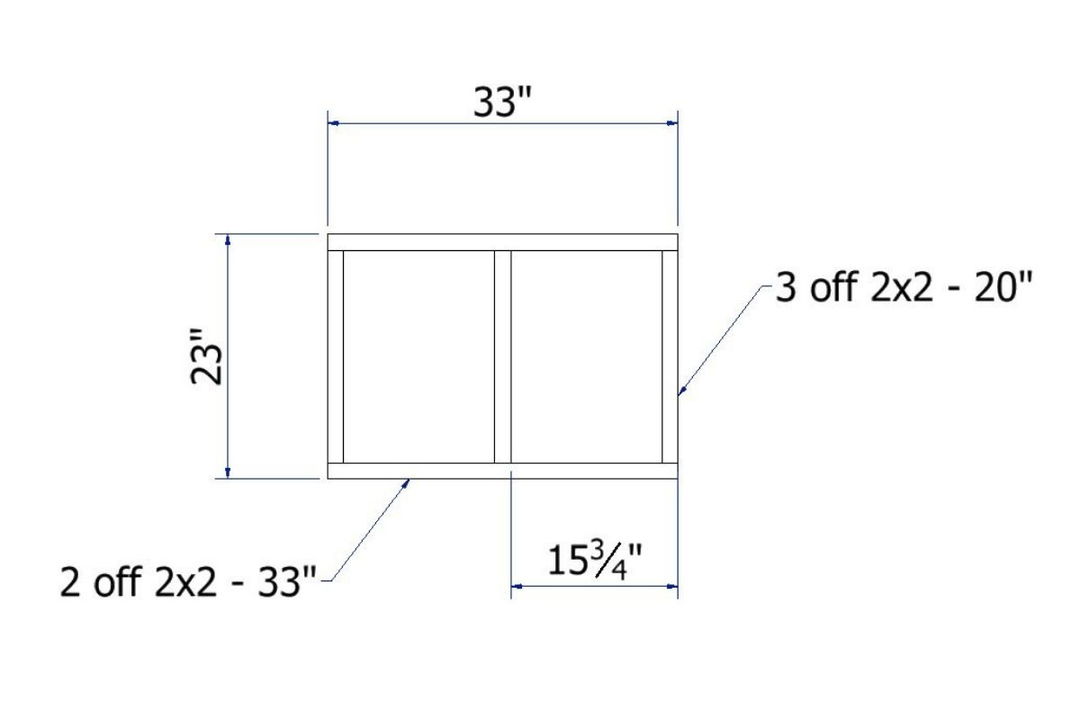


The side frames are the next stage in the construction process.
You’ll need to cut six pieces of timber that are 2×2 and 20 inches long. You’re also going to need four pieces that are 2×2 and 33 inches long.
Screw the individual lengths together to make the frame, using deck screws that are 2 inches long. Corner clamps will help ensure the frame is square.
Now comes the part where you can add insulation if you’re in a chillier climate.
Insulation is added in the form of cladding. To keep your pup warm in the winter, clad the frames, on the inside, with plywood that’s 5/16 inches thick.
You’re going to need two pieces that measure 23½ inches by 32 3/8 inches. Fasten these pieces to the side frames on each side. Make sure the plywood is sub-flush by 5/16 inches. The same applies to both sides. On the bottom, it needs to be flush. While on the top, it should be 1/2 inch proud.
Fasten the plywood to the frame using 3/4 inch deck screws.
Step 3: Building the Front Frame
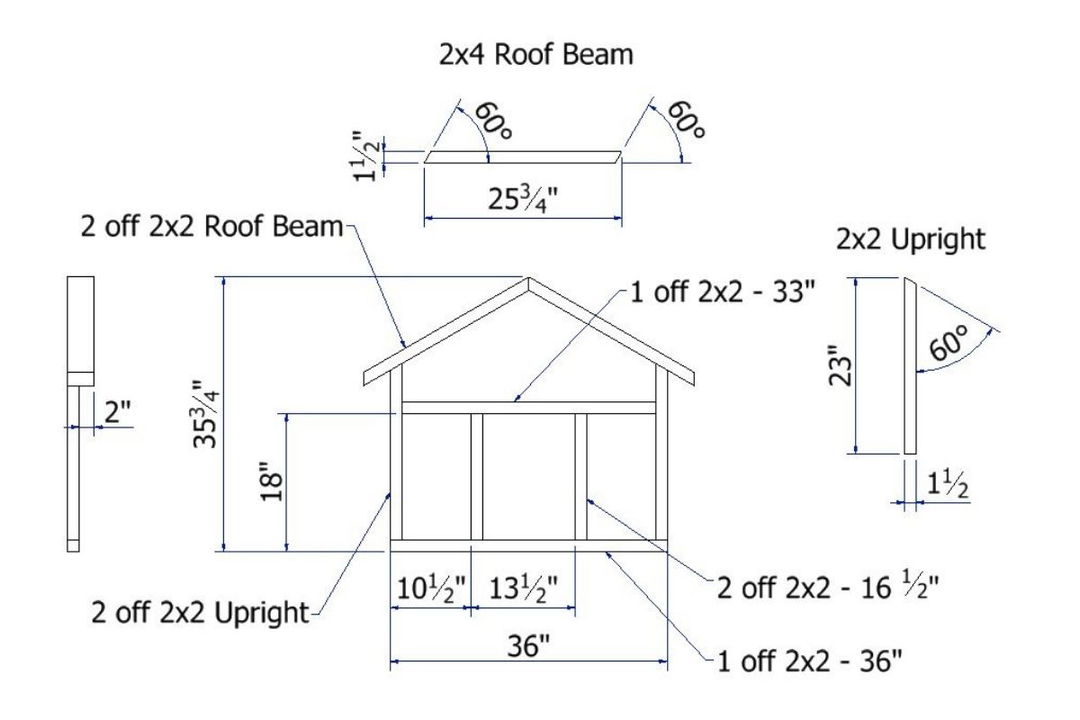


The front frame is where there will be a door, which makes the construction a little more complex.
To make the frame, you need to cut a specific number of lengths. You need two lengths of 2×2 that are 16 1/2 inches long. You’ll also need one 2×2 that’s 33 inches long and one 2×2 that’s 36 inches in length.
For the uprights and roof beams, you need to cut two lengths of 2×4 for each. The roof beams need to be 25 3/4 inches long. They also need to have a 60-degree angle cut onto both of the ends. The direction of the angles should be matching.
The same applies to the lengths that you’ll use for the uprights. However, in this case, the two lengths need to be 23 inches long and have a 60-degree angle cut onto one end only.
With all the frame members correctly cut, you can move on to assembling them using 2-inch deck screws.
The next part of this step only applies if you want to insulate your dog’s accommodation. For the insulation, you need a piece of plywood that is 5/16” thick. There is a door in the front frame of your dog house, and the drawing above provides the dimensions you need.
Inside the front frame, you have to attach the plywood. The front frame is the side that’s opposite where you’ve created an overhang with the roof beams made using 2×4. Position the plywood so that it’s flush along the frame’s bottom as well as inside the uprights. Use 3/4 inch deck screws to fix everything in place.
Step 4: Assembling the Rear Frame
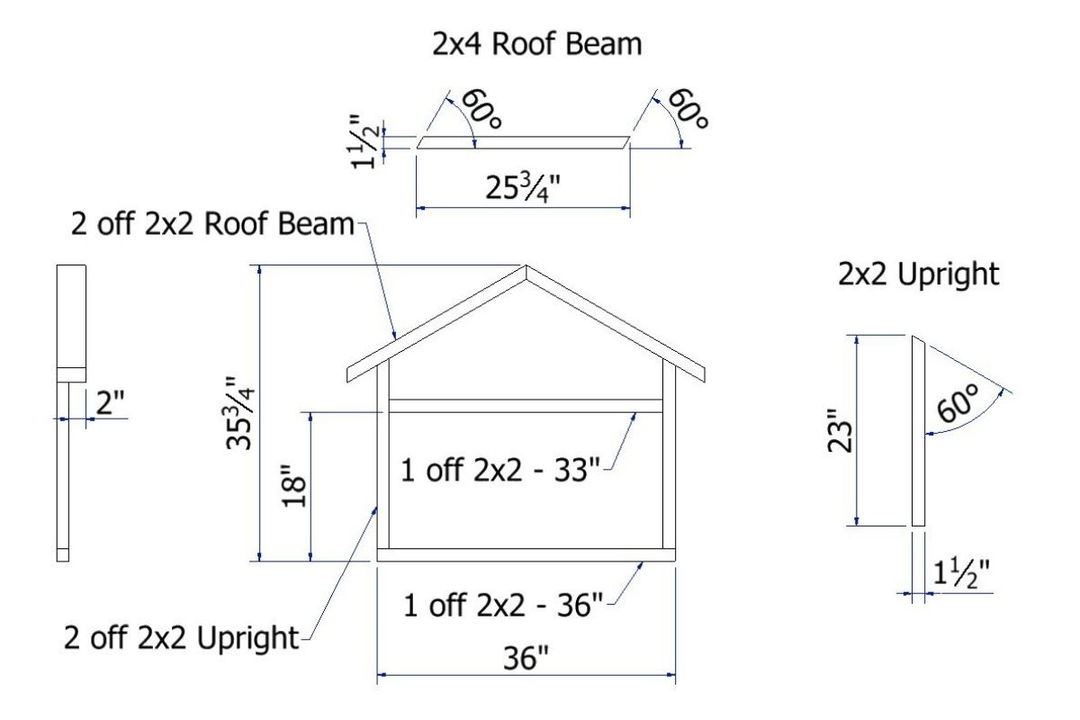


The rear frame is much easier to construct because you don’t have to worry about building any vertical members surrounding the house’s front door.
Cut the same lengths as before and fix everything using 2-inch deck screws. You also need a 5/16” section of plywood, but you don’t need to worry about a hole to accommodate a door this time.
Attach the plywood on the opposite end of the overhang for the door. Fix it on the rear frame’s inside surface.
Step 5: Bring the Frame Pieces Together


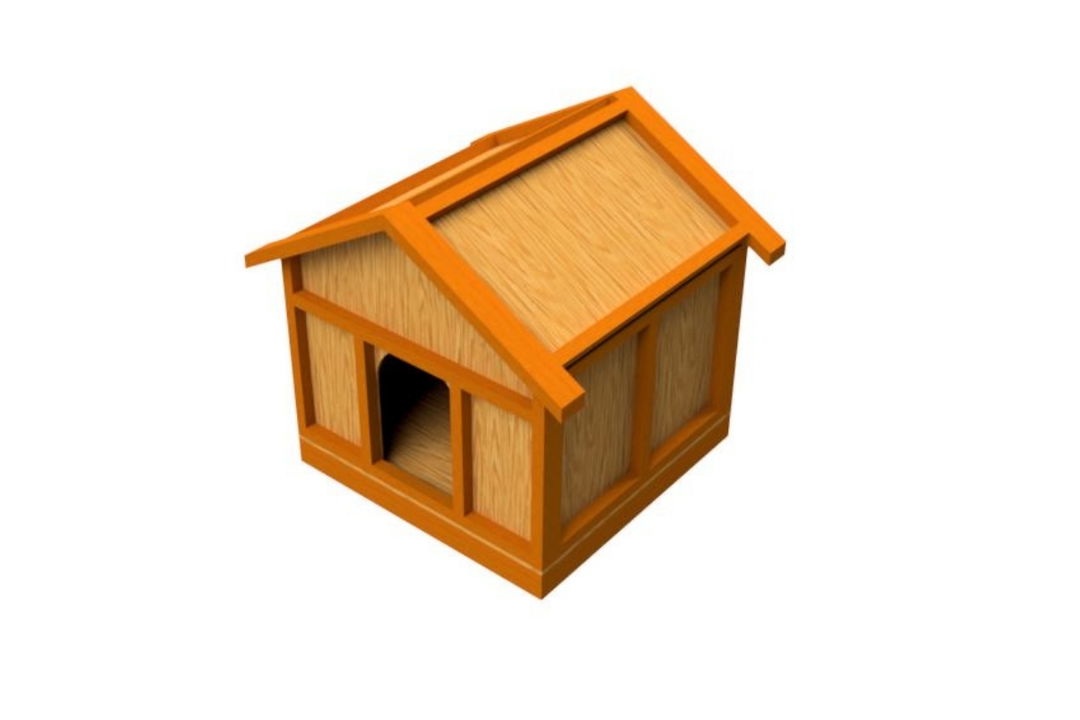
All the component parts of your dog house are now ready to be put together so that the house’s structure is complete.
Eventually, you can attach all the framework sides to the base, but first, you must fix them together. This framework forms the dog house’s outer walls.
However, this step in the process is only essential if you want to insulate the house. You need to access inside the framework so you can attach the 5/16 inch plywood onto the roof’s inside.
The first step is to assemble the side, rear, and front frames, securing them with 2-inch deck screws. Next, you need to cut some cross members for the roof. You require four pieces of 2×2 that are 33 inches long.
In the drawing, you can see how to fit them. Make them secure using 2-inch deck screws.
For the plywood insulation, you need two pieces that are 5/16 inches thick. These pieces need to be 33 inches x 20 3/4 inches. Attach these plywood boards on the inside of the cross members. They have to meet at the roof’s peak. Use 3/4 inch deck screws to secure everything in place.
Now you’ve assembled the roof structure and the walls, and it’s time to fix them to the base. Check that it’s all aligned before you fasten it using 3-inch deck screws.
Step 6: Fit the Roof Boards and Insulation
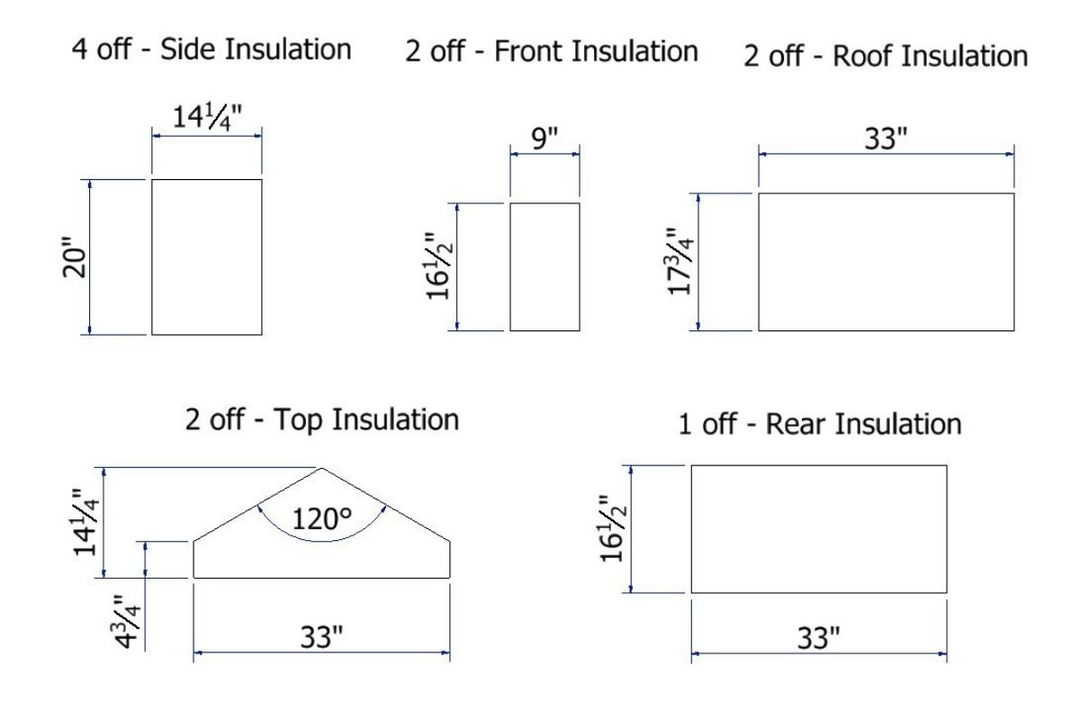


If you want to include insulation, there are several materials you can use. The material you choose is dependent on how much insulation is needed and the size of your budget.
Rather than use an insulation board, you could swap it out for a softer insulation material, for example, wool or fiberglass. However, if you’re looking for a speed and easy solution, an insulation board is the best choice. When it comes to the cladding, the insulation board will make the application easier.
If you choose to use insulation board, you need several pieces, as follows:
- Four insulation boards for the side.
- Two insulation boards for the front, roof, and top.
- One insulation board for the rear.
To fit each section of the insulation board, you can use the drawing above to refer to. Each piece should fit well and remain in place. If any feel loose, double-sided sticky tape should hold them in place.
The final part of this step is to cut two pieces of 1/2 inch thick plywood. The measurements of these pieces should be 24 9/16 inches x 40 inches. These boards will form the roof’s ridge. Use 3/4 inch deck screws to secure them.
Step 7: The Finishing Touches – Roofing, Trim, and Cladding


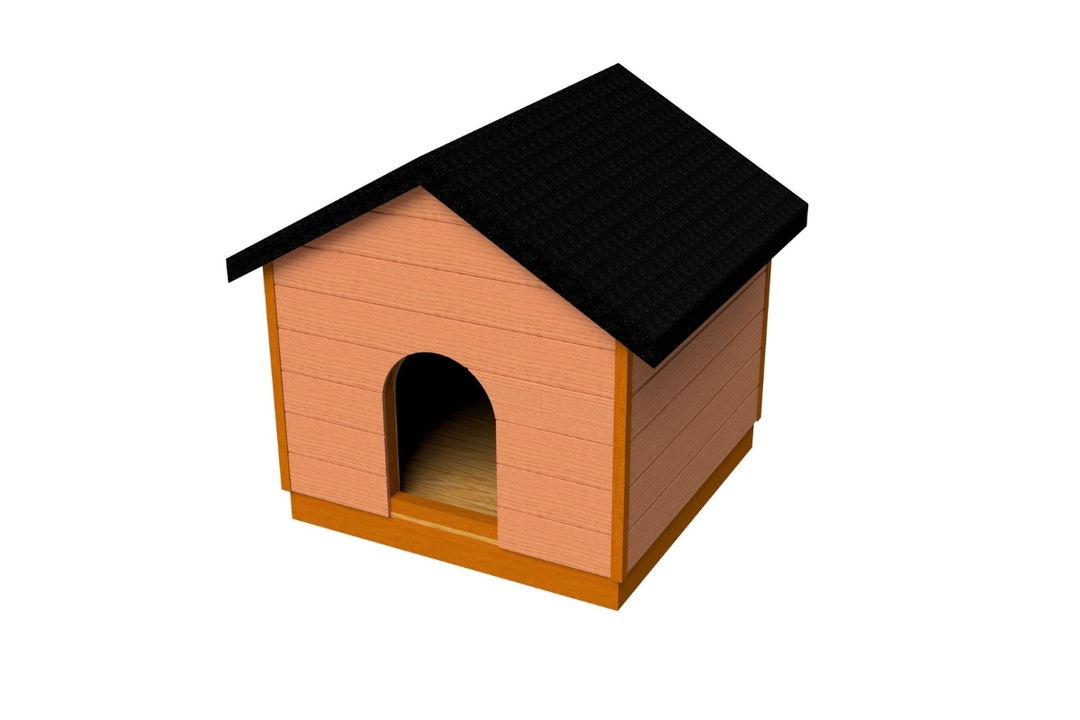
Applying the cladding is the finishing touch, along with the trim and roofing. 4 1/4 inch tongue and groove works very well for the cladding. That being said, any other size or siding board also works very well.
The internet is a great source of information if you want to know precisely how to trim and clad your dog house. You’ll find an excellent guide for trimming and cladding a shed here. The principles are just the same for a dog house.
When you’ve finished applying the trim and cladding, the roof needs finishing and making waterproof. You have plenty of options to choose from, such as asphalt shingles or roofing felt. Pick the material according to your preferences.
Final Thoughts
I hope you found this guide and plan useful and are ready to tackle your dog house-building project.
I’d love to hear how you managed and how your pup is enjoying its new home. Maybe you’d like to share some pictures or make a comment below.


